
Introduction
This manual provides detailed instructions for the setup, operation, and maintenance of your Arvitek VHS VCR to Digital Converter. This device allows you to convert analog video and audio from various sources like VHS, VCRs, camcorders, and game consoles into digital MP4 or MP3 files, preserving your cherished memories.
Package Contents
Please verify that all items listed below are included in your package:
- Video to Digital Converter (x1)
- AV Cable (x1)
- 3.5mm Audio Cable (x1)
- Remote Control (x1, AAA Batteries Not Included)
- Power Adapter (x1)
- USB A to C Cable (x1)
- User Manual (x1)

Image: The Arvitek VHS VCR to Digital Converter and its included accessories, such as RCA cable, USB cable, audio cable, power adapter, and remote control. The device dimensions are also shown.
Product Overview
Familiarize yourself with the device's interface and controls.

Image: A detailed diagram illustrating the front panel controls and the rear input/output ports of the Arvitek VHS VCR to Digital Converter. Labels indicate functions such as 3-inch screen, indicator light, signal source switching, power button, volume controls, return, system settings, record/stop, and screenshot buttons. Rear ports include Line In, Audio Output, HDMI Loopout, S-Video IN, AV IN (RCA), and Power Adapter/To PC (5V/1A USB-C).
Front Panel Controls:
- 3-inch Screen: For previewing video and navigating menus.
- Indicator Light: Shows device status.
- Signal Source Switching: Button to change input sources.
- Power Button: Press and hold for two seconds to turn on. Long press for eight seconds to turn off.
- Increase/Decrease Volume: Adjusts audio output.
- Return: Navigates back in menus.
- System Setting: Accesses device settings.
- REC/STOP Button: Starts and stops recording.
- Screenshot Button: Captures a still image.
Rear Panel Ports:
- AUX IN/OUT: 3.5mm audio input and output.
- HDMI Loopout: Connect to a TV or monitor for real-time preview and recording.
- S-Video IN: For S-Video input sources.
- AV IN (RCA): Red, white, and yellow RCA connectors for composite video and stereo audio input.
- 5V/1A (USB-C): Power input and connection to PC.
Setup
- Power Connection: Connect the provided USB A to C cable to the 5V/1A port on the device and the power adapter. Plug the power adapter into a wall outlet.
- Input Device Connection:
- For devices with RCA outputs (e.g., VCR, DVD player, camcorder): Connect the red, white, and yellow RCA cables from your source device to the corresponding AV IN ports on the converter.
- For devices with S-Video output: Connect an S-Video cable from your source device to the S-Video IN port on the converter.
- For devices with 3.5mm audio output: Connect a 3.5mm audio cable to the AUX IN port.
- Output to TV/Monitor (Optional): To view the video on a larger screen while recording, connect an HDMI cable from the HDMI Loopout port on the converter to an HDMI input on your TV or monitor.
- Insert Storage: Insert a USB drive or TF card (not included) into the designated USB or TF card slot. Ensure the storage device is formatted correctly (FAT32 or exFAT recommended for larger capacities). For larger storage devices, connect the converter to an external power source for optimal performance.
- Power On: Press and hold the power button on the device for two seconds to turn it on.
Video: An unboxing video demonstrating the contents of the Arvitek VHS VCR to Digital Converter package and showing the device's interfaces. This video helps users identify all components and understand the physical layout of the device.
Operating Instructions
1. Selecting Input Source
After powering on, use the Signal Source Switching button on the device or the remote control to select the correct input source (AV, S-Video, or AUX) that your external device is connected to. The selected source will be displayed on the 3-inch screen.
2. Recording Video
- Ensure your source device (VCR, camcorder) is playing the content you wish to record.
- Press the REC/STOP button on the converter or the remote control to begin recording. A recording indicator will appear on the screen.
- To stop recording, press the REC/STOP button again. The recorded file will be saved to your inserted USB drive or TF card.
Video: This video demonstrates how to control the Arvitek converter using both the panel buttons and the remote control, highlighting the HDMI loop-out feature for real-time monitoring during recording.
3. Previewing and Playback
- On the 3-inch Screen: You can preview the live input or play back recorded files directly on the converter's built-in screen.
- Via HDMI Loopout: Connect the converter to a TV or monitor using an HDMI cable to preview the input or play back recordings on a larger display.

Image: A family is shown watching a video on a large television screen, which is connected to the Arvitek converter. This demonstrates the device's ability to preview and record content simultaneously, allowing users to monitor the conversion process on an external display.
4. Remote Control Functions
The included remote control provides convenient access to various functions, including starting/stopping recording, taking snapshots, playing back recorded files, and scheduling recordings.
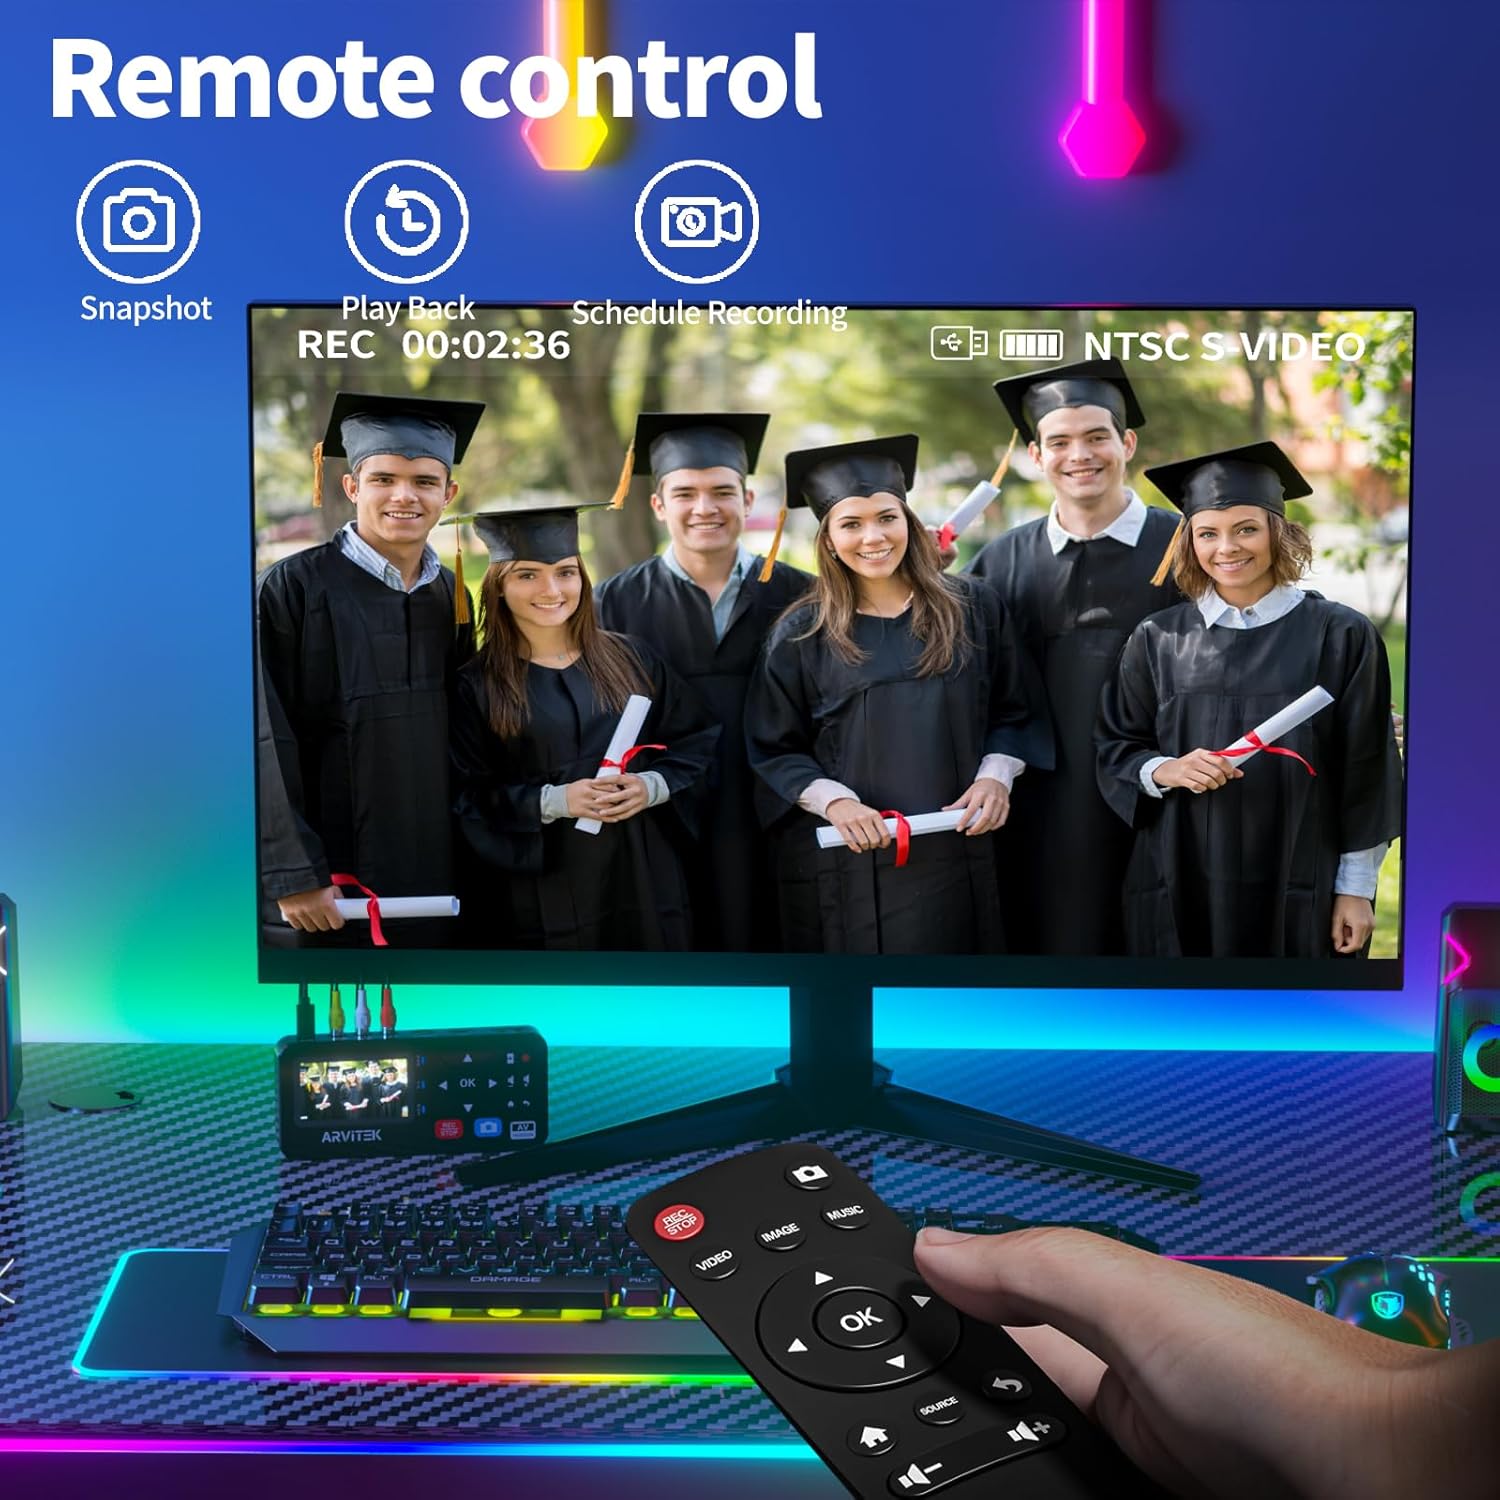
Image: The Arvitek converter is displayed alongside its remote control, highlighting key functions such as snapshot capture, video playback, and scheduled recording. This illustrates the convenience of operating the device remotely.
5. Saving Files
The converter saves videos in MP4 format and audio in MP3 format. Files are stored on the inserted USB drive or TF card. There is no capacity limit for storage, but for larger devices, an external power source is recommended.

Image: The Arvitek converter is shown with both a USB flash drive and a TF card inserted, emphasizing its flexible storage capabilities. The image also includes icons indicating compatible storage types (USB flash drive, TF card) and incompatible types (USB hard drive/SSD dock with power, portable HDD, portable SSD without external power).
Video: A short video highlighting the process of converting old memories from analog formats to digital using the Arvitek converter, emphasizing its role in preserving content.
Compatibility
The Arvitek VHS VCR to Digital Converter offers broad compatibility with various analog video and audio sources:
- VHS Players
- VCRs
- DVD Players
- DVRs
- Camcorders (including Hi8)
- Retro Gaming Consoles
- Any device with AV/RCA (CVBS+R/L), S-Video, or AUX output.
Note: This device functions solely as a converter/recorder/capture tool and cannot independently play tapes or DVDs.

Image: A visual representation of the Arvitek converter's multi-compatibility, listing various input devices such as DVD players, VHS players, game machines, camcorders, and VCR players, along with supported operating systems like Linux, Windows Vista, and Mac.
Maintenance
- Cleaning: Use a soft, dry cloth to clean the device. Avoid liquid cleaners or abrasive materials.
- Storage: Store the converter in a cool, dry place away from direct sunlight and extreme temperatures.
- Cable Care: Handle cables gently to prevent damage. Do not bend or crimp them excessively.
Troubleshooting
No Signal on Screen:
- Ensure all cables (AV, S-Video) are securely connected to both the source device and the converter.
- Verify that the source device is powered on and playing content.
- Check that the correct input source is selected on the converter.
Recording Issues:
- Confirm that a compatible USB drive or TF card is inserted and has sufficient free space.
- Ensure the storage device is formatted correctly (FAT32 or exFAT).
- If using a large storage device, ensure the converter is connected to an external power source.
No Audio:
- Check audio cable connections.
- Adjust the volume on both the converter and your source device/TV.
Remote Control Not Working:
- Ensure AAA batteries are correctly inserted and not depleted.
- Point the remote directly at the converter.
Specifications
| Feature | Detail |
|---|---|
| Compatible Devices | Camcorder, DVD Player, Gaming Console, VCR |
| Connector Type | RCA, S-Video, 3.5mm AUX |
| Color | Black |
| Brand | Arvitek |
| Number of Ports | 3 (AV, S-Video, AUX) |
| Power Plug Type | Type A - 2 pin (North American) |
| Recording Resolution | Up to 1080P@30Hz |
| Output Format | MP4 (Video), MP3 (Audio) |
| Storage Support | USB drive, TF card (up to 512GB recommended, external power for larger) |
Warranty Information
The Arvitek VHS VCR to Digital Converter comes with a 2-Year Warranty from the date of purchase. This warranty covers manufacturing defects and malfunctions under normal use. Please retain your proof of purchase for warranty claims.
Customer Support
If you encounter any issues or have questions regarding your Arvitek VHS VCR to Digital Converter that are not addressed in this manual, please contact our customer support team. You can typically find contact information on the product packaging or the official Arvitek website.
For more information about Arvitek products, visit the Arvitek Store on Amazon.