
1. Introduction
This manual provides essential information for the safe and effective setup, operation, and maintenance of your OMTech SH-G570 100W CO2 Laser Engraver. Please read this manual thoroughly before operating the machine to ensure proper usage and to prevent damage or injury.
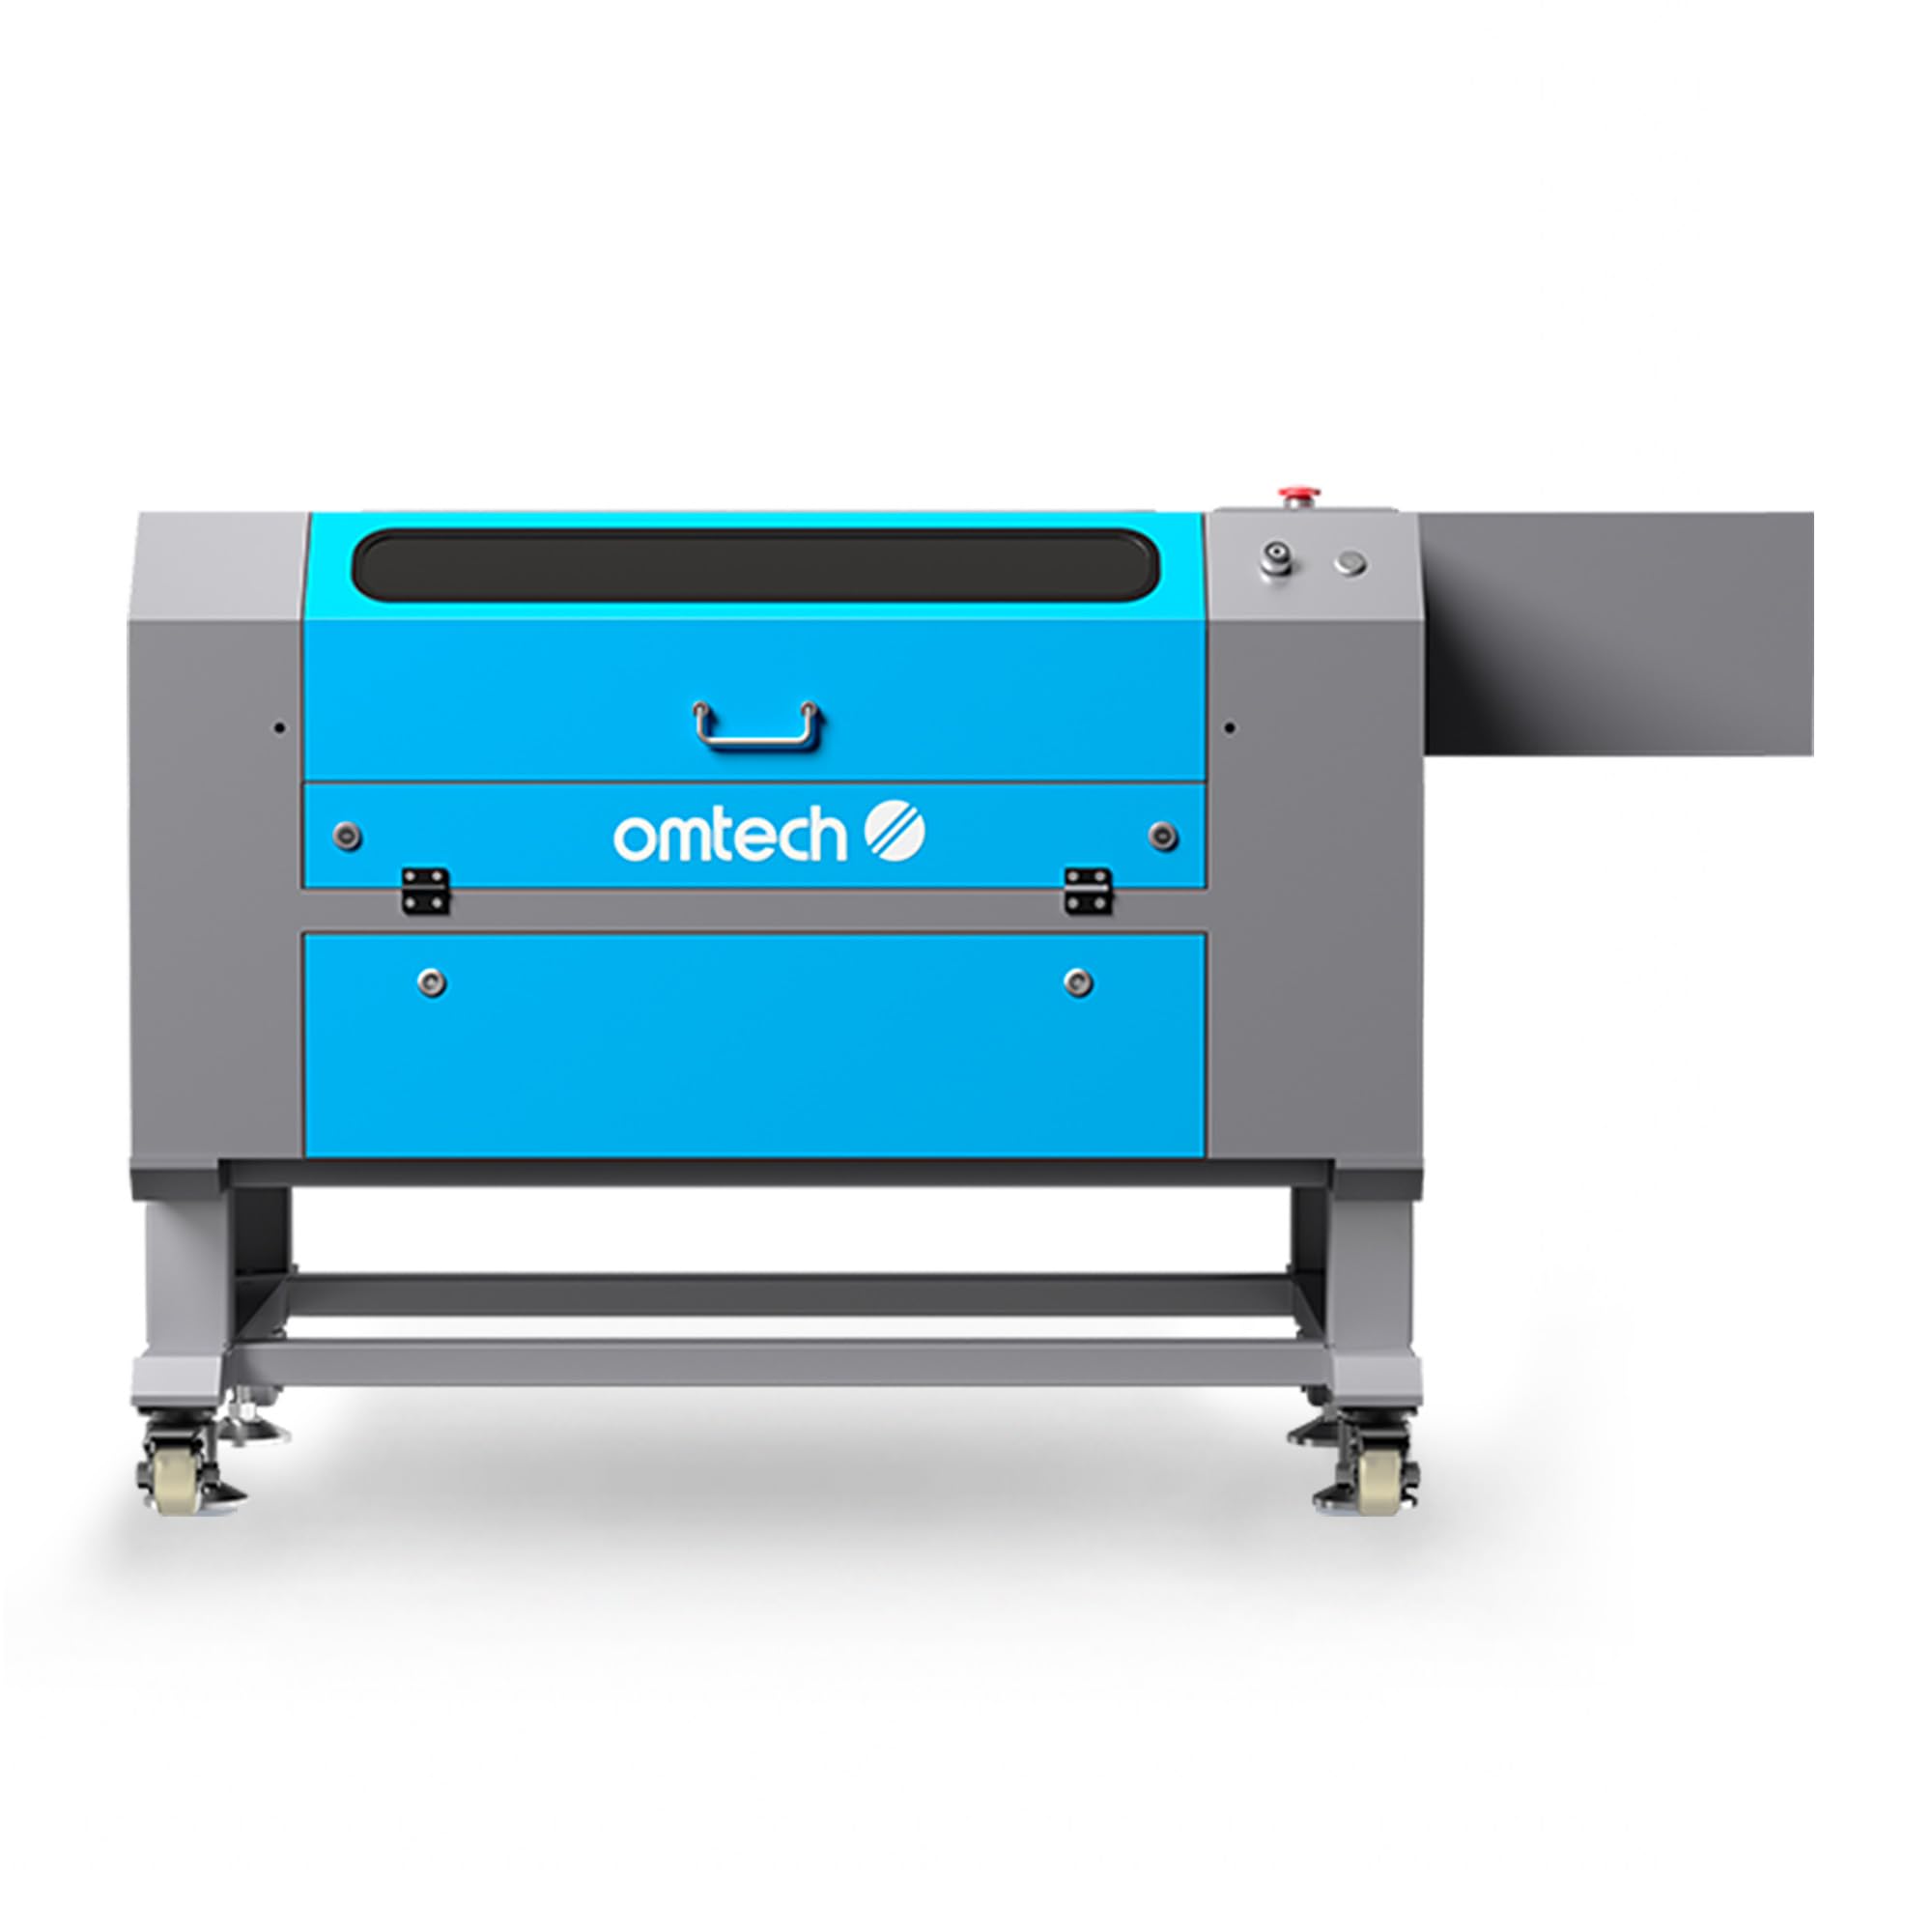
Figure 1: OMTech SH-G570 100W CO2 Laser Engraver with LightBurn software integration.
2. Safety Precautions
Operating a laser engraver requires adherence to strict safety guidelines. Failure to follow these precautions can result in serious injury or damage to the equipment.
- Laser Class 2: This machine is a Class 2 laser product with 0.874 mW output power. Always wear appropriate laser safety glasses when operating.
- Ventilation: Ensure adequate ventilation to remove smoke and fumes generated during operation. The built-in air assist helps keep the workspace clear.
- Automatic Cover Interlock: The laser will automatically shut off if the lid is opened during operation. Do not bypass this safety feature.
- Flame-Retardant Window: The viewing window is designed to be flame-retardant for safe observation of the engraving process.
- Material Safety: Only engrave or cut materials approved for CO2 lasers. Avoid materials that produce toxic fumes or are highly flammable.
- Emergency Stop: Familiarize yourself with the location and operation of the emergency stop button.
3. Setup
3.1 Unpacking and Placement
- Carefully remove the laser engraver from its packaging.
- Place the machine on a stable, level surface capable of supporting its weight (251.3 lb).
- Ensure sufficient space around the machine for ventilation and access, especially for the 4-way pass-through feature.
- Install the caster wheels for mobility, if desired.
3.2 Connecting Components
- Connect the power cable to a grounded outlet.
- Connect the exhaust system to ensure proper fume extraction.
- Connect the water cooling system (if external, otherwise ensure internal system is filled and functioning).
- Connect the air assist pump.
3.3 Software Installation
The OMTech SH-G570 is compatible with various software, including LightBurn and RDWorks. Install the preferred software on your computer following the provided software instructions.

Figure 2: The control panel of the OMTech laser engraver, showing compatibility with RDWorks, LightBurn, CorelDRAW, and AutoCAD.
4. Operating Instructions
4.1 Powering On and Initial Checks
- Ensure all connections are secure and safety features are engaged.
- Turn on the main power switch.
- Allow the machine to initialize.
4.2 Material Placement and Autofocus
- Place your material on the honeycomb or blade workbed within the 28"x20" working area.
- Utilize the instant autofocus feature by pressing the dedicated button on the control panel. The laser head will automatically adjust to the correct focal distance.
4.3 Using the 4-Way Pass-Through
For materials larger than the workbed, the 4-way pass-through doors allow you to feed longer pieces through the machine, expanding your project capabilities.

Figure 3: The OMTech laser engraver demonstrating its 4-way pass-through capability for handling oversized materials.
4.4 Engraving and Cutting Process
- Prepare your design in LightBurn, RDWorks, or compatible software.
- Set appropriate power and speed settings for your material. The machine can engrave at speeds up to 600 mm/s and cut wood up to 0.6" deep.
- Send the job to the laser engraver.
- Press the start button on the control panel to begin the process.
- Monitor the process through the flame-retardant window.
4.5 Material Compatibility
The following table outlines common materials and their compatibility with the OMTech SH-G570 for engraving and cutting:

Figure 4: A detailed chart showing various materials and whether they are suitable for engraving or cutting with the laser machine.
Note: Always perform small test cuts or engravings on new materials to determine optimal settings.
4.6 Air Assist Function
The built-in air assist directs a stream of air to the focal point, helping to clear debris and smoke, resulting in cleaner cuts and engravings and protecting the lens.
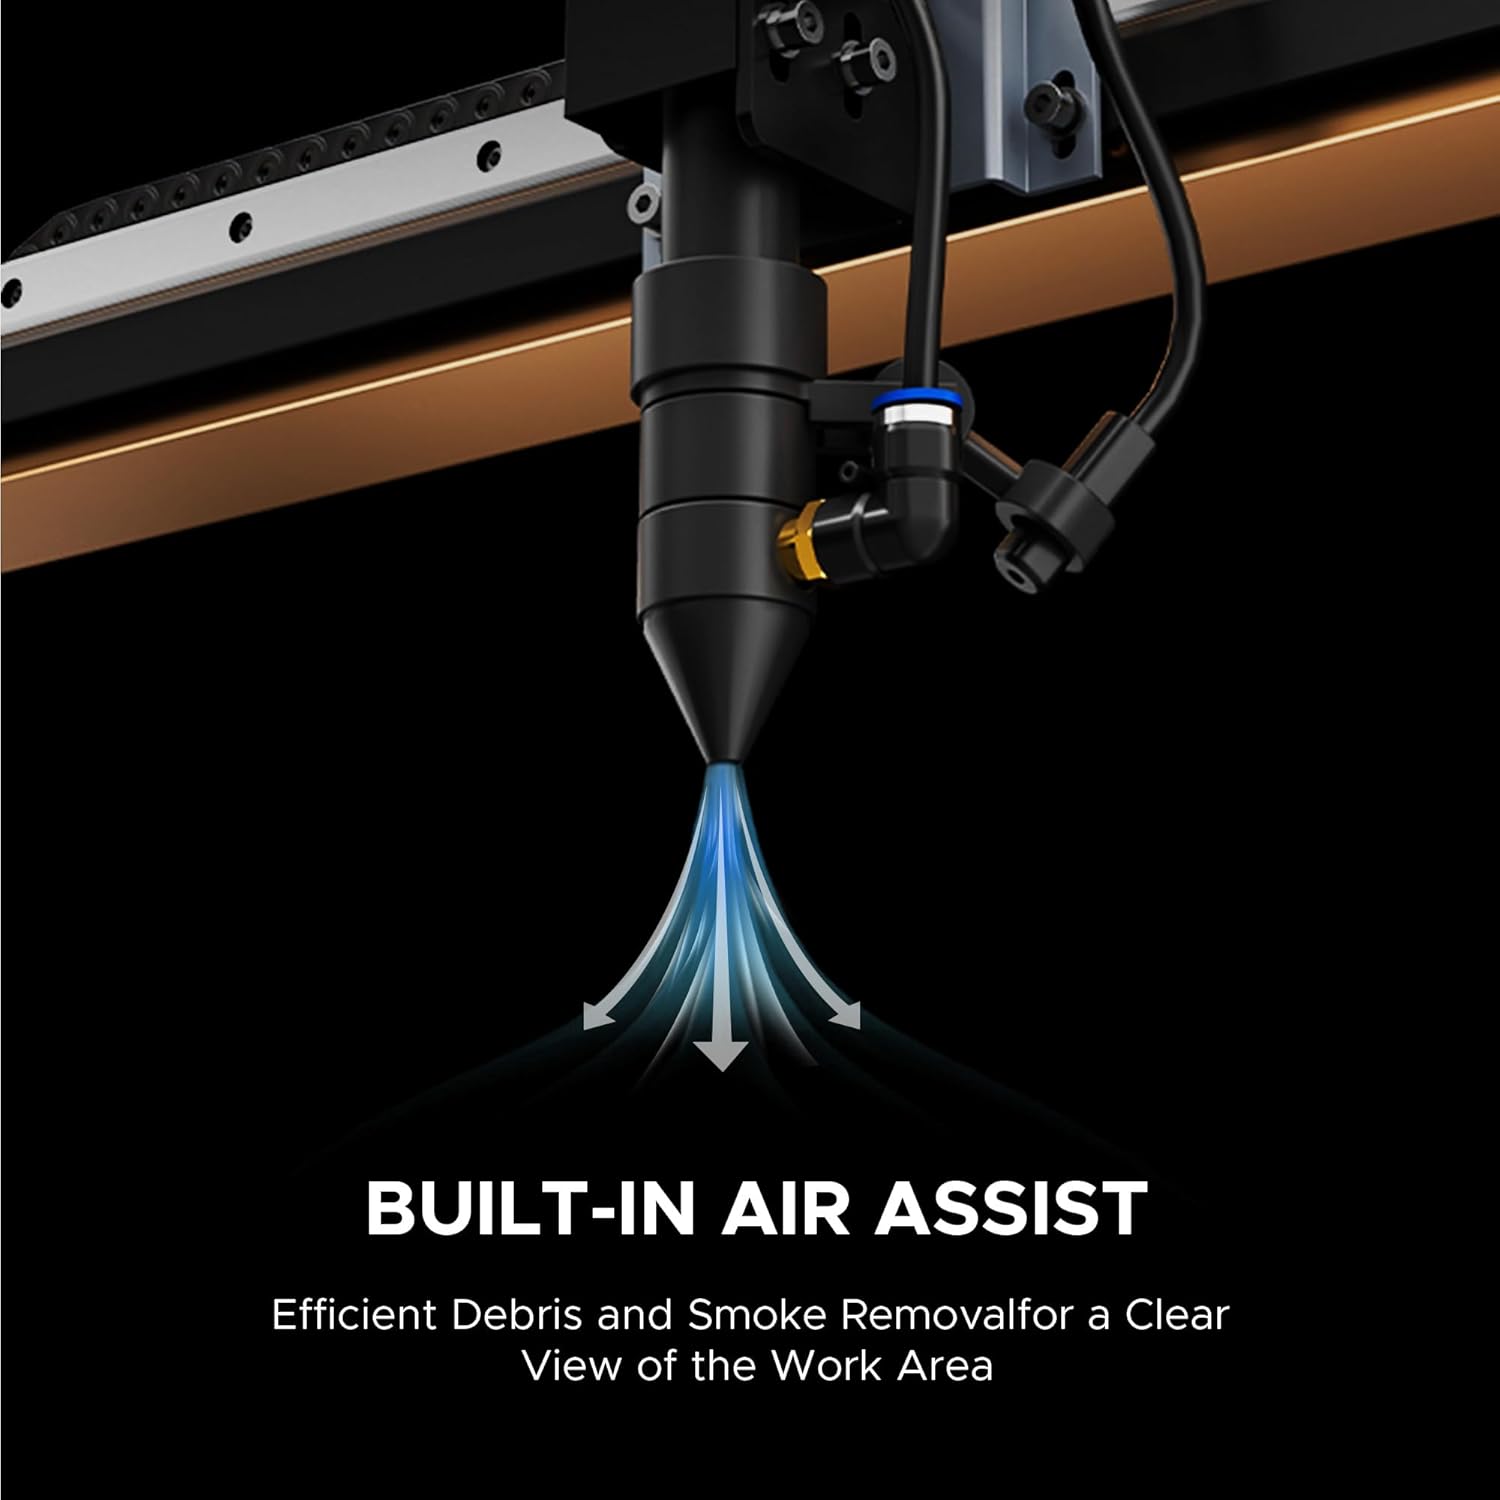
Figure 5: Close-up view of the laser head with the built-in air assist system, designed for efficient debris and smoke removal.
5. Maintenance
Regular maintenance is crucial for extending the lifespan and ensuring optimal performance of your laser engraver.
- Cleaning: Regularly clean the workbed, lenses, and mirrors to prevent residue buildup that can affect laser performance. The air assist helps reduce debris, but manual cleaning is still necessary.
- Water Cooling System: Ensure the water cooling system is functioning correctly and the water is clean and at the appropriate temperature.
- Laser Tube Lifespan: The 100W DC laser tube has an estimated lifespan of up to 8,000 hours. Operating at lower power settings can help extend its operational life.
- Lubrication: Periodically lubricate moving parts as recommended in the detailed maintenance guide (refer to the full product manual for specifics).
6. Troubleshooting
This section addresses common issues you might encounter during operation. For more complex problems, please contact customer support.
- Poor Engraving/Cutting Quality:
- Check focus: Ensure the autofocus mechanism is correctly set for the material thickness.
- Clean optics: Dirty lenses or mirrors can reduce laser power.
- Adjust settings: Experiment with power and speed settings for the specific material.
- Laser Not Firing:
- Check power supply: Verify the machine is powered on and connected.
- Safety interlocks: Ensure the lid is fully closed and all safety switches are engaged.
- Water cooling: Confirm the water cooling system is running and water flow is adequate.
- Machine Not Responding:
- Check connections: Ensure USB or network cables are securely connected.
- Software communication: Restart the software and the machine.
- Emergency Stop: Verify the emergency stop button is not engaged.
7. Specifications
Key technical specifications for the OMTech SH-G570 100W CO2 Laser Engraver:
| Feature | Detail |
|---|---|
| Model Number | SH-G570 |
| Rated Power | 100W |
| Max. Engraving Speed | 600 mm/s |
| Working Area | 28" x 20" |
| Machine Weight | 251.3 lb. |
| Side/Side Pass Size | 19.7" x 0.8" |
| Front/Back Pass Size | 31.5" x 3.9" |
| Machine Dimensions (L x W x H) | 65" x 34.3" x 36.6" |
| Laser Class | Class 2 (0.874 mW output) |

Figure 6: Visual summary of the OMTech laser engraver's key specifications, including power, speed, and dimensions.
8. Warranty and Support
OMTech provides comprehensive support for your laser engraver.
- Warranty: The product includes 2 years of comprehensive service.
- Customer Support: A 24/7 global support team is available for expert assistance.
- Technical Guidance: Technical guidance and local demonstrations are available by appointment.
9. Video Resources
Watch the official product video for an overview of the OMTech laser engraver's capabilities and features.
Video 1: An official overview of the OMTech Laser Engraver, highlighting its various applications and ease of use. This video demonstrates the machine in action, showcasing its engraving and cutting capabilities on different materials.


