1. Introduction
This manual provides comprehensive instructions for setting up, operating, and maintaining your Cyseed 2025 WiFi Extender Internet Booster. Please read this manual carefully before using the device to ensure proper functionality and to maximize your wireless network coverage.
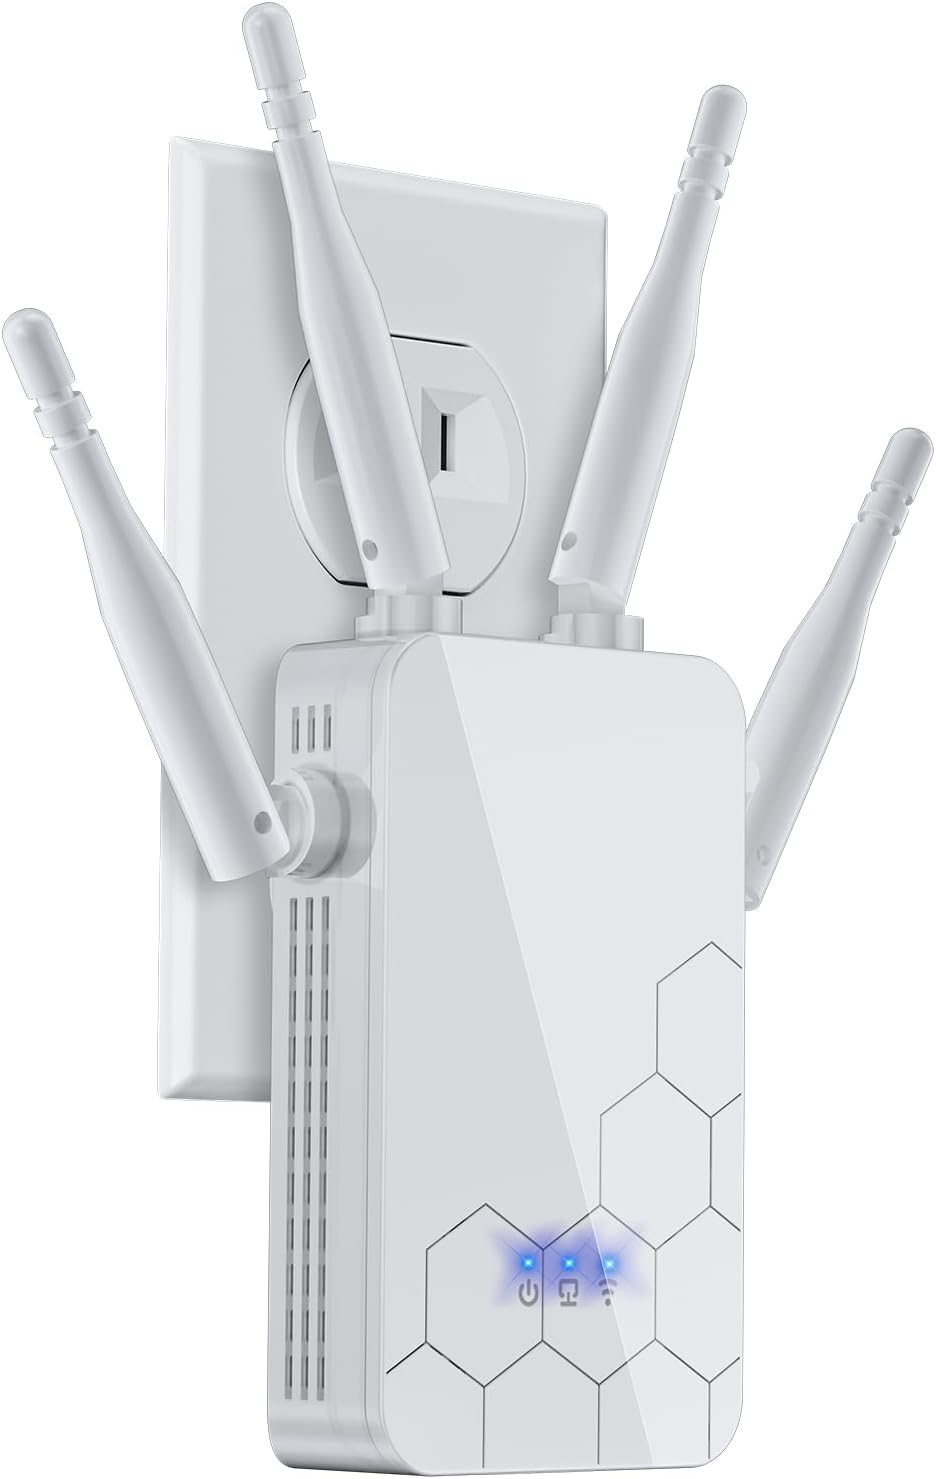
Image 1.1: The Cyseed 2025 WiFi Extender, a white rectangular device with four adjustable antennas, plugged into a standard wall outlet. Blue indicator lights are visible on its front panel.
2. Package Contents
Verify that all items are present in your package:
- Cyseed 2025 WiFi Extender Internet Booster
- Quick Installation Guide
- Technical Support Information (as per included documentation)
3. Safety Information
Please observe the following safety guidelines:
- Do not expose the device to water or moisture.
- Do not open or attempt to repair the device.
- Use the device within its specified temperature and humidity ranges.
- Ensure proper ventilation around the device to prevent overheating.
- Keep the device away from direct sunlight and heat sources.
4. Product Overview
The Cyseed 2025 WiFi Extender is designed to expand your existing wireless network coverage. It features four external antennas for enhanced signal transmission and reception, an Ethernet port for wired connections, and LED indicators for status monitoring.

Image 4.1: An exploded view diagram of the Cyseed 2025 WiFi Extender, highlighting its internal smart IC processor, overvoltage protection controller, LAN/WAN port, four antennas, and LED indicators. This illustrates the key components and their functions.
LED Indicators
- Power LED: Indicates power status.
- WiFi LED: Indicates wireless connection status.
- Signal LED: Indicates the strength of the signal received from the main router.
Ports and Buttons
- Ethernet Port: For connecting wired devices or for configuring the extender.
- WPS/Reset Button: Used for quick setup via WPS or for resetting the device to factory defaults.

Image 4.2: The bottom view of the Cyseed WiFi Extender, showing an Ethernet cable plugged into its port. This highlights the wired connectivity option.
5. Setup
The Cyseed 2025 WiFi Extender offers two primary setup methods: WPS (Wi-Fi Protected Setup) and Web Browser setup.
5.1 WPS Setup (Recommended for quick setup)
- Plug the WiFi Extender into an electrical outlet near your main router.
- Wait for the Power LED to turn solid.
- Press the WPS button on your main router.
- Within two minutes, press the WPS/Reset button on the WiFi Extender.
- The Signal LED on the extender should turn solid, indicating a successful connection.
- Relocate the extender to a suitable location between your router and the area with weak WiFi coverage. Ensure the Signal LED remains solid blue for optimal performance.

Image 5.1: A close-up of the Cyseed WiFi Extender, showing a finger pressing the WPS button. This illustrates the one-tap setup process.
5.2 Web Browser Setup
- Plug the WiFi Extender into an electrical outlet.
- Connect your computer or mobile device to the extender's default WiFi network (e.g., "Cyseed_Extender"). No password is required initially.
- Open a web browser and enter the default IP address or domain name (refer to the Quick Installation Guide for specific details, typically 192.168.x.x or extender.local).
- Follow the on-screen instructions to select your main WiFi network and enter its password.
- Configure the extender's network name (SSID) and password.
- Once configured, the extender will restart. Reconnect your devices to the new extended WiFi network.
6. Operating Modes
The Cyseed 2025 WiFi Extender supports multiple operating modes to suit various network requirements.

Image 6.1: A visual representation of the five operating modes: Repeater/Client Mode for home use, AP Mode for hotel environments, and Bridge/Router Mode for office/cafe settings. Each mode shows the extender's role in the network topology.
6.1 Repeater Mode
In Repeater Mode, the extender wirelessly connects to your existing router and amplifies its signal, extending coverage to areas with weak or no signal. This is the most common mode for home use.
6.2 Access Point (AP) Mode
In AP Mode, the extender connects to your router via an Ethernet cable and creates a new wireless network. This is useful for converting a wired network into a wireless one or for providing a separate WiFi network.
6.3 Router Mode
In Router Mode, the extender acts as a primary router, connecting directly to your modem and creating a new wireless network for your devices. This mode is suitable for small offices or homes without an existing router.
6.4 Bridge Mode
Bridge Mode allows the extender to connect to a wireless network and provide a wired connection to a single device, such as a gaming console or desktop computer, that does not have wireless capabilities.
6.5 Client Mode
Similar to Bridge Mode, Client Mode allows the extender to connect to an existing wireless network and provide network access to wired-only devices. Multiple wired devices can be connected via a switch if needed.
7. Maintenance
To ensure optimal performance and longevity of your Cyseed 2025 WiFi Extender:
- Keep the device clean and free from dust. Use a soft, dry cloth for cleaning.
- Avoid placing the extender in enclosed spaces that may restrict airflow.
- Periodically check for firmware updates on the manufacturer's website to ensure the latest features and security enhancements.
- If the device is unresponsive, perform a soft reboot by unplugging it from the power outlet for 10 seconds and then plugging it back in.
8. Troubleshooting
If you encounter issues with your WiFi Extender, refer to the following common problems and solutions:
| Problem | Possible Solution |
|---|---|
| No power / Power LED off | Ensure the extender is securely plugged into a working electrical outlet. Try a different outlet. |
| Cannot connect to the extender's WiFi network | Verify you are selecting the correct network name (SSID). If using Web Browser Setup, ensure you are connected to the extender's default network. |
| Weak or no signal from the extender | Relocate the extender closer to your main router. Ensure there are no major obstructions (thick walls, metal objects) between the extender and the router. Check the Signal LED for optimal placement. |
| Internet access issues after connecting to extender | Ensure the extender is successfully connected to your main router (Signal LED solid). Verify your main router has internet access. Try restarting both the router and the extender. |
| WPS setup failed | Ensure you press the WPS button on both devices within the two-minute window. Try the Web Browser Setup method. |
| Forgot extender's login password | Perform a factory reset by pressing and holding the WPS/Reset button for approximately 10 seconds until the LEDs flash. This will revert all settings to default. |

Image 8.1: A floor plan illustrating how a WiFi extender expands network coverage. The left side shows limited coverage from a single router, while the right side demonstrates broader coverage with the extender strategically placed to eliminate dead zones.
9. Specifications
| Feature | Detail |
|---|---|
| Brand | Cyseed |
| Model | 2025 WiFi Extender |
| Wireless Communication Standard | 802.11a/b/g/n/ac |
| Antennas | 4 External Antennas |
| Special Feature | 1-Tap Setup, Supports Multiple Network Devices |
| Color | White |
| Item Weight | 7.4 ounces |
| Package Dimensions | 10.28 x 3.62 x 2.17 inches |

Image 9.1: A detailed view of the Cyseed WiFi Extender's internal structure, highlighting its smart chip, overvoltage protection controller, security encryption module, LAN/Ethernet port, and WPS/Reset button. This image also indicates protection against over-heat, over-voltage, over-current, and short circuit.
10. Warranty and Support
Cyseed provides technical support for its products. For any issues or inquiries, please refer to the contact information provided in your package or on the official Cyseed website.
- Technical Support: 7 days a week, 24 hours a day via email.
- Telephone Consultation: 8:00 AM - 4:00 PM (PST), Monday to Friday.
Please have your product model and purchase information ready when contacting support.


