
MEDAS MEDAS 1HP Sump Pump
MEDAS 1HP 4950GPH Submersible Water Pump Instruction Manual
Model: MEDAS 1HP Sump Pump
1. Introduction
This manual provides essential information for the safe and efficient operation, installation, and maintenance of your MEDAS 1HP 4950GPH Submersible Water Pump. Please read all instructions carefully before use and retain this manual for future reference.

Image 1.1: The MEDAS 1HP 4950GPH Submersible Water Pump, a robust unit designed for efficient water removal.
The MEDAS 1HP 4950GPH Submersible Water Pump is designed for various water transfer applications, including draining swimming pools, flooded basements, garden ponds, and general utility water removal. Its powerful 1HP motor ensures high-efficiency drainage.

Image 1.2: Examples of pump applications including garden watering, farm irrigation, swimming pool drainage, and general water transfer.
2. Safety Instructions
Always adhere to the following safety guidelines to prevent injury or damage to the pump.
- Electrical Safety: Ensure the power supply matches the pump's voltage (115 Volts). Do not operate the pump with a damaged power cord or plug. Always connect to a grounded outlet. Do not immerse the power plug or cord in water.
- Water Temperature: Do not pump water exceeding 95°F (35°C).
- Flammable Liquids: Never use the pump to transfer flammable or explosive liquids such as gasoline, fuel oil, or solvents.
- Dry Running: Avoid operating the pump without water, as this can cause motor damage. The built-in thermal overload protection will shut off the motor if it overheats due to dry running.
- Children and Pets: Keep children and pets away from the pump and the area being drained during operation.
- Maintenance: Disconnect the pump from the power source before performing any maintenance or cleaning.
- Lifting: Do not lift the pump by its power cord. Use the integrated handle for transport.
3. Package Contents
Verify that all items are present upon unpacking:
- MEDAS 1HP Submersible Water Pump
- Multiple Hose Connector
- 3/4-inch NPT Threaded Adapter
- Nylon Mesh Filter Bag
- Instruction Manual
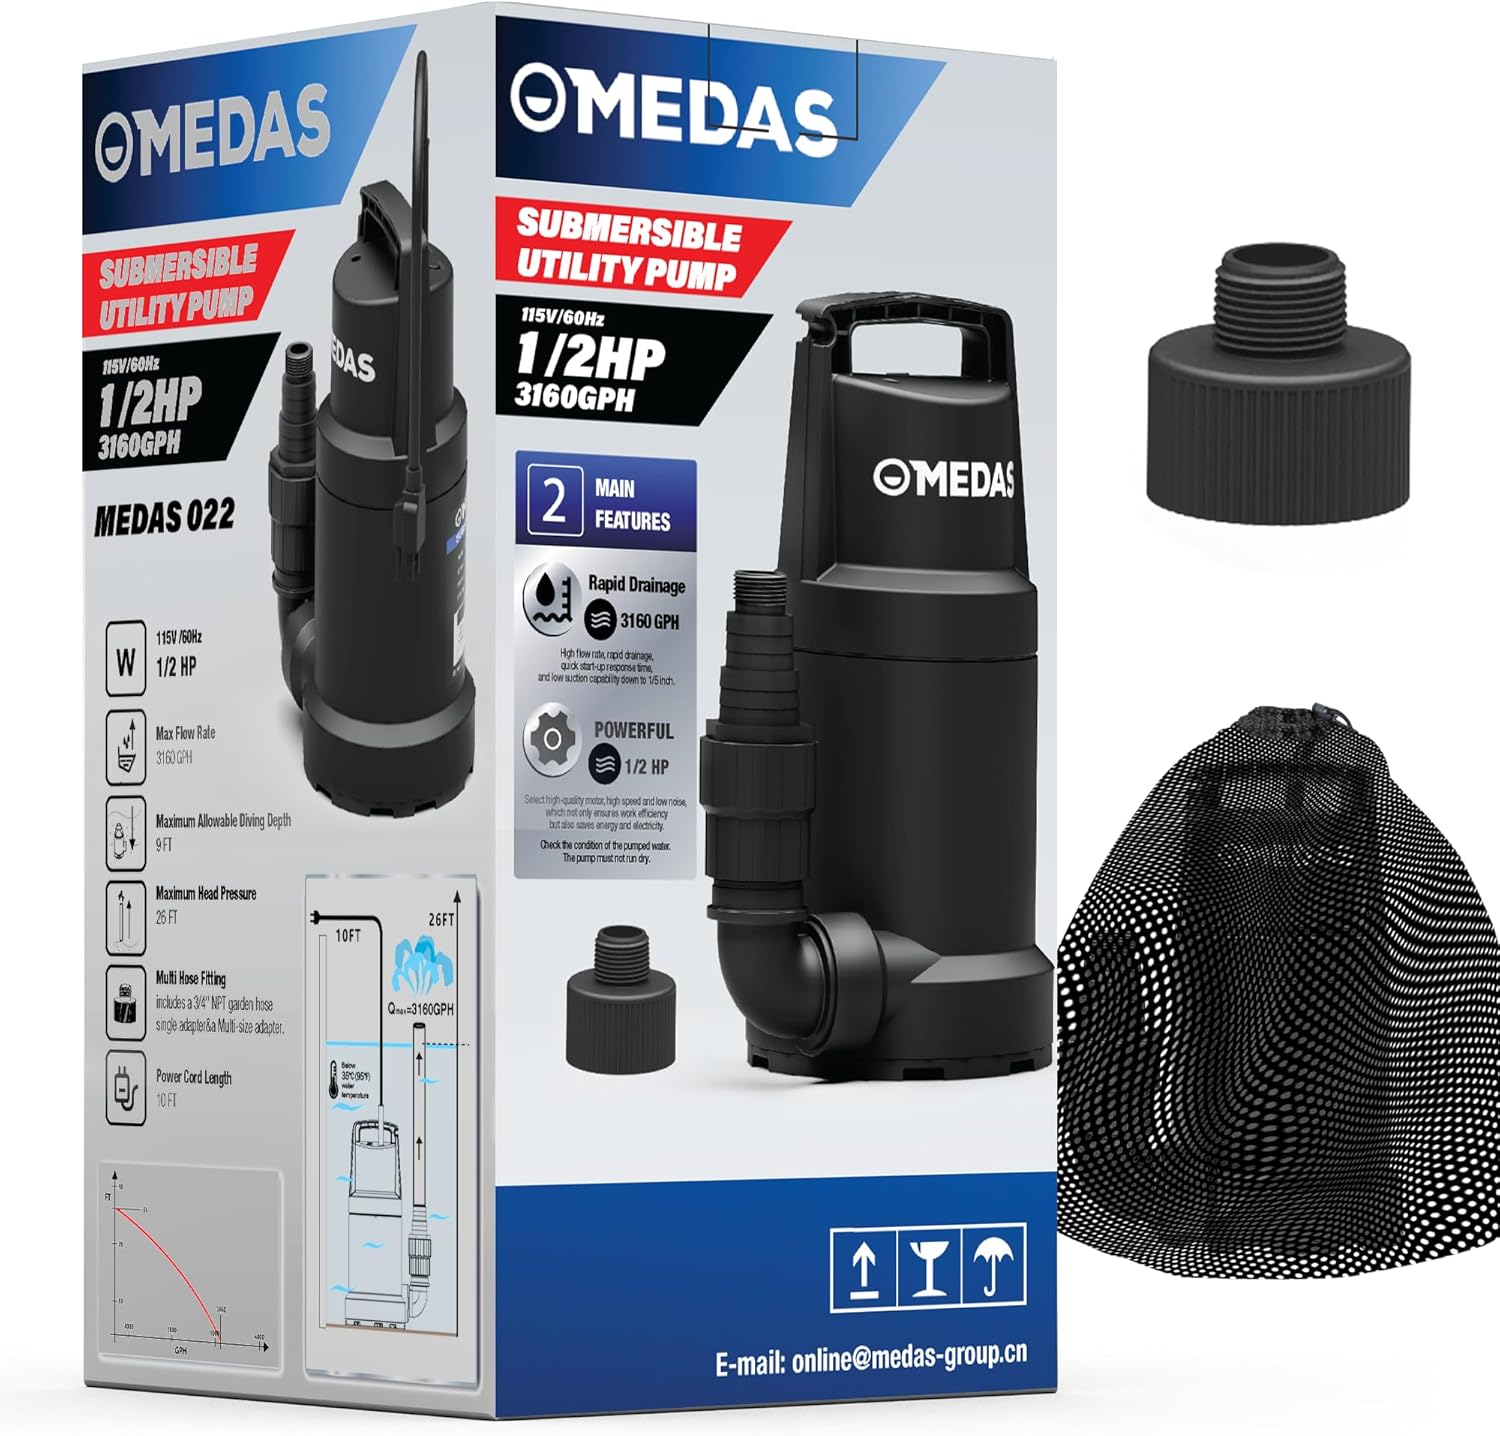
Image 3.1: The pump packaging illustrating the included utility pump, multiple hose connector, 3/4-inch NPT threaded adapter, and nylon mesh filter bag.
4. Specifications
| Feature | Specification |
|---|---|
| Model | MEDAS 1HP Sump Pump |
| Motor Power | 1 HP (750 Watts) |
| Maximum Flow Rate | 4950 GPH (Gallons Per Hour) |
| Maximum Lift Height | 30 Feet |
| Voltage | 115 Volts |
| Power Cord Length | 10 Feet |
| Minimum Water Level for Operation | 2 inches (approx.) |
| Residual Water Level | Down to 5mm (1/5 inch) |
| Discharge Port | Standard NPT (compatible with 3/4", 1-1/4", 1-1/2" hoses) |
| Material | Plastic (Corrosion-resistant) |
| Product Dimensions (L x W x H) | 6.5" x 6" x 11.6" |
| Item Weight | 10.63 pounds |
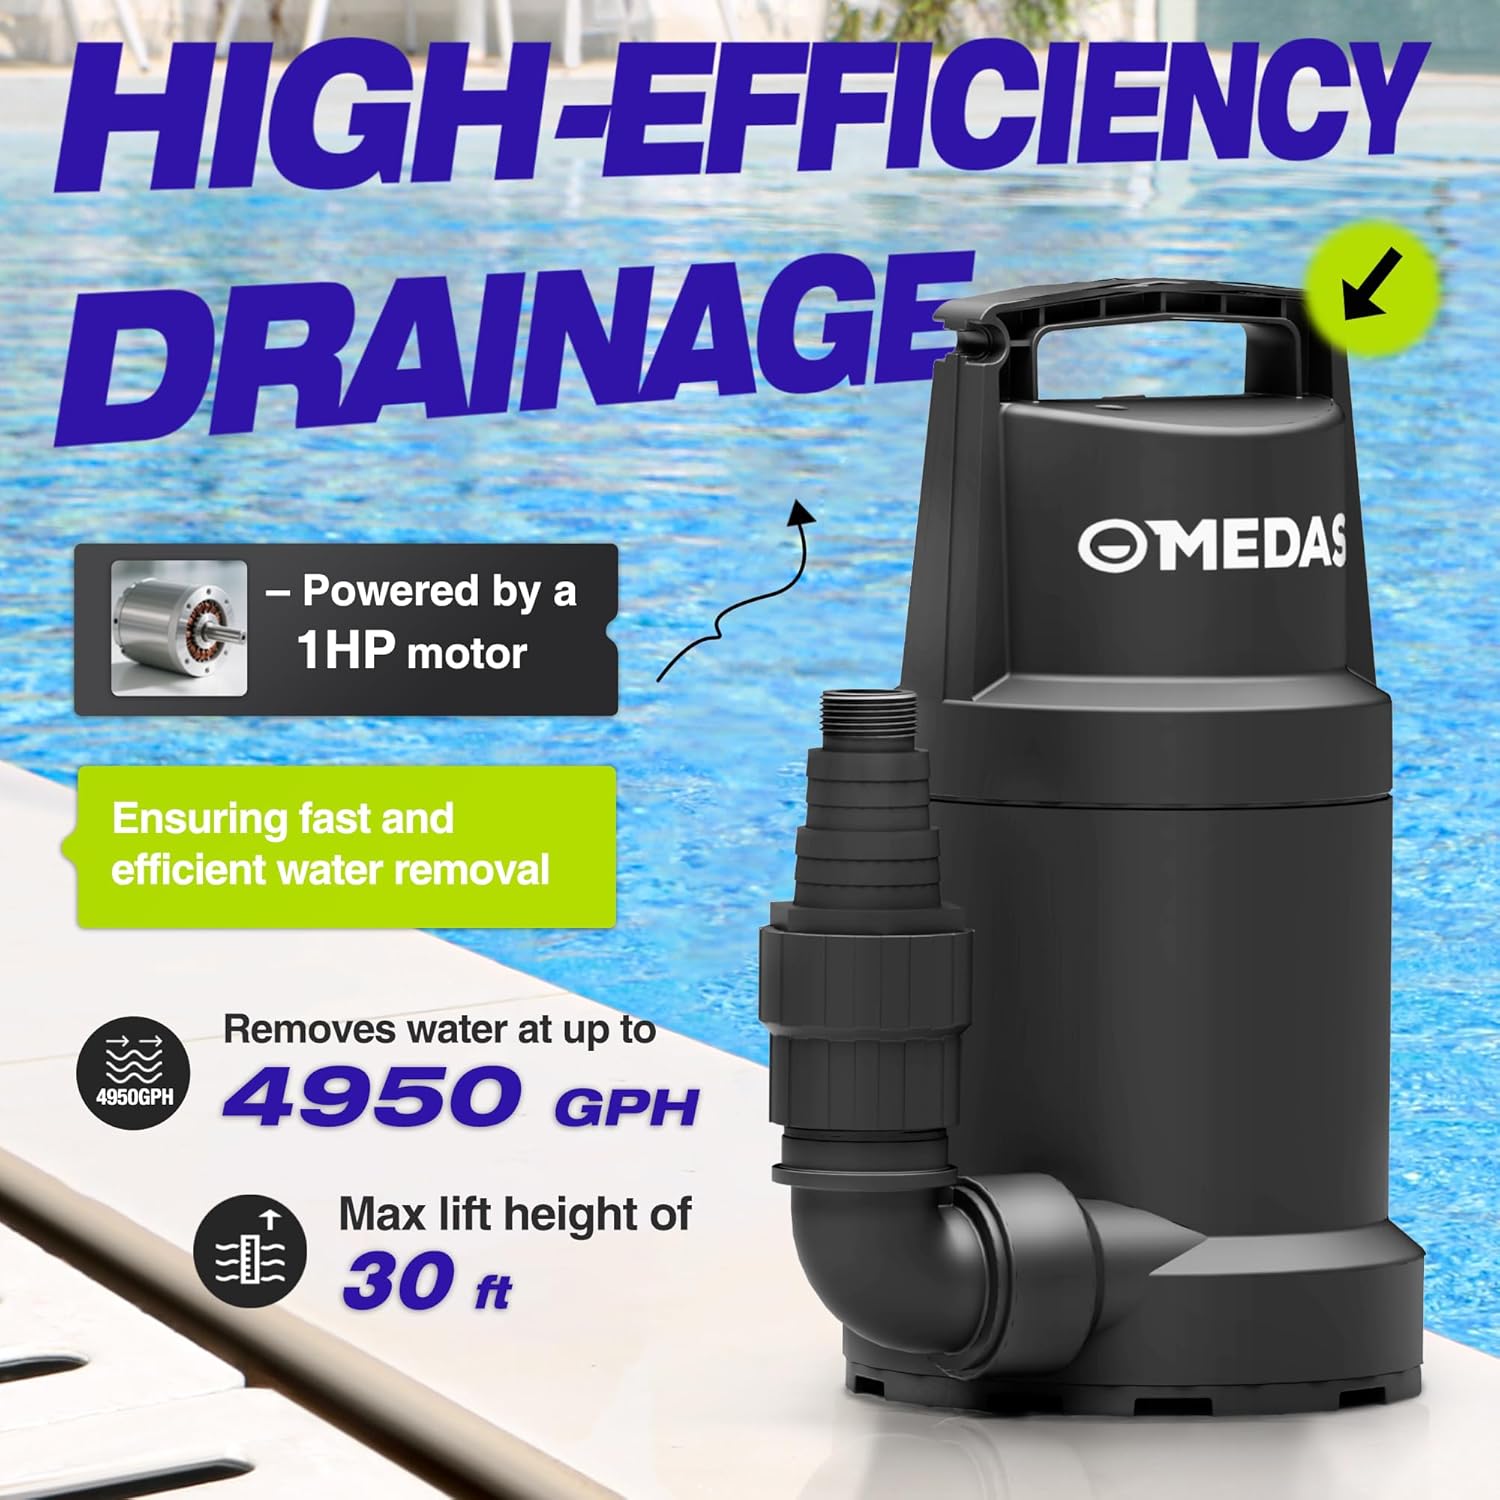
Image 4.1: Visual representation of the pump's high-efficiency drainage capabilities, highlighting the 1HP motor, 4950 GPH flow rate, and 30 ft maximum lift height.

Image 4.2: Internal view of the pump's motor coil, indicating its robust construction for reliable performance.
5. Setup
5.1 Hose Connection
- Select the appropriate hose size (3/4", 1-1/4", or 1-1/2") for your application.
- Attach the multiple hose connector or the 3/4-inch NPT threaded adapter to the pump's discharge port.
- Securely connect your discharge hose to the chosen adapter. Ensure all connections are tight to prevent leaks.

Image 5.1: Detailed view of the hose adapter coupling, showing compatibility with 3/4" NPT, 1-1/4", and 1-1/2" hose sizes.
5.2 Pump Placement
- Place the pump on a stable, flat surface in the area to be drained.
- Ensure the pump is fully submerged in water before operation. The minimum water level required for the pump to start is approximately 2 inches.
- Position the discharge hose to direct water away from the area being drained and towards a suitable disposal location.

Image 5.2: The pump being held by its handle, illustrating its portable design for easy placement.
6. Operation
6.1 Starting the Pump
- Ensure the pump is correctly set up with the discharge hose attached and positioned.
- Verify that the water level in the area to be drained is above 2 inches.
- Plug the power cord into a grounded 115V electrical outlet. The pump will start automatically.
6.2 Monitoring Operation
- Observe the pump's operation to ensure water is being discharged effectively.
- The pump is designed to remove water down to a residual level of 5mm (1/5 inch).

Image 6.1: Illustration of the water level requirement, showing that the pump needs a water level over 2 inches to initiate pumping and can drain down to 1/5 inch.
6.3 Stopping the Pump
To stop the pump, simply unplug the power cord from the electrical outlet.
7. Maintenance
Regular maintenance ensures optimal performance and extends the lifespan of your pump.
7.1 Cleaning the Filter
- Disconnect the pump from the power source before cleaning.
- The pump features a bottom suction design with an integrated filter to prevent debris from entering. Periodically inspect and clean the bottom intake area to remove any accumulated debris.
- If using the nylon mesh filter bag, remove it and rinse thoroughly.

Image 7.1: Close-up of the pump's bottom suction filter, designed to prevent debris from entering the pump mechanism.
7.2 Storage
- After use, clean the pump thoroughly with fresh water.
- Drain any remaining water from the pump and hose.
- Store the pump in a dry, frost-free location.
8. Troubleshooting
Refer to the table below for common issues and their solutions.
| Problem | Possible Cause | Solution |
|---|---|---|
| Pump does not start | No power supply Thermal overload activated Insufficient water level | Check power connection and outlet Unplug, allow to cool, then restart Ensure water level is above 2 inches |
| Pump runs but no water is discharged | Discharge hose kinked or blocked Intake filter blocked Air lock | Check and clear hose Clean intake filter Lift and lower pump slightly to release air |
| Reduced flow rate | Partial blockage in hose or filter Excessive lift height or hose length | Inspect and clear blockages Reduce lift or shorten hose if possible |
| Pump stops during operation | Thermal overload activated Power interruption Water level too low | Unplug, allow to cool, then restart Check power supply Ensure continuous water supply above 2 inches |
9. Warranty and Support
MEDAS provides professional customer service and technical support. For any questions, concerns, or assistance with your product, please contact MEDAS customer support. Refer to your purchase documentation for specific warranty terms and contact information.
Contact Information: Please refer to the contact details provided with your product packaging or visit the official MEDAS website for support.
Ask a question about this manual
Ask about setup, troubleshooting, compatibility, parts, safety, or missing instructions. Manuals+ will review the question and use this page’s manual context to help answer it.