1. Product Overview
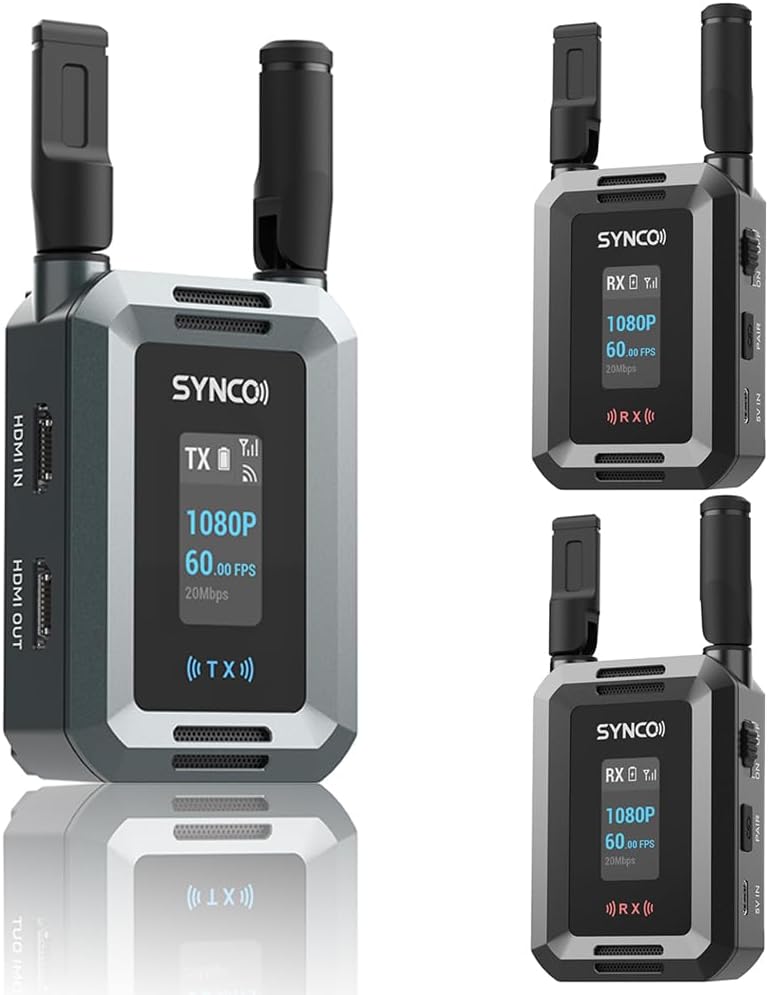
The SYNCO XVision HD Wireless Video Transmission System provides high-definition video transmission for professional film, television, and live streaming applications. This system, configured with one transmitter (TX) and two receivers (RX), supports 1080P/60fps video with a range of up to 300 meters and ultra-low latency of 40ms. Its compact design and flexible power options make it suitable for various production environments.
Key Features:
- Stable HD Video Transmission: Supports 1080P/60fps video up to 300 meters with SYNCO's ultra-penetration technology.
- Ultra-Low Latency: 40ms latency for real-time monitoring and feedback, utilizing advanced H.265/HEVC encoding.
- Dual HDMI Connectivity: Features HDMI input, HDMI output, and HDMI loop-out ports for versatile connections.
- Multi-User Monitoring: Supports simultaneous transmission to multiple receivers (up to four) for collaborative workflows.
- Compact and Portable: Lightweight at 119g with foldable antennas, designed for easy transport and on-the-go use.
- Flexible Power Options: Compatible with NP-F batteries and USB-C 5V input.
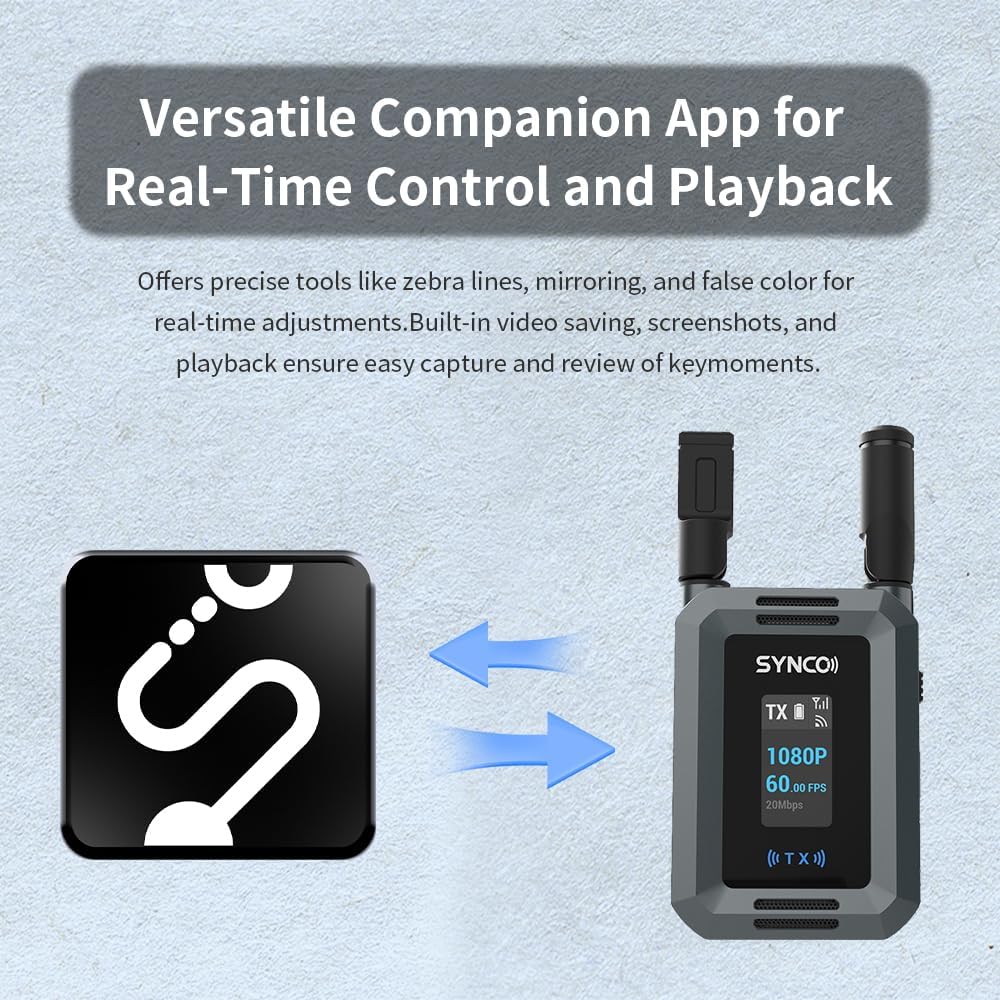
- SYNCO Link App: Companion app for real-time monitoring, image adjustments (zebra lines, mirroring, false color), video saving, screenshots, and playback.
What's in the Box:
- Transmitter (TX) x 1
- Receiver (RX) x 2
- Type-C Cable x 3
2. Components and Controls
Each unit (Transmitter and Receiver) features a compact design with essential ports and controls for efficient operation.
Transmitter (TX) Unit:
- HDMI IN: Connects to the video source (e.g., camera, computer).
- HDMI OUT: Provides a loop-out signal to a local monitor.
- USB-C 5V IN: Power input port.
- ON/OFF Switch: Powers the unit on or off.
- PAIR Button: Initiates pairing with receiver units.
- NP-F Battery Slot: For external battery power.
- Display Screen: Shows status information like resolution, frame rate, signal strength, and battery level.
Receiver (RX) Unit:
- HDMI OUT: Connects to a display device (e.g., monitor, TV, projector).
- USB-C 5V IN: Power input port.
- ON/OFF Switch: Powers the unit on or off.
- PAIR Button: Initiates pairing with the transmitter unit.
- NP-F Battery Slot: For external battery power.
- Display Screen: Shows status information like resolution, frame rate, signal strength, and battery level.


3. Setup
3.1 Powering On the Units
- Battery Installation: If using NP-F batteries, insert a charged battery into the NP-F battery slot on both the TX and RX units.
- USB-C Power: Alternatively, connect the provided Type-C cables to the USB-C 5V IN port on both the TX and RX units and plug them into a power source (e.g., USB wall adapter, power bank).
- Power On: Slide the ON/OFF switch to the 'ON' position for both the transmitter and receiver units. The display screens will illuminate.
3.2 Connecting Video Devices
- Transmitter Connection: Connect your video source (e.g., camera, computer, game console) to the HDMI IN port of the TX unit using an HDMI cable.
- Receiver Connection: Connect your display device (e.g., monitor, HDTV, projector) to the HDMI OUT port of each RX unit using an HDMI cable.
- HDMI Loop-Out (Optional): If you require a local monitor at the transmitter end, connect an HDMI cable from the HDMI OUT port of the TX unit to your local monitor.

3.3 Pairing Transmitter and Receivers
The units are typically pre-paired from the factory. If re-pairing is necessary or if adding additional receivers, follow these steps:
- Ensure both the TX and RX units are powered on.
- Press and hold the PAIR button on the TX unit until the display indicates pairing mode.
- Within a few seconds, press and hold the PAIR button on each RX unit you wish to pair.
- The units will automatically connect. The display screens will show a successful connection status (e.g., signal strength indicator).

4. Operating Instructions
4.1 Basic Operation
- Once powered on and connected, the system will automatically begin transmitting video.
- Monitor the display screens on both TX and RX units for signal strength, battery status, and video resolution/frame rate.
- Ensure antennas are unfolded and positioned for optimal signal reception.

4.2 Using the HDMI Loop-Out
The HDMI OUT port on the transmitter allows for local monitoring without signal delay. Connect an HDMI cable from the TX unit's HDMI OUT to a monitor near your camera setup. This is useful for camera operators who need to see the video feed directly from the source while it is also being transmitted wirelessly.

4.3 SYNCO Link App
The SYNCO Link App enhances the system's capabilities by providing advanced monitoring and control features. Download the app from your device's app store.
- Connect to App: Ensure your mobile device is connected to the Wi-Fi network broadcast by the XVision HD system (refer to the unit's display for Wi-Fi name and password, if applicable).
- Real-Time Monitoring: View the live video feed on your mobile device.
- Image Adjustments: Utilize tools such as zebra lines, mirroring, and false color for precise visual control and exposure analysis.
- Capture and Review: The app supports built-in video saving, screenshots, and instant playback of captured moments.
5. Maintenance
5.1 Cleaning
- Use a soft, dry cloth to clean the exterior of the units.
- Do not use liquid cleaners, solvents, or abrasive materials, as these can damage the finish or internal components.
- Keep ports free of dust and debris.
5.2 Battery Care
- Always use recommended NP-F type batteries.
- Remove batteries if the units will not be used for an extended period.
- Store batteries in a cool, dry place.
5.3 Storage
- Store the units in a dry, dust-free environment.
- Avoid extreme temperatures and humidity.
- When storing, ensure antennas are folded to prevent damage.
6. Troubleshooting
If you encounter issues with your SYNCO XVision HD system, refer to the following common problems and solutions:
| Problem | Possible Cause | Solution |
|---|---|---|
| No video signal on receiver display. | Units not powered on; HDMI cable loose/faulty; Units not paired; Out of range; Interference. | Ensure units are powered on. Check HDMI cable connections. Re-pair TX and RX units. Move units closer. Check for other wireless devices. |
| Poor video quality or dropped frames. | Weak signal; Obstructions; Interference. | Reduce distance between TX and RX. Ensure clear line of sight. Adjust antenna positions. Minimize other wireless device usage. |
| Units not pairing. | Incorrect pairing procedure; Units too far apart. | Follow pairing instructions carefully (Section 3.3). Ensure units are within close proximity during pairing. |
| SYNCO Link App not connecting. | Not connected to unit's Wi-Fi; App issues. | Ensure mobile device is connected to the XVision HD's Wi-Fi network. Restart the app and the XVision HD units. |
| Short battery life. | Battery not fully charged; Old battery; High power consumption. | Ensure batteries are fully charged before use. Replace old batteries. Use USB-C power for extended operation. |
7. Specifications
| Feature | Specification |
|---|---|
| Video Resolution | Up to 1080P/60fps |
| Transmission Range | Up to 300 meters (line of sight) |
| Latency | 40ms |
| Video Encoding | H.265/HEVC |
| Input/Output | HDMI IN (TX), HDMI OUT (TX & RX) |
| Power Supply | NP-F Battery, USB-C 5V IN |
| Weight (each unit) | Approximately 119g |
| Antennas | Foldable |
| App Support | SYNCO Link App |
8. Warranty and Support
For warranty information, please refer to the official SYNCO website or the warranty card included with your product. For technical support, product registration, or further inquiries, please visit the SYNCO support page or contact their customer service directly.
Online Resources:
- SYNCO Official Website: www.syncoaudio.com
- SYNCO Store on Amazon: Visit the SYNCO Store


