
1. Introduction
This instruction manual provides essential information for the Seapple D1402 Engine Overhaul Rebuild Kit. This kit is designed to facilitate a comprehensive rebuild of the Kubota D1402 engine, restoring its performance and extending its operational life. It is crucial to read and understand all instructions and warnings before proceeding with any installation or maintenance.
2. Product Contents
The Seapple D1402 Engine Overhaul Rebuild Kit includes the following components:
- 1 Set Full Gasket Kit with Head Gasket: Part Numbers: 15814-03310, 07916-29635.
- 1 Set STD D1402 Crankshaft / Main Bearing
- 1 Set STD D1402 Connecting Con Rod Bearing
- 1 Set STD D1402 Thrust Washer / Bearing
- 3 PCS STD D1402 Cylinder Liners (Semi-finished): Part Number: 15521-02310. Total Length (TL): 150mm, Inner Diameter (ID): 85mm, Outer Diameter (OD): 90.8mm.
- 3 PCS STD D1402 Piston: Part Numbers: 15521-21110, 19274-21110, 19439-21110. Diameter: 85mm, Height: 80mm, Pin Diameter: 23x64mm.
- 3 Sets STD D1402 Piston Rings
- 3 PCS STD D1402 Piston Pin
- 3 Pairs STD D1402 Piston Clip
- 3 PCS D1402 Intake Valves
- 3 PCS D1402 Exhaust Valves
- 3 PCS D1402 Intake Valves Seats
- 3 PCS D1402 Exhaust Valves Seats
- 6 PCS D1402 Valve Guides

Figure 1: Main head gasket and various smaller gaskets from the kit.
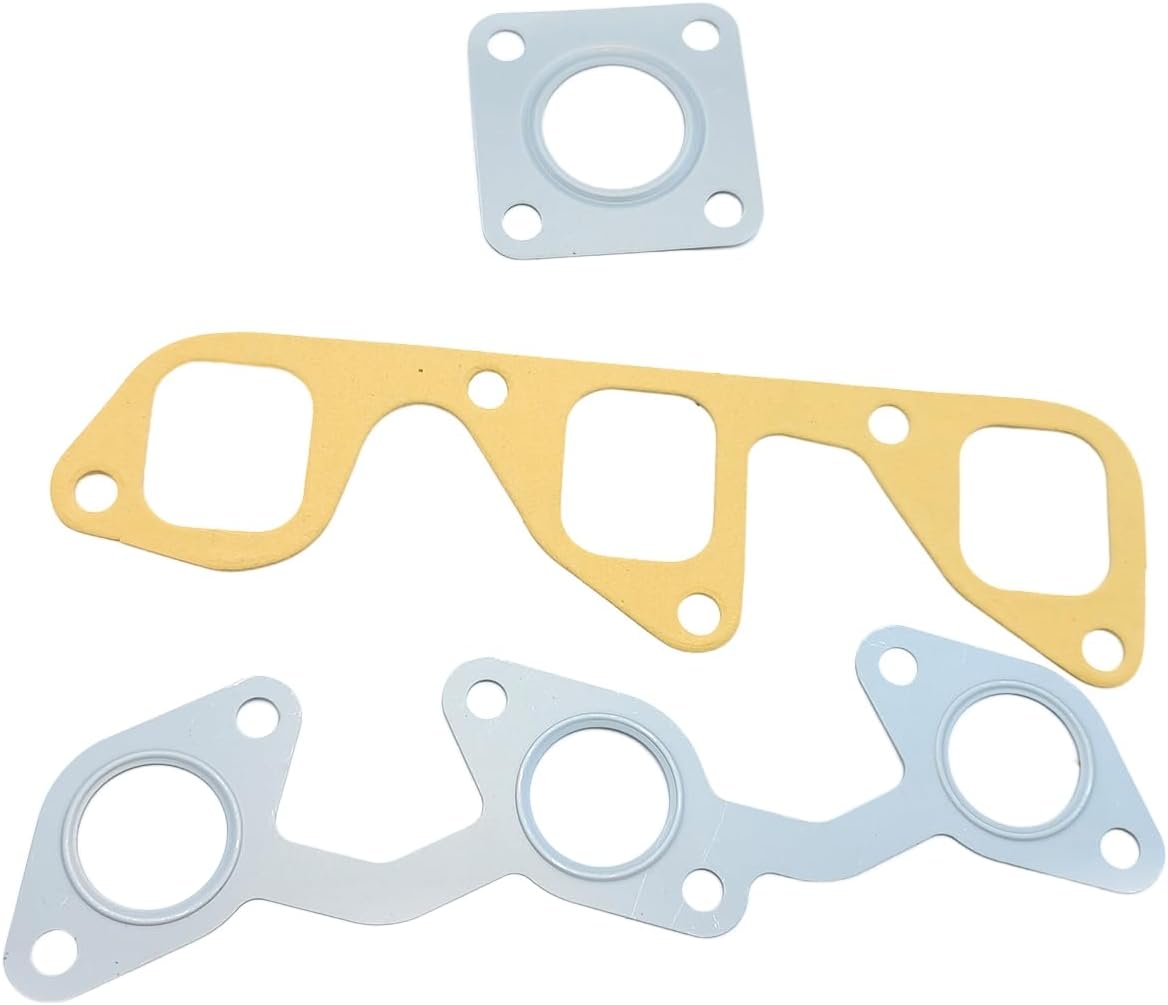
Figure 2: Assortment of smaller gaskets included in the full gasket kit.
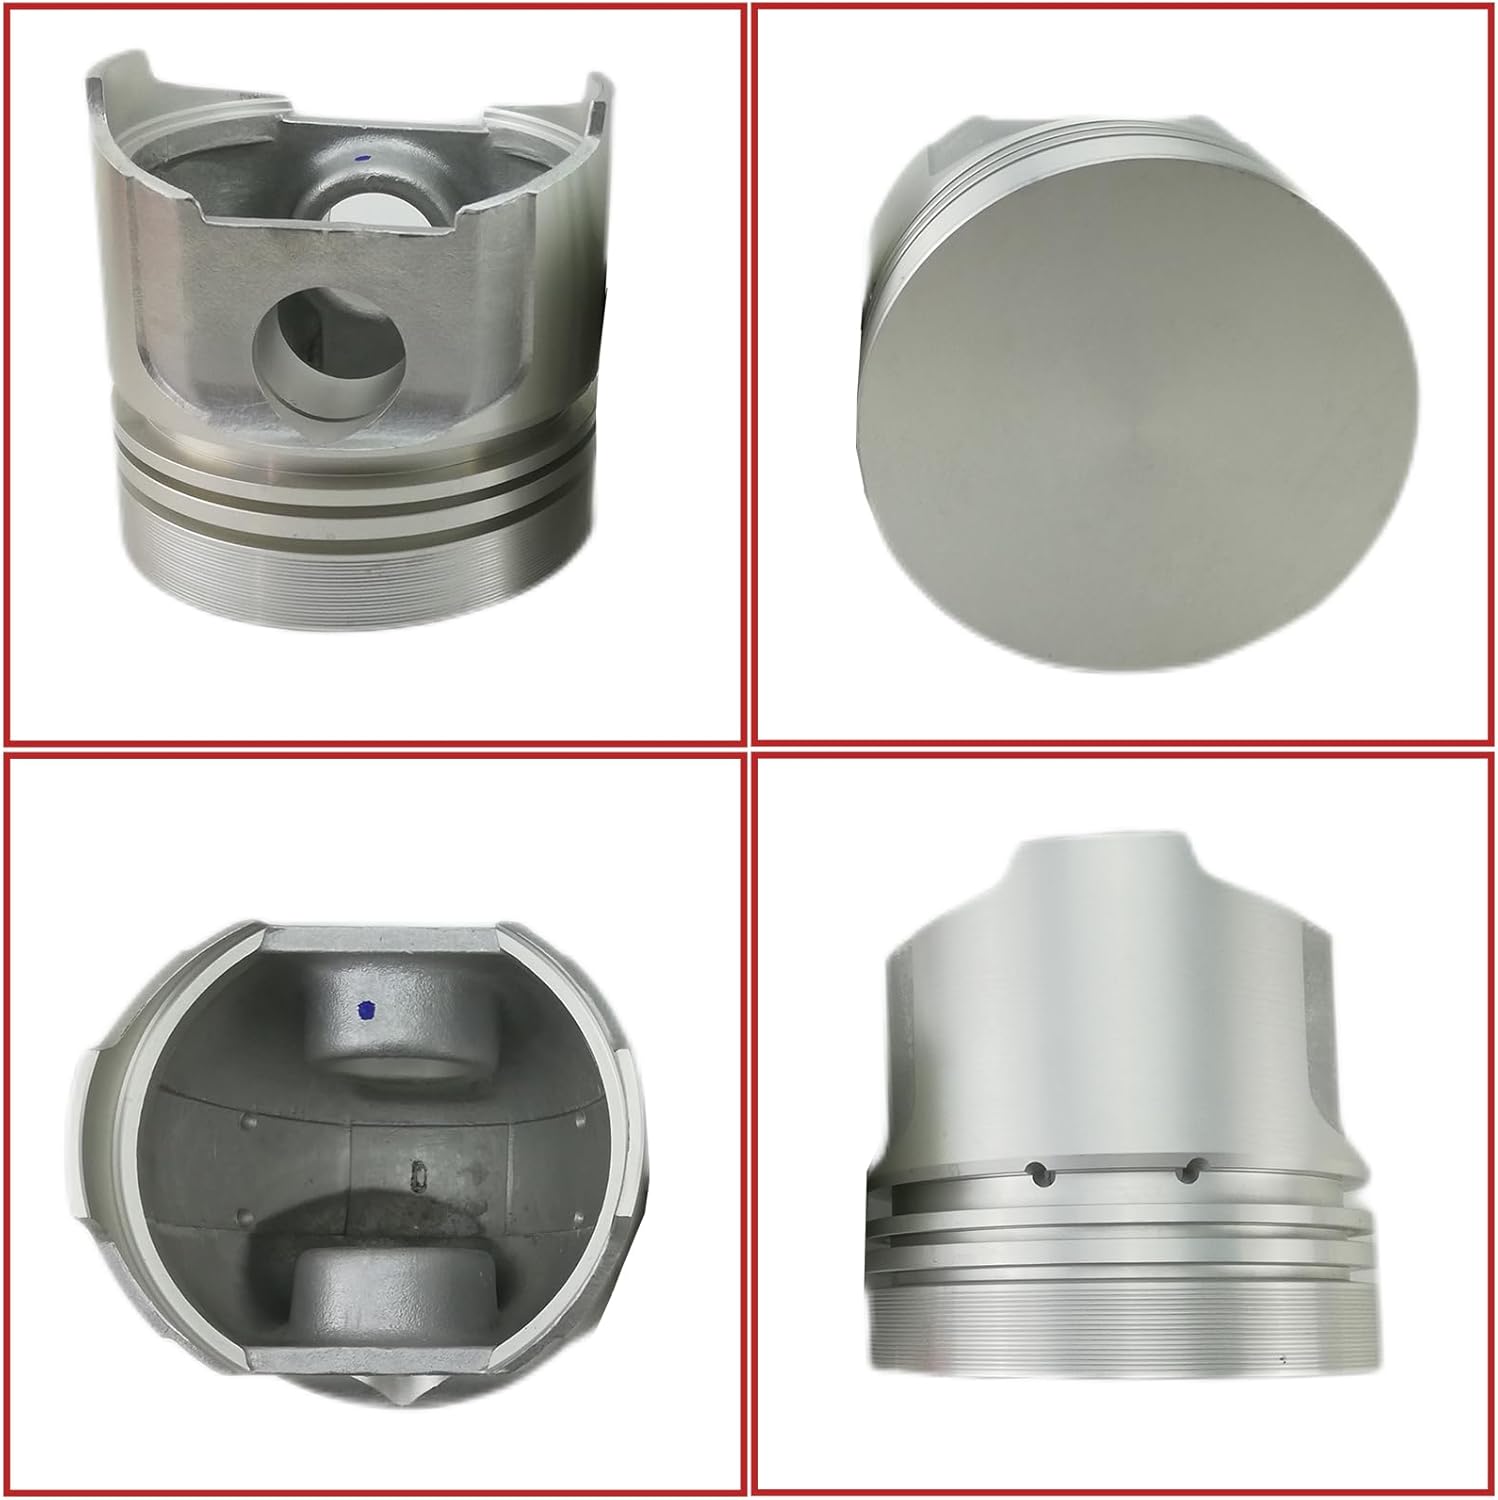
Figure 3: Multiple views of a D1402 piston.

Figure 4: Piston dimensions (Height: 80mm, Diameter: 85mm, Pin Diameter: 23x64mm).

Figure 5: Sets of D1402 piston rings.

Figure 6: Crankshaft, connecting rod, and thrust bearings.

Figure 7: Semi-finished D1402 cylinder liners.

Figure 8: D1402 intake and exhaust valves, valve guides, and valve seats.
3. Important Notes and Warnings
- Professional Installation Recommended: This kit does not include detailed installation instructions. Professional installation by a qualified mechanic is strongly recommended to ensure proper assembly and engine function.
- Cylinder Liner Processing: The cylinder liners provided are semi-finished products. They require processing (e.g., boring and honing) after installation into the engine block to achieve the correct fit and surface finish for optimal piston ring sealing.
- Part Verification: Before installation, carefully compare all received parts with your original engine components and the provided specifications. If you are unsure about compatibility, provide the engine nameplate photo or original part numbers to the seller for confirmation.
- Standard Sizes: The piston rings, crankshaft bearings, connecting rod bearings, and thrust washers are supplied in standard (STD) sizes. If your engine requires oversized or undersized components, please contact the seller before purchase or installation.
- Visual Deviations: While efforts are made to ensure accuracy, the actual appearance of some items in the kit may have minor deviations from product images. Refer to the physical objects received.
4. Setup and Installation
The installation of an engine overhaul kit is a complex procedure that requires specialized tools, knowledge, and experience. The following is a general overview and not a substitute for a professional service manual or certified mechanic.
4.1 Pre-Installation Steps
- Engine Disassembly: Carefully disassemble the engine, documenting the removal of all components.
- Cleaning and Inspection: Thoroughly clean all engine components, including the block, crankshaft, connecting rods, and cylinder head. Inspect for wear, cracks, or damage.
- Cylinder Liner Preparation: Install the semi-finished cylinder liners into the engine block. These liners must be bored and honed to the precise internal diameter (85mm) to ensure proper piston fit and ring sealing. This step is critical for engine longevity and performance.
- Component Measurement: Measure all new and existing components (pistons, rings, bearings, crankshaft journals, connecting rod bores) to ensure they meet specifications and clearances.
4.2 Assembly Procedure (General)
Follow the specific service manual for your Kubota D1402 engine for detailed torque specifications and assembly sequences. General steps include:
- Install crankshaft and main bearings, ensuring proper clearances.
- Assemble pistons with piston pins and clips, then install piston rings onto the pistons.
- Install connecting rod bearings into connecting rods.
- Install piston and connecting rod assemblies into the cylinder liners, carefully compressing the piston rings.
- Attach connecting rods to the crankshaft, torquing to specifications.
- Install the cylinder head with the new head gasket, following the correct torque sequence.
- Install valves, valve seats, and valve guides into the cylinder head, ensuring proper valve lash adjustment.
- Install all remaining gaskets and seals during reassembly of engine accessories.
5. Operating After Rebuild
After a complete engine overhaul, a proper break-in procedure is essential to ensure the longevity and optimal performance of the engine. Consult your engine's service manual for specific break-in recommendations. Generally, this involves:
- Initial Start-up: Ensure adequate lubrication and coolant levels before starting. Monitor oil pressure and temperature closely.
- Varying RPMs: Avoid prolonged idling or constant high RPMs during the initial hours of operation. Vary engine speed to help piston rings seat properly.
- Load Management: Gradually increase engine load over the break-in period. Avoid heavy loads initially.
- Oil Changes: Perform an initial oil and filter change after the first few hours of operation to remove any assembly debris.
6. Maintenance
Regular maintenance is crucial for the continued reliable operation of your Kubota D1402 engine after a rebuild. Refer to your tractor's owner's manual for specific maintenance schedules.
- Oil and Filter Changes: Adhere to recommended intervals for oil and filter replacement using the specified oil type.
- Coolant System: Regularly check coolant levels and condition. Flush and replace coolant as per manufacturer guidelines.
- Air Filter: Inspect and clean or replace the air filter regularly, especially in dusty conditions.
- Fuel System: Ensure fuel filters are clean and free of contaminants.
- Valve Clearance: Periodically check and adjust valve clearances as specified by the engine manufacturer.
7. Troubleshooting
If you encounter issues after an engine rebuild, consider the following general troubleshooting steps. For complex problems, consult a professional mechanic.
- Low Oil Pressure: Check oil level, oil pump function, bearing clearances, and oil passages for obstructions.
- Engine Overheating: Verify coolant level, radiator condition, thermostat function, water pump operation, and proper head gasket installation.
- Excessive Smoke: Blue smoke may indicate oil burning (piston rings, valve seals). Black smoke may indicate rich fuel mixture. White smoke may indicate coolant burning.
- Unusual Noises: Tapping, knocking, or rattling sounds can indicate issues with valve train components, bearings, or piston slap.
- Loss of Power: Check fuel delivery, air intake, compression, and timing.
8. Specifications
| Component | Specification | Part Number(s) |
|---|---|---|
| Engine Model | Kubota D1402 | N/A |
| Full Gasket Kit | Standard | 15814-03310, 07916-29635 |
| Piston Diameter | 85mm | 15521-21110, 19274-21110, 19439-21110 |
| Piston Height | 80mm | |
| Piston Pin Diameter | 23x64mm | |
| Cylinder Liner TL | 150mm | 15521-02310 |
| Cylinder Liner ID | 85mm | |
| Cylinder Liner OD | 90.8mm | |
| Piston Ring Sizes | 2.5x2.0x5.0mm (Standard) | |
| Bearings | Crankshaft, Connecting Rod, Thrust (Standard) |
9. Support
For any questions regarding the Seapple D1402 Engine Overhaul Rebuild Kit, including part compatibility, alternative sizes, or technical assistance, please contact the seller directly through the platform where the purchase was made. Providing your engine's nameplate details or original part numbers will help expedite support.