
Introduction
Thank you for choosing the VersLife L6 Robot Vacuum Mop. This manual provides essential information for the safe operation, maintenance, and troubleshooting of your device. Please read it thoroughly before use and keep it for future reference.

Image: The VersLife L6 Robot Vacuum Mop, a sleek black circular device, ready for cleaning.
Important Safety Instructions
To reduce the risk of injury or damage, read these safety instructions carefully and keep them handy when setting up, using, and maintaining your robot.
- This appliance can be used by children aged 8 years and above and persons with reduced physical, sensory or mental capabilities or lack of experience and knowledge if they have been given supervision or instruction concerning use of the appliance in a safe way and understand the hazards involved.
- Children should be supervised to ensure that they do not play with the appliance.
- Cleaning and user maintenance shall not be made by children without supervision.
- Use only the power adapter supplied by the manufacturer.
- Do not use the robot in environments with open flames or fragile objects.
- Ensure the charging base is placed on a flat surface against a wall, with no obstacles within 1 meter in front and 0.5 meters on either side.
- Do not immerse the robot or its charging base in water.
- Before cleaning, remove loose cables, small objects, and fragile items from the floor.
Package Contents
Verify that all components are present and in good condition upon unpacking.

Image: All items included in the VersLife L6 Robot Vacuum Mop package, neatly arranged.
- VersLife L6 Robot Vacuum Mop x 1
- Remote Control x 1
- Cleaning Brush x 1
- Charging Base x 1
- HEPA Filter x 2 (1 pre-installed, 1 spare)
- Instruction Manual x 1
- Water Tank x 1
- Side Brushes x 4 (2 pre-installed, 2 spare)
- Mop Cloth x 2
- Power Adapter x 1
- Mop Cloth Holder x 1
Product Diagram
Familiarize yourself with the main components of your VersLife L6 robot.

Image: Top view of the robot, showing the power button and Wi-Fi indicator.

Image: Bottom view of the robot, highlighting the anti-tangle suction port and side brushes.
Key components include the main power button, dustbin, water tank, side brushes, main roller brush (V-shaped anti-tangle design), and charging contacts.
Setup Guide
- Install Side Brushes: Press the side brushes onto the posts at the bottom of the robot until they click into place.
- Place Charging Base: Position the charging base against a wall in an open area. Ensure there are no obstacles within 1 meter (3 feet) in front and 0.5 meters (1.5 feet) on either side. Connect the power adapter to the charging base and plug it into a wall outlet.
- Initial Charge: Place the robot onto the charging base. Ensure the charging contacts on the robot align with those on the base. The indicator light on the robot will show charging status. Fully charge the robot before first use (approximately 4-5 hours).
- Download the App: Search for "Smart Life" in your mobile app store (App Store for iOS or Google Play for Android) and download the application.
- Connect to Wi-Fi:
- Ensure your home Wi-Fi network is 2.4GHz. The robot is not compatible with 5GHz networks.
- Open the Smart Life app and follow the on-screen instructions to add your VersLife L6 robot.
- Press and hold the Wi-Fi button on the robot for 3 seconds until the Wi-Fi indicator light flashes rapidly, indicating pairing mode.
- Complete the connection process in the app.
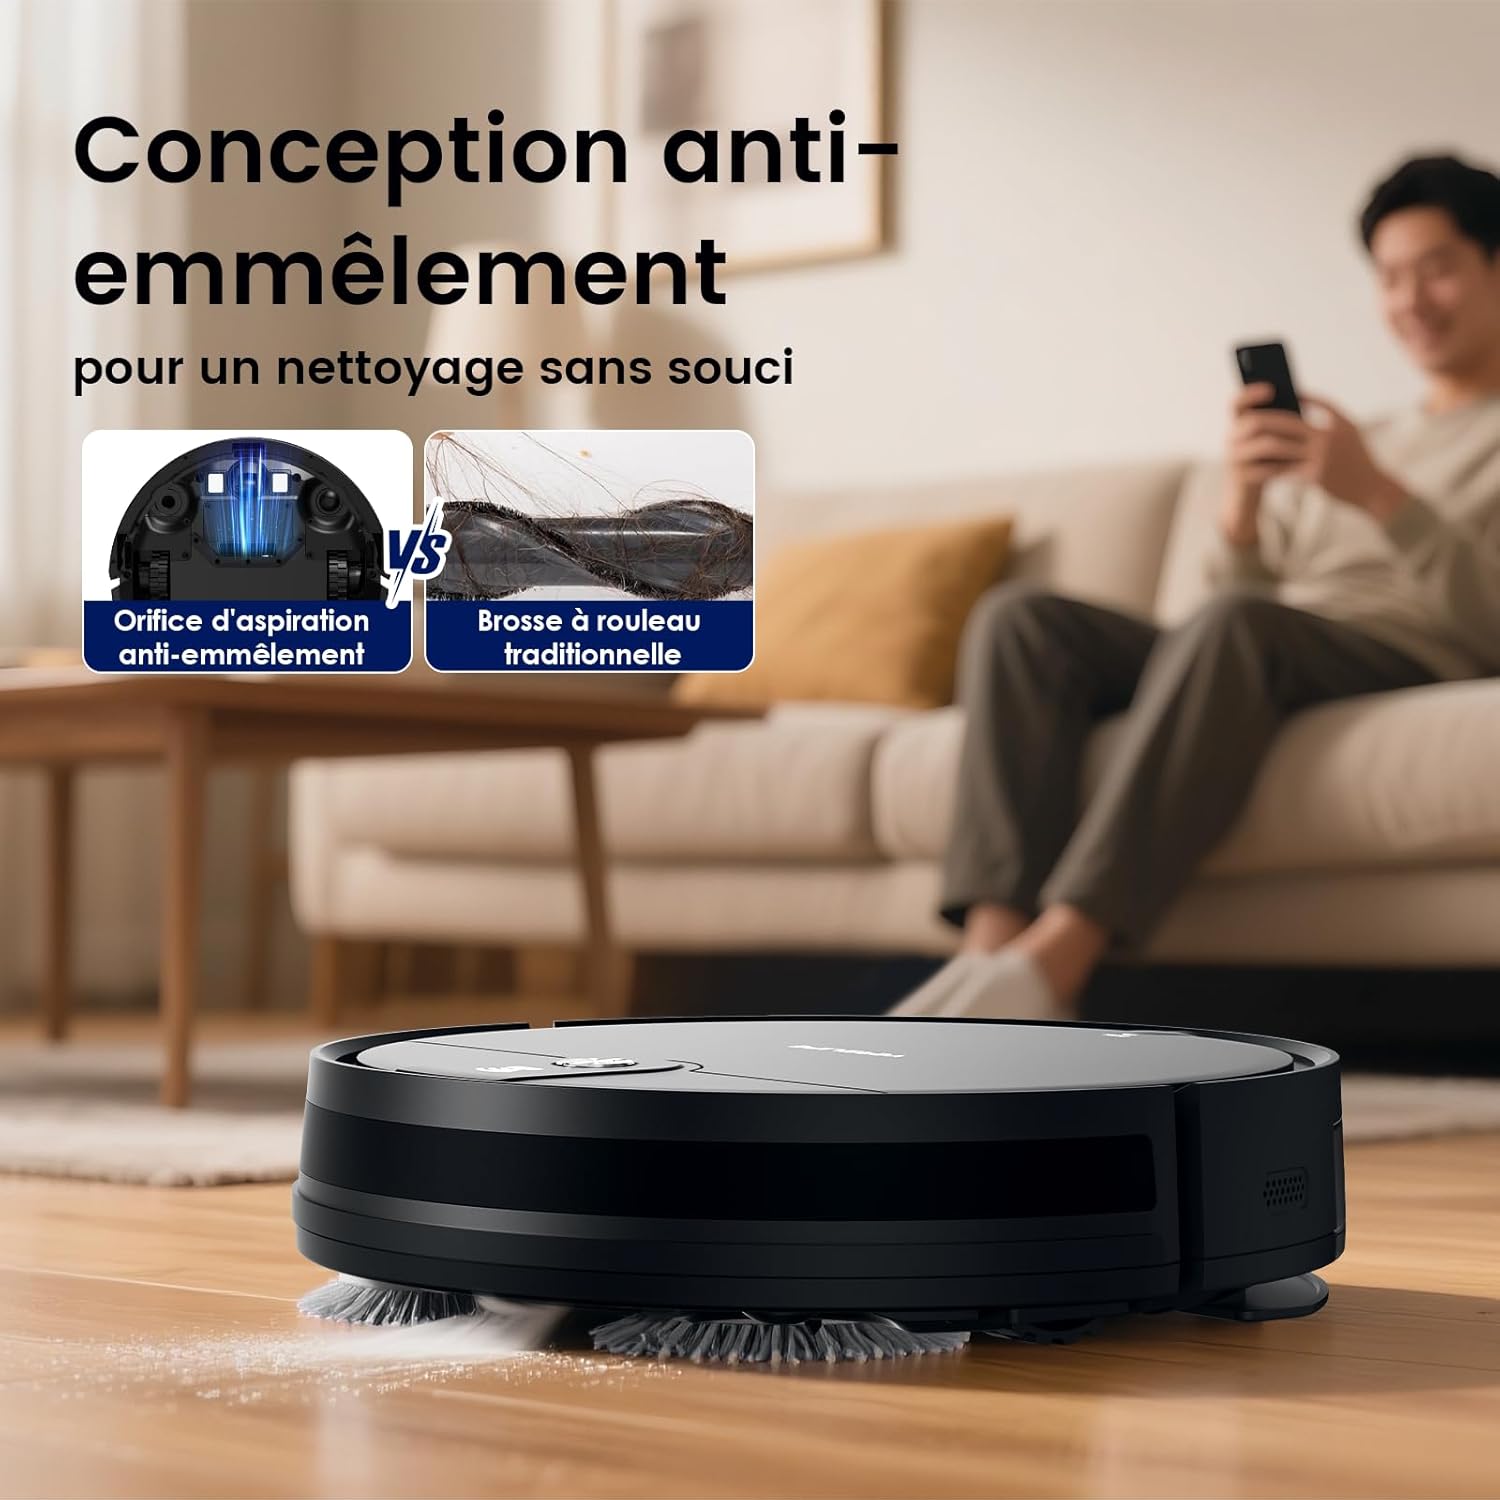
Image: A user interacting with the VersLife L6 robot via the Smart Life app on a smartphone, demonstrating smart control features.
Operating Instructions
Power On/Off
- Power On: Press and hold the power button on the robot for 3 seconds until the indicator light turns on.
- Power Off: Press and hold the power button for 3 seconds while the robot is idle.
Cleaning Modes
The VersLife L6 offers multiple cleaning modes to suit different needs:
- Auto Cleaning: The robot intelligently navigates and cleans your entire floor area.
- Spot Cleaning: Focuses on a specific dirty area, cleaning in a spiral pattern.
- Edge Cleaning: Cleans along walls and furniture edges.
- Manual Control: Use the remote control or app to direct the robot's movement.

Image: Visual representation of the robot performing auto, spot, and edge cleaning modes.
Vacuuming and Mopping (2-in-1 Function)
The L6 can vacuum and mop simultaneously or separately.
- For Mopping: Fill the water tank with clean water. Attach a clean mop cloth to the mop cloth holder and slide it into the robot.
- Adjust Suction Power & Water Flow: Use the Smart Life app or remote control to select from three suction levels (900 Pa, 2100 Pa, 4000 Pa) and three water flow levels. The robot automatically adjusts suction for carpets and hard floors.
Smart Control Options
- Smart Life App: Control cleaning remotely, set schedules, adjust suction/water flow, and monitor cleaning status.
- Voice Control: Compatible with Alexa and Google Assistant for simple voice commands. (Note: Requires 2.4G Wi-Fi).
- Remote Control: Use the included remote for basic functions like starting/stopping, changing modes, and manual direction.
Automatic Recharging
When the battery is low (below 15%) or cleaning is complete, the robot will automatically return to its charging base. Ensure the charging base is accessible.

Image: The robot navigating back to its charging station, illustrating its automatic recharge feature.
Maintenance
Regular maintenance ensures optimal performance and extends the lifespan of your robot.
Dustbin and Filters
- Empty Dustbin: After each use, press the release button to remove the dustbin and empty its contents.
- Clean Filters: Tap the HEPA filter to remove dust. Rinse the primary filter and dustbin with water. Allow them to air dry completely before re-installing. Do not wash the HEPA filter with water.
- Replace Filters: Replace the HEPA filter every 3-6 months, depending on usage.
Side Brushes and Main Brush
- Clean Side Brushes: Remove any hair or debris tangled around the side brushes. Replace them if they are worn or damaged.
- Clean Main Brush (Anti-Tangle Design): The L6 features an anti-tangle V-shaped design. Periodically check the main brush area for any accumulated hair or debris and remove it using the included cleaning tool. This design significantly reduces hair entanglement compared to traditional roller brushes.
Image: A visual comparison showing the VersLife L6's anti-tangle suction port on the left, free of hair, next to a traditional roller brush on the right, heavily entangled with hair.
Water Tank and Mop Cloth
- Empty Water Tank: After mopping, empty any remaining water from the tank.
- Clean Mop Cloth: Remove the mop cloth and wash it thoroughly. Allow it to air dry before reuse.
Sensors and Charging Contacts
- Wipe the cliff sensors, wall sensors, and charging contacts on both the robot and the charging base with a clean, dry cloth.
Troubleshooting
| Problem | Possible Cause | Solution |
|---|---|---|
| Robot does not turn on. | Low battery; Power button not pressed long enough. | Charge the robot fully; Press and hold the power button for 3 seconds. |
| Robot cannot connect to Wi-Fi. | Incorrect Wi-Fi band (5GHz); Incorrect password; Robot too far from router. | Ensure 2.4GHz Wi-Fi; Re-enter password; Move robot closer to router. |
| Robot does not charge. | Charging contacts dirty; Charging base not powered; Robot not properly aligned. | Clean charging contacts; Check power connection; Re-position robot on base. |
| Suction power is weak. | Dustbin full; Filters clogged; Main brush or side brushes tangled. | Empty dustbin; Clean/replace filters; Clean main/side brushes. |
| Robot gets stuck frequently. | Obstacles on floor; Cliff sensors dirty. | Clear floor of cables and small objects; Clean cliff sensors. |
| Water tank leaks. | Water tank not properly installed; Damaged water tank. | Ensure water tank is securely installed; Contact support if damaged. |
Specifications
| Feature | Detail |
|---|---|
| Brand | VersLife |
| Model Number | L6 |
| Suction Power | Up to 4000 Pa (3 levels: 900 Pa, 2100 Pa, 4000 Pa) |
| Battery Capacity | 2600mAh Lithium-ion |
| Battery Life | Up to 120 minutes |
| Dustbin Capacity | 450 ml |
| Water Tank Capacity | 250 ml (Electronic control with 3 flow levels) |
| Filter Type | HEPA |
| Control Methods | Smart Life App, Remote Control, Voice Control (Alexa/Google Assistant) |
| Wi-Fi Compatibility | 2.4GHz only |
| Dimensions (Robot) | Approx. 33 cm (Diameter) x 7.4 cm (Height) |
| Surface Recommendation | Hardwood, Tile, Laminate, Low-pile Carpets |
| Special Features | 2-in-1 Vacuum & Mop, Anti-Tangle V-shaped Brush, Automatic Recharging, Multiple Cleaning Modes |

Image: The VersLife L6 robot vacuum mop cleaning under a sofa, demonstrating its slim 7.4 cm height and quiet operation (55dB).
Warranty and Support
VersLife provides the following for your product:
- Warranty: 24-month after-sales service.
- Customer Support: Quick response within 24 hours.
- For any questions, issues, or warranty claims, please contact VersLife customer service through the platform where you purchased the product or refer to the contact information provided in the included manual.

