
1. Introduction
Thank you for choosing the Sunster 8KW All-in-One Portable Diesel Heater. This manual provides essential information for the safe and efficient operation, installation, and maintenance of your heater. Designed for versatility, this unit offers reliable heating for various applications including vans, RVs, trucks, boats, campers, and garages. Please read this manual thoroughly before use and retain it for future reference.
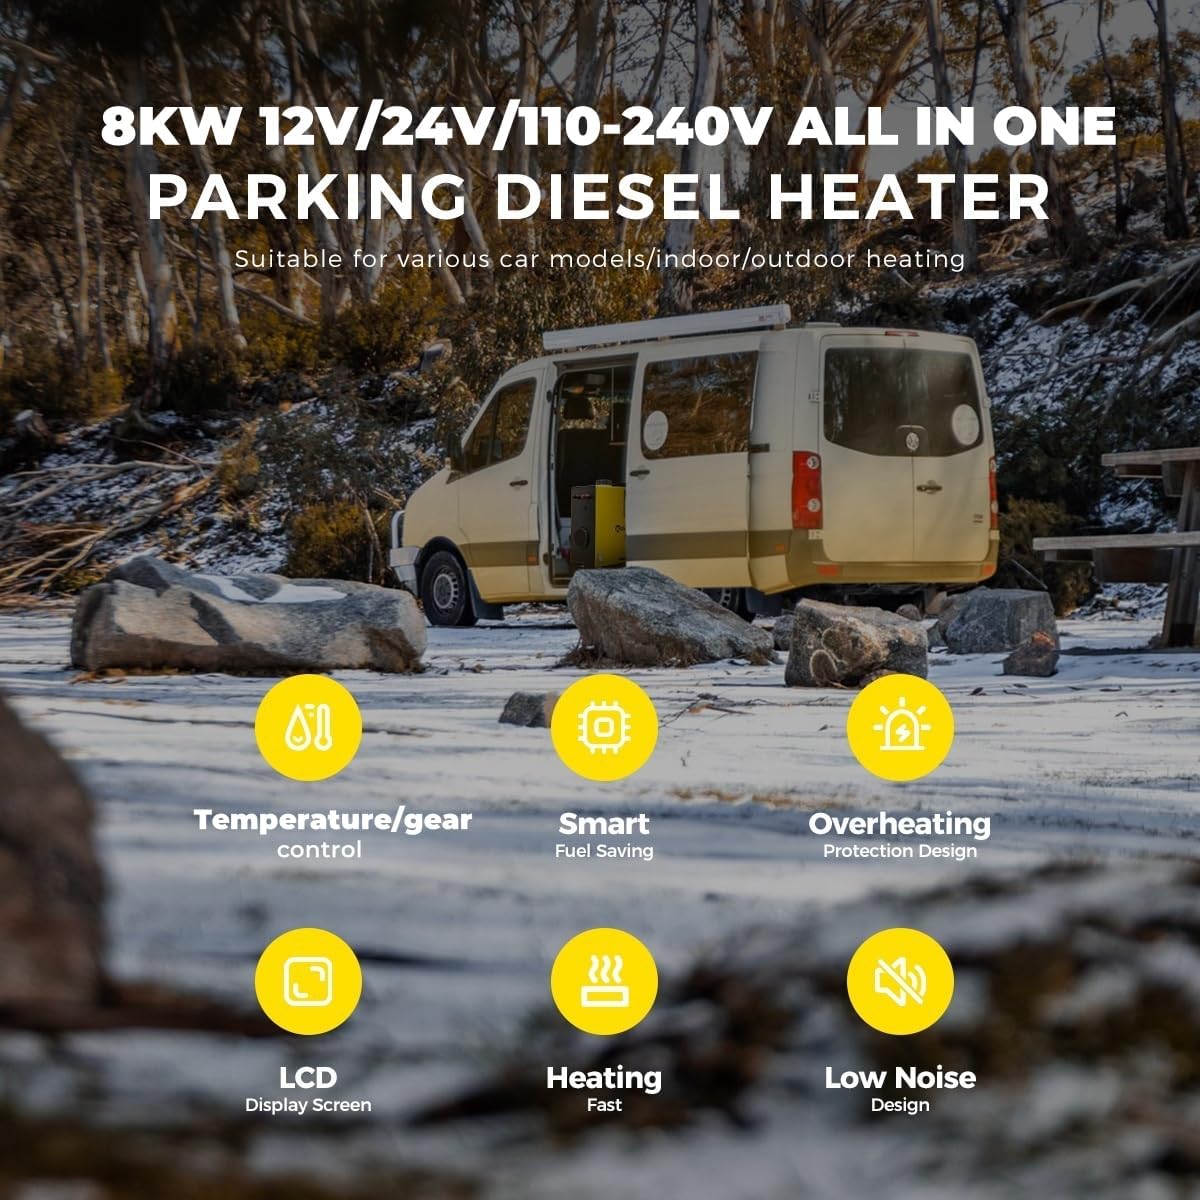
Image 1.1: Sunster 8KW Diesel Heater in an outdoor application.
2. Safety Information
WARNING: Failure to follow these safety instructions may result in fire, explosion, electric shock, or serious injury.
- Exhaust Gas: Always ensure exhaust gases are vented externally and away from occupied spaces. Carbon monoxide is a colorless, odorless gas that can be fatal.
- Professional Installation: It is recommended to have the heater professionally installed, especially for permanent vehicle or marine applications, to ensure proper ventilation and safety.
- Ventilation: Ensure adequate ventilation in the area where the heater is operating to prevent oxygen depletion.
- Fuel Handling: Use only diesel fuel. Do not use gasoline or other volatile fuels. Refuel in a well-ventilated area away from ignition sources.
- Overheating Protection: The heater is equipped with overheating protection (≥ 270 °C). Do not obstruct air inlets or outlets.
- Electrical Safety: Verify correct voltage (12V/24V DC or 110-240V AC) before connecting. Protect against short circuits, overvoltage, and reverse connections.
- Placement: Place the heater on a stable, non-combustible surface. Maintain a safe distance from flammable materials.
- Children and Pets: Keep children and pets away from the operating heater.
- Local Regulations: Always check and comply with local regulations and requirements regarding the use of oil-fueled appliances in your specific location.
3. Package Contents
Carefully unpack the box and ensure all items listed below are present and undamaged. If any parts are missing or damaged, please contact customer support.
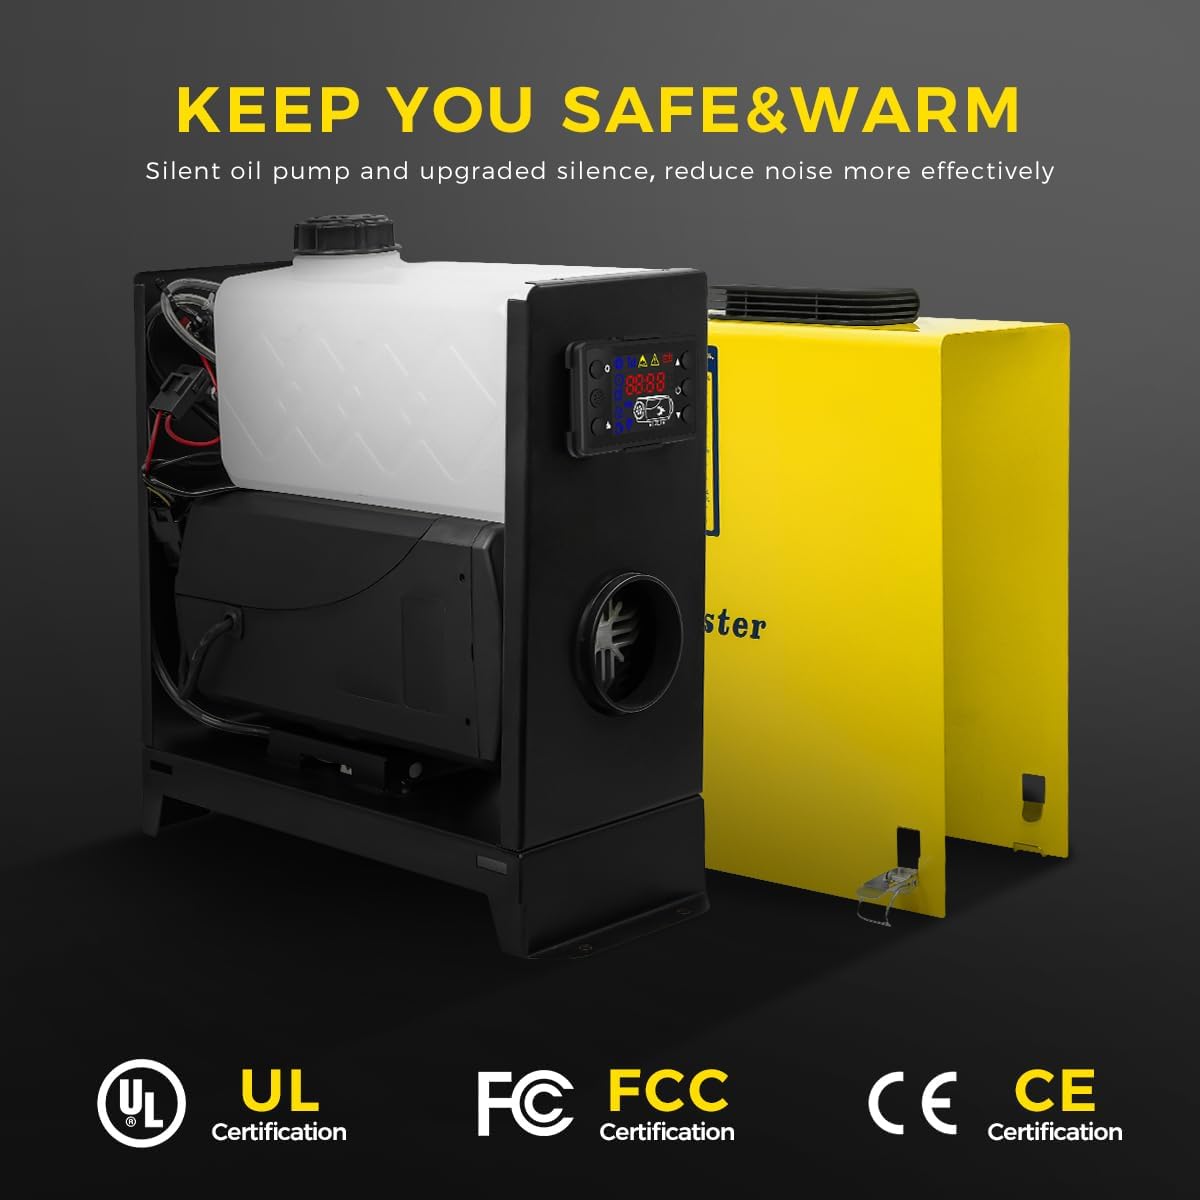
Image 3.1: Included components of the Sunster 8KW Diesel Heater.
- Sunster 8KW All-in-One Portable Diesel Heater Unit
- Remote Control
- LCD Monitor/Control Panel (integrated)
- Air Filter
- Fixed Plate (Mounting Bracket)
- Air Outlet Pipe
- Intake Pipe
- Exhaust Pipe
- User Manual
- Battery Power Cable (for DC connection)
- Fixture Accessories Set (clamps, screws, etc.)
- AC-DC Power Adapter (for 110-240V AC connection)
- Silencer
4. Product Overview
The Sunster 8KW Diesel Heater is an integrated heating solution featuring a compact design and robust construction. It includes a fuel tank, combustion chamber, and control system within a single unit, making it highly portable and easy to deploy.

Image 4.1: Main unit of the Sunster 8KW Diesel Heater.
Key Components:
- Main Unit: Houses the combustion system, heat exchanger, fuel pump, and control board.
- Integrated Fuel Tank: Visible fuel level indicator for easy monitoring.
- LCD Control Panel: Provides real-time status, temperature control, timing functions, and language settings.
- Remote Control: Allows convenient operation from a distance.
- Air Inlet/Outlet: For drawing in cold air and expelling heated air.
- Exhaust Port: For safe expulsion of combustion gases.

Image 4.2: Internal components diagram.
5. Setup
Proper setup is crucial for the safe and effective operation of your diesel heater.
5.1 Placement
- Place the heater on a flat, stable, and non-combustible surface.
- Ensure there is sufficient clearance around the heater for air circulation and to prevent fire hazards.
- Do not place the heater directly on carpet or other flammable materials.
5.2 Exhaust System Installation
IMPORTANT: The exhaust pipe must always be routed outside and away from any occupied space to prevent carbon monoxide poisoning.
- Connect the exhaust pipe to the heater's exhaust port using the provided clamps.
- Route the exhaust pipe securely to the exterior, ensuring it is not obstructed and is positioned where exhaust gases will disperse safely.
- Install the silencer (if desired) onto the exhaust pipe to reduce noise.
5.3 Air Intake and Outlet Pipes
- Connect the intake pipe to the heater's air intake port. This pipe draws in fresh air for combustion.
- Connect the air outlet pipe to the heater's hot air outlet. This pipe directs the heated air into the desired space.
- Ensure both pipes are securely fastened and free from kinks or obstructions.
5.4 Fueling
- Open the fuel tank cap.
- Fill the tank with clean diesel fuel. Do not overfill.
- Securely close the fuel tank cap.
5.5 Power Connection
The heater supports dual power supply options: 12V/24V DC and 110-240V AC.

Image 5.1: Dual power supply options (AC and DC).
- For DC (12V/24V) Operation: Connect the provided battery power cable to the heater's DC input terminals (red to positive, black to negative) and then to your vehicle's battery. The heater automatically switches between 12V and 24V.
- For AC (110-240V) Operation: Connect the provided AC-DC power adapter to the heater's AC input port, then plug the adapter into a standard wall outlet.
6. Operating Instructions
The heater can be controlled via the integrated LCD panel or the remote control.

Image 6.1: LCD Control Panel and Remote Control.
6.1 Starting the Heater
- Ensure all connections (power, fuel, exhaust) are secure.
- Press the power button on the LCD panel or remote control. The display will illuminate.
- The heater will initiate a startup sequence, including pre-heating the glow plug and starting the fuel pump. This may take a few minutes.
- Once combustion is stable, hot air will begin to flow from the air outlet.
6.2 Adjusting Temperature and Power
- Use the 'Up' and 'Down' arrows on the control panel or remote to adjust the desired temperature or heating power (gear regulation).
- The heater will automatically adjust its output to maintain the set temperature.
6.3 Timing Function
The 24-hour timing function allows you to set a specific time for the heater to turn on or off.
- Access the timing settings via the menu on the LCD panel.
- Set the desired ON/OFF times according to the on-screen instructions.
6.4 Language Switching
The LCD control panel supports multiple languages (e.g., German, English, Russian).
- Navigate to the language settings in the LCD menu.
- Select your preferred language.
6.5 Shutting Down the Heater
- Press the power button on the LCD panel or remote control.
- The heater will enter a cool-down cycle to prevent carbon buildup and damage. Do not disconnect power during this cycle.
- Once the cool-down cycle is complete, the heater will power off.
7. Maintenance
Regular maintenance ensures optimal performance and extends the lifespan of your heater.
- General Cleaning: Keep the exterior of the heater clean. Use a soft, damp cloth. Do not use abrasive cleaners or solvents.
- Air Filter: Periodically inspect and clean the air filter. A clogged filter can reduce efficiency and lead to overheating. Replace if damaged.
- Fuel System: Check fuel lines and connections for leaks or damage. Ensure the fuel tank is free of contaminants.
- Exhaust System: Inspect the exhaust pipe for blockages, corrosion, or damage. Ensure it remains securely fastened and properly vented.
- Electrical Connections: Verify all electrical connections are tight and free from corrosion.
- Storage: If storing the heater for an extended period, drain the fuel tank and clean the unit thoroughly. Store in a dry, protected area.
8. Troubleshooting
This section addresses common issues you might encounter. For problems not listed here, please contact customer support.
| Problem | Possible Cause | Solution |
|---|---|---|
| Heater does not start | No power, low fuel, clogged fuel line, faulty glow plug. | Check power connection, refuel, inspect fuel lines, consult professional for glow plug. |
| Low heat output | Clogged air filter, insufficient fuel, exhaust blockage. | Clean/replace air filter, check fuel level, clear exhaust. |
| Excessive smoke | Poor combustion, incorrect fuel-air mixture, faulty fuel pump. | Ensure proper ventilation, check fuel quality, contact support. |
| Unusual noise | Loose components, fan obstruction, fuel pump issue. | Inspect for loose parts, clear obstructions, contact support. |
| Error code on LCD | Specific system fault. | Refer to the heater's internal error code list (if available) or contact customer support with the code. |
9. Specifications
| Feature | Detail |
|---|---|
| Model | 8KW Diesel Heater (L01) |
| Heating Power | 8KW |
| Voltage | 12V/24V DC, 110-240V AC (Auto-switching) |
| Fuel Type | Diesel |
| Fuel Consumption | 0.11-0.48 L/H |
| Operating Temperature Range | 8-36 °C (46.4-96.8 °F) |
| Noise Level | ≤ 75dB |
| Material | Aluminum Alloy Body |
| Item Weight | 20.3 pounds (approx. 9.2 kg) |
| Package Dimensions | 20.72 x 18.52 x 8.23 inches (approx. 52.6 x 47.0 x 20.9 cm) |
| Certifications | CE, WEE, FCC, EAC, UKCA (as per brand information) |
10. Warranty and Support
Sunster products are manufactured with quality and reliability in mind. This product comes with a standard manufacturer's warranty against defects in materials and workmanship under normal use. Please refer to the warranty card included in your package for specific terms and conditions, including the warranty period and claim procedures.
Customer Support:
For technical assistance, troubleshooting, or warranty claims, please contact Sunster customer support. Our dedicated team is available to help you with any questions or concerns regarding your diesel heater.
- Website: Visit the official Sunster website for FAQs and support resources.
- Email: Refer to your product packaging or warranty card for customer service email.
- Phone: Refer to your product packaging or warranty card for customer service phone number.
Please have your model number (L01) and purchase date ready when contacting support.


