
ALLmeter T300
ALLmeter T300 OBD2 Scanner & Battery Tester User Manual
Model: T300 | Brand: ALLmeter
Introduction
This manual provides detailed instructions for the operation and maintenance of your ALLmeter T300 OBD2 Scanner and Battery Tester. This device is designed to diagnose engine fault codes, monitor vehicle performance, and test battery health for a wide range of OBD2 compliant vehicles. Please read this manual thoroughly before using the device to ensure proper and safe operation.
What's in the Box
- Code Reader
- User Manual

Image: The ALLmeter T300 OBD2 Scanner and its accompanying user manual.
Key Features
- 2-in-1 OBD2 Scanner & Battery Tester: Performs engine code diagnostics and comprehensive battery health tests (cranking, charging, load).
- Extensive DTC Library: Access to over 50,000 Diagnostic Trouble Codes with definitions for quick issue identification.
- 2.8" TFT Color Display: High-resolution screen for clear data visualization, even in low-light conditions.
- Full OBDII Modes & Live Data: Supports all 9 OBDII protocols, real-time data streams, O2 sensor tests, EVAP tests (Mode 6 & 8), and I/M readiness.
- Smart Cloud Printing: Generate QR codes for diagnostic reports and print directly via cloud.
- Lifetime Updates: Free firmware updates via Type-C cable to ensure current vehicle coverage.
- Multi-language Support: Supports 13 languages including English, Spanish, French, German, Italian, Russian, Portuguese, Polish, Dutch, Japanese, Thai, Turkish, and Indonesian.

Image: Icons representing the comprehensive features of the ALLmeter T300 OBD2 Scanner, including reading/erasing codes, live data, O2 sensor test, and battery test.
Setup
- Locate the OBD2 Port: The OBD2 port is typically located under the dashboard on the driver's side of the vehicle. Refer to your vehicle's manual if you cannot locate it.
- Connect the Scanner: Plug the scanner's OBD2 connector firmly into the vehicle's OBD2 port. The scanner will power on automatically.
- Turn On Ignition: Turn the vehicle's ignition to the "ON" position (engine off).
- Select OBD Function: On the scanner's main menu, use the navigation buttons to select "OBD" and press the "OK" button. The scanner will establish communication with the vehicle.
Video: Demonstrates connecting the ALLmeter OBD2 Scanner to a vehicle's OBD2 port and navigating to the main menu to read codes. This video shows the initial setup and basic diagnostic process.
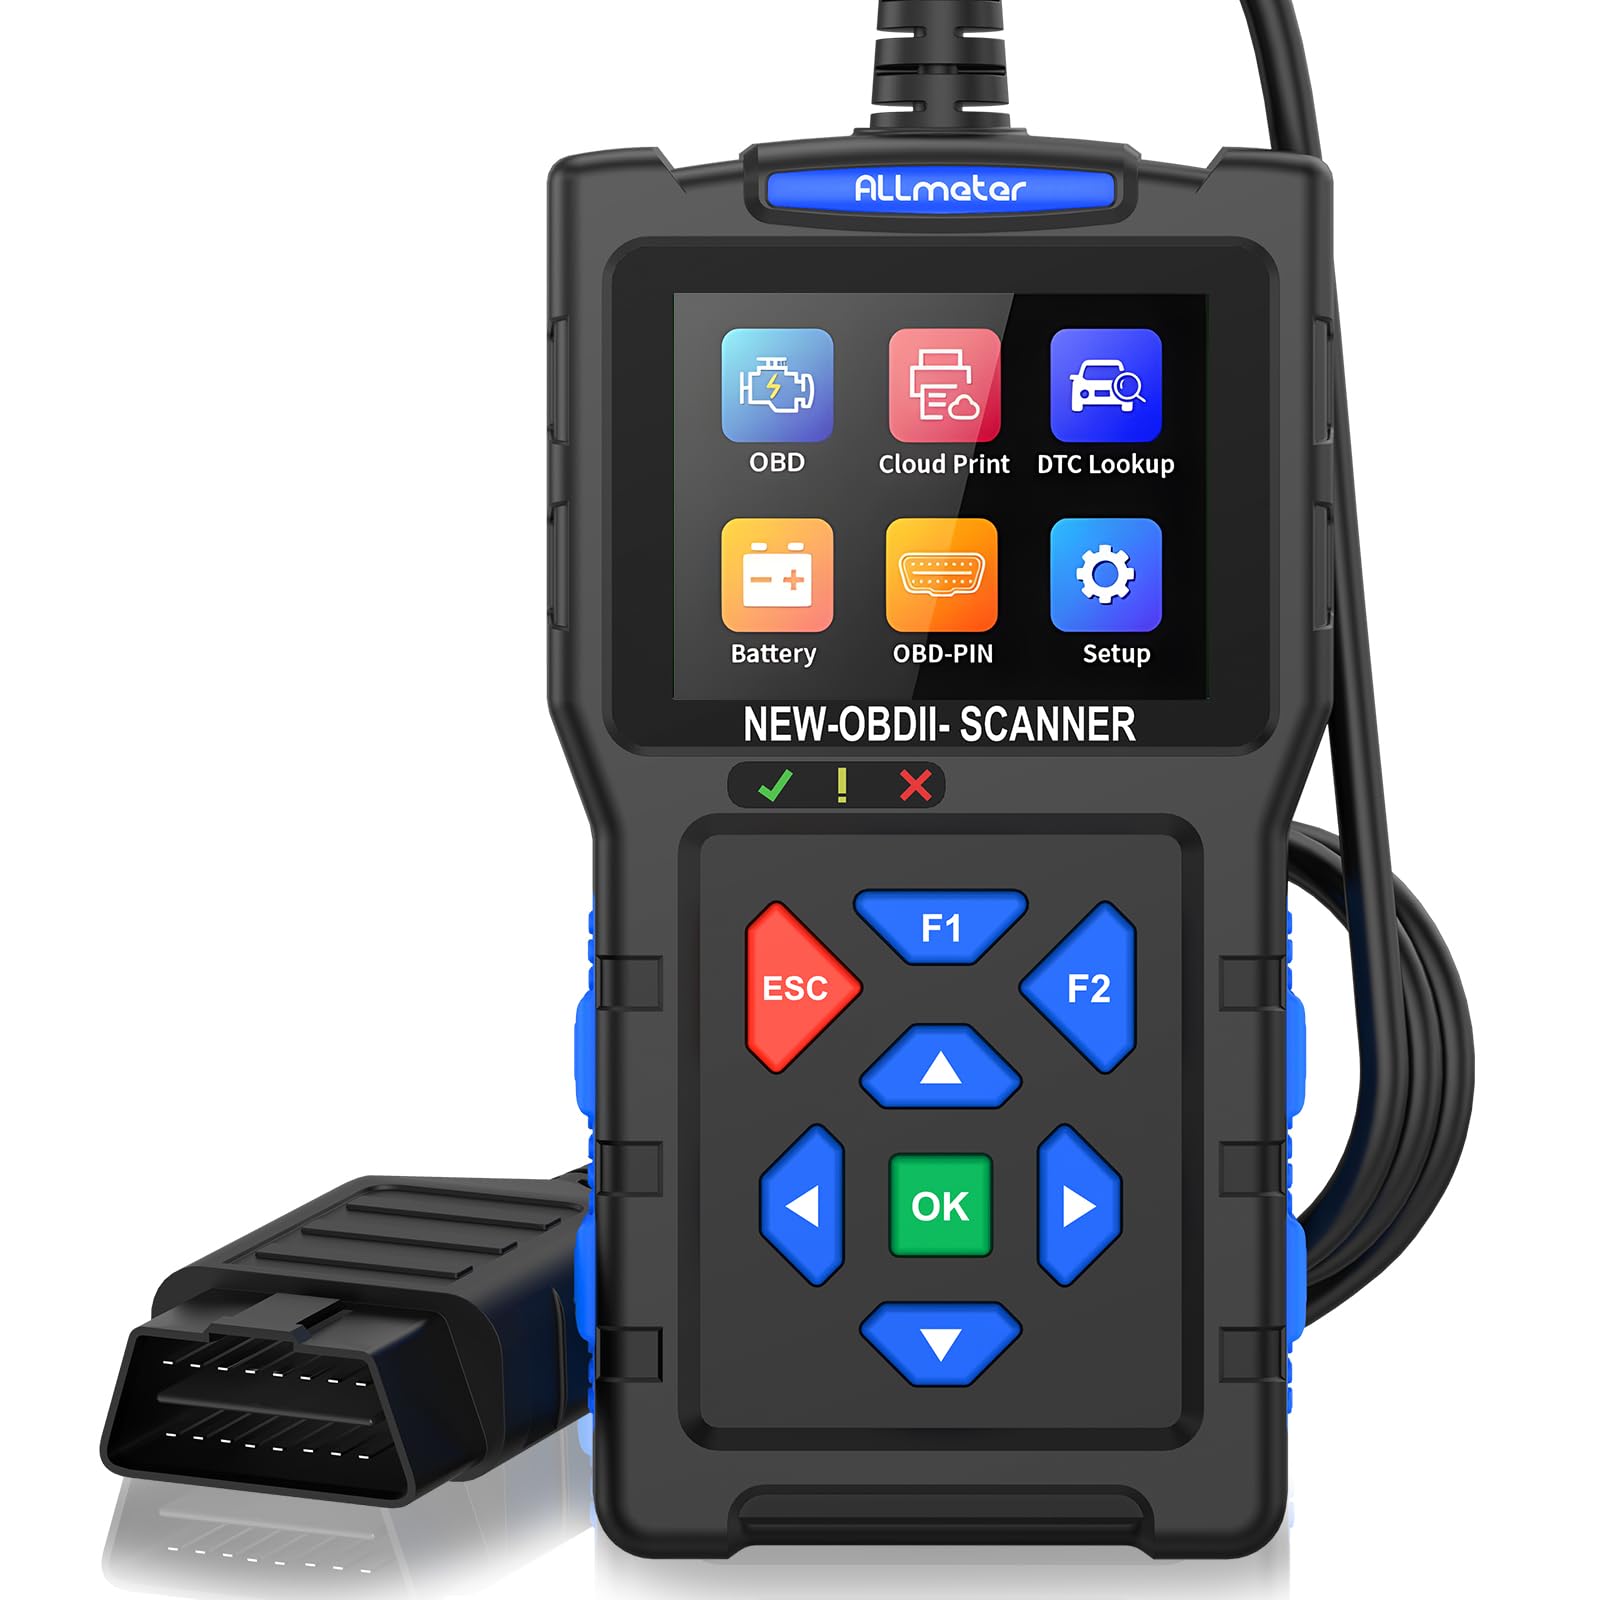
Image: The ALLmeter T300 OBD2 Scanner connected to a vehicle's diagnostic port, displaying its main menu.
Operating the ALLmeter T300 OBD2 Scanner
1. Reading and Clearing Diagnostic Trouble Codes (DTCs)
After establishing communication with the vehicle:
- Select "Read DTC" from the OBD menu to view current, pending, and permanent codes.
- To clear codes, select "Clear DTC" from the OBD menu. Confirm the action when prompted. This will turn off the Check Engine Light.

Image: The ALLmeter T300 OBD2 Scanner displaying options to "Read Codes" and "Erase Codes" to manage diagnostic trouble codes.
2. Live Data Stream
View real-time operational parameters of the vehicle's engine. This includes RPM, vehicle speed, coolant temperature, O2 sensor readings, and more. This data can be displayed in numerical or graphical format.

Image: The ALLmeter T300 OBD2 Scanner showing multiple test functions, including I/M readiness, live data stream, and wave test for various vehicle parameters.
3. I/M Readiness Status
Check the status of emission-related monitoring systems to determine if the vehicle is ready for an emissions test. A green checkmark indicates the monitor has completed its diagnostic cycle.

Image: The ALLmeter T300 OBD2 Scanner displaying the I/M Readiness status, indicating whether the vehicle's emission systems are ready for testing.
4. O2 Sensor Test
Retrieves O2 sensor monitoring test results for the most recently completed tests from the vehicle's on-board computer. This helps in diagnosing fuel efficiency and emission issues.
5. EVAP System Test (Mode 8)
Initiates a leak test for the vehicle's Evaporative Emission Control System (EVAP). This test checks for leaks in the fuel tank and lines.
6. Battery Test
The ALLmeter T300 includes a dedicated battery diagnostic mode. Perform cranking, charging, and load tests to assess the health of your vehicle's 12V/24V battery and electrical system.

Image: The ALLmeter T300 OBD2 Scanner displaying various battery test results, including startup, charging, and load tests, to assess battery health.
7. DTC Lookup
The scanner features a built-in library of over 50,000 DTCs. Enter a code to get a detailed description, helping you understand the issue without needing external resources.

Image: The ALLmeter T300 OBD2 Scanner's screen showing the DTC Lookup function and the Cloud Print feature, which generates a QR code for diagnostic reports.
For a comprehensive DTC database, visit: DTC Database
8. Cloud Print Function
Generate unique QR codes for your diagnostic reports directly from the scanner. Scan the QR code with your smartphone to view and print the report, simplifying record-keeping.
Maintenance
- Cleaning: Use a soft, damp cloth to clean the scanner's exterior. Do not use abrasive cleaners or solvents.
- Storage: Store the device in a dry, cool environment away from direct sunlight and extreme temperatures.
- Firmware Updates: Regularly check for and install firmware updates via the Type-C cable to ensure optimal performance and compatibility with new vehicle models.
Troubleshooting
- No Power/No Communication:
- Ensure the OBD2 connector is securely plugged into the vehicle's port.
- Verify the vehicle's ignition is in the "ON" position.
- Check the vehicle's fuse for the OBD2 port (consult your vehicle's manual).
- Error Message "No Fault Codes Detected":
- This indicates that the vehicle's ECU has not stored any active diagnostic trouble codes. The Check Engine Light may be off, or the issue might be intermittent.
- Screen Freezes or Malfunctions:
- Disconnect the scanner from the vehicle and reconnect it.
- If the issue persists, perform a firmware update.
Specifications
| Brand | ALLmeter |
| Model Number | T300 (OBD2 Diagnosegerät) |
| Display | 2.8" Color TFT Screen |
| Supported Protocols | ISO9141-2, SAE J1850 PWM, SAE J1850 VPW, ISO14230-4 KWP (5 baud init), ISO14230-4 KWP (fast init), ISO15765-4 CAN (11bit ID, 500 Kbaud), ISO15765-4 CAN (29bit ID, 500 Kbaud), ISO15765-4 CAN (11bit ID, 250 Kbaud), ISO15765-4 CAN (29bit ID, 250 Kbaud) |
| DTC Library | 50,000+ codes |
| Operating Voltage | 8-30V (from vehicle OBD2 port) |
| Item Weight | 264 Grams |
| Included Components | Code Reader, User Manual |
Warranty and Support
The ALLmeter T300 OBD2 Scanner comes with an 18-month manufacturer's warranty. For technical support, troubleshooting assistance, or warranty claims, please contact ALLmeter customer service through their official channels or the retailer where the product was purchased. Ensure you have your product model number and purchase details available.
Ask a question about this manual
Ask about setup, troubleshooting, compatibility, parts, safety, or missing instructions. Manuals+ will review the question and use this page’s manual context to help answer it.