
ArcticPro AD24EF2
ArcticPro 24-inch 144Hz FHD IPS Computer Monitor User Manual
Model: AD24EF2
Brand: ArcticPro
1. Introduction
Welcome to the ArcticPro 24-inch 144Hz FHD IPS Computer Monitor user manual. This guide provides essential information for setting up, operating, maintaining, and troubleshooting your new monitor. Please read this manual thoroughly before using the product to ensure proper functionality and safety.
2. Safety Information
To ensure safe operation and prevent damage, please observe the following safety precautions:
- Do not expose the monitor to rain, moisture, or extreme temperatures.
- Avoid placing the monitor near heat sources or in direct sunlight.
- Use only the power adapter supplied with the monitor.
- Do not block ventilation openings.
- Disconnect the power cable from the outlet before cleaning.
- Do not attempt to service the monitor yourself. Refer all servicing to qualified personnel.
3. Package Contents
Please check the package contents to ensure all items are present:
- ArcticPro 24-inch Monitor
- Monitor Stand (Base and Neck)
- Power Adapter
- HDMI Cable
- User Manual
4. Monitor Overview
Familiarize yourself with the monitor's components and ports.

Front view of the ArcticPro 24-inch monitor, showcasing its slim bezels and the ArcticPro logo. Key features like 144Hz refresh rate, 1ms response time, FHD 1920x1080p resolution, IPS panel, 99% sRGB, Adaptive Sync, narrow border, and anti-blue light are indicated.
Ports and Buttons
The monitor features various ports for connectivity and buttons for OSD menu navigation. Typically, these are located on the rear or bottom edge of the monitor.
- Power Input: Connects to the power adapter.
- HDMI Port: For connecting to devices via HDMI cable.
- DisplayPort (DP): For connecting to devices via DisplayPort cable.
- Control Buttons: Used to navigate the On-Screen Display (OSD) menu.
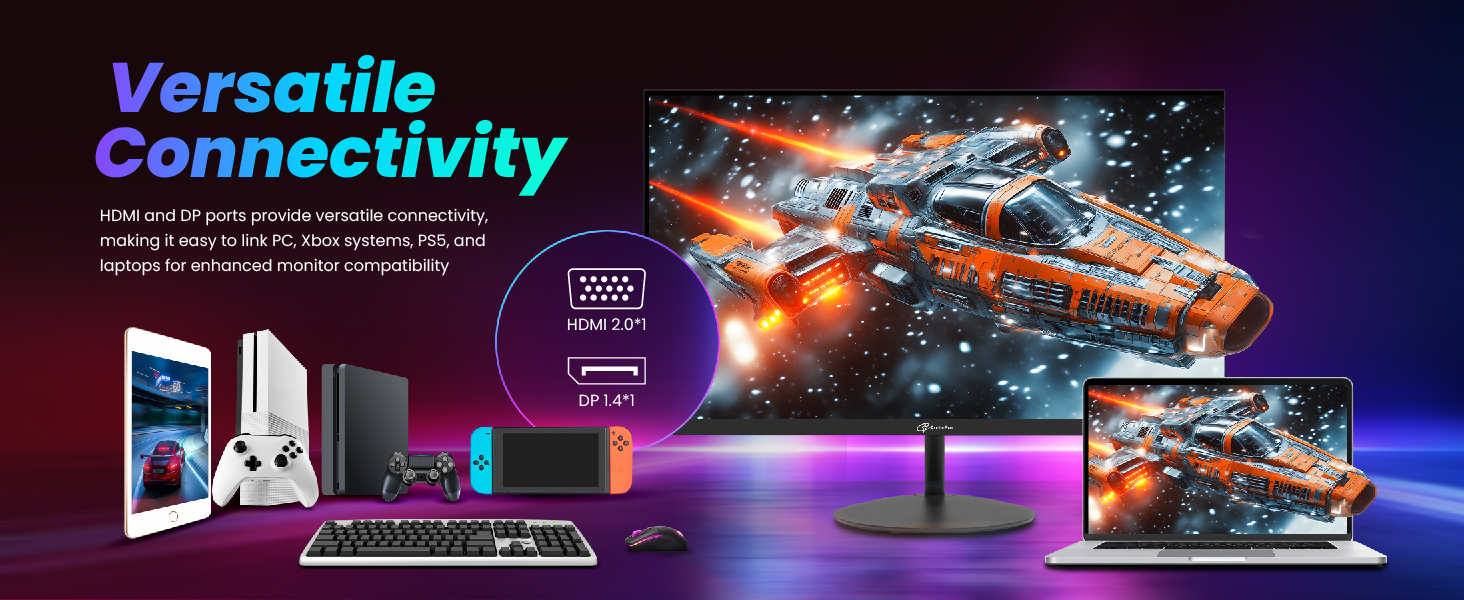
An illustration showing the versatile connectivity options of the monitor, including HDMI and DisplayPort, compatible with PCs, Xbox systems, PS5, Nintendo Switch, and laptops.
5. Setup
5.1 Stand Assembly
- Carefully remove the monitor from its packaging, keeping it protected on a soft surface.
- Attach the stand neck to the monitor panel.
- Secure the stand base to the stand neck. Ensure all screws are tightened.
5.2 VESA Mounting
The monitor supports a 75x75mm VESA mount pattern, allowing for alternative mounting solutions (e.g., wall mount, monitor arm). To use a VESA mount:
- Remove the stand if it is already attached.
- Attach your VESA-compatible mount to the four screw holes on the back of the monitor.
- Ensure the mount is securely fastened.
5.3 Connecting to a Computer
Connect the monitor to your computer using either an HDMI or DisplayPort cable.
- HDMI Connection: Connect one end of the HDMI cable to the HDMI port on your monitor and the other end to the HDMI port on your computer.
- DisplayPort Connection: Connect one end of the DisplayPort cable to the DP port on your monitor and the other end to the DP port on your computer.
5.4 Power Connection
Connect the power adapter to the monitor's power input, then plug the power adapter into a wall outlet.
6. Operation
6.1 Power On/Off
Press the power button, usually located on the bottom or rear of the monitor, to turn the monitor on or off. The power indicator light will illuminate when the monitor is on.
6.2 On-Screen Display (OSD) Menu Navigation
Use the control buttons on the monitor to access and navigate the OSD menu. The specific button layout may vary, but typically includes buttons for menu access, navigation (up/down/left/right), and selection.
6.3 Picture Settings
Adjust display characteristics to your preference:
- Brightness: Controls the overall luminance of the screen.
- Contrast: Adjusts the difference between light and dark areas.
- Color Temperature: Selects preset color temperatures (e.g., Warm, Cool, User) or customizes RGB values.
- Gamma: Adjusts the tone response curve of the display.
6.4 Display Settings
Optimize your viewing experience with these settings:
- Resolution: Ensure your computer's display settings match the monitor's native resolution of 1920x1080p for the clearest image.
- Refresh Rate: Set your computer's refresh rate to 144Hz for smoother motion.
- Adaptive Sync: Enable Adaptive Sync in the OSD menu and your graphics card settings to eliminate screen tearing and stuttering.
- IPS Panel: The IPS (In-Plane Switching) panel technology provides wide viewing angles and consistent color reproduction.

An image comparing the clarity of Full HD 1080p resolution on the left with a less detailed 720p resolution on the right, highlighting the superior image quality of 1080p.
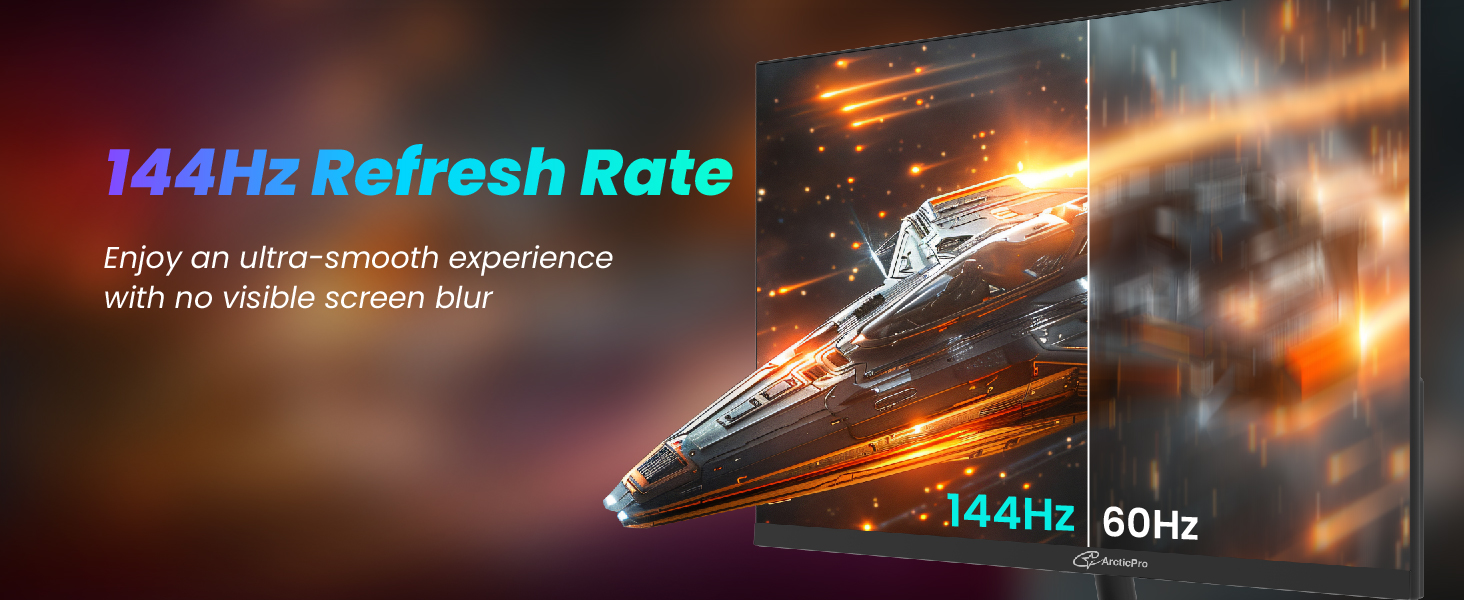
An image illustrating the difference between a 144Hz refresh rate (left) and a 60Hz refresh rate (right), showing significantly smoother motion with 144Hz.
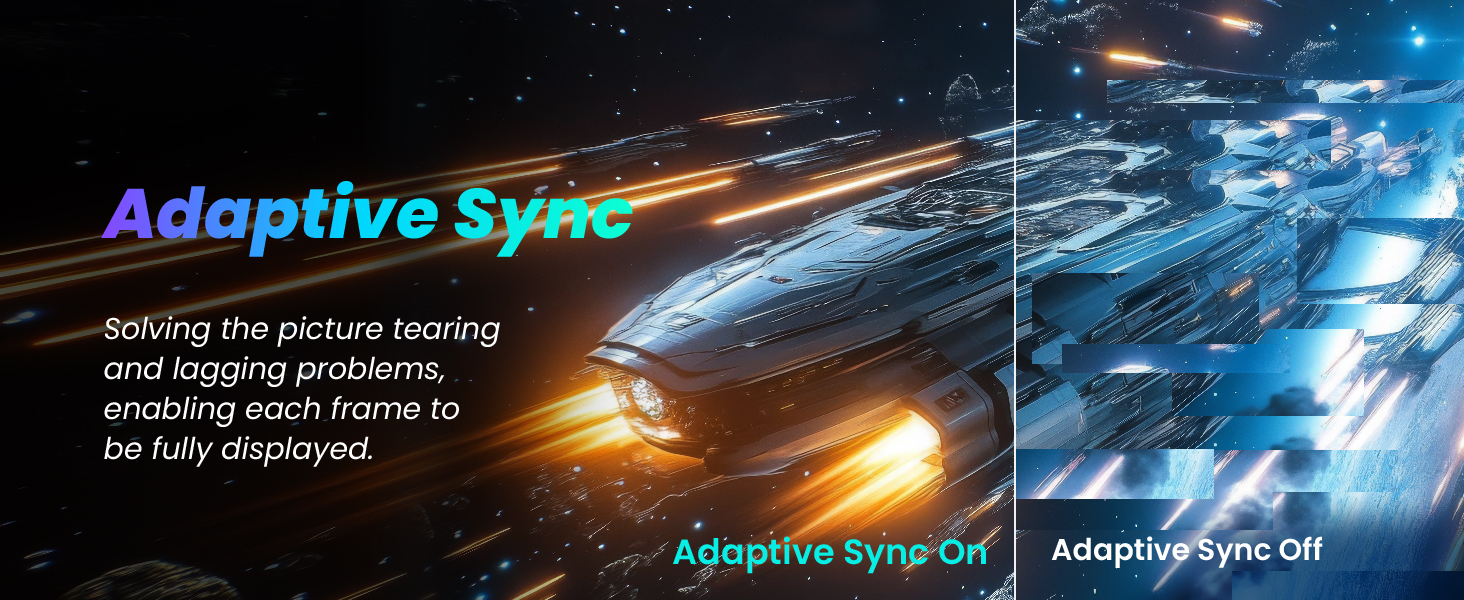
A visual comparison demonstrating how Adaptive Sync (ON) effectively solves picture lagging and tearing problems, ensuring each frame is fully displayed, compared to when it is OFF.
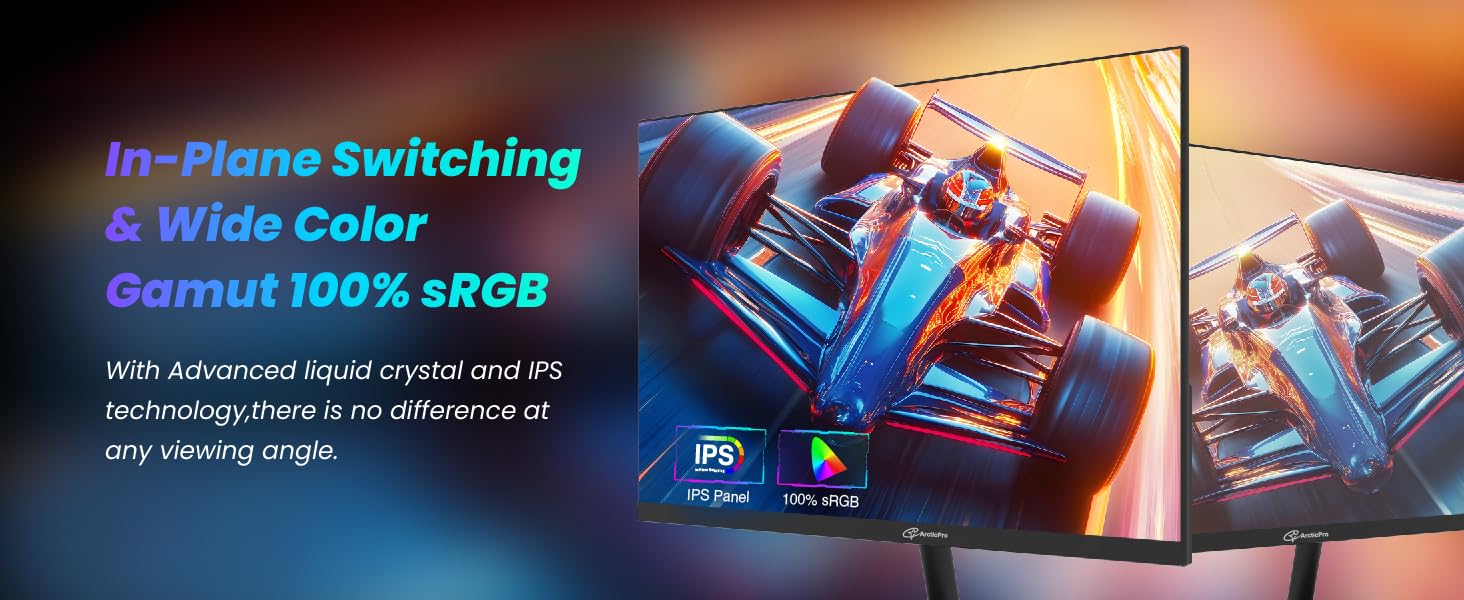
An image highlighting the benefits of In-Plane Switching (IPS) technology and wide color gamut (100% sRGB), ensuring no color distortion from any viewing angle.
6.5 Eye Care Features
The monitor includes features designed to reduce eye strain:
- Anti-Blue Light Design: Reduces harmful blue light emissions.
- Flicker-Free Technology: Eliminates screen flickering for comfortable viewing.
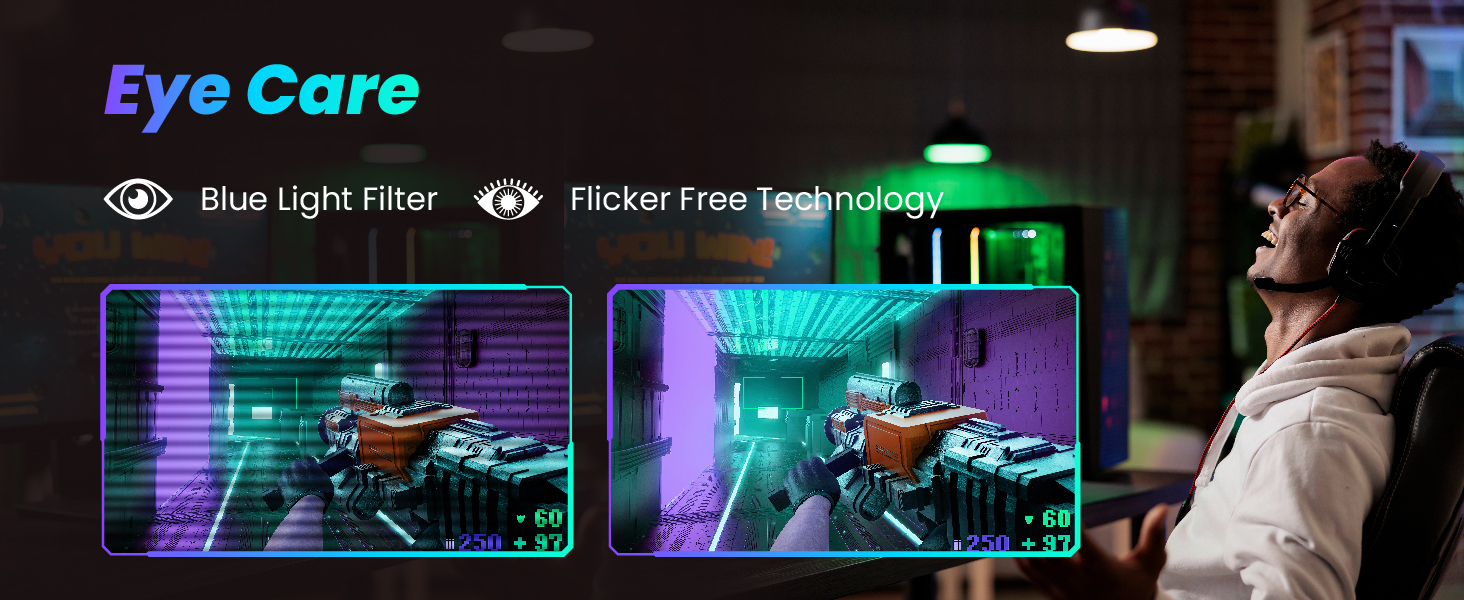
A visual representation of the monitor's Eye Care features, including a Blue Light Filter and Flicker-Free Technology, designed to reduce eye strain during extended use.
7. Maintenance
7.1 Cleaning the Screen
To clean the monitor screen:
- Turn off the monitor and unplug the power cord.
- Gently wipe the screen with a soft, lint-free cloth.
- For stubborn marks, lightly dampen the cloth with water or a screen-cleaning solution (do not spray directly onto the screen).
- Avoid using abrasive cleaners, alcohol, or ammonia-based solutions.
7.2 General Care
- Keep the monitor in a clean, dry environment.
- Avoid placing heavy objects on the monitor or its cables.
- Do not expose the monitor to sudden temperature changes.
8. Troubleshooting
If you encounter issues with your monitor, refer to the following common problems and solutions:
| Problem | Possible Solution |
|---|---|
| No image on screen |
|
| Image flickering or unstable |
|
| Colors appear incorrect |
|
| Adaptive Sync not working |
|
9. Specifications
Detailed technical specifications for the ArcticPro 24-inch Monitor (Model AD24EF2):
| Feature | Specification |
|---|---|
| Screen Size | 24 Inches |
| Panel Type | IPS |
| Resolution | 1920 x 1080 (FHD 1080p) |
| Refresh Rate | 144Hz |
| Response Time | 1ms (MPRT) |
| Aspect Ratio | 16:9 |
| Color Gamut | 110% sRGB, 72% NTSC |
| Viewing Angle | 178° (H) / 178° (V) |
| Connectivity | HDMI, DisplayPort (DP) |
| VESA Mount | 75 x 75 mm |
| Special Features | Adaptive Sync, Anti-Blue Light, Flicker-Free, 3-Sided Frameless Design |
| Product Dimensions | 21.23 x 1.63 x 12.61 inches |
| Item Weight | 7.68 pounds |
10. Warranty and Support
10.1 Warranty Information
ArcticPro monitors typically come with a limited manufacturer's warranty. Please refer to the warranty card included in your product packaging or visit the official ArcticPro website for detailed warranty terms and conditions.
10.2 Customer Support
For technical assistance, troubleshooting beyond this manual, or warranty claims, please contact ArcticPro customer support. Contact information can usually be found on the official ArcticPro website or on the product packaging.
Ask a question about this manual
Ask about setup, troubleshooting, compatibility, parts, safety, or missing instructions. Manuals+ will review the question and use this page’s manual context to help answer it.