
AILBTON 100FT(Outdoor Waterproof)
AILBTON 60ft Outdoor LED Strip Lights User Manual
Model: 100FT(Outdoor Waterproof)
1. Introduction
Thank you for choosing the AILBTON 60ft Outdoor LED Strip Lights. This product is designed to provide vibrant, customizable lighting for various outdoor and indoor applications, including balconies, decks, roofs, gardens, and pools. Featuring IP68 waterproof protection, Bluetooth app control, and music synchronization, these LED strip lights offer both durability and versatile functionality. Please read this manual thoroughly before installation and use to ensure proper operation and safety.
2. Safety Information
To prevent injury or damage to the product, please adhere to the following safety guidelines:
- Ensure the power supply is disconnected before installation, maintenance, or troubleshooting.
- Use only the provided 24V low voltage power adapter. Using an incompatible power source may damage the lights and pose a safety risk.
- The LED strip lights are IP68 waterproof, suitable for outdoor use and resistant to splashes and rainfall. However, avoid submerging the power adapter or controller in water.
- If the strip is cut, ensure the cut end is properly sealed with glue to maintain its waterproof integrity. Failure to do so will compromise the IP68 rating.
- Do not bend the LED strip sharply or apply excessive force, as this may damage the internal circuitry.
- Keep the product out of reach of children and pets.
- Do not attempt to repair or modify the product yourself. Contact customer support for assistance.
3. Package Contents
Verify that all components are present in the package:
- 60ft Outdoor LED Strip Light (1 roll)
- 24V Power Adapter (ETL Safety Certified)
- IR Remote Control
- Controller Unit
- Mounting Buckles
- Mounting Straps
- Adhesive Glue (for sealing cut ends)
- User Manual
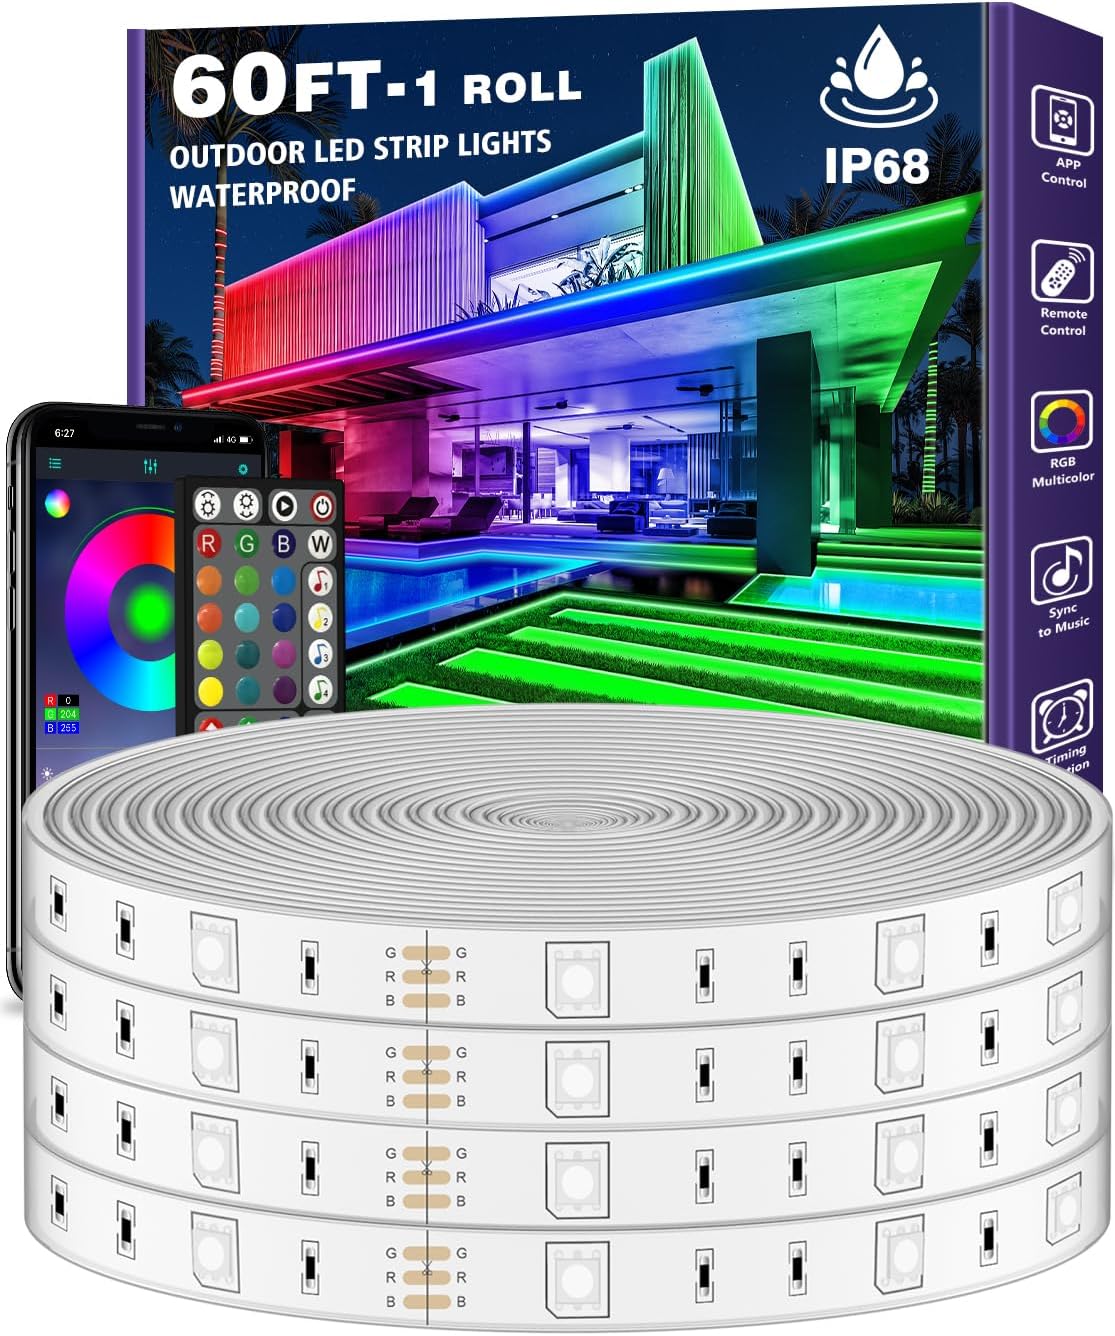
Image: Overview of the AILBTON 60ft Outdoor LED Strip Lights, showing the coiled strip, packaging, remote control, and a smartphone displaying the app interface.
4. Setup and Installation
Follow these steps for proper installation of your LED strip lights:
- Plan Your Layout: Before peeling the adhesive, unroll the strip and lay it out in your desired location to confirm the length and placement. Identify the power source location.
- Prepare the Surface: Ensure the installation surface is clean, dry, and smooth. Dust, dirt, or moisture can compromise the adhesive backing.
- Apply the Strip: Carefully peel off the protective film from the adhesive backing and press the LED strip firmly onto the prepared surface. Apply pressure evenly along the strip.
- Secure with Buckles/Straps: For enhanced stability and long-term outdoor use, utilize the provided mounting buckles and straps. Install buckles at regular intervals (e.g., every 3-4 feet) or as needed to secure the strip, especially on vertical or uneven surfaces.
- Cutting the Strip (Optional): If the strip is too long, it can be cut at designated cutting marks (usually indicated by a copper pad and a scissor icon). Important: After cutting, apply the provided adhesive glue to the cut end to reseal it and maintain its IP68 waterproof rating. Failure to do so will expose the internal components to moisture.
- Connect Power: Connect the LED strip to the controller unit, and then connect the controller unit to the 24V power adapter. Ensure all connections are secure. The power adapter interface uses a waterproof cable.
- Power On: Plug the power adapter into a suitable outdoor-rated electrical outlet.

Image: Examples of the LED strip lights installed in outdoor environments, including around a swimming pool, along stairways, and on a balcony railing, showcasing their versatility.

Image: A close-up view of the LED strip lights installed on an outdoor balcony railing, highlighting their waterproof design and bright illumination.
5. Operating Instructions
Your AILBTON LED Strip Lights can be controlled using two methods: the Bluetooth App and the included IR Remote Control.
5.1. Bluetooth App Control
The dedicated mobile application provides comprehensive control over your LED strip lights.
- Download the App: Search for "Lotus Lantern" in the Google Play Store (for Android) or iOS App Store (for Apple devices) and download the application.
- Enable Bluetooth: Ensure Bluetooth is enabled on your smartphone.
- Connect to Lights: Open the "Lotus Lantern" app. The app should automatically detect and connect to your LED strip lights. If not, refresh the device list within the app.
- Control Functions: Once connected, you can access various features:
- Color Selection: Choose from a wide spectrum of RGB colors using the color wheel or preset options.
- Brightness Adjustment: Adjust the light intensity from 0% to 100%.
- Style Modes: Select from various dynamic lighting effects, such as fading, jumping, or strobing.
- Music Sync Mode: The lights will change color and pattern in sync with music played through your phone's microphone or the app's internal music player.
- MIC Mode: The lights respond to ambient sounds detected by your phone's microphone.
- Timer Function: Set schedules for the lights to turn on or off automatically at specific times.
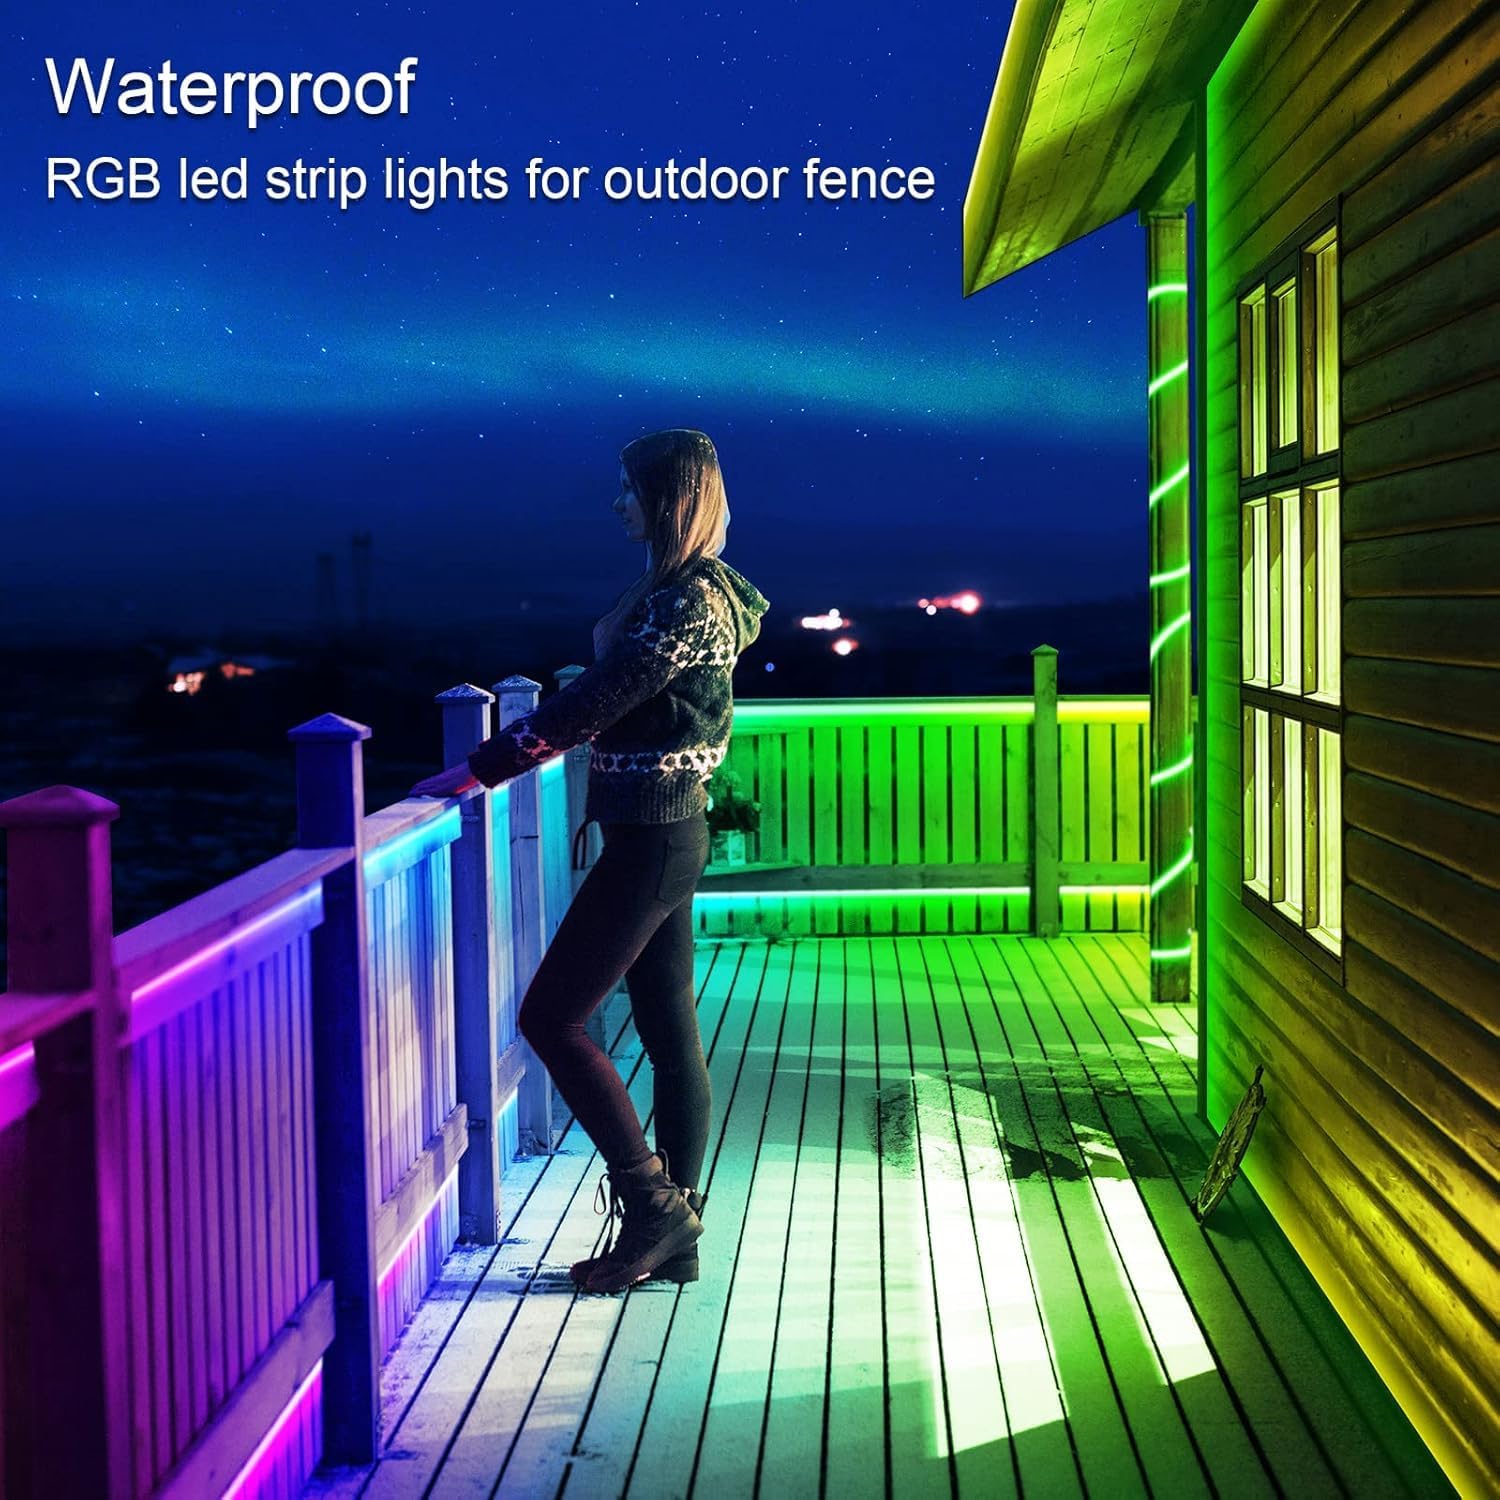
Image: Detailed view of the "Lotus Lantern" app interface, illustrating the color selection wheel, brightness slider, and various control modes for the LED strip lights.

Image: The app interface specifically highlighting the Music Sync and MIC (microphone) modes, demonstrating how the lights can react to audio input.
5.2. IR Remote Control
The included IR remote control provides convenient basic functions for your LED strip lights.
- Power On/Off: Use the power button to turn the lights on or off.
- Color Selection: Directly select various static colors.
- Brightness Adjustment: Increase or decrease the brightness level.
- Mode Selection: Cycle through different dynamic lighting modes.
- Remote Range: The IR remote control has an effective range of approximately 32.8 feet (10 meters). Ensure the remote is pointed towards the controller unit for optimal performance.
6. Maintenance
Regular maintenance helps prolong the lifespan and performance of your LED strip lights:
- Cleaning: Gently wipe the LED strip with a soft, damp cloth to remove dust or dirt. Do not use harsh chemicals or abrasive cleaners.
- Inspect Connections: Periodically check all electrical connections, especially the power adapter interface, to ensure they are secure and free from corrosion or damage.
- Waterproof Integrity: If the strip was cut during installation, regularly inspect the sealed end to ensure the glue remains intact and no moisture has entered. Reapply glue if necessary.
- Adhesive Check: Over time, the adhesive backing may lose some stickiness. If the strip begins to detach, use the provided buckles/straps or additional outdoor-rated adhesive to re-secure it.
7. Troubleshooting
If you encounter issues with your LED strip lights, refer to the following common problems and solutions:
| Problem | Possible Cause | Solution |
|---|---|---|
| Lights do not turn on. |
|
|
| Remote control not working. |
|
|
| App cannot connect to lights. |
|
|
| Lights not syncing with music. |
|
|
| Water inside the strip. |
|
|
8. Specifications
| Feature | Description |
|---|---|
| Brand | AILBTON |
| Model Number | 100FT(Outdoor Waterproof) |
| Length | 60 feet |
| Color | RGB (Red, Green, Blue) |
| Light Source Type | LED |
| Indoor/Outdoor Usage | Outdoor |
| Water Resistance Level | IP68 Waterproof Tube Case |
| Power Source | AC/DC, 24V Low Voltage |
| Control Methods | Bluetooth App (Lotus Lantern), IR Remote Control |
| Special Features | Remote Controlled, Timer Function, Music Sync, MIC Mode |
| Included Components | Controller, Remote Control, Mounting Buckles, Straps, Glue |
9. Warranty and Support
AILBTON is committed to providing high-quality products and customer satisfaction. If you encounter any problems during installation or use, or have questions regarding your AILBTON 60ft Outdoor LED Strip Lights, please do not hesitate to contact our after-sales service team. Our support is available 24 hours to assist you.
Please refer to the contact information provided in your product packaging or on the official AILBTON website for direct support channels.
Ask a question about this manual
Ask about setup, troubleshooting, compatibility, parts, safety, or missing instructions. Manuals+ will review the question and use this page’s manual context to help answer it.