
Gotrax KS8
Gotrax KS8 Kick Scooter User Manual
Model: KS8 | Brand: Gotrax
Introduction
This manual provides essential instructions for the safe assembly, operation, and maintenance of your Gotrax KS8 Kick Scooter. Please read this manual thoroughly before first use to ensure proper function and safety.
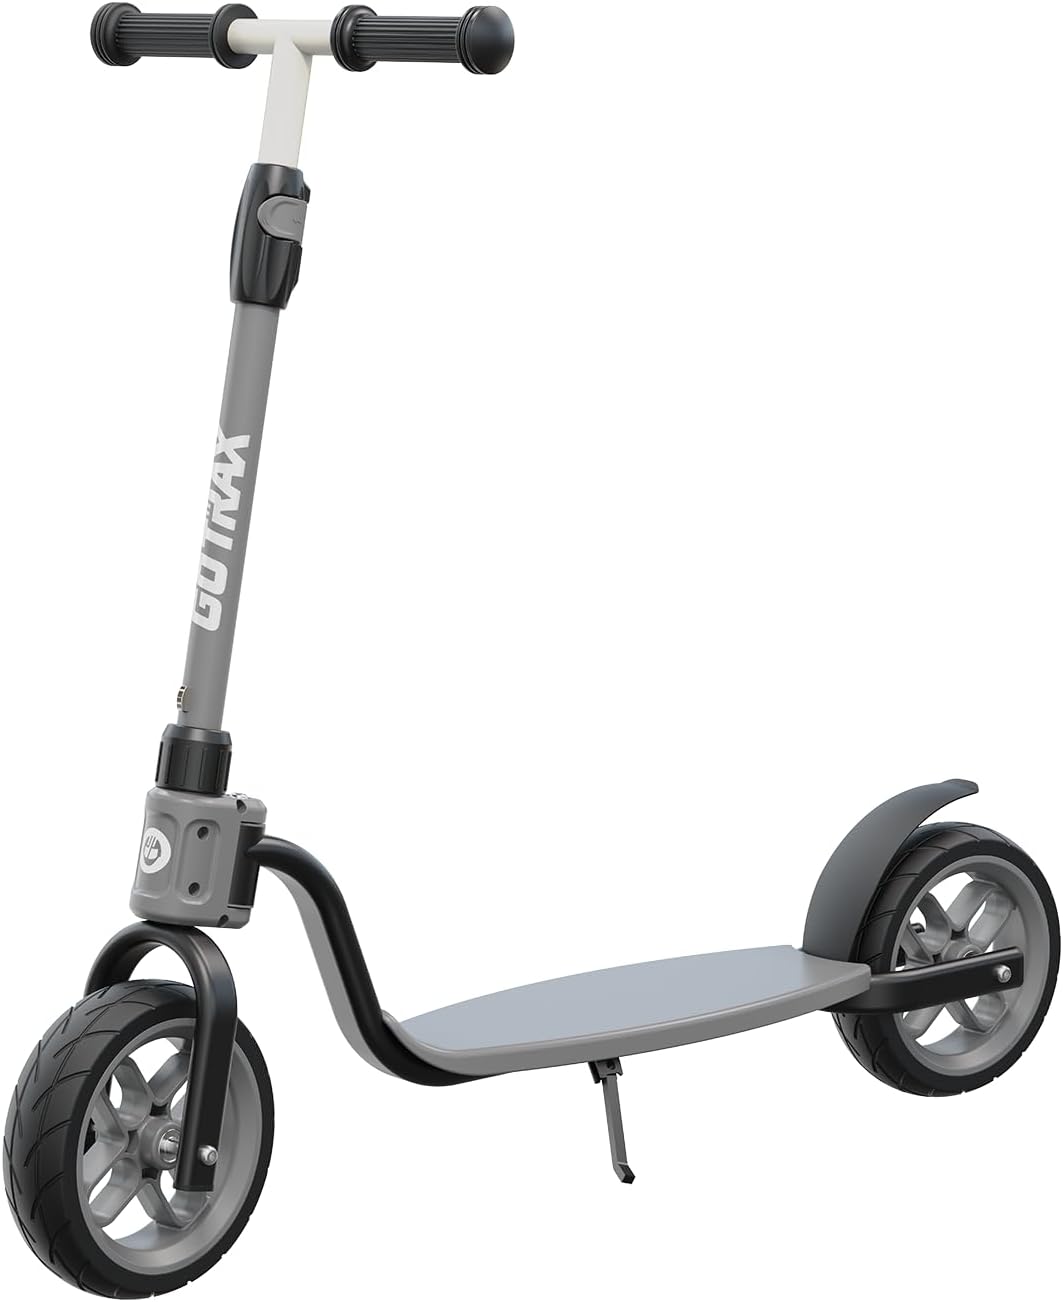
Image: The Gotrax KS8 Kick Scooter in black, showcasing its sleek design and two wheels.
Safety Information
Always prioritize safety when operating the scooter. Failure to follow safety guidelines can result in injury or damage.
- Always wear a helmet and appropriate safety gear (knee pads, elbow pads) when riding.
- Ensure all clamps and fasteners are securely tightened before each ride.
- Do not ride in wet conditions, on uneven surfaces, or at night without proper lighting.
- Maximum weight limit for this scooter is 110 lbs (50 kg).
- Recommended age for use is 5 years and older.
- Adult supervision is recommended for young riders.
- Avoid riding in traffic or crowded areas.
Package Contents
Verify that all items are present in the package:
- Gotrax KS8 Kick Scooter (main unit)
- Assembly Tools
- User Manual (this document)
Setup and Assembly
The Gotrax KS8 Kick Scooter features a detachable design for easy assembly and storage. Follow these steps to prepare your scooter for use:
- Unpack Components: Carefully remove all parts from the packaging.
- Attach Handlebar: Insert the handlebar stem into the main scooter frame until it clicks securely into place. Ensure the quick-release clamp is open before insertion and then close it firmly.
- Adjust Handlebar Height:
- Open the quick-release clamp on the handlebar stem.
- Press the spring-loaded button and slide the handlebar to one of the three adjustable height settings (30", 32", or 34").
- Ensure the button locks into a hole and then securely close the quick-release clamp.
- Check Connections: Verify that all connections are tight and secure before the first ride.

Image: A child on a blue Gotrax KS8 scooter, illustrating its easy assembly and portability.

Image: A child on a blue Gotrax KS8 scooter with an infographic showing the three adjustable handlebar heights (30, 32, 34 inches).
Operating Instructions
Riding the Scooter
- Starting: Place one foot firmly on the scooter deck. Use your other foot to push off the ground to gain momentum.
- Steering: Lean gently in the direction you wish to turn. The handlebar provides additional control.
- Foot Placement: Once moving, place both feet on the deck, one behind the other, for balance and stability.

Image: A child riding the Gotrax KS8 Kick Scooter, highlighting the large 8-inch wheels designed for a smooth ride.
Using the Rear Brake
The Gotrax KS8 is equipped with a reliable rear brake for controlled stopping.
- To slow down or stop, gently press your foot down on the rear fender brake.
- Apply pressure gradually to avoid sudden stops, especially at higher speeds.

Image: A child on a pink Gotrax KS8 scooter, highlighting the rear brake, integrated kickstand, and wide deck features.
Using the Kickstand
The integrated kickstand allows you to park your scooter upright.
- To deploy, gently push the kickstand down with your foot until it locks into position.
- To retract, push the scooter slightly forward and fold the kickstand back against the deck.
Maintenance
Regular maintenance ensures the longevity and safe operation of your scooter.
- Cleaning: Wipe the scooter with a damp cloth after use. Avoid using harsh chemicals or abrasive cleaners.
- Wheel Inspection: Periodically check the 8-inch wheels for wear and tear. Ensure they spin freely and are securely attached.
- Brake Check: Test the rear brake before each ride to ensure it functions effectively.
- Fastener Check: Regularly inspect all bolts, nuts, and clamps to ensure they are tight. Tighten any loose fasteners using the provided assembly tools.
- Storage: Store the scooter in a dry, cool place away from direct sunlight and moisture. The detachable design allows for compact storage.
Troubleshooting
| Problem | Possible Cause | Solution |
|---|---|---|
| Handlebar is loose or wobbly. | Quick-release clamp not fully tightened or handlebar not locked into height adjustment hole. | Ensure the spring-loaded button is engaged in a height adjustment hole and firmly close the quick-release clamp. |
| Brake not effective. | Rear fender brake mechanism may be worn or misaligned. | Inspect the brake for debris. If wear is significant or misalignment persists, contact customer support. |
| Wheels do not spin smoothly. | Debris in bearings or tight axle nuts. | Clean around the wheel axles. Check if axle nuts are overtightened; loosen slightly if necessary, but ensure wheels remain secure. |
Specifications
| Feature | Detail |
|---|---|
| Brand | Gotrax |
| Model Name | KS8 |
| Age Range (Description) | Little Kid (5+ years) |
| Weight Limit | 110 Pounds (50 kg) |
| Number of Wheels | 2 |
| Wheel Material | Polyurethane |
| Frame Material | Aluminum |
| Item Weight | 9 lbs (4.08 kg) |
| Handlebar Type | Adjustable (30", 32", 34") |
| Wheel Size | 8 Inches |
| Brake Style | Rear Braking |
| Special Feature | Adjustable Handlebar Height, Lightweight, Non Slip Deck, Safe Rear Brake |

Image: Diagram showing the dimensions (30-34 inches height, 32 inches length) and weight (9 lbs) of the Gotrax KS8 Kick Scooter, with a maximum load of 110 lbs.
Warranty Information
The Gotrax KS8 Kick Scooter comes with a 1-Year Manufacturer's Limited Warranty. This warranty covers defects in materials and workmanship under normal use. Please retain your proof of purchase for warranty claims.
For detailed warranty terms and conditions, please refer to the official Gotrax website or contact customer support.
Customer Support
If you have any questions, require assistance with assembly, or encounter issues not covered in this manual, please contact Gotrax customer support.
Visit the official Gotrax website for contact details and further resources: Gotrax Store
Related documentsKS8


Ask a question about this manual
Ask about setup, troubleshooting, compatibility, parts, safety, or missing instructions. Manuals+ will review the question and use this page’s manual context to help answer it.