
Introduction
This manual provides essential information for the setup, operation, and maintenance of your ArcticPro AD27EQ4 27-inch QHD 300Hz IPS Gaming Monitor. Please read this manual thoroughly before using the product to ensure proper functionality and to prevent damage.
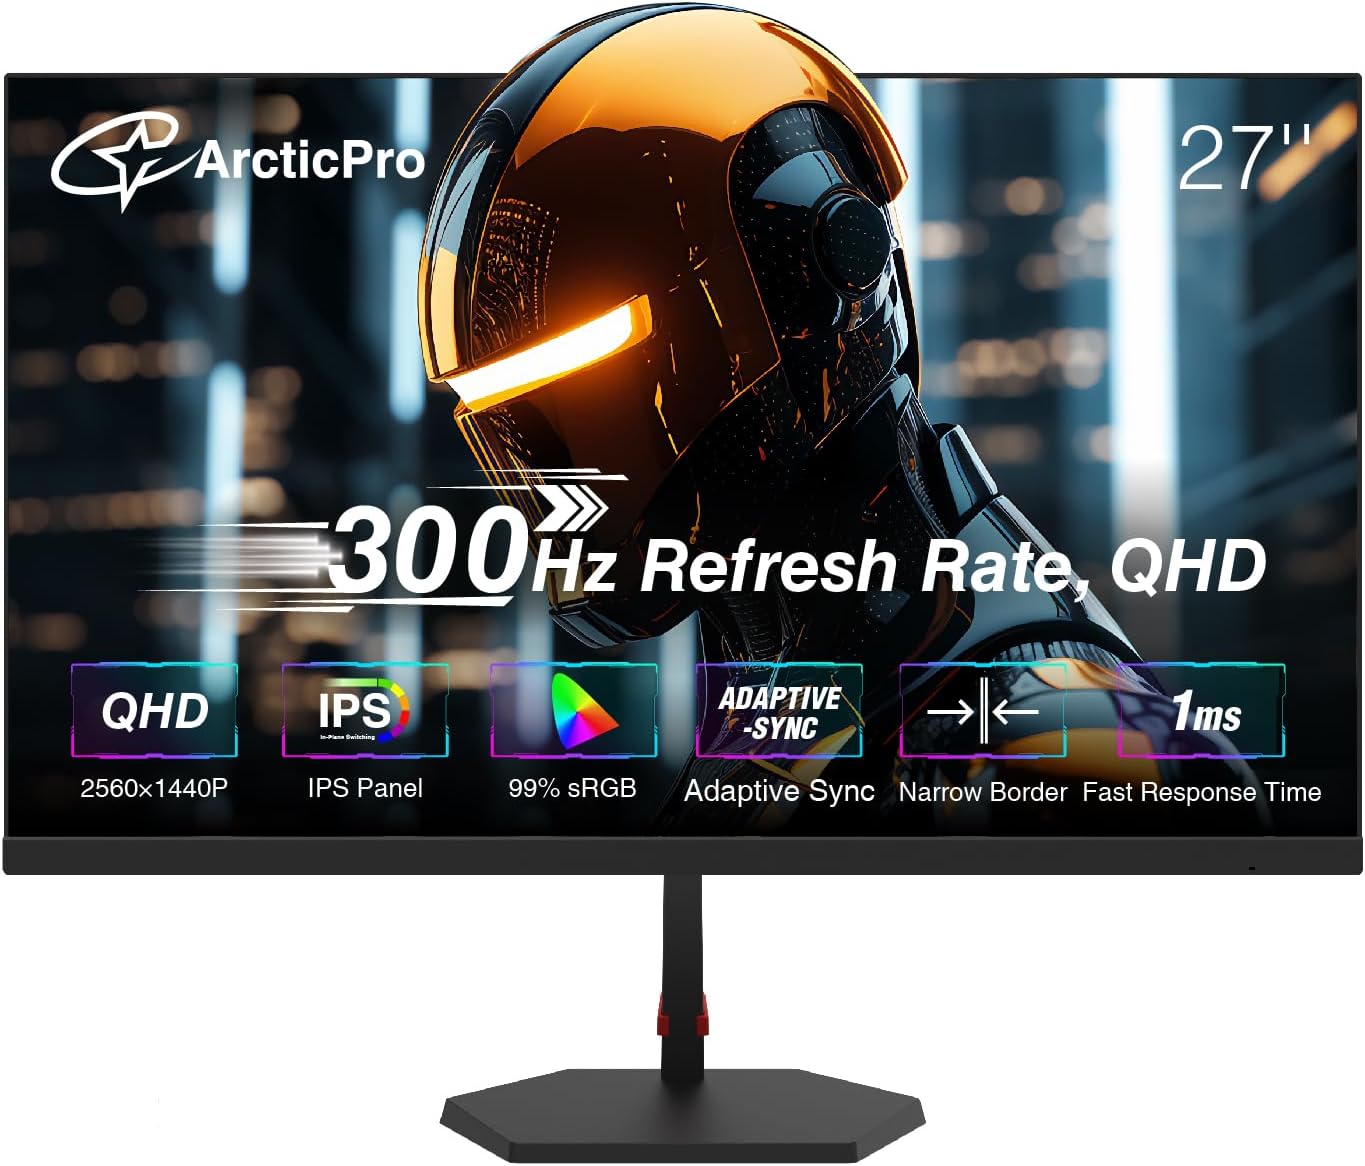
Image: Front view of the ArcticPro AD27EQ4 27-inch QHD 300Hz IPS Gaming Monitor, showcasing its frameless design and key features.
Package Contents
Verify that all items are present in the package:
- ArcticPro AD27EQ4 27-inch QHD 300Hz IPS Gaming Monitor
- Monitor Stand (Base and Neck)
- Power Adapter and Power Cable
- DisplayPort (DP) Cable
- HDMI Cable
- User Manual (this document)
- Screws for Stand Assembly
Setup
1. Assembling the Monitor Stand
- Carefully remove the monitor from its packaging, keeping it protected on a soft, flat surface.
- Attach the stand neck to the monitor panel using the provided screws.
- Connect the stand base to the stand neck and secure it with the designated screw.
- Alternatively, for VESA mounting, remove the stand and attach a compatible VESA mount (100x100mm) to the monitor.
2. Connecting Cables
- Power Connection: Connect the power cable to the monitor's power input and then to a power outlet.
- Video Connection: Connect one end of the DisplayPort (DP) cable or HDMI cable to the corresponding port on your computer's graphics card and the other end to the monitor's DP or HDMI input. The monitor supports DP 1.4*2 and HDMI 2.1*2.
- Ensure all connections are secure.
3. Initial Power On
- Press the power button on the monitor.
- The monitor will automatically detect the active input source. If not, use the On-Screen Display (OSD) menu to select the correct input.
Operating the Monitor
1. On-Screen Display (OSD) Menu Navigation
The OSD menu allows you to adjust various monitor settings. Typically, buttons are located on the back or bottom of the monitor. Refer to the quick start guide for specific button layouts.
- Press a designated button to open the OSD menu.
- Use navigation buttons (up/down/left/right) to browse through menu options.
- Press an 'Enter' or 'OK' button to select an option or confirm a setting.
- Press an 'Exit' or 'Back' button to return to the previous menu or close the OSD.
2. Key Features and Settings
Refresh Rate (300Hz)
The monitor supports a high refresh rate of 300Hz, providing smoother motion and reduced input lag, especially beneficial for fast-paced gaming. Ensure your graphics card and connection cable (DisplayPort recommended) support this refresh rate.

Image: Visual comparison demonstrating the enhanced smoothness of a 300Hz refresh rate compared to 100Hz, showing clearer motion in a dynamic scene.
QHD 2K Resolution (2560x1440p)
Experience sharp and detailed visuals with the Quad High Definition (QHD) 2560x1440p resolution. This provides a significant upgrade in clarity compared to standard Full HD displays.

Image: Side-by-side comparison illustrating the superior detail and clarity of QHD 2K (2560x1440P) resolution over 720P, highlighting pixel density.
Adaptive Sync Technology
Adaptive Sync technology synchronizes the monitor's refresh rate with your graphics card's frame rate, eliminating screen tearing and stuttering for a fluid gaming experience. Enable this feature in the OSD menu and ensure it is also enabled in your graphics card settings.

Image: Visual demonstration of Adaptive Sync, showing a smooth image when ON and a torn image when OFF, illustrating its effect on screen fluidity.
0.5ms Response Time (MPRT)
The monitor features a rapid 0.5ms Moving Picture Response Time (MPRT), which significantly reduces motion blur and ghosting in fast-moving scenes, providing a clearer and more responsive visual experience.

Image: Comparison showing the clarity of a 1ms response time versus a slower response time, with the 1ms image appearing sharp and the other showing blur.
IPS Panel and Wide Color Gamut
The In-Plane Switching (IPS) panel offers wide viewing angles (178° horizontal & vertical) and consistent color reproduction. With 132% sRGB and 99% NTSC color gamut coverage, the monitor delivers vibrant and accurate colors.

Image: Illustration of an IPS panel's wide viewing angles and a wide color gamut, indicating consistent color quality from various perspectives.
Eye Care Features (Flicker-Free and Low Blue Light)
The monitor incorporates Flicker-Free technology to reduce screen flickering and a Low Blue Light mode to minimize harmful blue light emissions, helping to reduce eye strain during extended use.

Image: Visual representation of Flicker-Free Technology and Low Blue Light, showing a clear, stable image on one side and a flickering, blue-tinted image on the other.
Maintenance
Cleaning the Monitor
- Always power off the monitor and unplug the power cord before cleaning.
- Use a soft, lint-free cloth lightly dampened with water or a specialized screen cleaner.
- Do not spray cleaner directly onto the screen.
- Avoid using abrasive cleaners, alcohol, or ammonia-based solutions, as these can damage the screen surface.
- Wipe the screen gently to remove dust and smudges.
Troubleshooting
If you encounter issues with your monitor, refer to the following common solutions:
- No Power: Ensure the power cable is securely connected to both the monitor and the power outlet. Check if the power outlet is functional.
- No Signal: Verify that the video cable (DP or HDMI) is correctly connected to both the monitor and your computer. Ensure the correct input source is selected in the OSD menu. Try restarting your computer.
- Flickering Screen: Check the video cable connection. Ensure your graphics card drivers are up to date. Try adjusting the refresh rate in your computer's display settings.
- Image Distortion/Blurry: Ensure the monitor's resolution is set to its native QHD (2560x1440p) resolution in your computer's display settings.
- Dead Pixels: While rare, a small number of non-functioning pixels is inherent to LCD technology and typically not considered a defect unless exceeding manufacturer specifications.
If the problem persists after attempting these solutions, please contact ArcticPro customer support.
Specifications
| Feature | Specification |
|---|---|
| Model Number | AD27EQ4 |
| Screen Size | 27 Inches |
| Panel Type | IPS |
| Resolution | 2560 x 1440 Pixels (QHD Wide 1440p) |
| Refresh Rate | 300Hz |
| Response Time | 0.5ms MPRT |
| Aspect Ratio | 16:9 |
| Color Gamut | 132% sRGB, 99% NTSC |
| Viewing Angles | 178° (H) / 178° (V) |
| Connectivity | 2x DisplayPort 1.4, 2x HDMI 2.1 |
| VESA Mount Compatibility | 100x100mm |
| Product Dimensions | 24.17 x 2.68 x 14.27 inches |
| Item Weight | 13.96 pounds |
Warranty and Support
Warranty Information
ArcticPro products are covered by a limited warranty. Please refer to the warranty card included with your product or visit the official ArcticPro website for detailed warranty terms and conditions. Keep your proof of purchase for warranty claims.
Customer Support
For technical assistance, troubleshooting beyond this manual, or warranty inquiries, please contact ArcticPro customer support. Contact information can typically be found on the ArcticPro website or on the product packaging.
Official Product Videos
No official product videos from the seller were found in the provided data for embedding in this manual.