
1. Introduction
Thank you for choosing Chuancheng Anti-Slip Spikes. These spikes are designed to significantly improve the traction and stability of your robotic lawnmower, especially on uneven terrain or slopes. By reducing skidding and stalling, they contribute to a more efficient and reliable operation of your lawnmower. Please read this manual carefully before installation and use to ensure proper function and longevity of the product.
2. Compatible Lawnmower Models
These anti-slip spikes are compatible with the following robotic lawnmower models:
- Yardforce SA500
- Yardforce SA600
- Yardforce SE 500
- Yardforce SE 600
- Yardforce X80i
- Yardforce X60i
- Yardforce LUV1000ri
- LandXcape LX790
- LandXcape LX795

Figure 2.1: Overview of Chuancheng Anti-Slip Spikes and included screws.
3. Product Features
- Enhanced Traction: Designed to significantly improve the lawnmower's grip on various terrains, reducing instances of skidding or getting stuck.
- Durable Material: Manufactured from plastic for long-lasting performance and resistance to outdoor elements.
- Easy Installation: Simple design allows for quick and straightforward attachment to the lawnmower wheels.
- Increased Stability: Contributes to the overall stability of the robotic lawnmower, especially on slopes and uneven surfaces.
4. Package Contents
Upon opening the package, verify that all components are present and undamaged:
- 2 x Anti-Slip Spikes (Nailing Discs)
- 14 x Screws
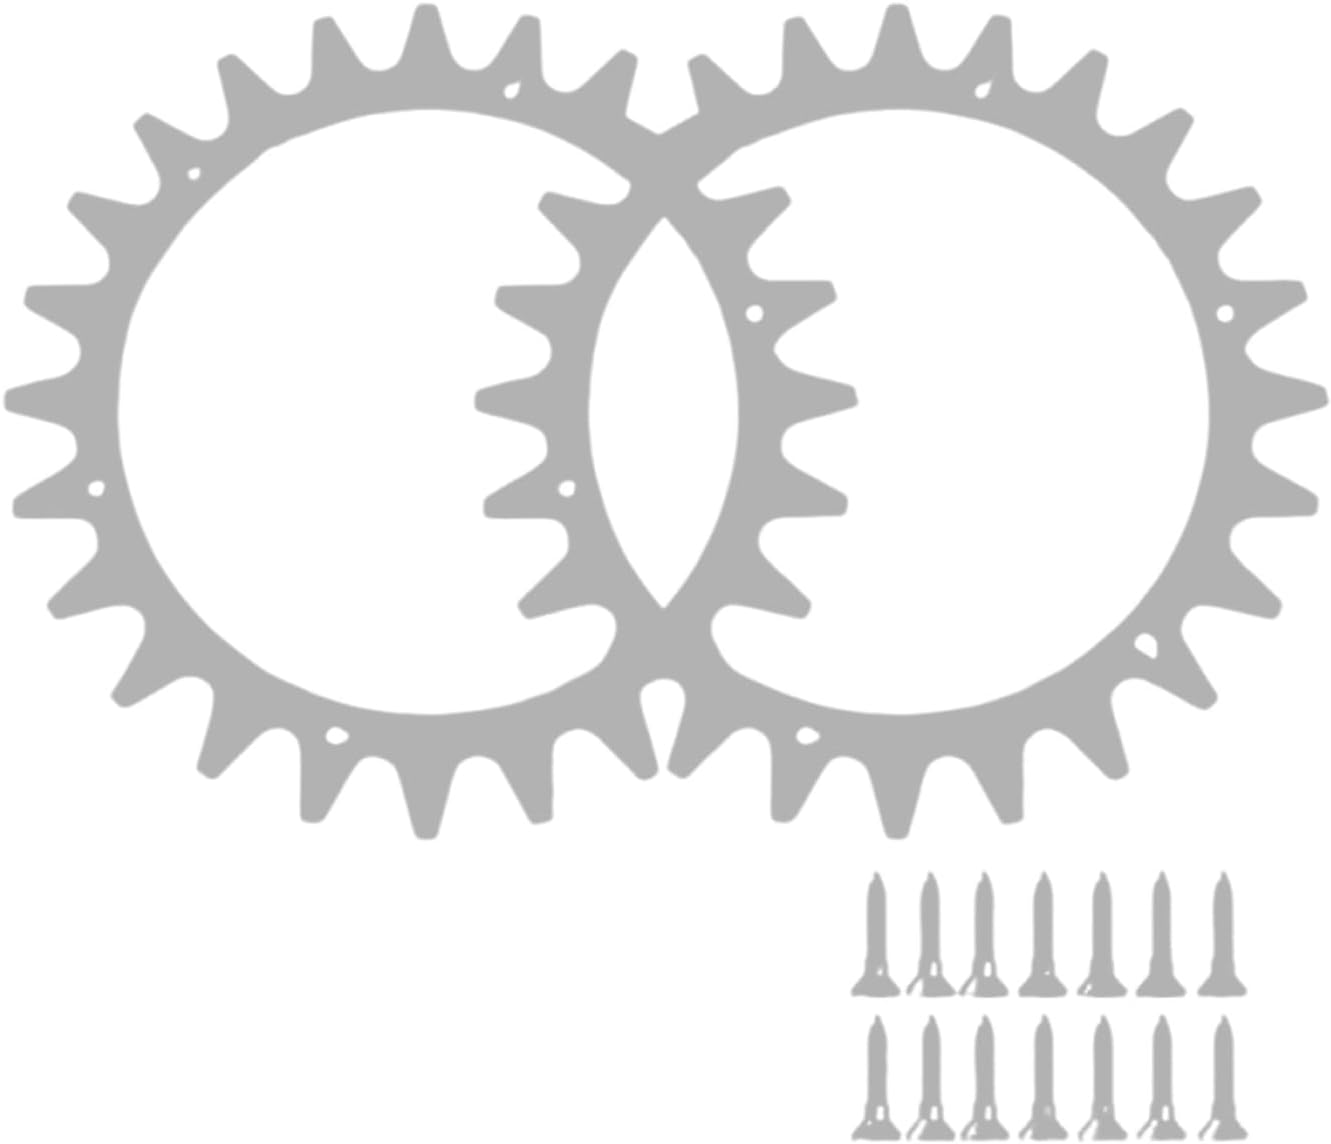
Figure 4.1: Contents of the Chuancheng Anti-Slip Spikes package.
5. Setup and Installation
Follow these steps to install the anti-slip spikes onto your robotic lawnmower wheels:
- Power Off Lawnmower: Ensure your robotic lawnmower is completely powered off and disconnected from its charging station for safety.
- Access Wheels: Carefully turn the lawnmower over or lift it to access the drive wheels. Refer to your lawnmower's manual for specific instructions on accessing its wheels if necessary.
- Position Spike Tray: Take one anti-slip spike (nailing disc) and center it over the wheel. The spikes should face outwards, away from the wheel hub.
- Align Holes: Align the pre-drilled holes on the anti-slip spike with suitable points on the wheel.
- Secure with Screws: Insert the provided screws through the holes in the anti-slip spike and into the wheel. Use a screwdriver to tighten the screws firmly. Do not overtighten, as this may damage the wheel or the spike.
- Repeat for Second Wheel: Repeat steps 3-5 for the second drive wheel.
- Verify Installation: Once both spikes are installed, gently rotate the wheels by hand to ensure they are securely attached and do not interfere with any other parts of the lawnmower.

Figure 5.1: Illustration of an anti-slip spike positioned for installation on a wheel.
6. Operating Instructions
Once installed, the Chuancheng Anti-Slip Spikes operate passively with your robotic lawnmower. No additional controls or adjustments are required. The spikes will engage with the ground as the wheels turn, providing improved grip and preventing slippage. You should observe enhanced performance, particularly on wet grass, inclines, or uneven surfaces.
7. Maintenance
To ensure optimal performance and longevity of your anti-slip spikes:
- Regular Inspection: Periodically check the spikes for any signs of wear, damage, or loose screws.
- Cleaning: Remove any accumulated grass, dirt, or debris from between the spikes and around the screws. A stiff brush can be used for this purpose.
- Tighten Screws: If any screws appear loose, gently tighten them. Avoid overtightening.
- Replacement: If the spikes become significantly worn or damaged, they should be replaced to maintain effective traction.
8. Troubleshooting
| Problem | Possible Cause | Solution |
|---|---|---|
| Lawnmower still skidding/stalling. | Spikes are worn; screws are loose; extreme terrain conditions. | Inspect spikes for wear and replace if necessary. Tighten all screws. Consider if the terrain is too challenging for any robotic lawnmower. |
| Spikes do not fit the wheel. | Incorrect lawnmower model; improper alignment during installation. | Verify your lawnmower model against the "Compatible Models" list. Re-attempt installation, ensuring proper centering and alignment. |
| Screws are loose after operation. | Insufficient tightening during installation; vibration during operation. | Ensure screws are tightened firmly during installation. Periodically check and re-tighten screws as part of routine maintenance. |
9. Specifications
| Product Type | Robotic Lawnmower Anti-Slip Spikes |
| Brand | Chuancheng |
| Material | Plastic |
| Dimensions (per spike) | Approximately 8.62 inches (219mm) diameter |
| Screw Length | Approximately 0.79 inches (20mm) |
| Item Weight | 1.6 ounces (total package) |
| Package Includes | 2 x Anti-Slip Spikes, 14 x Screws |

Figure 9.1: Product dimensions for the anti-slip spike and screws.
10. Safety Information
- Always ensure the robotic lawnmower is powered off and disconnected before performing any installation or maintenance.
- Wear appropriate personal protective equipment, such as gloves, during installation to prevent injury.
- Keep screws and small parts out of reach of children and pets.
- Do not modify the anti-slip spikes or use them for purposes other than their intended use.
- Ensure screws are tightened securely but do not overtighten, as this can strip threads or crack plastic components.
11. Warranty Information
Specific warranty details for Chuancheng Anti-Slip Spikes are not provided in this manual. For information regarding product warranty, please refer to the product packaging, the retailer's return policy, or contact Chuancheng customer support directly.
12. Customer Support
If you have any questions, require assistance with installation, or encounter issues not covered in this manual, please contact Chuancheng customer support. Contact information can typically be found on the product packaging or the official Chuancheng website.
You may also visit the Chuancheng Store on Amazon for more product information and support resources.