
1. Introduction
This manual provides essential information for the proper installation, operation, and maintenance of your Aeris SV66133 Washable HRV Air Exchanger MERV 8 Filter Kit. Please read these instructions carefully before use to ensure optimal performance and longevity of your filters.
2. Product Overview
The Aeris SV66133 Filter Kit is a high-performance replacement filter set designed for various Heat Recovery Ventilator (HRV) and Energy Recovery Ventilator (ERV) systems. This kit includes two washable filters engineered to meet MERV 8 filtration standards, ensuring efficient air purification.
- One MERV 8 Green Filter: Dimensions approximately 10-3/4 inches x 8-3/4 inches.
- One Bent Filter: Dimensions approximately 10-3/4 inches x 8-3/4 inches.
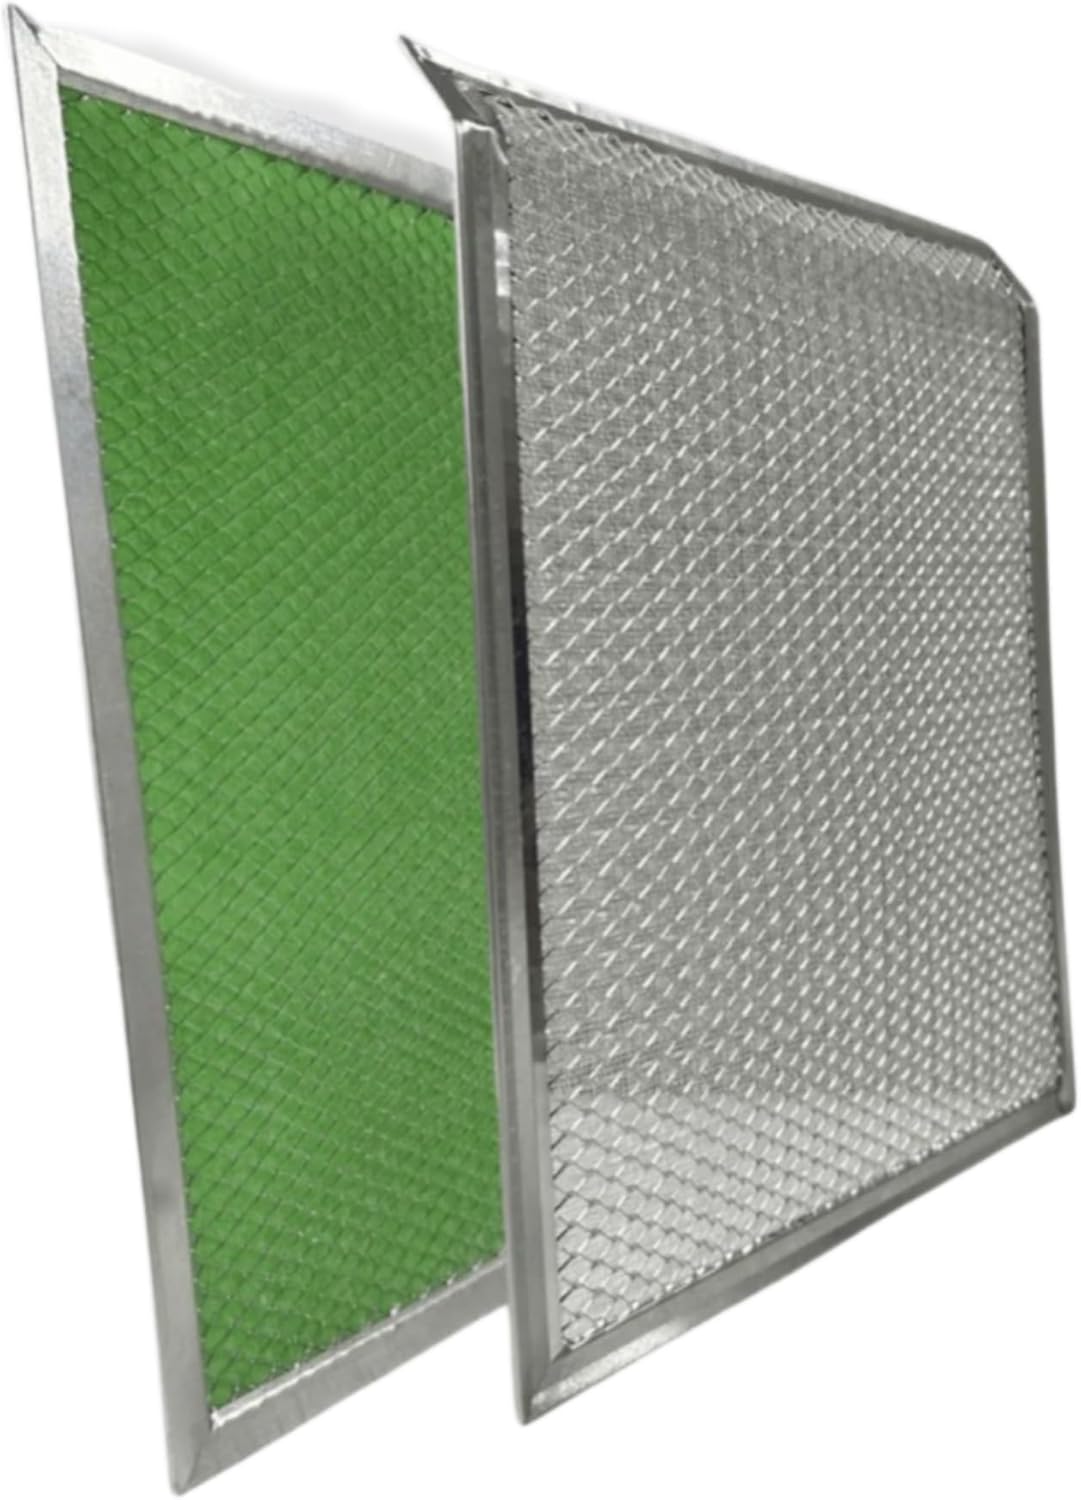
Image 2.1: The Aeris SV66133 filter kit, showing both the green MERV 8 filter and the silver bent filter.

Image 2.2: Detailed view of the Aeris SV66133 filter kit, highlighting the manufacturer's part number and the two filter types with their approximate dimensions.
3. Compatibility
This filter kit is compatible with specific models of Broan and Nutone HRV/ERV systems. Please verify your unit's model number against the list below to ensure proper fit and function:
- Broan Models: B130H65RT, B130H65RS, B110H65RT, B110H65RST, B130E65RS, B160H65RT, B160H65RS, B160E65RT, B160E65RS, B160H75RT, B160H75RS, B160E75RT, B160E75RS, B150H75NT, B150H75NS, B150E75NT, B150E75NS
- Nutone Models: HRVXXSHA1130, ERVXXSVA1130, ERVXXSHA1130, HRVXXSVA1160, HRVXXSHA1160, ERVXXSVB1150, ERVXXSHA1150, HRVXXSVB1160, HRVXXSHB1160, ERVXXSVB1145, ERVXXSHB1145
If your model is not listed, consult your HRV/ERV system's manual or contact the manufacturer for filter compatibility.
4. Setup and Installation
Follow these general steps to replace the filters in your HRV or ERV system. Always refer to your specific HRV/ERV unit's instruction manual for detailed, model-specific instructions.
- Power Off: Locate the circuit breaker or power switch for your HRV/ERV unit and turn off the power completely before proceeding. This is a critical safety step.
- Access Filters: Open the access panel on your HRV/ERV unit. This usually involves unlatching clips or removing screws.
- Remove Old Filters: Carefully slide out the old filters. Note their orientation to ensure correct installation of the new filters. Dispose of old filters responsibly.
- Insert New Filters: Insert the new Aeris SV66133 filters into the designated slots. Ensure the green MERV 8 filter and the bent filter are placed in their correct positions and orientations as per your unit's design. The filters should slide in smoothly without excessive force.
- Close Access Panel: Securely close the access panel, ensuring all latches or screws are fastened.
- Restore Power: Turn the power back on to your HRV/ERV unit.
5. Operating Instructions
Once installed, the Aeris SV66133 filters operate passively within your HRV/ERV system. They continuously filter incoming and outgoing air, removing airborne particles and improving indoor air quality. No specific user interaction is required for their operation beyond proper installation and regular maintenance.
6. Maintenance
As washable filters, the Aeris SV66133 kit offers reusability, reducing waste and long-term costs. Regular cleaning is essential to maintain filtration efficiency.
Cleaning Procedure:
- Frequency: Inspect filters every 1-3 months, or more frequently in dusty environments. Clean when visibly dirty.
- Removal: Follow steps 1-3 from the 'Setup and Installation' section to safely remove the filters.
- Washing: Gently rinse the filters under lukewarm running water. You may use a mild detergent if necessary for heavy soiling. Avoid harsh chemicals or abrasive brushes that could damage the filter media.
- Rinsing: Rinse thoroughly until all dirt and detergent residue are removed.
- Drying: Allow the filters to air dry completely before reinstallation. Do not use heat sources (e.g., hair dryer, oven) as this can damage the filter material. Ensure they are completely dry to prevent mold or mildew growth.
- Reinstallation: Once dry, follow steps 4-6 from the 'Setup and Installation' section to reinstall the clean filters.
7. Troubleshooting
- Filters do not fit: Double-check the model numbers of your HRV/ERV unit against the compatibility list in Section 3. Ensure the filters are oriented correctly. If still incompatible, contact your seller or the manufacturer.
- Reduced Airflow: If airflow seems restricted after installation, ensure filters are clean and properly seated. Overly dirty filters can restrict airflow; clean them as per Section 6.
- Poor Air Quality: If indoor air quality does not improve, ensure filters are clean and installed correctly. Consider the overall maintenance schedule of your HRV/ERV unit.
8. Specifications
| Model Number | SV66133 |
| Brand | Aeris |
| Filter Type | Washable HRV Air Exchanger Filter Kit |
| MERV Rating | MERV 8 |
| Number of Pieces | 2 (One MERV 8 Green Filter, One Bent Filter) |
| Approximate Dimensions (each) | 10-3/4 inches x 8-3/4 inches |
| Reusability | Reusable |
| Compatible Devices | Furnace (HRV/ERV systems) |
| Manufacturer | Venmar Ventilation ULC |
9. Warranty Information
This product is sold without an explicit warranty. Please refer to the seller's return policy for any issues upon receipt.
10. Support and Contact
For further assistance or inquiries regarding the Aeris SV66133 filter kit, please contact your point of purchase or refer to the official Aeris website for support resources.
Aeris Store: Visit the Aeris Store on Amazon