
1. Introduction
This manual provides essential information for setting up, operating, and maintaining your Philips 24B2U3301 24-inch Full HD monitor. This monitor is designed for business efficiency, offering a 120 Hz refresh rate, SoftBlue technology, Flicker-Free viewing, and a versatile VESA mount compatible stand. Please read this manual thoroughly before using your monitor to ensure proper installation and operation.
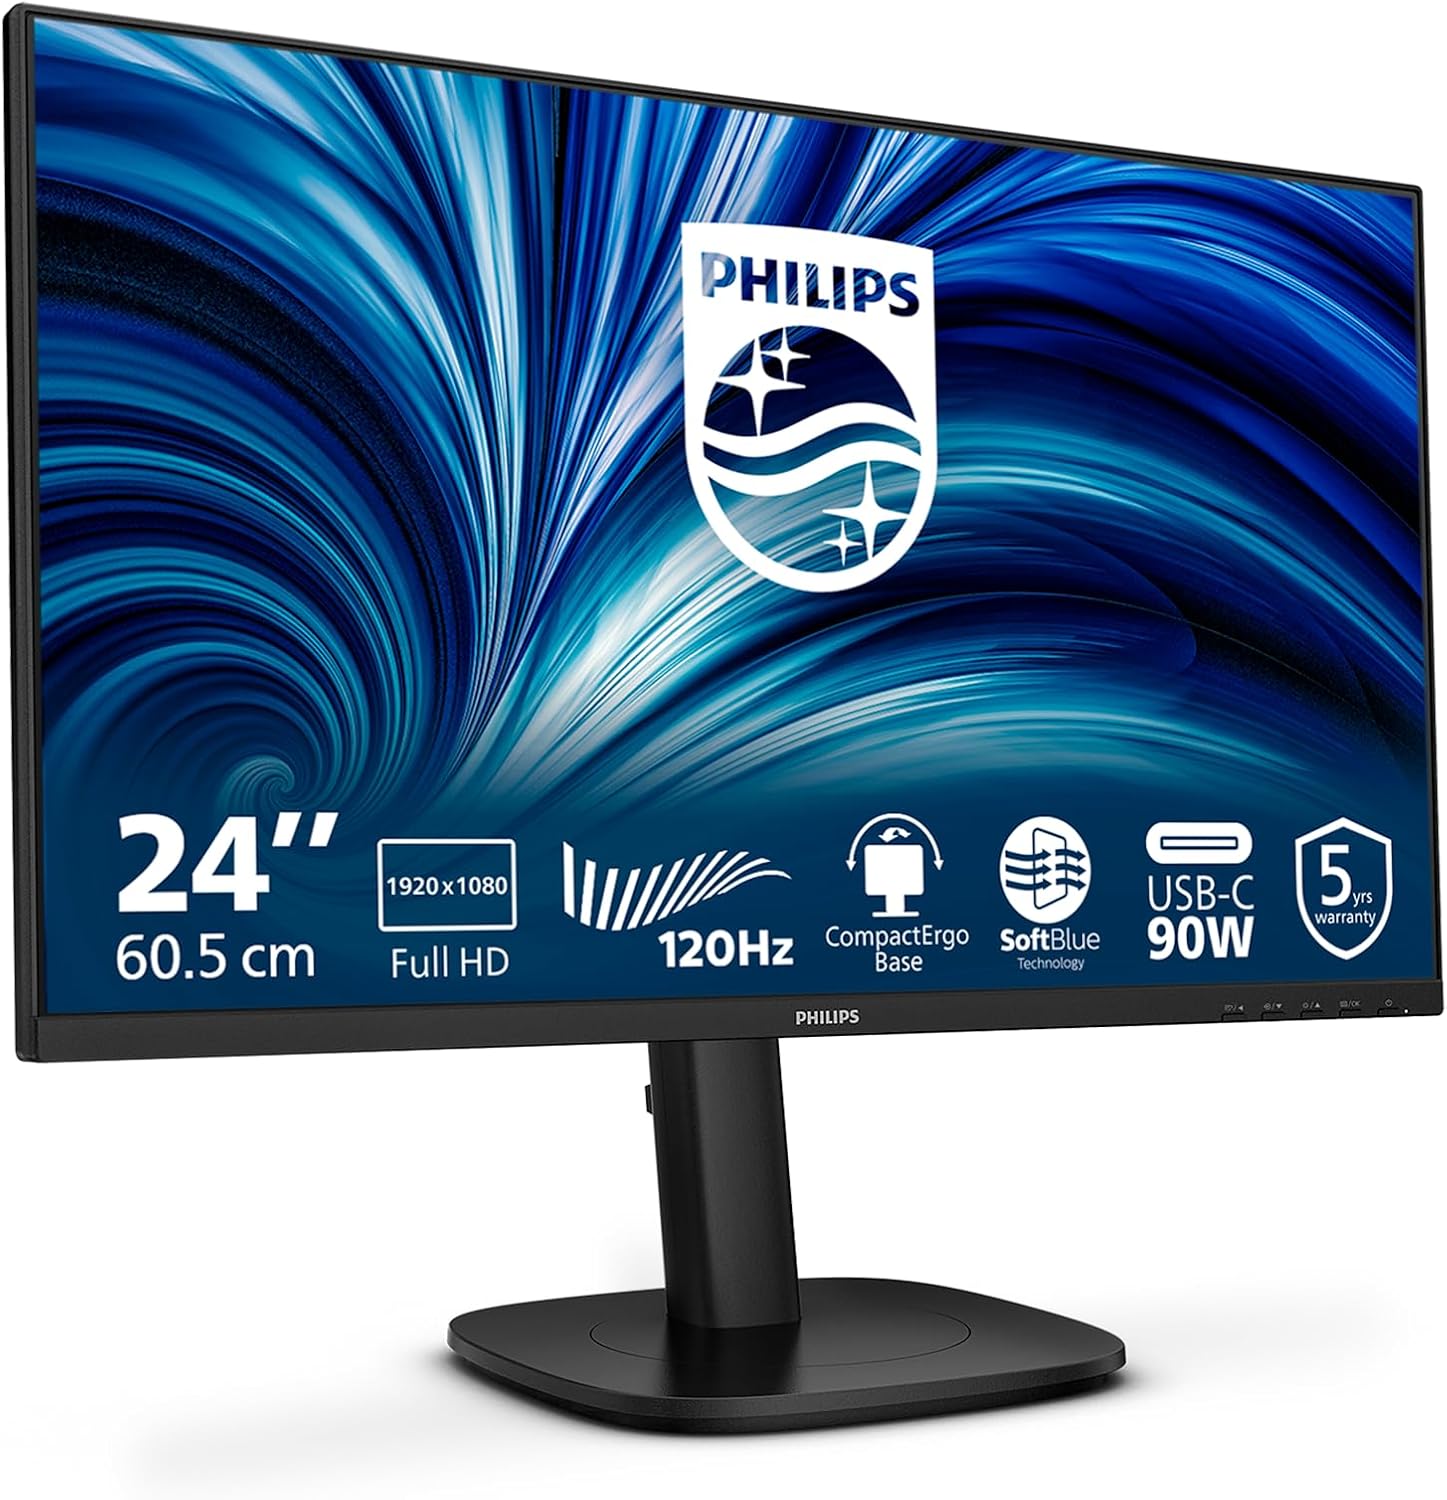
Image 1.1: Front view of the Philips 24B2U3301 monitor, showcasing its sleek design and narrow bezels.
2. Safety Information
Observe the following safety precautions to prevent damage to the monitor and ensure your personal safety:
- Always place the monitor on a stable, level surface.
- Do not block ventilation openings.
- Use only the power adapter and cables supplied by the manufacturer.
- Keep the monitor away from water, moisture, and extreme temperatures.
- Do not attempt to open or service the monitor yourself. Refer all servicing to qualified personnel.
- Unplug the monitor from the power outlet before cleaning.
3. Package Contents
Verify that all items are present in your package:
- Philips 24B2U3301 Monitor
- Monitor Stand (Base and Neck)
- Power Cable
- HDMI Cable
- DisplayPort (DP) Cable
- USB-C to USB-C Cable
- Quick Start Guide
4. Setup
4.1 Assembling the Stand
- Carefully remove the monitor and stand components from the packaging.
- Attach the stand neck to the monitor panel. Ensure it clicks securely into place or is fastened with screws if provided.
- Attach the stand base to the stand neck and tighten the thumb screw at the bottom of the base.

Image 4.1: Illustration of the monitor stand assembly process.
4.2 Connecting the Monitor
Connect the necessary cables to the monitor and your computer. Refer to the port diagram below for connection points.
- Power Connection: Connect the power cable to the monitor's AC input and then to a power outlet.
- Video Connection: Choose one of the following options:
- HDMI: Connect one end of the HDMI cable to the monitor's HDMI input and the other end to your computer's HDMI output.
- DisplayPort (DP): Connect one end of the DP cable to the monitor's DP input and the other end to your computer's DP output.
- USB-C: Connect the USB-C cable to the monitor's USB-C input and your computer's USB-C port. This single cable can provide video, data, and power delivery (up to 90W).
- USB Hub Connection: If using HDMI or DP for video, connect a USB-A to USB-B cable (not always included, check package contents) from your computer to the monitor's USB upstream port to enable the monitor's USB hub. If using USB-C, this connection is automatic.
- RJ45 Ethernet: Connect an Ethernet cable from your router/modem to the monitor's RJ45 port to provide network connectivity to your connected laptop via USB-C.
- Audio Out: Connect external speakers or headphones to the Audio Out jack if desired.

Image 4.2: Rear view of the monitor, highlighting the various input and output ports.

Image 4.3: Close-up diagram illustrating the HDMI, DisplayPort, USB-C, RJ45, USB Hub, and Audio Out ports.
5. Operating Instructions
5.1 Power On/Off
Press the power button located on the monitor's bezel to turn the monitor on or off.
5.2 On-Screen Display (OSD) Menu
The OSD menu allows you to adjust various monitor settings. Use the control buttons (usually located on the bottom right or rear of the monitor) to navigate the menu.
- Menu Button: Opens the OSD menu.
- Navigation Buttons: Used to move up/down or left/right through menu options.
- OK/Select Button: Confirms a selection.
- Exit Button: Exits the current menu or OSD.
5.3 Common OSD Settings
- Picture: Adjust brightness, contrast, sharpness, and color temperature.
- Audio: Control volume and mute settings for built-in speakers or audio output.
- Input: Manually select the video input source (HDMI, DP, USB-C).
- OSD Settings: Adjust OSD language, transparency, and timeout.
- Setup: Access factory reset options and information about the monitor.
5.4 Ergonomic Adjustments
The monitor stand offers multiple adjustments for optimal viewing comfort:
- Height Adjustment: Raise or lower the monitor by up to 130mm.
- Tilt: Adjust the screen's vertical angle (-5° to 30°).
- Swivel: Rotate the monitor horizontally (-/+ 180°).
- Pivot: Rotate the screen 90° for portrait mode viewing (-/+ 90°).
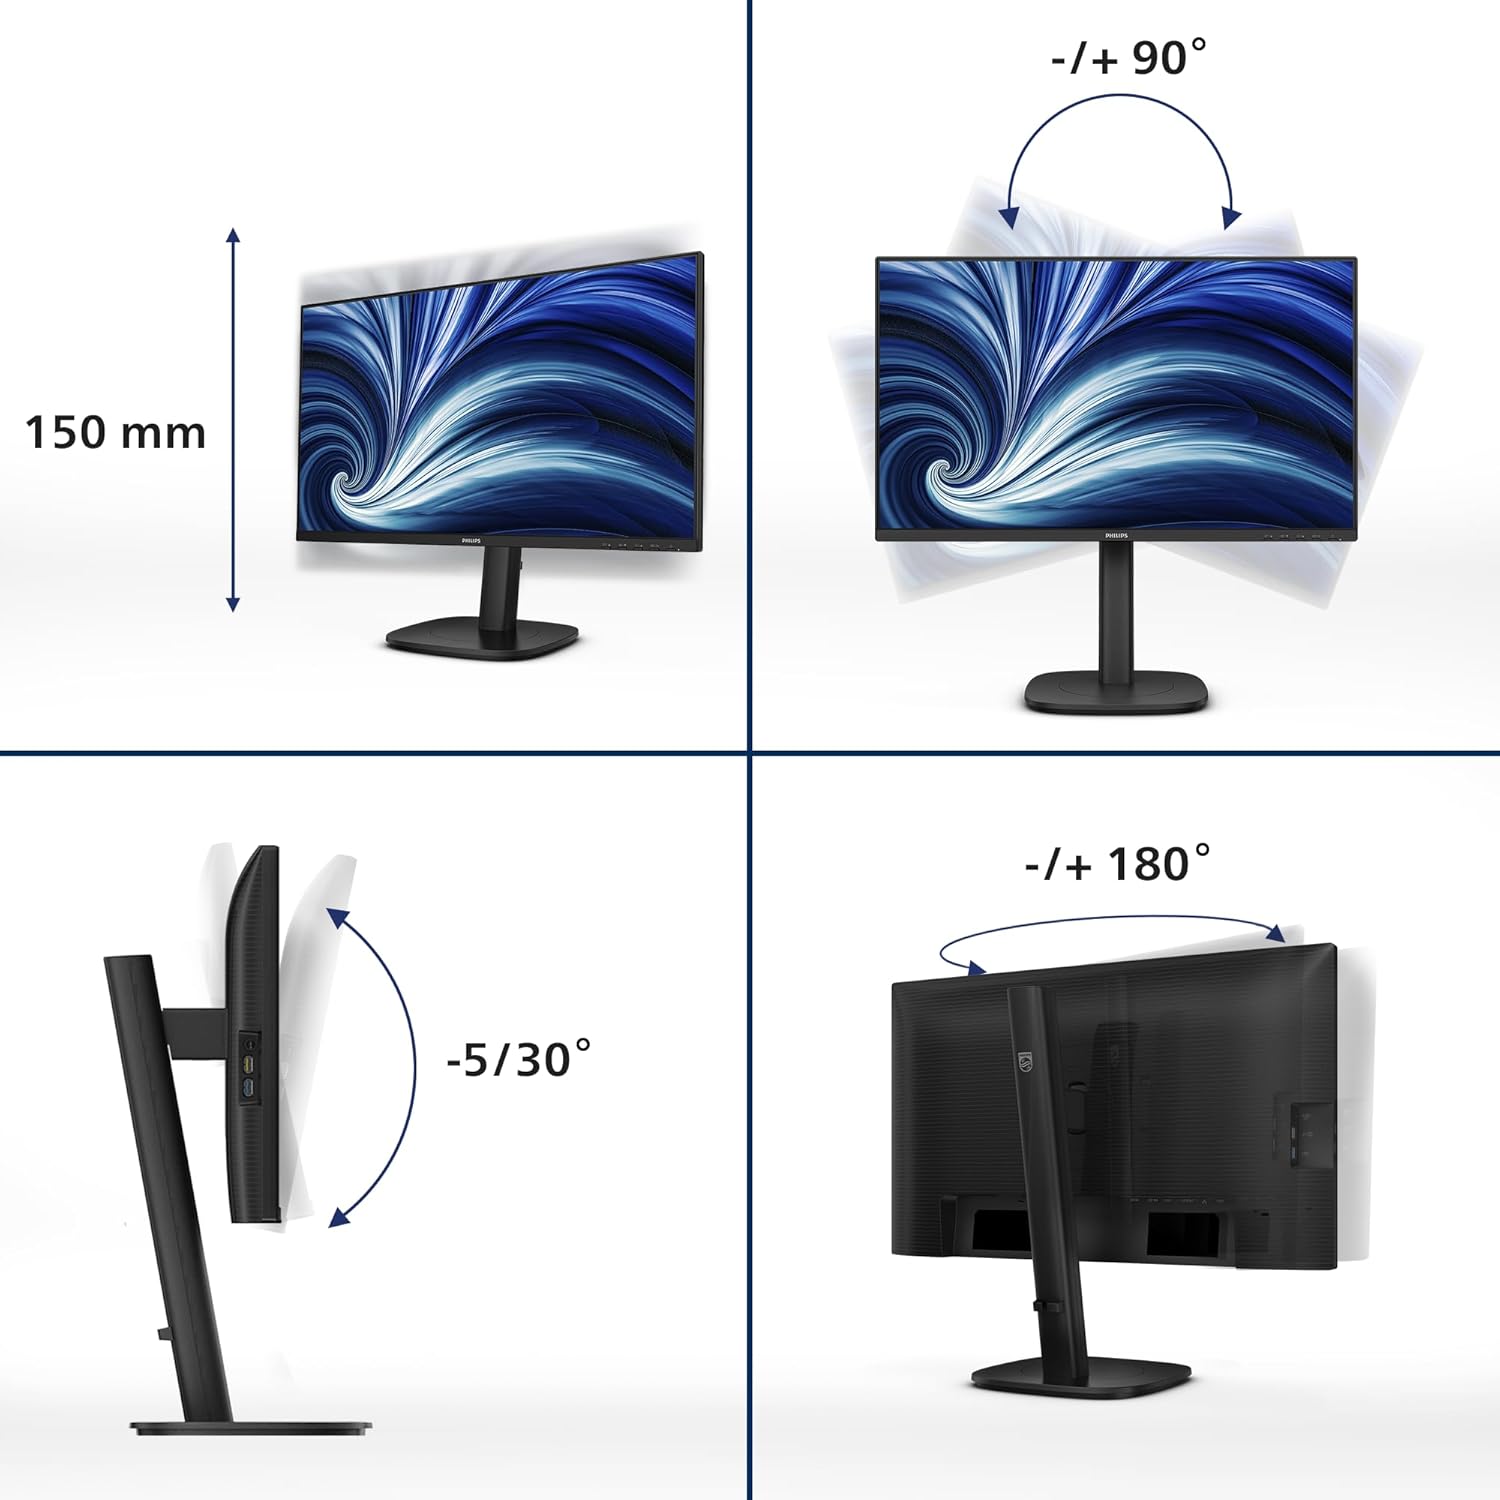
Image 5.1: Demonstrates the monitor's height, tilt, swivel, and pivot adjustments for ergonomic positioning.
6. Key Features
- 120Hz Refresh Rate: Provides ultra-smooth and brilliant images, reducing motion blur for a more fluid visual experience.
- 1ms MPRT Fast Response: Delivers crisp images and smooth gameplay, minimizing ghosting and blurring in fast-paced scenes.
- SoftBlue Technology: Reduces harmful blue light emissions without compromising color accuracy, helping to minimize eye strain during extended use.
- Flicker-Free Technology: Regulates brightness and reduces screen flickering, further enhancing eye comfort.
- USB-C with 90W Power Delivery: A single USB-C cable provides video, data transfer, and powers/charges your compatible laptop (up to 90W).
- USB Hub: Integrated USB hub with multiple ports allows for easy connection of peripherals like keyboards, mice, and external drives.
- RJ45 Ethernet Port: Provides a stable wired network connection to your connected laptop via the USB-C cable, eliminating the need for additional adapters.
- DisplayPort Out: Allows for daisy-chaining multiple monitors from a single DisplayPort connection on your computer.
7. Maintenance
7.1 Cleaning the Screen
To clean the monitor screen:
- Turn off the monitor and unplug the power cable.
- Gently wipe the screen with a soft, lint-free cloth.
- For stubborn marks, dampen the cloth lightly with a mild, non-abrasive screen cleaner. Do not spray cleaner directly onto the screen.
7.2 Cleaning the Casing
Wipe the monitor casing with a soft, dry cloth. Avoid using strong detergents or abrasive cleaners.
8. Troubleshooting
If you encounter issues with your monitor, refer to the following common problems and solutions:
| Problem | Possible Solution |
|---|---|
| No image on screen |
|
| Image is blurry or distorted |
|
| No sound from speakers/audio out |
|
| Monitor flickers |
|
9. Specifications
| Feature | Detail |
|---|---|
| Model Number | 24B2U3301 |
| Screen Size | 23.8 Inches |
| Panel Type | IPS |
| Resolution | 1920 x 1080 (Full HD) |
| Refresh Rate | 120 Hz |
| Response Time | 1ms (MPRT) |
| Aspect Ratio | 16:9 |
| Connectivity | 1x HDMI 1.4, 1x DisplayPort 1.4, 1x USB-C (90W PD), 1x DisplayPort Out, 1x USB Hub (USB 3.2 Gen 1), 1x RJ45 Ethernet, 1x Audio Out |
| Ergonomic Adjustments | Height (130mm), Tilt (-5°/30°), Swivel (-/+ 180°), Pivot (-/+ 90°) |
| Built-in Speakers | Yes |
| Power Consumption | Refer to product label for specific values |
| Dimensions (with stand) | 8.98 x 21.34 x 19.65 inches (LxWxH) |
| Weight (with stand) | 12.58 pounds |
10. Warranty and Support
10.1 Warranty Information
This Philips monitor comes with a 5-Year Warranty, ensuring peace of mind regarding its quality and performance. Please retain your proof of purchase for warranty claims.

Image 10.1: The TCO Certified Edge 5 Year Warranty logo, indicating extended product assurance.
10.2 Customer Support
For technical assistance, warranty service, or further inquiries, please visit the official Philips support website or contact their customer service. You can typically find contact information and support resources on the Philips website or in the documentation included with your monitor.
Online Support: www.philips.com/support