
1. Introduction
Thank you for choosing the Acer B277UD6b monitor. This manual provides essential information for setting up, operating, and maintaining your monitor. Please read this manual thoroughly before using the product to ensure proper installation and optimal performance. Keep this manual for future reference.

Image 1.1: Front view of the Acer B277UD6b monitor, showcasing its sleek design and display area.
2. Safety Information
Observe the following safety precautions to prevent damage to the monitor and ensure your safety:
- Do not place the monitor on an unstable cart, stand, or table.
- Do not block ventilation openings.
- Do not use near water or in high humidity environments.
- Use only the power cord and adapter supplied by the manufacturer.
- Refer all servicing to qualified service personnel.
- Unplug the monitor from the wall outlet before cleaning.
3. Package Contents
Verify that all items are present in your package. If any items are missing or damaged, contact your retailer.
- Acer B277UD6b Monitor
- Monitor Stand (Base and Neck)
- Power Cord (AC-In C14)
- DisplayPort Cable
- HDMI Cable
- VGA Cable
- User Manual and Documentation
4. Setup
4.1. Assembling the Monitor Stand
- Carefully remove the monitor and stand components from the packaging.
- Attach the stand neck to the monitor panel. Ensure it clicks securely into place or is fastened with screws if provided.
- Attach the stand base to the stand neck. Tighten the thumb screw or screws at the bottom of the base to secure it.
- Place the assembled monitor on a stable, flat surface.

Image 4.1: Side view of the Acer B277UD6b monitor, illustrating its profile and stand attachment point.
4.2. Connecting the Monitor
Connect the monitor to your computer and power source using the appropriate cables.
- Power Connection: Connect the power cord to the AC-In C14 port on the monitor and then to a wall outlet.
- Video Connection: Choose one of the following video connections:
- DisplayPort: Connect one end of the DisplayPort cable to the monitor's DisplayPort input and the other end to your computer's DisplayPort output.
- HDMI: Connect one end of the HDMI cable to the monitor's HDMI 1.4 input and the other end to your computer's HDMI output.
- VGA: Connect one end of the VGA cable to the monitor's VGA input and the other end to your computer's VGA output.
- Ensure all connections are secure.
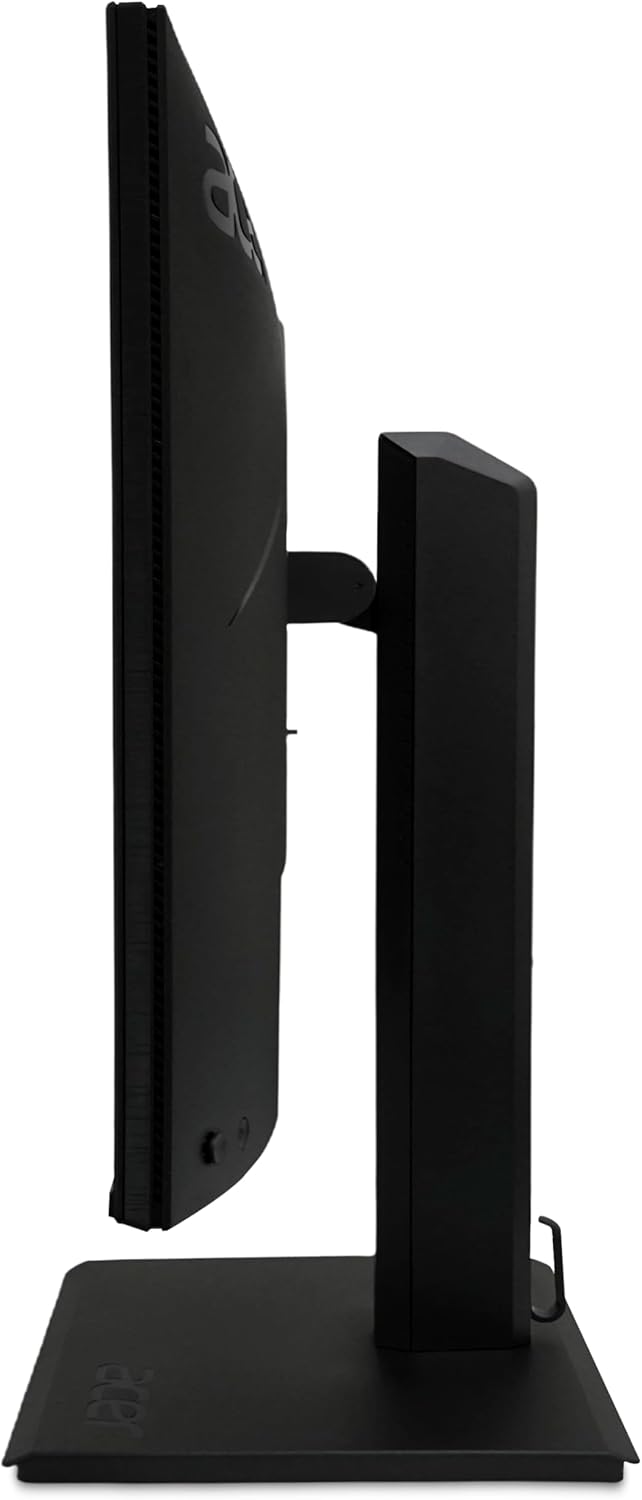
Image 4.2: Back view of the Acer B277UD6b monitor, highlighting the various input ports including DisplayPort, HDMI, VGA, and AC-In.
5. Operating Instructions
5.1. Powering On/Off
Press the power button, usually located on the bottom right or back of the monitor, to turn the monitor on or off. The power indicator light will illuminate when the monitor is on.
5.2. On-Screen Display (OSD) Menu
The OSD menu allows you to adjust various monitor settings such as brightness, contrast, color, input source, and more. Access the OSD menu using the buttons located on the monitor (typically on the back or bottom edge).
- Press an OSD button to activate the menu.
- Use the navigation buttons (up/down/left/right or joystick) to browse through menu options.
- Press the select/enter button to confirm a selection or enter a sub-menu.
- Press the exit button to close the OSD menu.
5.3. Input Source Selection
If you have multiple devices connected to the monitor, you can switch between input sources using the OSD menu or a dedicated input select button.
6. Maintenance
6.1. Cleaning the Monitor
To clean the monitor, ensure it is powered off and unplugged from the power outlet.
- Screen: Gently wipe the screen with a soft, lint-free cloth. For stubborn marks, lightly dampen the cloth with water or a non-ammonia, non-alcohol based screen cleaner. Do not spray cleaner directly onto the screen.
- Casing: Use a soft, dry cloth to wipe the monitor casing. Avoid abrasive cleaners.
6.2. Storage
If storing the monitor for an extended period, disconnect all cables and pack it in its original packaging to protect it from dust and physical damage.
7. Troubleshooting
If you encounter issues with your monitor, refer to the following common troubleshooting steps:
| Problem | Possible Solution |
|---|---|
| No image on screen | Ensure the power cable is securely connected. Check if the monitor is powered on. Verify the video cable is connected to both the monitor and the computer. Select the correct input source via the OSD menu. |
| Image is blurry or distorted | Check the video cable connection. Ensure the display resolution and refresh rate are set correctly in your computer's display settings (2560x1440 at 120Hz recommended). |
| No sound (if applicable) | Check audio cable connections (if external speakers are used). Adjust volume settings on the monitor and computer. |
| Monitor flickers | Ensure the video cable is securely connected. Try a different video cable or port. Update your graphics card drivers. |
8. Specifications
Detailed technical specifications for the Acer B277UD6b monitor:
- Model Name: Vero B277UD6bmiiprczx
- Series: B277UD6b
- Screen Size: 27 inches (68.6 cm)
- Resolution: 2560 x 1440 (QHD)
- Aspect Ratio: 16:9
- Refresh Rate: 120 Hz
- Response Time: 1 Millisecond
- Color Support: 8 bits (16.7 million colors, 6 bits + 2 bits FRC)
- Display Surface: Anti-glare (Antirreflectores), Hardness 3H
- Connectivity:
- 1x DisplayPort 1.2 (supports 75Hz@1920x1080)
- 1x HDMI 1.4 (supports 75Hz@1920x1080)
- 1x VGA (supports 60Hz@1920x1080)
- 1x AC-In C14 (Power Connection)
- Dimensions (W x D x H): 57.1 x 61.1 x 36.5 cm
- Weight: 8 kg
- Color: Black
9. Warranty and Support
For warranty information and technical support, please refer to the warranty card included with your product or visit the official Acer support website. You may need your product's serial number and proof of purchase when contacting support.
Acer Support Website: www.acer.com/support


