
Introduction
Thank you for choosing the IRONCK 1063908 Pantry Cabinet. This manual provides essential information for the safe assembly, operation, and maintenance of your new storage cabinet. Please read these instructions carefully before beginning assembly and retain them for future reference.
Safety Information
- Always assemble the cabinet on a soft, clean surface to prevent scratches.
- Ensure all parts and hardware are present before starting assembly.
- Do not overtighten screws, as this may damage the material.
- Use the included anti-tipping device to secure the cabinet to a wall, especially in homes with children or pets, to prevent serious injury.
- Keep small parts away from children during assembly.
- Periodically check all connections to ensure they remain tight and secure.
Parts and Hardware List
Before assembly, verify that all components and hardware are included in your package. Refer to the detailed instruction diagrams for specific part identification.

Figure 1: Cabinet Dimensions and Components Overview. This image illustrates the overall dimensions of the cabinet (31.5" W x 15.2" D x 67.5" H) and highlights key sections like the upper and lower compartments, and drawers.

Figure 2: Safety and Stability Features. This image displays the vintage handles, magnetic door catches, sturdy support base, and the anti-tipping device, emphasizing the cabinet's secure construction.
Setup and Assembly
Assembly typically requires two people. Follow the numbered steps in the provided instruction booklet. All parts and hardware are labeled to simplify the process.
Assembly Video Guide
Video 1: IRONCK Bookshelves and Bookcases with 3 Doors & Drawers. This video provides a visual guide to the assembly process and highlights key features of the cabinet.
Key Assembly Steps:
- Unpack and Organize: Lay out all panels and hardware. Match each piece to its corresponding label in the instruction manual.
- Assemble Frame: Connect the main side panels to the base and top panels using the designated screws and dowels.
- Install Shelves: Insert the adjustable shelves into the desired positions. The adjustable shelf design allows for flexible customization of storage space height to suit varying needs.
- Attach Drawer Slides: Secure the drawer slides to the cabinet frame and the drawer boxes.
- Assemble Drawers: Construct the three drawers. The drawers are engineered for effortlessly gliding, providing a seamless and smooth operation every time they are opened or closed.
- Mount Doors: Attach the doors to the cabinet frame using the hinges. Ensure they open and close smoothly.
- Install Handles: Secure the black metal handles to the doors and drawers.
- Attach Anti-Tipping Device: For safety, securely attach the anti-tipping device to the top rear of the cabinet and to a wall stud.
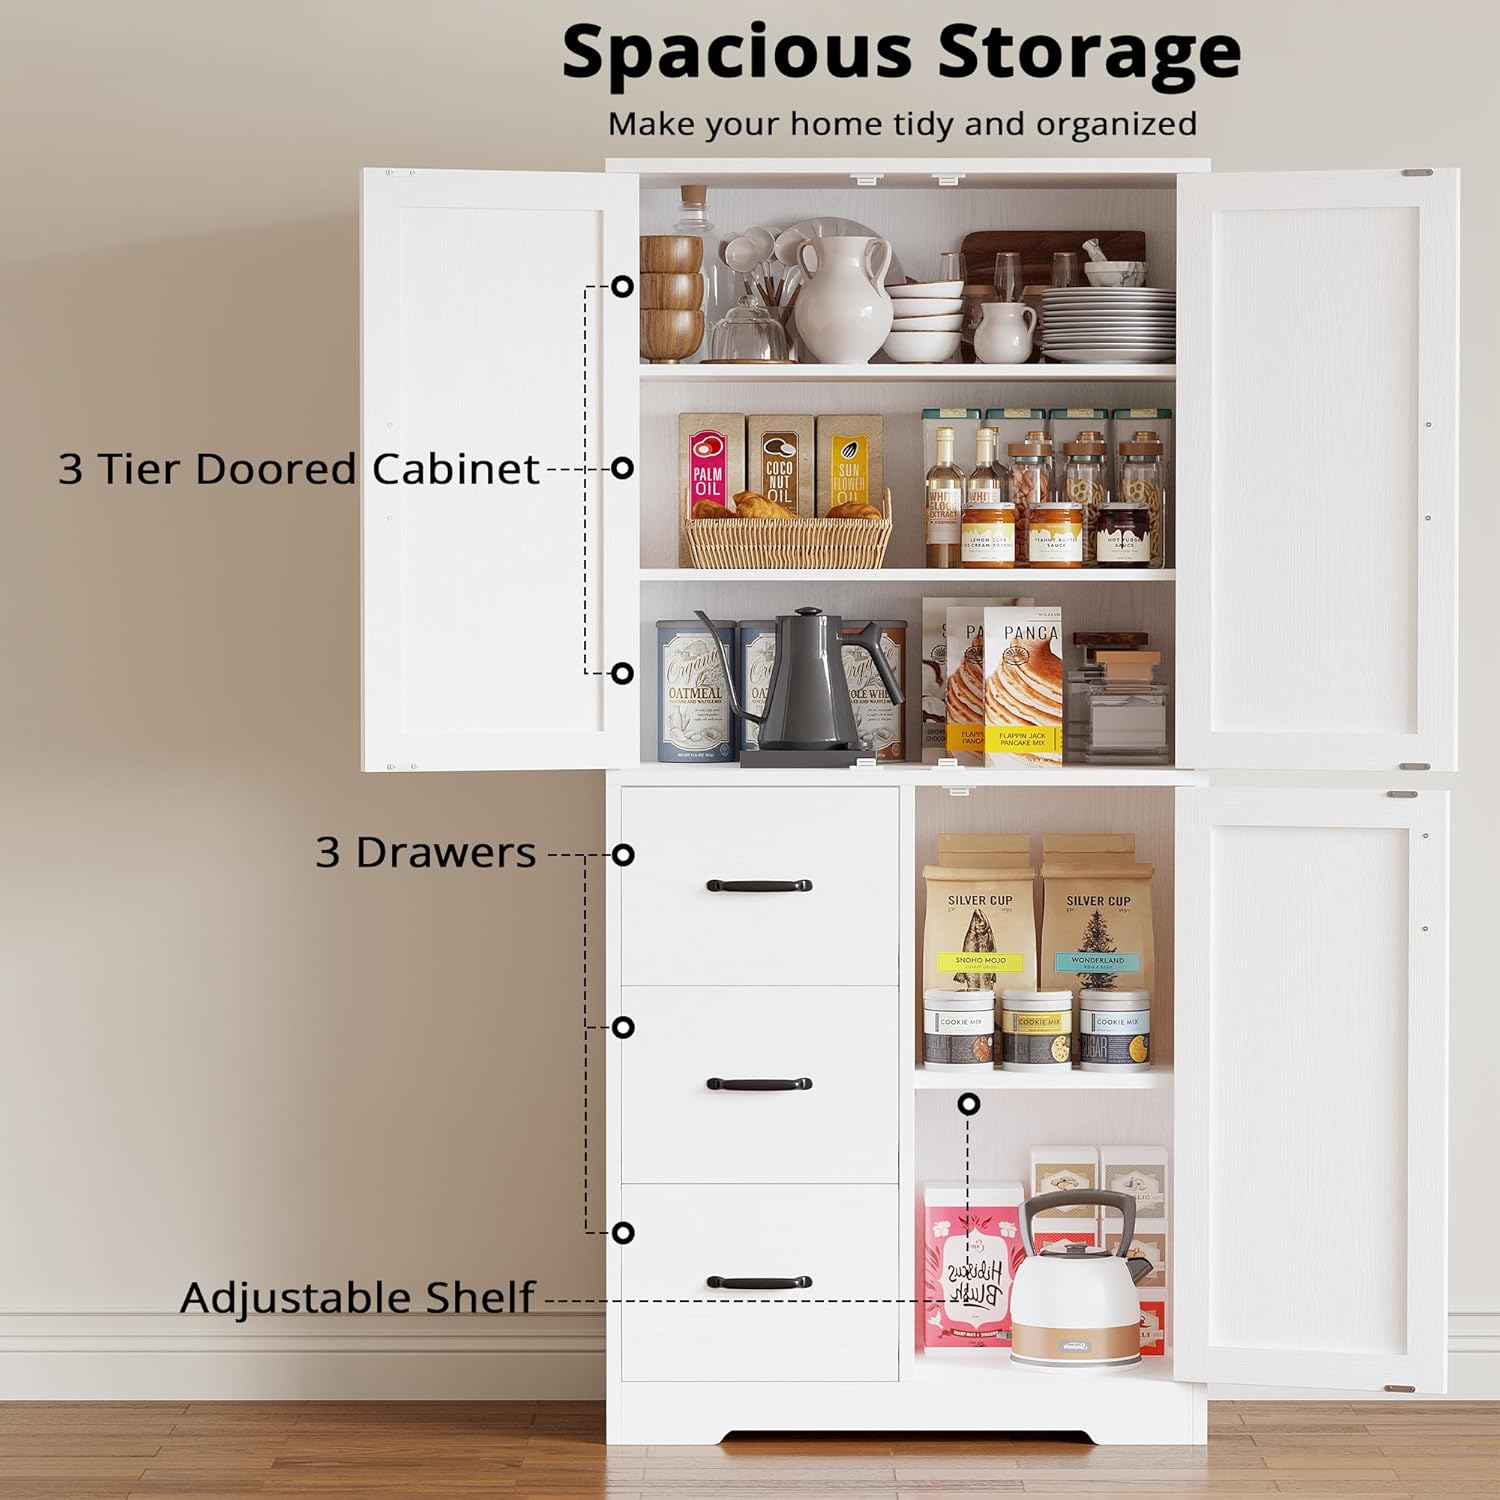
Figure 3: Spacious Storage. This image highlights the ample storage capacity within the cabinet, including the three-tier door cabinet and three drawers.
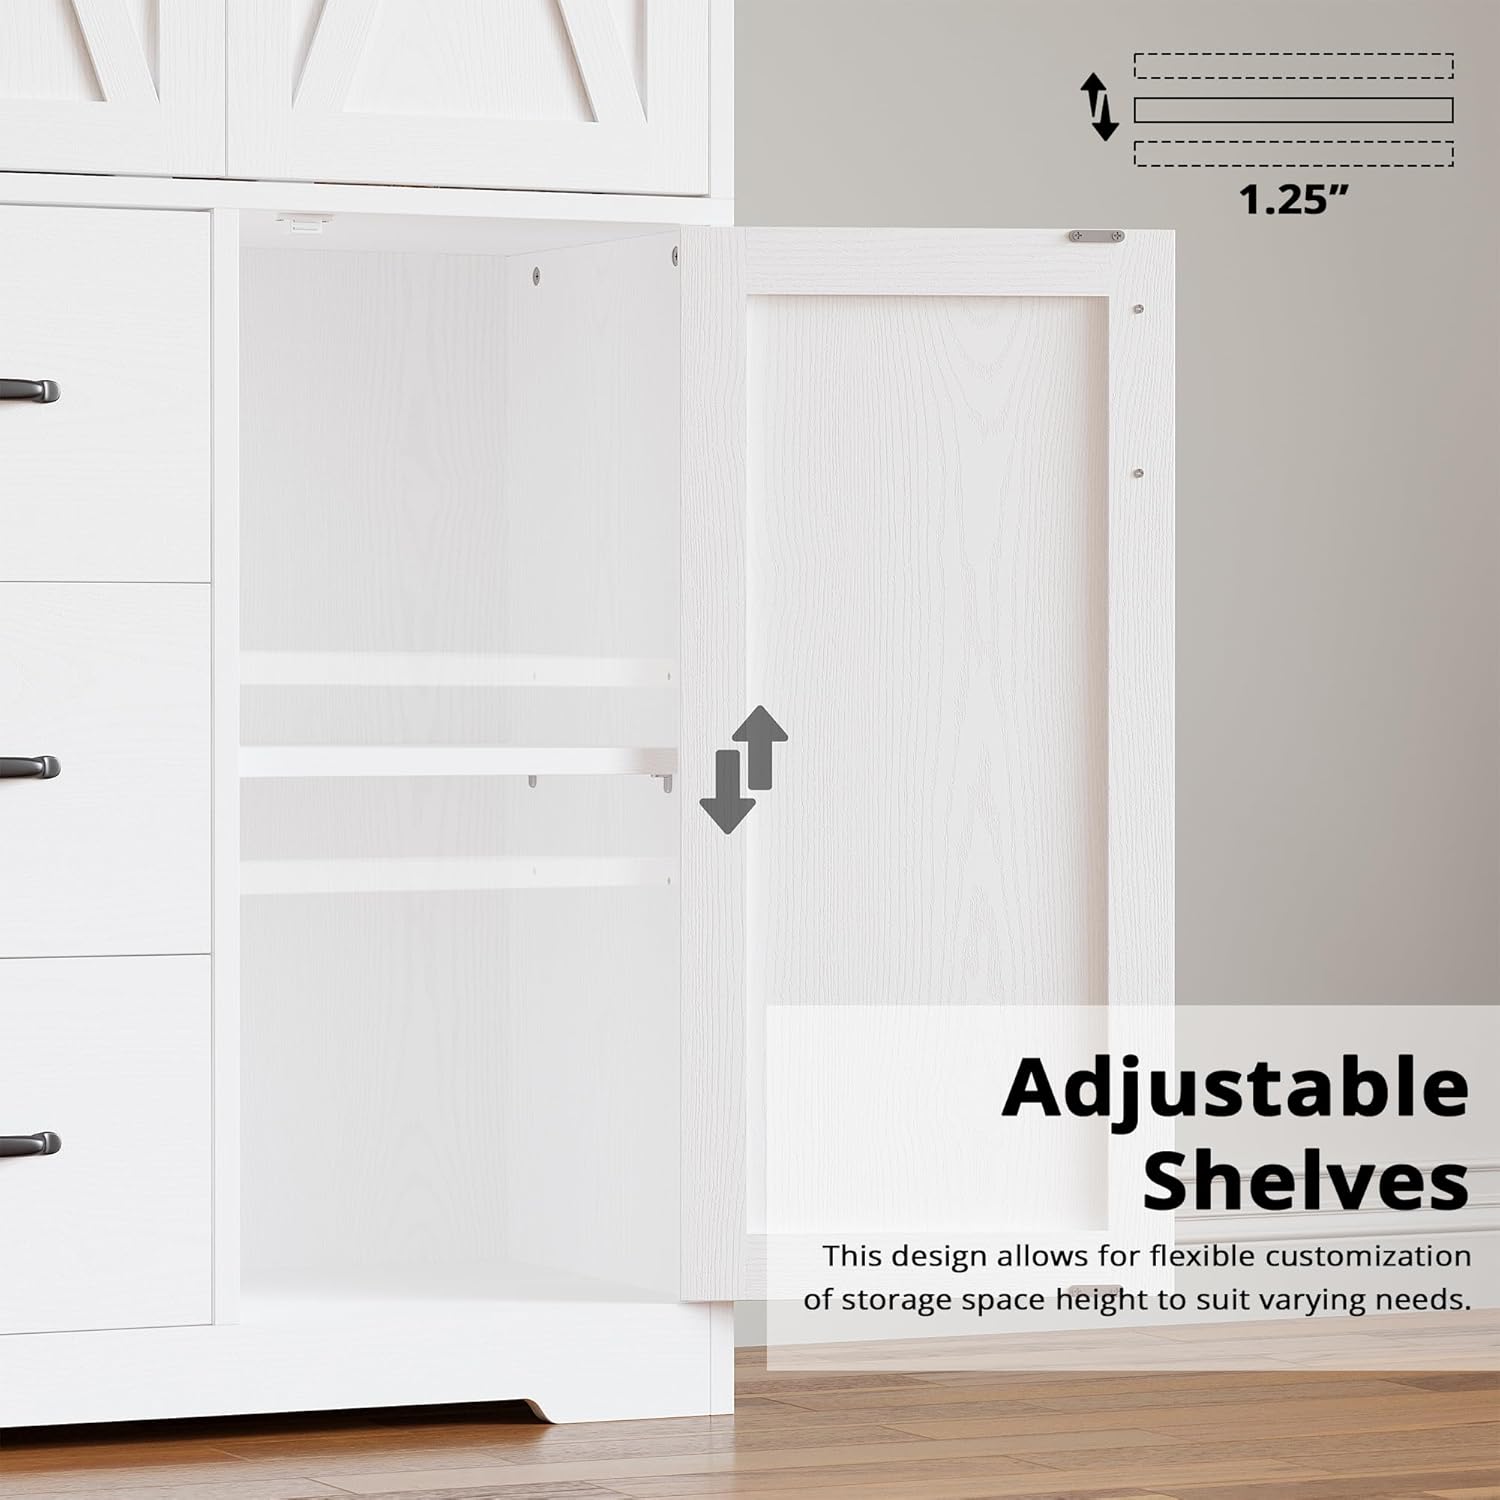
Figure 4: Adjustable Shelves. This image demonstrates the adjustable shelf feature, allowing users to customize shelf height for various items.

Figure 5: Smooth Drawers. This image shows the three drawers, emphasizing their smooth operation and storage capability.

Figure 6: Completed Cabinet in a Room. This image presents the fully assembled cabinet in a typical home environment, highlighting its aesthetic appeal.
Operating Instructions
Adjusting Shelves:
The cabinet features adjustable shelves to accommodate items of various heights. To adjust a shelf, carefully remove any items, lift the shelf, and reposition the shelf pins into the desired holes. Ensure all four pins are securely in place before placing items back on the shelf.
Using Doors and Drawers:
The doors are equipped with magnetic catches for secure closure. Gently pull the handles to open. The drawers are designed for smooth gliding; pull them out evenly to access contents and push them in completely to close.
Maintenance
Cleaning:
Wipe the cabinet surfaces with a soft, damp cloth. Avoid using harsh chemicals or abrasive cleaners, as these can damage the finish. Dry immediately with a clean cloth.
Care for Engineered Wood:
Protect the cabinet from direct sunlight and extreme temperature changes to prevent warping or discoloration. Avoid placing hot items directly on the surface without protection.
Anti-Tipping Device:
Regularly check the anti-tipping device to ensure it remains securely fastened to both the cabinet and the wall. Re-tighten screws if necessary.
Troubleshooting
- Wobbly Cabinet: Ensure all cam locks and screws are fully tightened. Check that the cabinet is on a level surface. Adjust leveling feet if applicable.
- Drawers Not Sliding Smoothly: Verify that the drawer slides are correctly installed and aligned. Apply a silicone-based lubricant to the slides if needed.
- Doors Not Closing Properly: Check the alignment of the hinges and magnetic catches. Adjust hinges as necessary to ensure proper door closure.
Specifications
| Feature | Detail |
|---|---|
| Brand | IRONCK |
| Model Name | 1063908 |
| Product Dimensions | 15.2"D x 31.5"W x 67.5"H |
| Color | White |
| Material | Engineered Wood |
| Number of Doors | 3 |
| Number of Drawers | 3 |
| Number of Shelves | 5 (Adjustable) |
| Installation Type | Freestanding |
| Special Feature | Durable, Anti-tipping mechanism |
| Item Weight | 94.8 Pounds |
Warranty
For warranty information, please refer to the documentation included with your purchase or contact IRONCK customer service directly. Warranty terms and conditions may vary.
Support
If you encounter any issues or have questions regarding your IRONCK Pantry Cabinet, please contact the manufacturer's customer support. Refer to your purchase documentation for contact details.