
1. Introduction
The NCVI 8132 2-in-1 Electric Breast Pump is designed to provide mothers with a versatile and comfortable milk expression experience. This device offers two distinct pumping styles: traditional bottle collection and hands-free wearable cups. Equipped with VibeRelief Massage Micro-Vibration technology and hospital-grade suction, it aims to optimize milk flow, reduce discomfort, and support a customizable pumping routine. This manual provides detailed instructions for setup, operation, maintenance, and troubleshooting to ensure safe and effective use of your breast pump.
2. Product Components
The NCVI 8132 breast pump system includes various components for both bottle and wearable collection. Familiarize yourself with all parts before assembly and use.
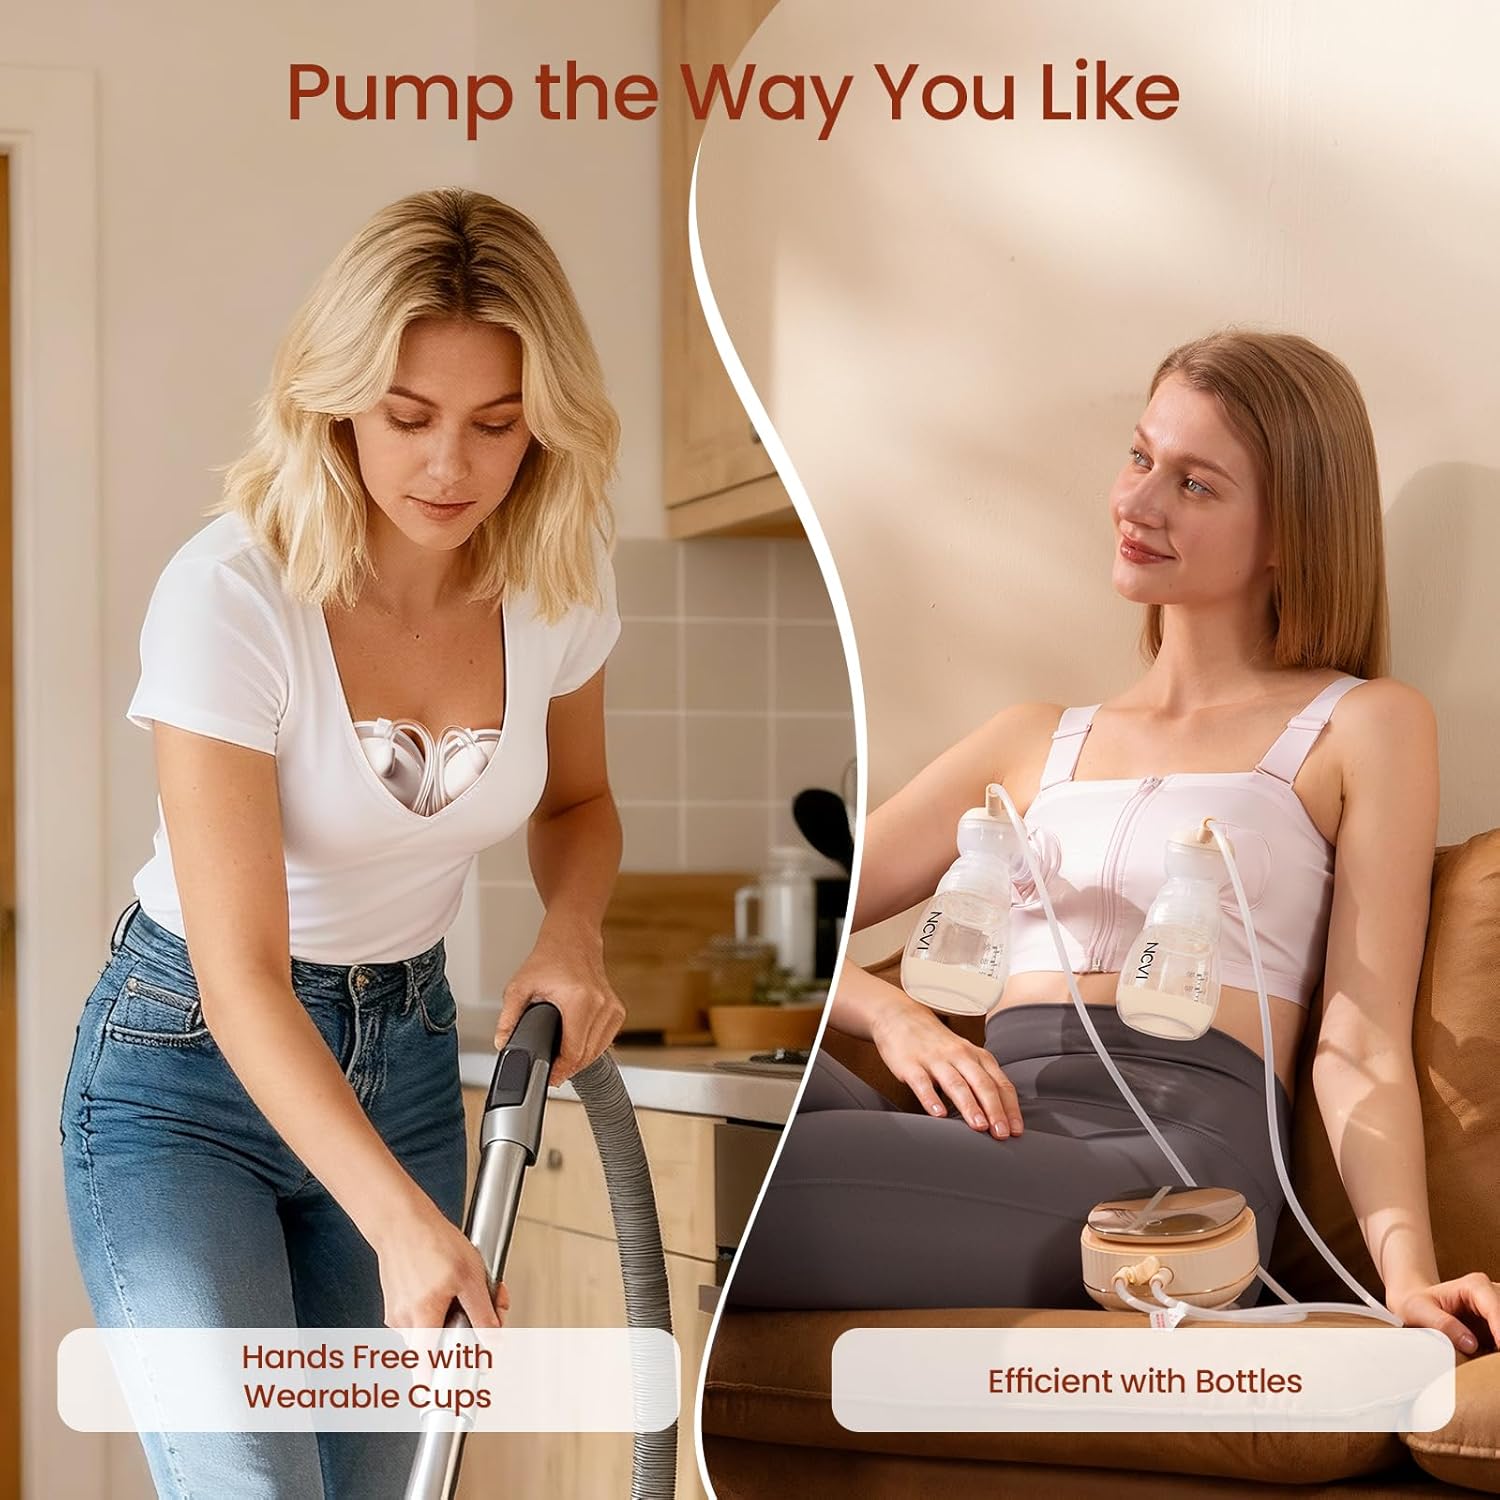
Image: NCVI 8132 Electric Breast Pump with both bottle and wearable collection setups. This image displays the main pump unit, two bottle collection sets, and two wearable collection cups, illustrating the dual functionality of the product.

Image: All components of the NCVI 8132 breast pump system laid out. This image shows the pump motor, tubing, bottle sets (flanges, bottles, valves, nipples, caps), wearable cups (flanges, cups, valves), flange inserts, USB-C cable, nursing pads, milk storage bags, user manual, and nipple ruler.
- Pump Motor: Main unit with LED touch screen, controls modes, suction, speed, and features a night light.
- Tubing: Connects the collection sets to the pump motor.
- Bottle Collection Set (x2): Includes 24mm flanges, bottles (6oz), duckbill valves, diaphragms, nipples, and caps. Additional flange inserts (17mm, 19mm, 21mm) are provided.
- Wearable Collection Cups (x2): Includes 28mm flanges, collection cups, duckbill valves, and 24mm inserts.
- USB Type-C Cable: For charging the pump motor.
- Disposable Nursing Pads: For convenience.
- Milk Storage Bags: For storing expressed milk.
- Nipple Ruler: To help determine correct flange size.
3. Setup and Assembly
Before first use, ensure all parts that come into contact with breast milk are sterilized and correctly installed. Wash your hands thoroughly before handling pump parts.
3.1 Flange Sizing
Correct flange sizing is crucial for comfort and efficient milk expression. Use the provided nipple ruler to measure your nipple diameter. The flange tunnel should be 2-4mm larger than your nipple diameter after a pumping session. Inserts are provided for smaller sizes.

Image: Flange size guide with various measurements. This image illustrates how to use a nipple ruler to find the correct flange size for optimal comfort and milk flow.
3.2 Assembling the Bottle Collection Set
- Insert the duckbill valve firmly into the bottom of the connector piece.
- Place the diaphragm onto the top of the connector piece, ensuring a tight seal.
- Screw the bottle onto the bottom of the connector piece.
- Attach the flange to the top of the connector piece.
- Connect one end of the tubing to the connector on the diaphragm.
- Connect the other end of the tubing to the pump motor (left or right port).
3.3 Assembling the Wearable Collection Cups
- Insert the duckbill valve firmly into the bottom of the flange.
- Attach the flange to the collection cup, ensuring the ridge of the flange aligns with the groove on the cup for a secure fit.
- Press the seal plug firmly into the top of the flange.
- Attach the upper cover onto the diaphragm, ensuring it is sealed well.
- Connect one end of the tubing (without the connector) to the port on the upper cover.
- Connect the other end of the tubing (with the connector) to the pump motor (left or right port).
Video: How To Use NCVI 2 in 1 Pump ASSEMBLY & TIPS. This video provides a detailed guide on assembling both the bottle and wearable collection sets for the NCVI 2-in-1 breast pump, including tips for proper connection.
Video: How to Install NCVI Wearable Cups of Breast Pump. This video demonstrates the correct installation process for the wearable collection cups, ensuring a secure and effective setup.
4. Operating Instructions
The NCVI 8132 pump motor features an intuitive LED touch screen for easy operation. Ensure the pump is adequately charged before use.
4.1 Power On/Off and Night Light
- Power Button: Long press to turn the pump on or off. A short press will pause/resume pumping.
- Night Light Button: Press the sun icon to turn the soft night light on or off, useful for nighttime sessions.

Image: NCVI 8132 pump motor with LED screen and night light. The image highlights the illuminated base of the pump motor, indicating the night light feature.
4.2 Pumping Modes and Settings
The pump offers 4 distinct modes, 9 suction levels, and 5 speed settings for personalized comfort and efficiency. Use the 'M' button to cycle through the modes.

Image: NCVI 8132 pump modes and settings on LED screen. This image displays the pump's LED screen with various icons representing the 4 modes, 9 suction levels, and 5 speed settings.
- Multitronic Mode (Variable Frequency): Designed to get more milk by varying frequency.
- Massage Mode (Gentle Stimulation): Gentle stimulation to initiate milk flow and let-down.
- Suck Simulate Mode (Natural Sucking): Simulates a baby's natural sucking pattern.
- Express Mode (Slow and Deep Sucking): Slow and deep suctions to empty the breast efficiently.
- Suction Levels: Adjust from 1 to 9 using the '+' and '-' buttons for vacuum intensity.
- Speed Settings: Adjust from 1 to 5 using the '+' and '-' buttons for cycle speed.
Video: NCVI Customizable Electric Pump 8132 with Micro-vibration. This video showcases the various customizable modes, suction levels, and speed settings available on the NCVI 8132 pump, demonstrating how users can tailor their pumping experience.
4.3 VibeRelief Massage Micro-Vibration Technology
This unique technology provides gentle micro-vibrations during pumping, mimicking a baby's natural rhythm. It helps to:
- Relax breast tissue and relieve blockages.
- Reduce discomfort and pain during pumping.
- Promote a smoother let-down and consistent milk flow.
- Increase overall milk output.

Image: Micro-vibration technology diagram. This diagram illustrates how gentle vibrations combine with suction to enhance comfort and milk flow compared to traditional pumps.
Video: NCVI Micro-Vibration Massage Breast Pump with Wearable Cups. This video highlights the micro-vibration massage feature, showing how it contributes to a more comfortable and effective pumping experience.
5. Pumping Session Guidelines
For optimal results, follow these general guidelines for your pumping sessions:
- Preparation: Ensure your breast is clean and relaxed. Use a warm compress or gentle massage before attaching the pump.
- Attachment: Place the flange firmly against your breast, ensuring your nipple is centered in the tunnel. There should be no gaps to maintain suction. For wearable cups, ensure they are securely placed within your bra.
- Starting: Begin in Massage Mode for 1-2 minutes to initiate let-down.
- Expression: Switch to Express Mode or a combination mode (e.g., Multitronic or Suck Simulate) that feels comfortable and effectively empties your breast. Adjust suction and speed as needed.
- Duration: A typical pumping session lasts 15-20 minutes, or until your breast feels empty. This may vary per individual.
- Ending: Before removing the pump, gently break the suction seal by inserting a finger between the flange and your breast. Lean forward to allow any remaining milk to flow into the collection container.
6. Cleaning and Maintenance
Proper cleaning and maintenance are essential for hygiene and pump longevity.
- After Each Use: Disassemble all parts that come into contact with breast milk. Wash them with warm soapy water and rinse thoroughly. All parts are top-rack dishwasher safe.
- Sterilization: Sterilize all milk-contacting parts at least once a day.
- Pump Motor and Tubing: The pump motor and tubing should not come into contact with breast milk. If milk accidentally enters the tubing or motor, clean the tubing with a damp cloth and wipe the motor. Do not immerse the motor in water.
7. Troubleshooting
If you encounter issues with your NCVI 8132 breast pump, refer to these common solutions:
- No Suction or Weak Suction:
- Check that all pump parts are correctly assembled and sealed tightly. Loose connections can cause suction loss.
- Ensure the duckbill valves are clean and not torn or damaged. Replace if necessary.
- Verify the tubing is securely connected to both the collection set and the pump motor, and that there are no kinks.
- Confirm the flange size is correct for your nipple. Incorrect sizing can lead to discomfort and reduced suction.
- Milk Backflow into Tubing:
- Ensure the diaphragm is correctly installed and not damaged. The diaphragm acts as a barrier to prevent milk from entering the tubing.
- Keep the collection bottle/cup upright during pumping.
- Pump Not Turning On:
- Check the battery level. Recharge the pump motor using the provided USB-C cable.
- Ensure the power button is long-pressed to activate the pump.
8. Specifications
| Item Model Number | AM8132-1 |
| Brand | NCVI |
| Material | Polypropylene |
| Power Source | Battery Powered (4400mAh) |
| Special Features | Adjustable Suction, Night Light, Painless, Rechargeable, Wearable, Micro-Vibration |
| Pumping Modes | 4 |
| Suction Levels | 9 |
| Speed Settings | 5 |
| Bottle Capacity | 6 oz |
| Wearable Cup Capacity | 5 oz (approx.) |
| Package Dimensions | 10.98 x 6.85 x 6.77 inches; 3.53 Pounds |
9. Warranty and Support
NCVI offers protection plans for your breast pump. For detailed information on warranty coverage, please refer to the official NCVI website or contact customer support.
- 2-Year Protection Plan: Available for extended coverage.
- 3-Year Protection Plan: Available for extended coverage.
- Complete Protect: A monthly plan covering eligible past and future purchases.
For further assistance, troubleshooting, or to purchase replacement parts, please visit the NCVI Store on Amazon or contact NCVI customer service directly.
