
Introduction
Thank you for choosing the ThermoPro TM04 Digital Kitchen Timer. This versatile timer is designed for various applications, from cooking and baking to study sessions and gym workouts. It features a large LED display, strong magnetic backing, a stable stand, and adjustable volume levels for optimal convenience and usability.
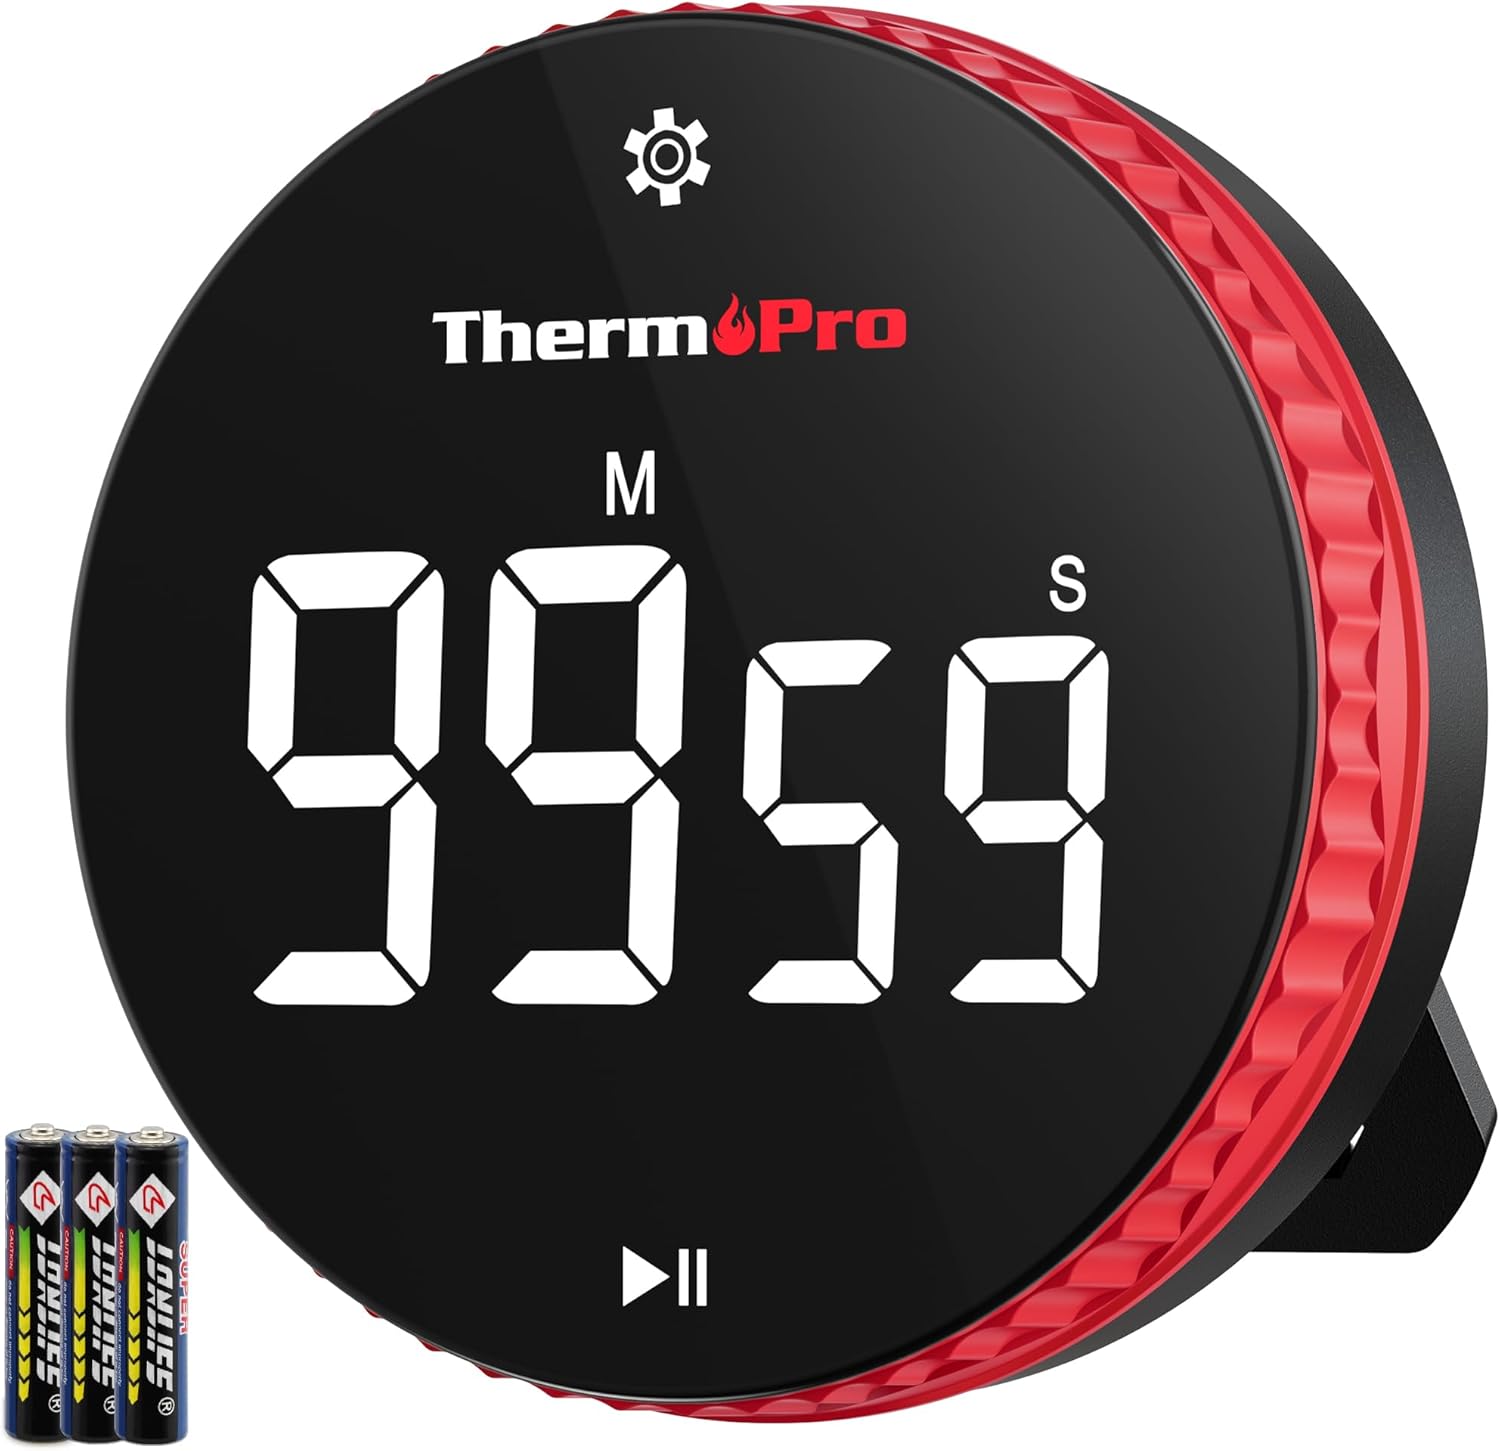
Image: The ThermoPro TM04 Digital Kitchen Timer, showcasing its large digital display and red outer ring. Three AAA batteries are visible next to the timer.
Setup
Battery Installation
The ThermoPro TM04 timer requires 3 AAA batteries (included). To install or replace batteries:
- Locate the battery compartment on the back of the timer.
- Open the battery compartment cover.
- Insert 3 AAA batteries, ensuring correct polarity (+/-).
- Close the battery compartment cover securely.

Image: Close-up of the back of the timer, showing the battery compartment with three AAA batteries inserted.
Operating Instructions
Setting the Timer (Countdown)
- Ensure the timer is powered on.
- Rotate the outer ring clockwise to increase the time or counter-clockwise to decrease it. The display will show minutes and seconds.
- For faster adjustment, rotate the ring rapidly. For fine-tuning seconds, rotate slowly.
- Press the central button (Play/Pause icon) once to start the countdown.
- To pause the countdown, press the central button again. Press it once more to resume.

Image: A four-panel diagram illustrating the steps to set the timer: long-press to switch H/M/S, short-press to jump time, rotate to adjust time, and press to start/pause.
Count-Up Function (Stopwatch)
To use the timer as a stopwatch:
- Ensure the display shows "00:00". If not, long-press the central button to reset it.
- Press the central button once to start counting up.
- Press the central button again to pause the count-up. Press it once more to resume.
- Long-press the central button to reset the stopwatch to "00:00".

Image: A split image demonstrating the timer's count-up function (starting from 00:00) and count-down function (showing 01:30 remaining).
Resetting the Timer
To quickly reset the timer to "00:00", long-press the central button (Play/Pause icon) for 2 seconds.
Volume Adjustment
The timer features 3 adjustable volume settings: High, Low, and Mute. A switch on the back of the timer allows you to select the desired volume level.
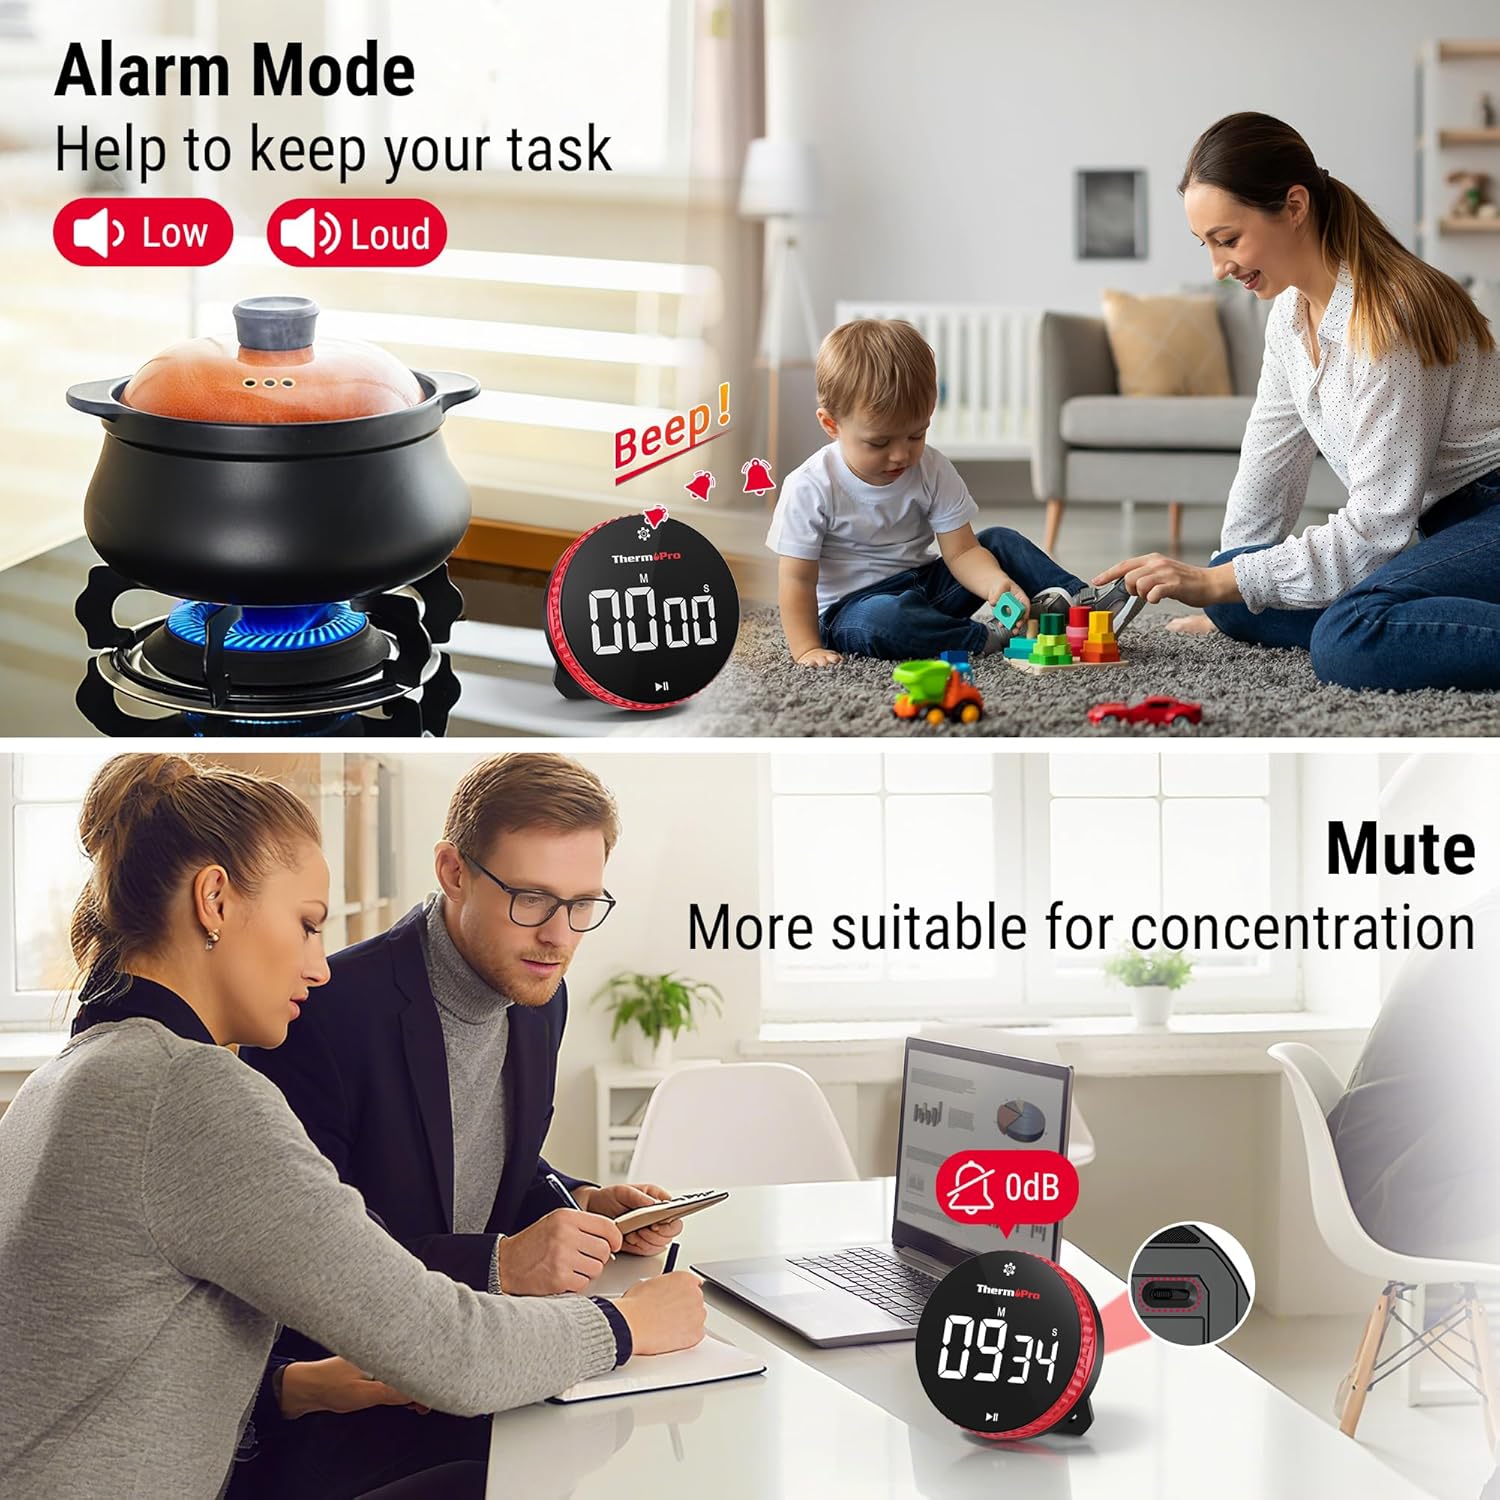
Image: A split image showing the timer in a kitchen with a "Loud" alarm and in an office with a "Mute" setting, indicating different volume options.
Brightness Adjustment and Power Saving
The timer includes an Auto-Dimming mode and an Auto Shut-Off feature to conserve battery life. The display will automatically dim after 30 seconds of inactivity and shut off completely after 60 seconds of inactivity.
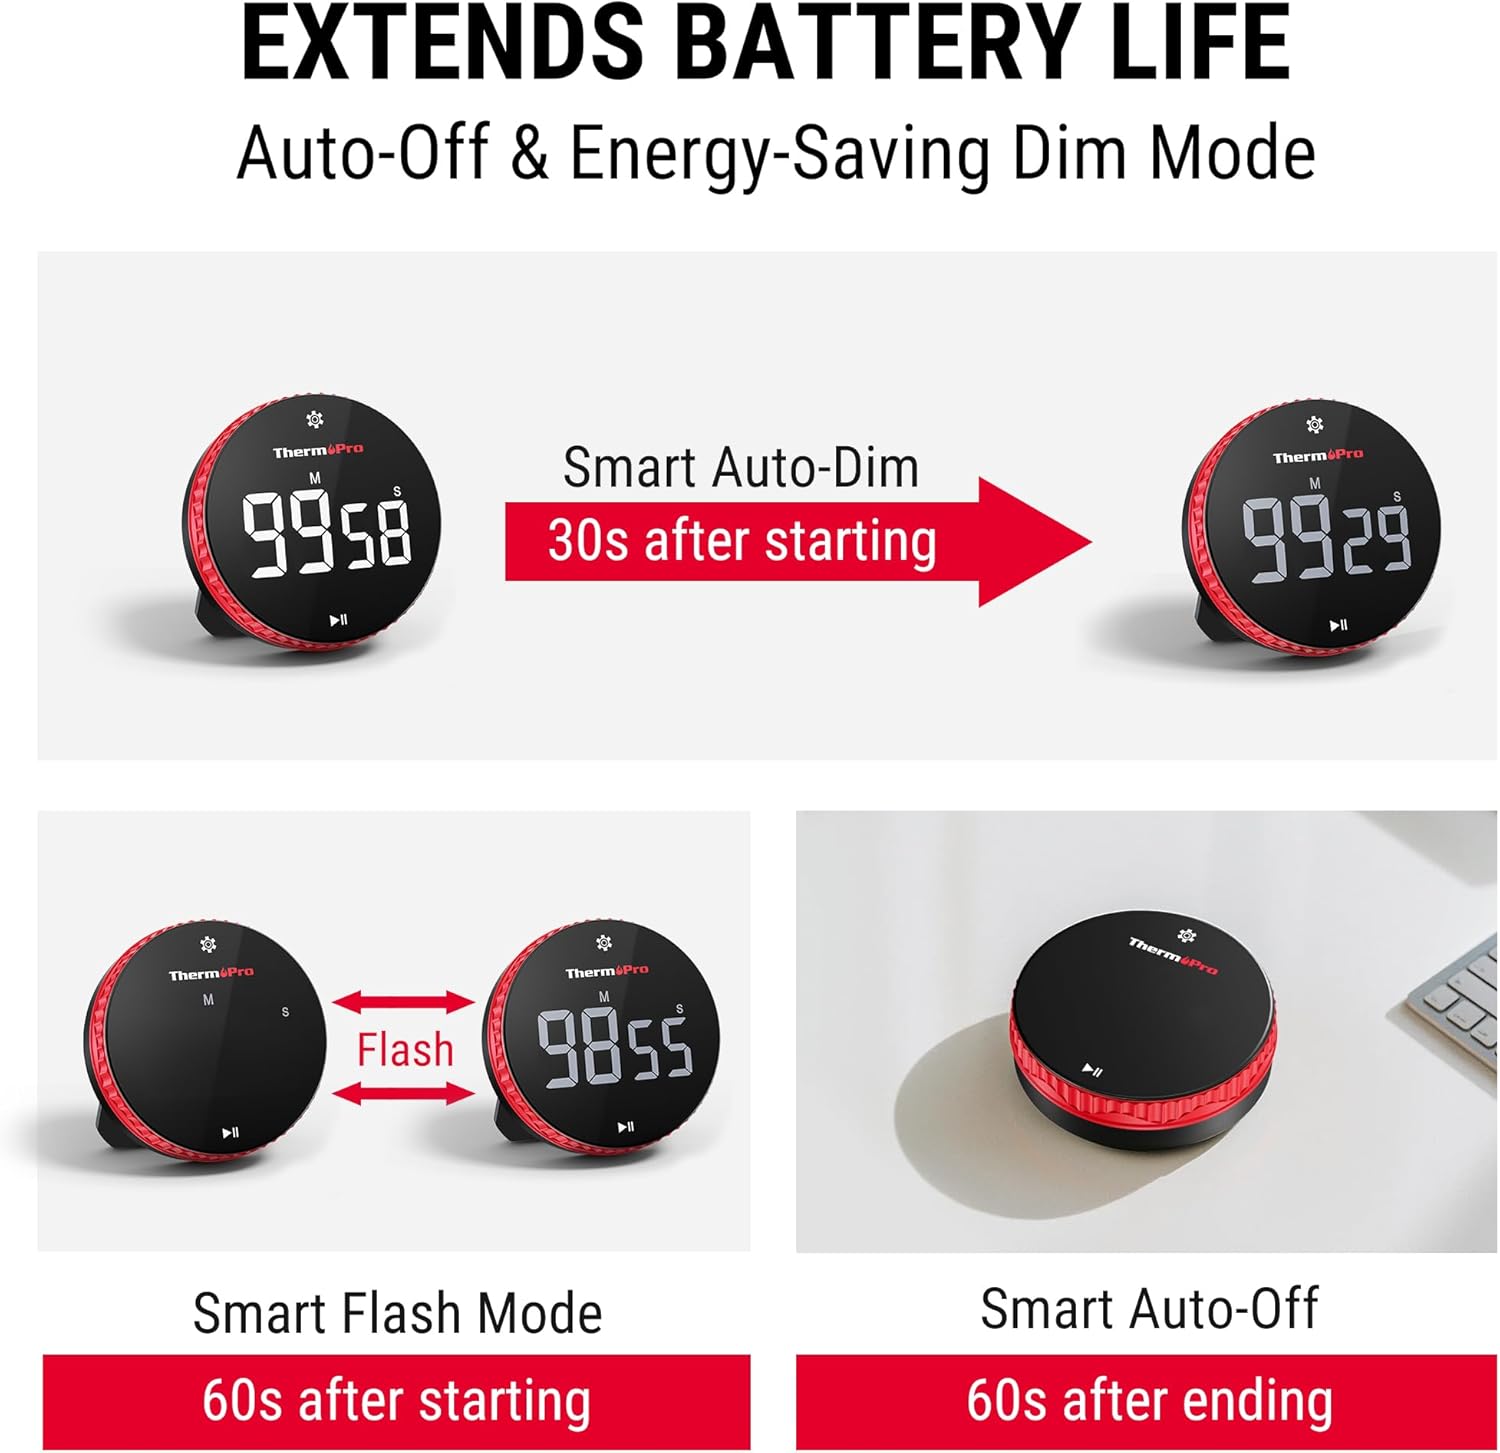
Image: A diagram illustrating the timer's power-saving features: Smart Auto-Dim after 30 seconds, Smart Flash Mode after 60 seconds, and Smart Auto-Off after 60 seconds of ending a timer.
Placement Options
The ThermoPro TM04 offers flexible placement options:
- Strong Magnetic Backing: Attach the timer securely to any metal surface, such as a refrigerator, oven, or whiteboard.
- Stable Stand: Utilize the built-in foldable stand to place the timer upright on a desk, countertop, or any flat surface.

Image: A split image demonstrating the timer's strong magnetic attachment to a metal pegboard and its use with a convenient bracket on a desk.
Features Overview
- 99-Hour Ultra-Long Timing: Capable of timing up to 99 hours and 59 minutes, suitable for long cooking processes, extended study sessions, or other prolonged tasks.
- Effortless Rotary Control: Set time quickly and intuitively by twisting the outer ring.
- Crystal-Clear Large LED Display: Large digits ensure readability from a distance.
- 3-Volume-Level Alarm: Choose between High, Low, or Mute to suit your environment.
- Smart Power Management: Auto-Dimming and Auto Shut-Off features extend battery life.
- Durable Construction: Crafted from high-quality ABS material for longevity.
Maintenance
Cleaning
Wipe the timer with a soft, damp cloth. Do not use abrasive cleaners or immerse the device in water.
Battery Replacement
Replace batteries when the display becomes dim or the timer functions erratically. Refer to the "Battery Installation" section for instructions.
Troubleshooting
- Timer not turning on: Check battery installation and ensure batteries are fresh.
- Display is dim: Ensure the brightness switch on the back is set to the desired level, or replace batteries.
- Alarm is too quiet/loud: Adjust the volume switch on the back of the timer.
- Timer not responding: Remove and reinsert batteries to perform a soft reset.
Specifications
| Brand | ThermoPro |
| Model Number | TM04 |
| Color | Red |
| Material | Plastic (ABS) |
| Product Dimensions | 1.1"D x 3.23"W x 3.23"H |
| Item Weight | 4.2 ounces |
| Batteries | 3 AAA batteries (included) |
| Max Timing Range | 99 Hours, 59 Minutes |
| Volume Settings | 3 (High, Low, Mute) |
Warranty and Support
The ThermoPro TM04 Digital Kitchen Timer comes with a 1-year warranty. For customer support or warranty claims, please contact ThermoPro USA directly. Their friendly customer support team is available to assist you.
Seller: TempPro USA
Product Videos
Watch these videos for additional demonstrations and tips on using your ThermoPro TM04 Digital Kitchen Timer.
Easy to use and lights up in the dark!
Video: An Amazon Customer demonstrates the ease of use and the illuminated display of the timer, particularly in low-light conditions.
Excellent, Intuitive, Easy To Use Timer!
Video: A user highlights the intuitive design and simple operation of the timer, showcasing its user-friendly interface.
Love this wheel-style timer in spite of some small limitations
Video: A user provides a detailed review of the timer, focusing on its unique rotary design and practical applications.