
1. Introduction
Thank you for choosing the Powerology Portable Air Compressor Jump Starter. This multi-functional device is designed to provide reliable assistance in various emergency situations, including jump-starting vehicles and inflating tires. Please read this manual thoroughly before use to ensure safe and optimal performance.

Figure 1.1: The Powerology Portable Air Compressor Jump Starter, showcasing its main unit, jump starter cables (red and black clamps), and the air inflation hose. The digital display is visible on the unit.
2. Safety Information
Always observe the following safety precautions to prevent injury or damage to the device:
- Do not expose the device to extreme temperatures, direct sunlight, or moisture.
- Keep out of reach of children.
- Ensure proper ventilation during operation and charging.
- Do not disassemble or modify the device. Refer all servicing to qualified personnel.
- Use only the provided accessories and cables.
- Avoid short-circuiting the jump starter clamps.
3. Product Overview
3.1 Components
- Main Unit (Portable Air Compressor Jump Starter)
- Smart Jump Starter Cables
- Air Inflation Hose
- USB-C Charging Cable
- Various Nozzle Adapters for inflation
3.2 Key Features
- Battery Capacity: 8800mAh
- Peak Current: 800A (for jump starting)
- Max Inflation Pressure: 150 PSI
- Inflation Speed: 31.4 Liters/Minute
- Engine Compatibility: Up to 5.0L Gasoline, 3.0L Diesel
- Power Bank Function: Dual USB Output, including 20W Power Delivery (PD) via USB-C
- Display: Digital LED screen for real-time pressure and battery status

Figure 3.1: A detailed view of the digital display on the Powerology unit, indicating battery charge, selectable pressure units (PSI, BAR, KPA, KG/CM²), and control buttons for mode selection and pressure adjustment.
4. Setup
4.1 Initial Charging
Before first use, fully charge the device. Connect the provided USB-C charging cable to the device's USB-C input port and the other end to a compatible USB power adapter (not included). The digital display will indicate the charging status. A full charge typically takes approximately 2 hours with a 20W PD charger.
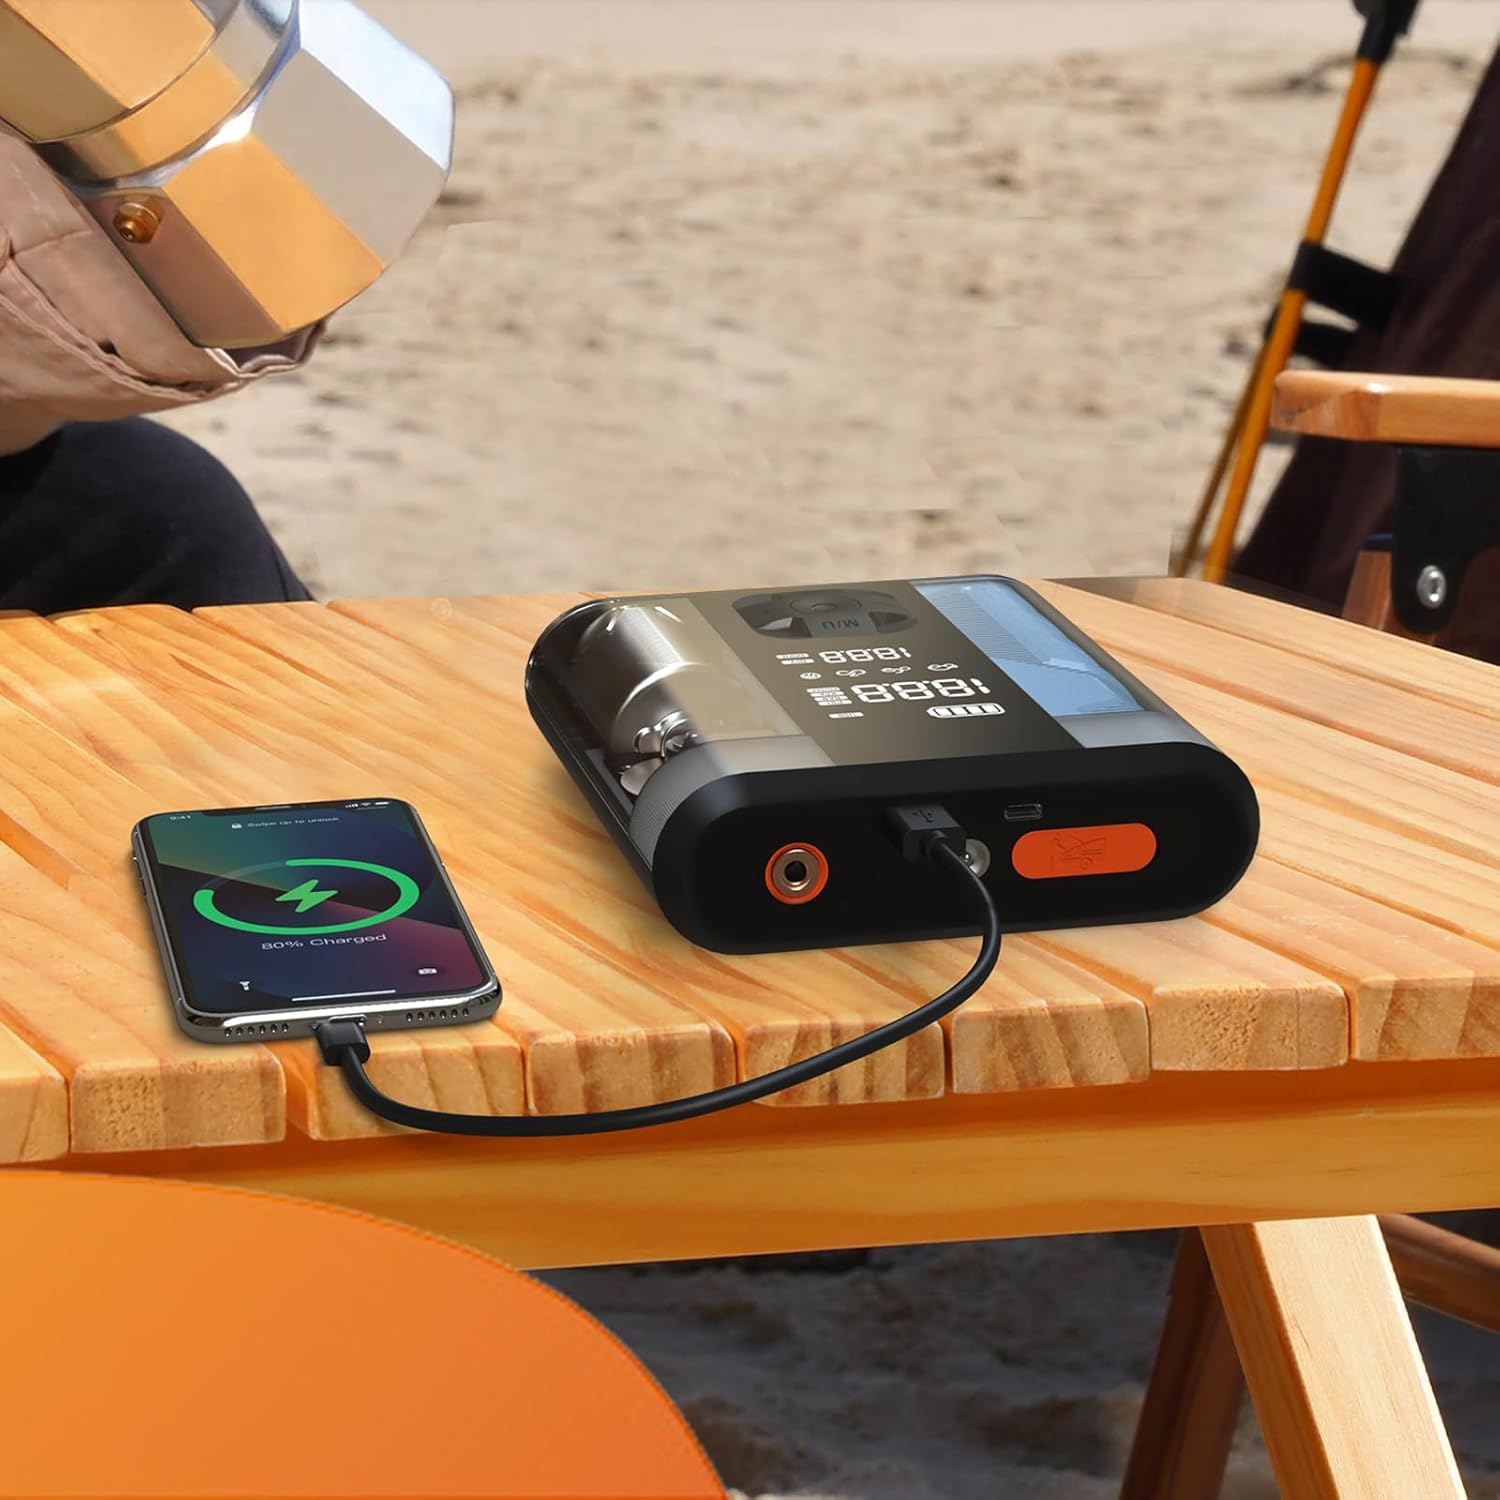
Figure 4.1: The Powerology device connected via USB-C cable to a smartphone, demonstrating its power bank functionality. The phone screen shows a charging indicator.
5. Operating Instructions
5.1 Jump Starting a Vehicle
- Ensure the jump starter is at least 50% charged.
- Turn off the vehicle's ignition and all accessories.
- Connect the red (+) clamp to the positive (+) terminal of the vehicle's battery.
- Connect the black (-) clamp to the negative (-) terminal of the vehicle's battery.
- Connect the smart cable connector to the jump starter port on the device.
- Start the vehicle. If it doesn't start immediately, wait 30 seconds and try again. Do not attempt more than 3 consecutive starts.
- Once the vehicle starts, disconnect the smart cable from the jump starter, then remove the black (-) clamp, followed by the red (+) clamp.
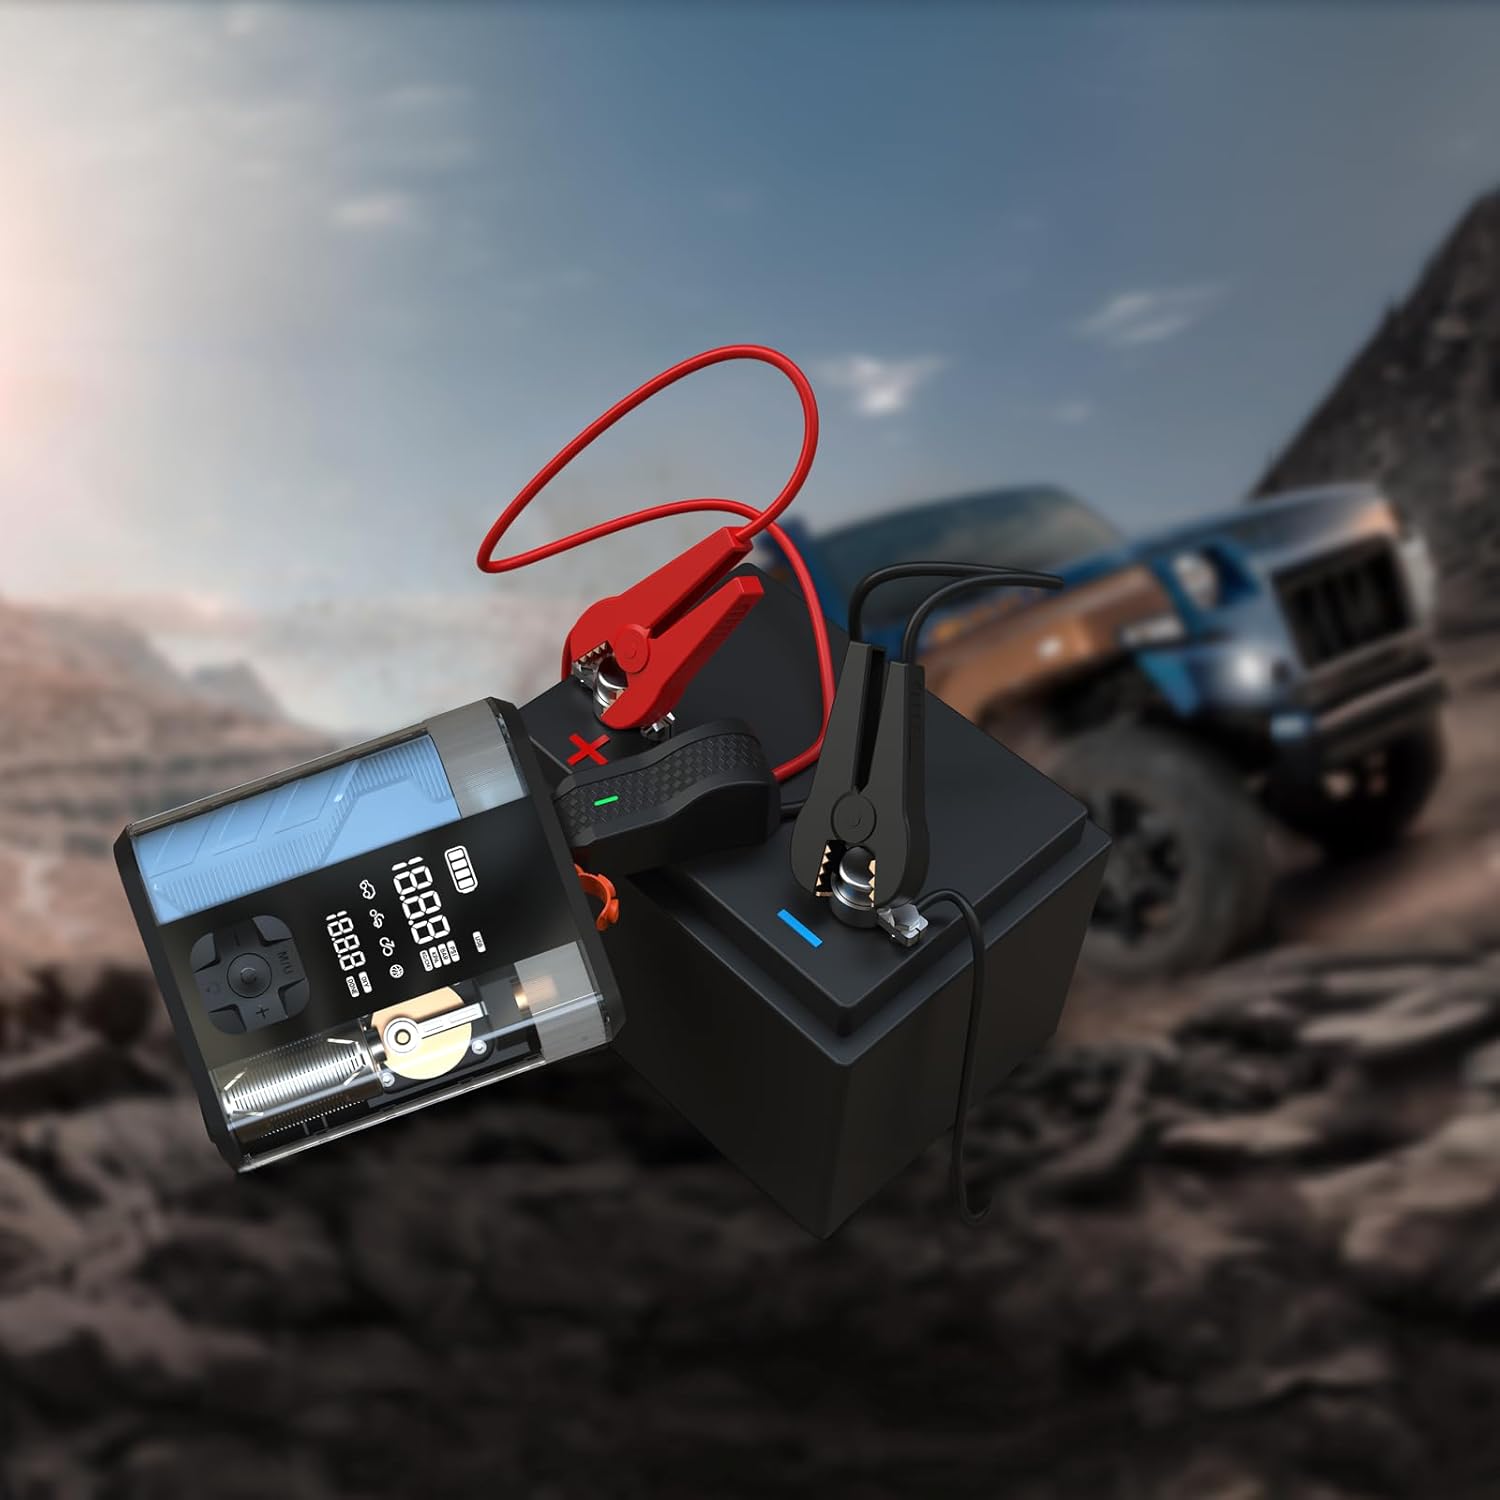
Figure 5.1: The Powerology device with its jump starter cables connected to a vehicle battery, illustrating the process of jump starting a car in an outdoor setting.
5.2 Inflating Tires
- Connect the air inflation hose to the device's inflation port.
- Attach the other end of the hose to the tire valve.
- Turn on the device. The digital display will show the current tire pressure.
- Use the '+' and '-' buttons to set the desired pressure.
- Press the start button to begin inflation. The device will automatically stop when the preset pressure is reached.
- Disconnect the hose from the tire valve and the device.

Figure 5.2: The Powerology device positioned next to a car tire, with the inflation hose connected, demonstrating its use as an air compressor for tire inflation.
5.3 Using as a Power Bank
Connect your electronic devices (e.g., smartphones, tablets) to the USB-A or USB-C output ports on the Powerology unit using a compatible charging cable. The device will automatically begin charging your connected device.
6. Maintenance
- Cleaning: Wipe the device with a soft, dry cloth. Do not use harsh chemicals or abrasive cleaners.
- Storage: Store the device in a cool, dry place away from direct sunlight and extreme temperatures. Ensure it is fully charged before long-term storage and recharge every 3-6 months to maintain battery health.
- Battery Care: Avoid fully discharging the battery frequently to prolong its lifespan.
7. Troubleshooting
| Problem | Possible Cause | Solution |
|---|---|---|
| Device does not turn on | Low battery or no charge | Charge the device fully. |
| Vehicle does not jump start | Incorrect clamp connection; vehicle battery too low; engine too large | Check connections; ensure device is fully charged; verify engine compatibility. |
| Tire not inflating | Hose not securely connected; wrong pressure unit selected; hose kinked | Ensure hose is tight; check pressure unit; straighten hose. |
| Device overheating | Prolonged use; blocked vents | Allow device to cool down; ensure vents are clear. |
8. Specifications
| Feature | Detail |
|---|---|
| Brand | Powerology |
| Model | PPBCHA47 |
| Battery Type | Lithium-ion |
| Battery Capacity | 8800mAh |
| Peak Current | 800A |
| Max Inflation Pressure | 150 PSI |
| Inflation Speed | 31.4 L/min |
| USB-C Output | 20W PD |
| Product Dimensions | 4.1 x 13.6 x 15.7 cm |
| Product Weight | 740 g |
9. Warranty and Support
This Powerology product comes with a standard manufacturer's warranty. For detailed warranty information, technical support, or service inquiries, please refer to the warranty card included in your product packaging or visit the official Powerology website. Keep your purchase receipt as proof of purchase.


