

Important Safety Information
Read all instructions carefully before using the appliance. Retain this manual for future reference.
- Always disconnect the vacuum cleaner from the power supply before cleaning or performing maintenance.
- Do not pick up flammable or combustible materials, hot ashes, or large, sharp objects.
- Do not immerse the motor head in water or other liquids.
- Ensure all filters are correctly installed before operation.
- This appliance is for domestic use only.
Package Contents
Verify that all items are present in the packaging:
- 1x Hoover Wet & Dry vacuum cleaner
- 1x Flexi hose and tube attachment
- 1x 2-in-1 Crevice tool
- 1x Floor brush
- 1x Instruction manual

All components included with the Hoover HWD21 Wet Dry Drum Vacuum.
Assembly and Setup
- Unpacking: Carefully remove all components from the packaging.
- Attaching Castor Wheels: Invert the tank and firmly push the castor wheels into their designated slots on the base. Ensure they click into place.

Ensure castor wheels are securely attached for mobility.
- Connecting the Hose: Insert the flexible hose into the suction inlet on the front of the vacuum cleaner until it is secure. For the blower function, connect the hose to the exhaust outlet.
- Attaching Extension Tubes and Nozzles: Connect the desired extension tubes to the hose, then attach the appropriate nozzle (e.g., floor brush, crevice tool) for your cleaning task.
Operating Instructions
Powering On/Off
Plug the power cord into a suitable electrical outlet. Press the green "ON" button to start the vacuum and the red "OFF" button to stop it.
Location of the power ON (green) and OFF (red) buttons.
Dry Vacuuming
For dry vacuuming, ensure the dry filter is correctly installed inside the tank. Attach the floor brush or crevice tool as needed. Move the nozzle over the dry debris to collect it.

The floor brush attachment effectively cleans dry debris from hard surfaces.
Wet Vacuuming
For wet vacuuming, remove the dry filter. Attach the appropriate wet nozzle (if different from dry, or use the floor brush without the brush insert). Carefully vacuum liquid spills. Do not overfill the tank; the float mechanism will stop suction when full.

The vacuum efficiently handles liquid spills on various surfaces.
Blower Function
To use the blower function, detach the hose from the suction inlet and connect it to the exhaust outlet located on the motor head. Turn on the vacuum to use it as a blower for clearing debris from pathways or hard-to-reach areas.

The blower function helps clear debris from surfaces.
Using Attachments
- Multi-surface Floor Nozzle: Ideal for general cleaning on both hard floors and carpets.
- 2-in-1 Crevice Tool: Use the narrow end for tight spaces and corners. Slide the brush attachment forward for dusting delicate surfaces or upholstery.
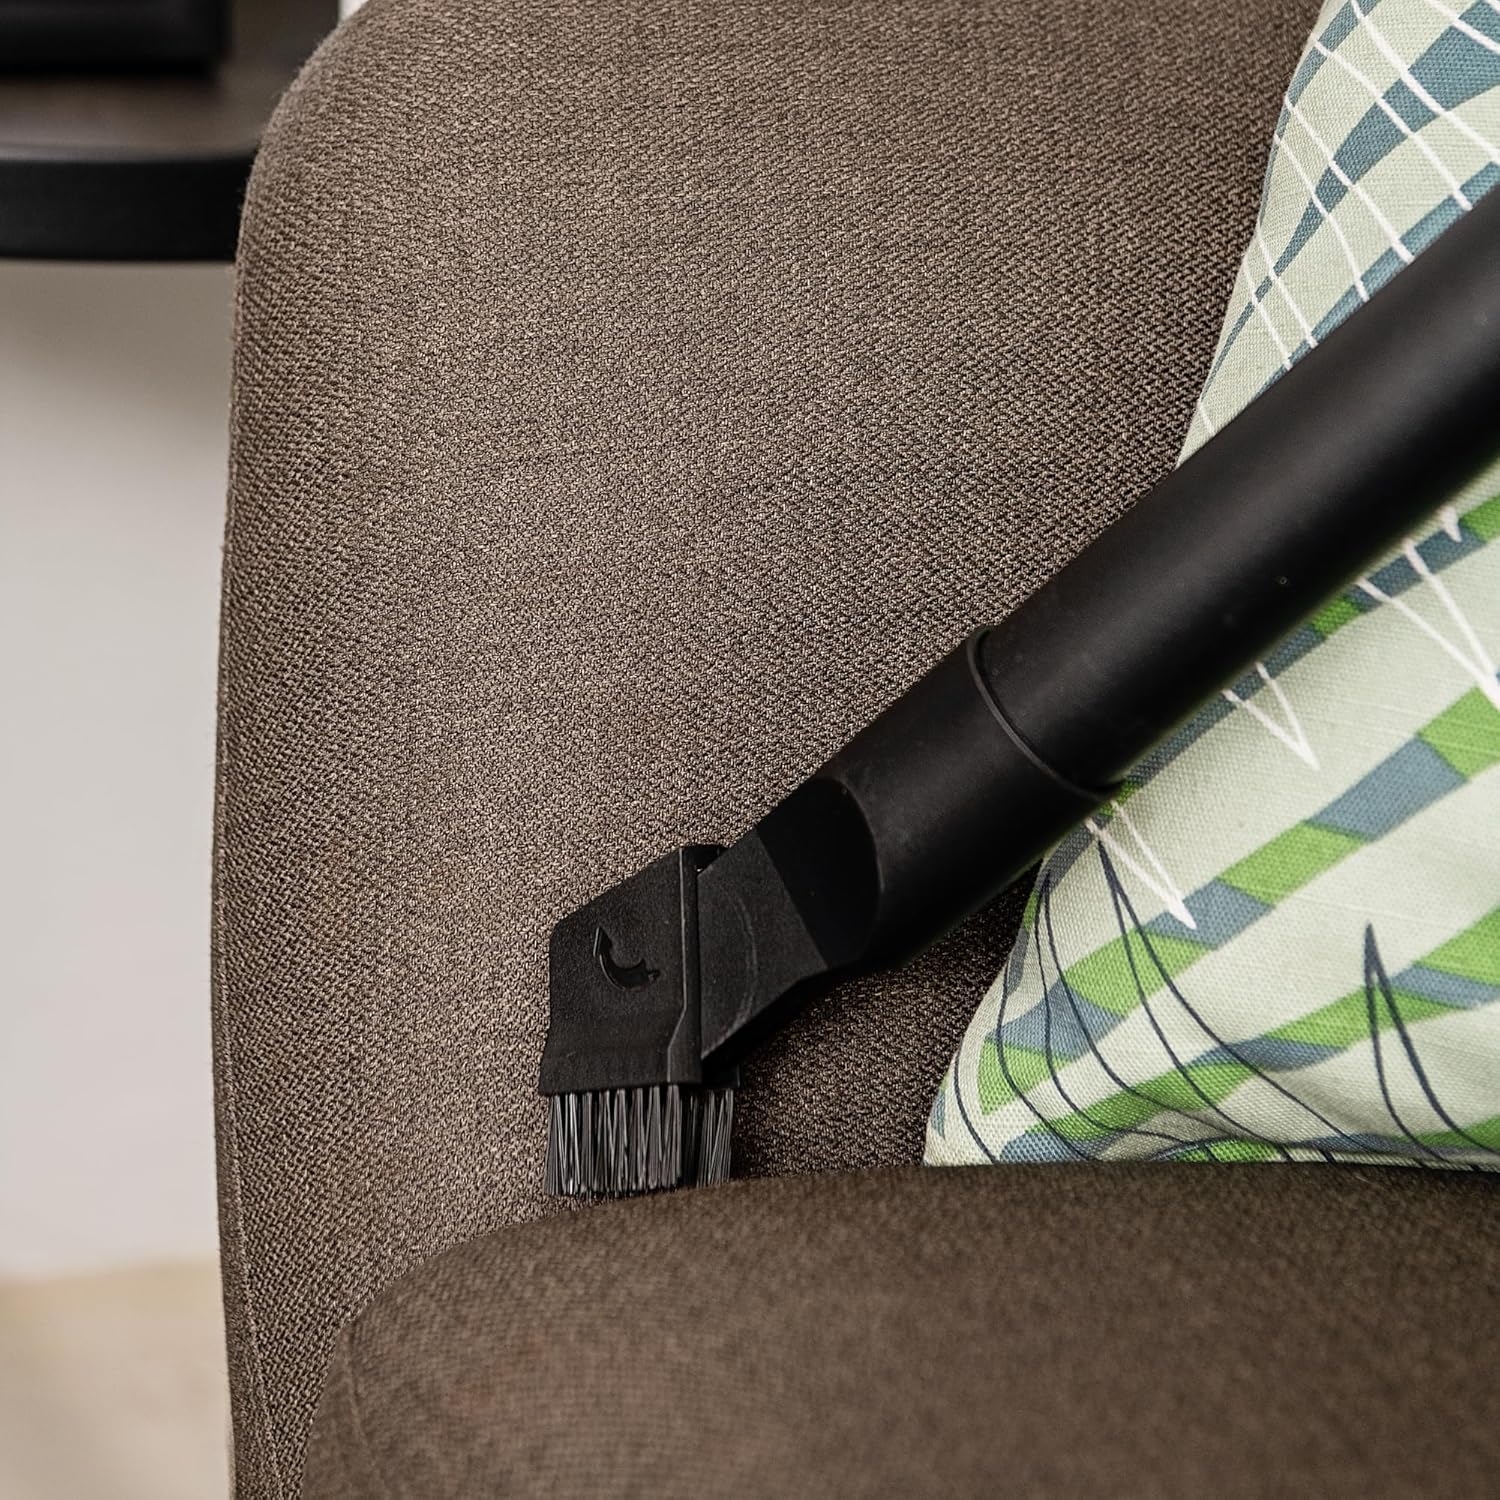
The crevice tool with brush is suitable for cleaning upholstery and tight areas.
Maintenance
Emptying the Tank
After each use, especially after wet vacuuming, unplug the unit and unclip the motor head. Carefully lift the motor head and dispose of the collected debris or liquid. Clean the inside of the tank with water and mild detergent if necessary, then dry thoroughly.
Cleaning Filters
- Dry Filter: For dry vacuuming, regularly check and clean the dry filter. Tap it gently to remove dust or rinse with water if heavily soiled. Ensure it is completely dry before re-installing.
- Foam Filter (for wet use): If a foam filter is used for wet vacuuming, rinse it with water and allow it to air dry completely before storage or next use.
General Cleaning and Storage
Wipe the exterior of the vacuum cleaner with a damp cloth. Do not use abrasive cleaners. Store the vacuum and its accessories in a dry place, away from direct sunlight and extreme temperatures. Utilize the onboard accessory storage for convenience.
Troubleshooting
| Problem | Possible Cause | Solution |
|---|---|---|
| Vacuum does not turn on. | No power supply; power cord not plugged in; power button not pressed. | Check power outlet; ensure cord is securely plugged in; press the green "ON" button. |
| Loss of suction. | Hose or nozzle blocked; tank full; filter clogged; hose not securely attached. | Check and clear blockages; empty the tank; clean or replace filter; ensure hose is firmly connected. |
| Water leaking during wet vacuuming. | Tank overfilled; seals not properly seated. | Empty the tank; check and re-seat the motor head and any seals. |
| Unusual noise during operation. | Blockage in hose or nozzle; motor issue. | Check for and remove blockages. If noise persists, contact customer support. |
Specifications
| Feature | Detail |
|---|---|
| Brand | Hoover |
| Model Number | HWD21 |
| Power Source | Corded Electric |
| Motor Power | 1200W |
| Tank Capacity | 20 Liters |
| Tank Material | Stainless Steel |
| Cord Length | 5m |
| Surface Recommendation | All floors |
| Color | Black and Silver |
| Included Components | Vacuum cleaner, Flexi hose, Extension tube, 2-in-1 Crevice tool, Floor brush, Instruction manual |
Warranty and Support
This Hoover HWD21 Stainless Steel 20L Wet Dry Drum Vacuum comes with a standard manufacturer's warranty. Please refer to the warranty card included in your package for specific terms and conditions.
For technical support, spare parts, or warranty claims, please contact Hoover customer service through their official website or the contact information provided in your warranty documentation.
Please retain your proof of purchase for warranty purposes.


