
1. Introduction
This manual provides comprehensive instructions for the installation, operation, and maintenance of your visiPower GS-107-N GSM/4G WiFi Home Alarm System. This system is designed to enhance home security through a combination of wireless sensors, a central alarm panel, and remote control capabilities via the TUYA/Smart Life application. Please read this manual thoroughly before using the product to ensure proper functionality and safety.
2. Package Contents
Verify that all items listed below are included in your package. If any items are missing or damaged, please contact customer support.
- 1 x Alarm Panel
- 5 x PIR Motion Sensor
- 10 x Door Sensor
- 3 x Remote Controller
- 3 x RFID Tag
- 1 x Wired Siren
- 1 x GS-WEB01 (Component details not specified in product data)
3. Product Features
The visiPower GS-107-N alarm system offers a range of features for comprehensive home security:
- Display: 4.3-inch TFT full-color touch screen with IPS technology for wide viewing angles and accurate color reproduction.
- Connectivity: Supports GSM/4G (with SIM card) and 2.4GHz WiFi dual network for reliable communication.
- Wireless Zones: Up to 90 wireless zones for various accessories (sensors, remote controls, RFID tags).
- Control Methods: Remote arm/disarm and parameter settings via SMS, voice commands, or the TUYA/Smart Life mobile application.
- Notifications: Supports APP push, SMS, and voice phone call notifications for alarms.
- Alerts: Provides alerts for accessory low battery, AC power failure, hub/accessory battery shortage, and tamper alarms.
- Door/Window Status: Notifies if doors/windows are unclosed when armed.
- Zone Types: Configurable zone types including in/out zone, indoor zone, outdoor zone, 24-hour zone, and doorbell function.
- Emergency Function: One-click SOS button for immediate emergency alerts.
- Communication: Supports 20-second message and voice alarm recording. Two-way voice intercom function.
- Automation: APP or hub can control electrical appliances via smart sockets (with compatible RF frequency).
- Scheduling: Timed arm/disarm function.
- Logging: Stores operation logs and alarm events for tracing.
- Time Synchronization: Automatic time synchronization via GSM/WiFi network.
- Multi-language: Supports multi-language menu and voice operation notices.
4. Setup Guide
4.1 Alarm Panel Installation
- Choose a central location in your home for the alarm panel, away from direct sunlight and heat sources.
- Mount the alarm panel securely to a wall using the provided screws.
- Connect the alarm host to a power source using the DC 5V micro USB adapter. The internal lithium-ion backup battery (3.7V/500mAh) will provide power for approximately 8 hours during a power outage.
4.2 SIM Card Insertion (for GSM/4G functionality)
If you intend to use GSM/4G features, insert a compatible 2G/3G/4G SIM card into the designated slot on the alarm panel. Ensure the SIM card is activated and has sufficient credit/data.
4.3 App Connection (TUYA/Smart Life)
- Download the "Tuya" or "Smart Life" app from your smartphone's app store (iOS or Android).
- Register or log in to your account.
- Follow the in-app instructions to add a new device. Ensure your smartphone is connected to a 2.4GHz WiFi network (5GHz networks are not supported by the alarm system).
- The app will guide you through connecting the alarm panel to your home WiFi network.
4.4 Sensor and Accessory Installation
The system supports expansion of up to 100 accessories. Follow the specific instructions for each accessory to pair them with the alarm panel.
PIR Motion Sensor
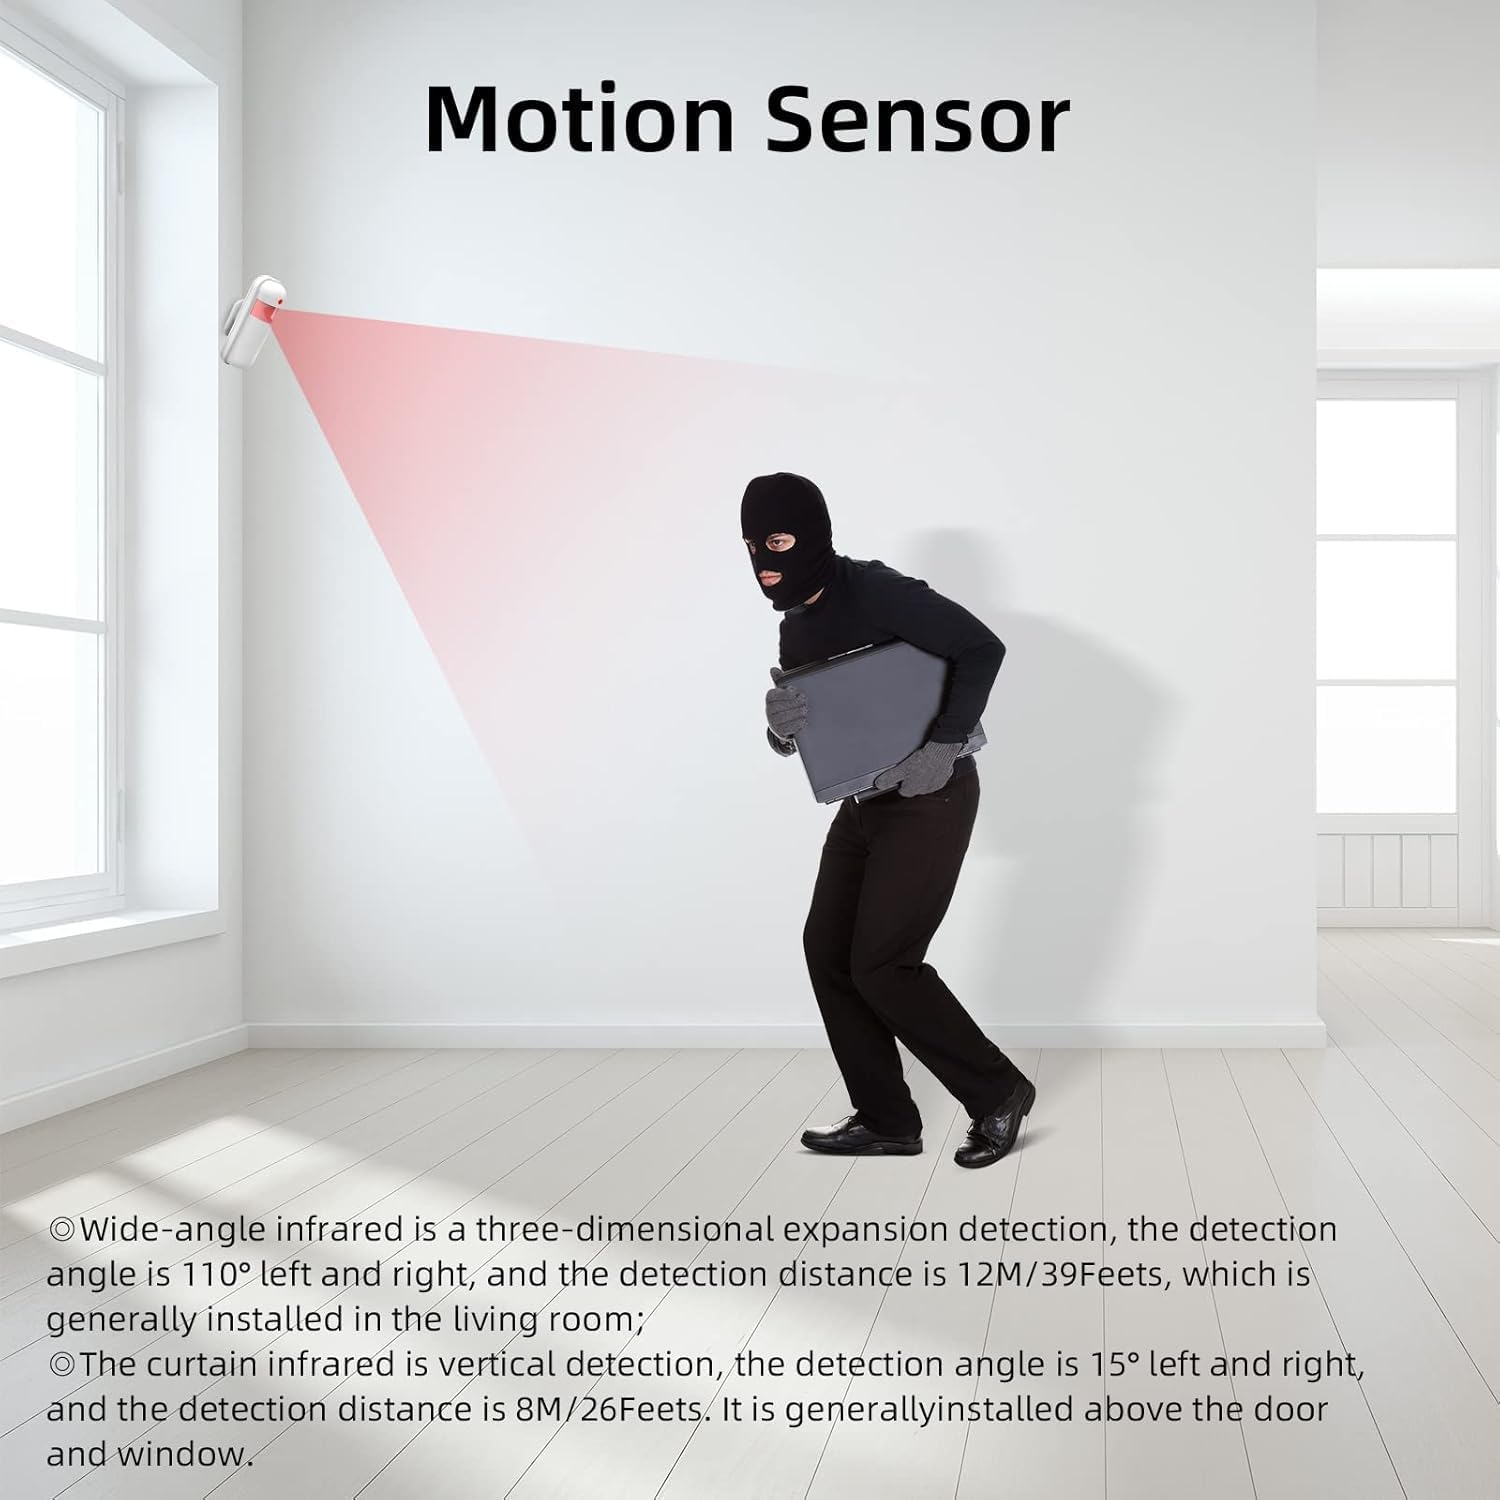
Image: A PIR Motion Sensor mounted on a wall, with a red beam indicating its detection area. A person in a dark outfit is shown walking past, triggering the sensor. This illustrates the sensor's function in detecting intruders.
- Install PIR motion sensors in areas where intruders are likely to pass, such as hallways or living rooms.
- The wide-angle infrared detection covers 110° left and right, with a detection distance of 12 meters (39 feet).
- Curtain infrared detection is vertical, with a detection angle of 15° left and right, and a distance of 8 meters (26 feet). This is typically installed above doors and windows.
- Ensure the sensor has a clear line of sight and is not obstructed by furniture or curtains.
Door/Window Sensor

Image: A white door magnetic sensor, consisting of two parts, installed on a door and its frame. The word "Alarm" with red exclamation marks is shown between the two parts, indicating an open door and a triggered alarm. This demonstrates how the sensor detects unauthorized entry.
- Attach the two parts of the door/window sensor to the door/window and its frame, ensuring they are aligned and close to each other when the door/window is closed.
- When the door/window opens, the two parts separate, triggering an alarm signal.
Remote Controllers and RFID Tags
- Follow the alarm panel's menu instructions to pair remote controllers and RFID tags.
- Remote controllers allow for quick arming, disarming, and SOS functions.
- RFID tags can be used to disarm the system by tapping them on the panel.
5. Operating Instructions

Image: A flowchart diagram showing the operating principle of the alarm system. It depicts a remote control deploying/removing the system, a door sensor and infrared detector sending alarm signals to the alarm panel, the panel sending an alarm signal to the siren (which sounds and flashes), and finally, the alarm signal being sent to a smartphone app. This illustrates the sequence of events during an alarm.
5.1 Arming and Disarming the System
The system can be armed or disarmed using multiple methods:
- Alarm Panel: Use the touch screen interface to select 'Arm' or 'Disarm'.
- Remote Controller: Press the designated arm/disarm buttons on the remote.
- Mobile App: Use the TUYA/Smart Life app to remotely arm or disarm the system.
- SMS: Send specific SMS commands to the alarm panel (if a SIM card is installed).
- RFID Tag: Tap a paired RFID tag on the panel to disarm.
5.2 SOS Emergency Function

Image: An alarm panel with a prominent SOS button on the left side. An elderly couple is shown in the background, looking out a window. Text on the image states "SOS rapid alert" and explains that the alarm system will inform you in time if elderly or children encounter an emergency. This highlights the emergency alert feature for vulnerable occupants.
In an emergency, press the SOS button on the alarm panel or a paired remote controller. The system will immediately trigger an alarm, send notifications (APP push, SMS, voice calls) to the preset emergency contacts, and activate the siren.
5.3 Two-Way Voice Intercom

Image: An alarm panel with a screen showing a home interface. A man is on a phone call, and a child is looking at a smartphone, with speech bubbles indicating a conversation. Text on the image says "Two-way voice intercom function" and "Make and receive calls, voice messages, SMS remote control, provide you with an intelligent life." This illustrates the ability to communicate through the alarm system.
The alarm panel supports two-way voice communication. When an alarm is triggered or a call is initiated through the system, you can speak and listen through the panel, allowing for direct communication with occupants or monitoring personnel.
5.4 Zone Settings
The system allows for various zone configurations to suit different security needs:
- In/Out Zone: Zones that trigger an alarm after a delay, allowing entry/exit.
- Indoor Zone: Zones that trigger an alarm immediately when armed.
- Outdoor Zone: Zones for perimeter protection.
- 24-Hour Zone: Zones that are always active, regardless of arming status (e.g., smoke detectors).
- Doorbell Zone: Configures a sensor to act as a doorbell.
6. Maintenance
6.1 Battery Management

Image: An alarm panel with a battery icon and a circular graphic indicating a charging or full battery. Text on the image states "BE ONLINE ALL THE TIME" and mentions a "Built-in rechargeable 1000mAh lithium battery, support wired connection socket, power automatically converted for standby." It also highlights "Low battery alarm" and "Anti-disassembly alarm function." This illustrates the power management and security features related to the battery.
- The alarm panel has a built-in rechargeable lithium-ion battery. Ensure the panel is connected to power for continuous operation and to keep the backup battery charged.
- The system will provide low battery alerts for both the main panel and connected accessories. Replace accessory batteries promptly when notified.
6.2 Cleaning
Wipe the alarm panel and sensors with a soft, dry cloth. Avoid using abrasive cleaners or solvents, as these can damage the device surfaces.
7. Troubleshooting
- No WiFi Connection: Ensure your router is broadcasting a 2.4GHz WiFi signal. The system does not support 5GHz WiFi. Check WiFi password and signal strength.
- Sensors Not Triggering: Verify that sensors are correctly paired with the alarm panel. Check sensor battery levels. Ensure sensors are installed within range and have a clear line of sight (for motion sensors).
- Alarm Not Sounding: Check if the siren is connected and powered. Verify that the system is armed. Check alarm volume settings on the panel.
- No App Notifications: Ensure the alarm panel is connected to WiFi or has a working SIM card. Check app notification settings on your smartphone and within the TUYA/Smart Life app.
- SIM Card Issues: Ensure the SIM card is correctly inserted, activated, and has sufficient credit/data for SMS and calls.
8. Specifications
| Parameter | Value |
|---|---|
| Power Input | DC 5V (micro USB standard interface) |
| Working Current | <120mA |
| Standby Current | <80uA |
| Alarm Current | <500mA |
| Wireless Frequency | 433MHZ |
| Wireless Coding | EV 1527 |
| 2G Bands | 850/900/1800/1900MHZ |
| Wi-Fi Bands | IEEE802.11b/g/n RF standard (2.4GHz) |
| Standby Battery | 3.7V/500mAh lithium-ion (included) |
| Temperature Range | 0℃ ~ 55℃ |
| Humidity Range | <80%RH (Non-freezing) |
| Product Dimensions (L x W x H) | 9 x 3.9 x 0.7 inches |
| Item Weight | 2 pounds |
9. Warranty Information
This product comes with a standard manufacturer's warranty. Please refer to the warranty card included in your package or contact the seller for specific warranty terms and conditions. Keep your proof of purchase for warranty claims.
10. Customer Support
If you encounter any issues or have questions regarding your visiPower GS-107-N alarm system that are not covered in this manual, please contact the seller or manufacturer's customer support for assistance. You may find contact information on the product packaging or the seller's website.