
VINGLI SC02FDT
VINGLI Fluted Shoe Cabinet SC02FDT Instruction Manual
Model: SC02FDT | Brand: VINGLI
1. Product Overview
The VINGLI Fluted Shoe Cabinet (Model SC02FDT) is a stylish and functional storage solution designed for entryways, hallways, and living rooms. Featuring a mid-century modern aesthetic with a dark walnut finish and unique fluted panels, this cabinet offers discreet storage for your footwear while enhancing your home decor.
Its compact design is ideal for smaller spaces, maximizing storage efficiency without compromising on style. The cabinet includes two fluted flip drawers and additional space beneath for up to 17-19 pairs of shoes, depending on size and style. Constructed from high-quality engineered wood with sturdy metal support legs, it ensures durability and stability.
Beyond shoe storage, the versatile top surface can be used for displaying decorative items, plants, or photo frames, making it a multi-purpose addition to your home.
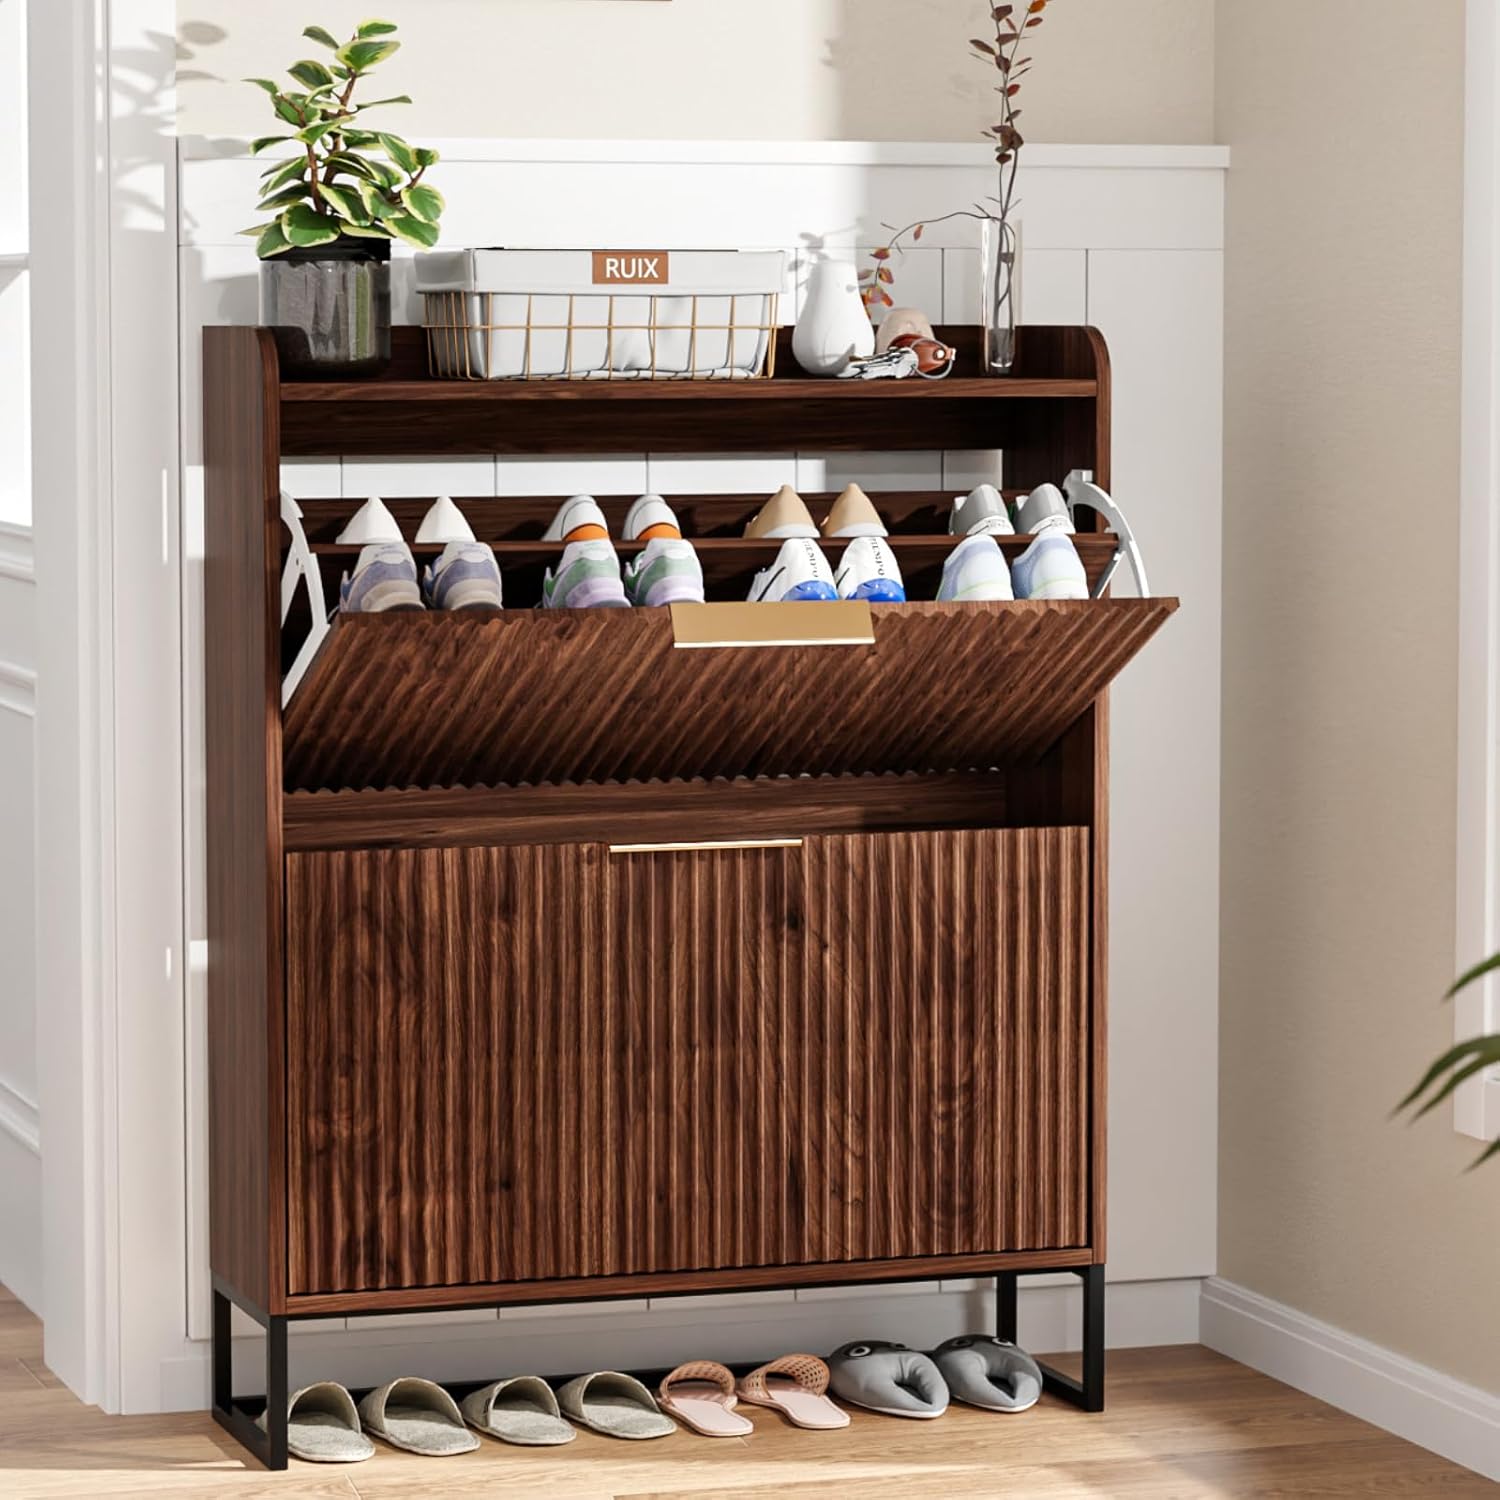
Image 1.1: The VINGLI Fluted Shoe Cabinet in Dark Walnut, showcasing its elegant design and functionality.
2. Important Safety Information
WARNING:
- Always ensure the cabinet is stable and level before use.
- Do not place heavy items on the top surface.
- Keep fingers away from the drawer opening when closing to prevent pinching.
- Always supervise children when using the cabinet.
- To reduce the risk of furniture tipover, ALWAYS install the tipover restraint provided.
- NEVER put a TV on this product.
- NEVER allow children to stand, climb, or hang on drawers, doors, or shelves.
- NEVER open more than one drawer at a time.
- Place heaviest items in the lowest drawers.
- Do not defeat or remove the drawer interlock system. This is a permanent label. Do not remove!

Image 2.1: Diagram illustrating the importance and installation of the anti-tipping safety kit.
3. Components and Hardware
Before beginning assembly, verify that all components and hardware listed in your product's specific instruction manual are present. The installation kit typically includes screws, washers, plastic anchors, L-shaped brackets, cam locks, cam bolts, and wooden dowels. Some models may have pre-installed plastic embedded nuts or may not require wooden dowels.
Tools required for assembly (not included): Electric drill, hammer, screwdriver, pen/pencil.
Video 3.1: Demonstration of Wall-Mounting Hardware Installation. This video shows the L-shaped bracket installation, which is similar to the anti-tipping strap installation.
Video 3.2: Demonstration of 3-in-1 Connector and Wooden Dowel Installation. This video provides a visual guide for assembling key cabinet components.
4. Assembly Instructions
Follow the detailed step-by-step instructions provided in your product's specific manual. General steps include:
- Unpack and Identify: Carefully unpack all components and verify against the parts list.
- Install Dowels and Cam Bolts: Insert wooden dowels and cam bolts into the designated holes on the panels. Ensure cam bolts are tightened with a screwdriver. (Refer to Video 3.2)
- Connect Panels: Join the panels using cam locks, ensuring they are correctly oriented and tightened.
- Assemble Drawers: Construct the two fluted flip drawers.
- Attach Metal Support Legs: Secure the sturdy metal support legs to the base of the cabinet.
- Install Anti-Tipping Kit: For safety, install the provided anti-tipping kit to secure the cabinet to the wall. (Refer to Video 3.1)
For detailed visual guidance, please refer to the specific assembly diagrams and instructions included with your product packaging.
5. Operating the Shoe Cabinet
The VINGLI Fluted Shoe Cabinet is designed for easy access and efficient storage.
5.1. Using the Flip Drawers
The cabinet features two fluted flip drawers. Gently pull the golden metal handle to open each drawer. The drawers are designed to tilt forward, allowing easy placement and retrieval of shoes.
5.2. Adjustable and Removable Partition Panels
Each flip drawer contains partition panels that can be adjusted or removed to accommodate different shoe sizes and styles, including high-top shoes. This flexibility allows for optimal space utilization.

Image 5.1: Illustration of how to adjust or remove partition panels within the flip drawers to fit various shoe types.
5.3. Top Surface and Additional Storage
The spacious top surface can be used to display decorative items or store frequently used small accessories. The space created by the metal support feet at the bottom provides additional storage for slippers or other low-profile footwear.

Image 5.2: Detailed view of the cabinet's features, including the top fence for securing items and the golden metal handles.

Image 5.3: Example of the cabinet's capacity, accommodating different shoe types such as leather shoes, high heels, sneakers, slippers, running shoes, and ankle boots.
6. Care and Maintenance
- Cleaning: Wipe the cabinet surfaces with a soft, damp cloth. Avoid using harsh chemicals or abrasive cleaners, as these may damage the finish.
- Dusting: Regularly dust the cabinet to prevent buildup.
- Spills: Promptly clean any spills to prevent staining or damage to the engineered wood.
- Hardware: Periodically check all screws and fittings to ensure they remain tight. Retighten if necessary.
- Environment: Avoid exposing the cabinet to direct sunlight or extreme temperature changes, which can cause warping or fading.
7. Troubleshooting
- Cabinet Wobbles: Ensure the cabinet is placed on a level surface. Adjust the feet if necessary. Verify all assembly screws are tightened.
- Drawers Not Closing Properly: Check for any obstructions within the drawer mechanism. Ensure shoes are properly placed and not overfilling the compartments. Verify that the drawer assembly is correct and all fittings are secure.
- Missing Parts: If any parts are missing upon unpacking, please contact VINGLI customer support for assistance.
8. Product Specifications
| Feature | Detail |
|---|---|
| Brand | VINGLI |
| Model Name | Fluted SC |
| Item Model Number | SC02FDT |
| Color | Dark Walnut |
| Product Dimensions | 9.45"D x 31.5"W x 39.9"H |
| Item Weight | 62 Pounds |
| Material | Engineered Wood (Top Material Type), Alloy Steel (Frame Material) |
| Mounting Type | Floor Mount |
| Installation Type | Freestanding |
| Door Style | 2 Fluted Flip Drawers |
| Number of Shelves | 2 |
| Special Features | Chic Golden Metal Handle, Fence on Top, Fluted Panel, Removable Shelf, Sturdy Metal Support Legs |
| Assembly Required | Yes |
| UPC | 840323518031 |

Image 8.1: Detailed product dimensions for the VINGLI Fluted Shoe Cabinet.
9. Warranty Information
VINGLI products are manufactured with quality and care. For specific warranty details regarding your Fluted Shoe Cabinet, please refer to the warranty card included in your product packaging or visit the official VINGLI website. Keep your purchase receipt as proof of purchase for any warranty claims.
10. Customer Support
Should you have any questions, require assistance with assembly, or need to report missing/damaged parts, please contact VINGLI customer support. Contact information can typically be found on the VINGLI website or within your product's documentation.
You can also visit the VINGLI Store on Amazon for more information and product resources.
Related documentsSC02FDT

Ask a question about this manual
Ask about setup, troubleshooting, compatibility, parts, safety, or missing instructions. Manuals+ will review the question and use this page’s manual context to help answer it.