
HATOR HATOR Pulsar 3 Wireless
HATOR Pulsar 3 Wireless Gaming Mouse User Manual
Model: HATOR Pulsar 3 Wireless (HTM630)
Introduction
The HATOR Pulsar 3 Wireless is a high-performance wireless gaming mouse designed for precision, versatility, and comfort. Its lightweight, symmetrical design and multiple connectivity options make it suitable for both intense gaming and everyday productivity across various devices. Equipped with a reliable sensor and durable optical switches, the Pulsar 3 ensures a responsive and enjoyable user experience.

Figure 1: HATOR Pulsar 3 Wireless Gaming Mouse (Top View)
This image shows the HATOR Pulsar 3 Wireless Gaming Mouse from a top-down perspective. The mouse is black with a matte finish. Red LED lighting is visible on the scroll wheel, and a vibrant rainbow LED strip illuminates the base of the mouse, indicating its gaming aesthetic. The HATOR logo is subtly placed on the left click button.
Package Contents
Please check the package contents upon unboxing to ensure all items are present:
- HATOR Pulsar 3 Wireless Gaming Mouse
- USB-C to USB-A Charging Cable
- USB Wireless Receiver (2.4 GHz)
- User Manual (this document)
Setup
1. Charging the Mouse
Before first use, it is recommended to fully charge the HATOR Pulsar 3 Wireless mouse. Connect the provided USB-C cable to the mouse's charging port and the USB-A end to a powered USB port on your computer or a USB wall adapter. The LED indicator on the mouse will show charging status.
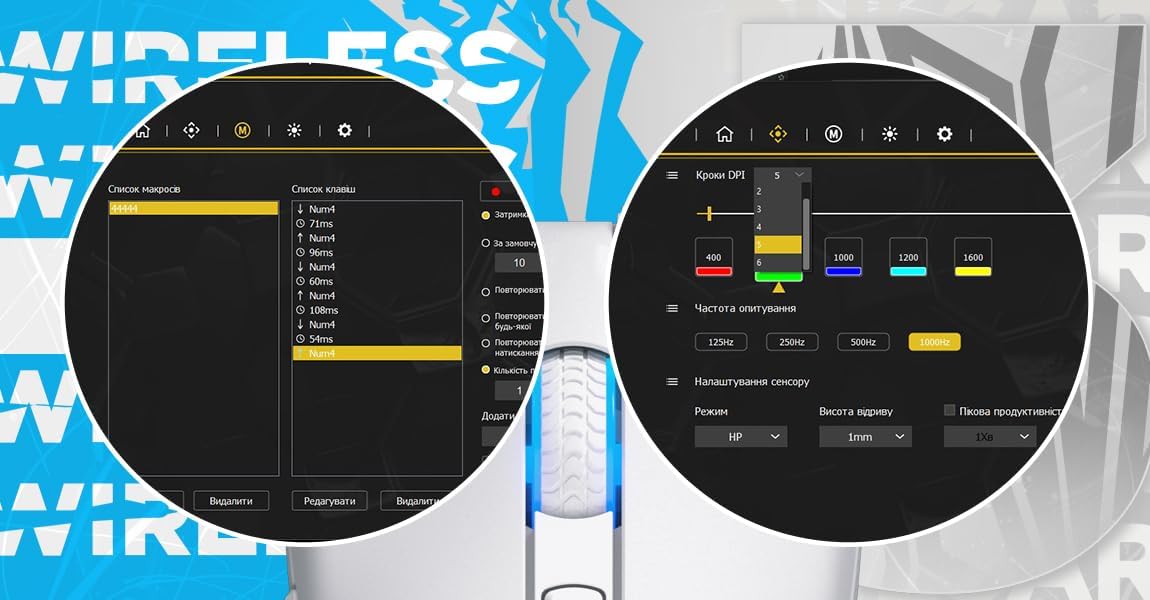
Figure 2: Charging Port Location
This image displays a side view of the HATOR Pulsar 3 Wireless Gaming Mouse, highlighting the USB-C charging port located at the front of the mouse, where a cable would typically connect.
2. Connecting the Mouse
The HATOR Pulsar 3 Wireless mouse supports multiple connection modes: 2.4 GHz Wireless (via USB receiver), Bluetooth, and Wired (via USB-C cable).
2.1. 2.4 GHz Wireless Connection
- Locate the USB wireless receiver, usually stored in a compartment on the underside of the mouse.
- Plug the USB wireless receiver into an available USB-A port on your computer.
- Turn on the mouse using the power switch located on the underside. Ensure the switch is set to the 2.4 GHz mode (often indicated by a specific icon or position).
- The mouse should automatically connect to your computer.
2.2. Bluetooth Connection
- Turn on the mouse and set the power switch to the Bluetooth mode (often indicated by a Bluetooth icon).
- On your computer, navigate to Bluetooth settings.
- Enable Bluetooth and search for new devices.
- Select "HATOR Pulsar 3" (or similar name) from the list of available devices to pair.
- Follow any on-screen prompts to complete the pairing process.
2.3. Wired Connection
Connect the USB-C cable to the mouse and the USB-A end to your computer. The mouse will function in wired mode and charge simultaneously. No additional setup is required for wired operation.

Figure 3: Underside Controls
This image shows the underside of the HATOR Pulsar 3 Wireless Gaming Mouse. Visible are the optical sensor, a DPI cycle button, and a three-position switch for selecting connection modes: Bluetooth, Off, and 2.4 GHz wireless.
Operating Instructions
1. DPI Adjustment
The HATOR Pulsar 3 Wireless mouse features a dedicated DPI button, typically located on the underside or top of the mouse, allowing you to cycle through different sensitivity levels (DPI settings) on the fly. Each press of the DPI button will switch to the next preset DPI level. The default DPI settings are usually configurable via the HATOR software.
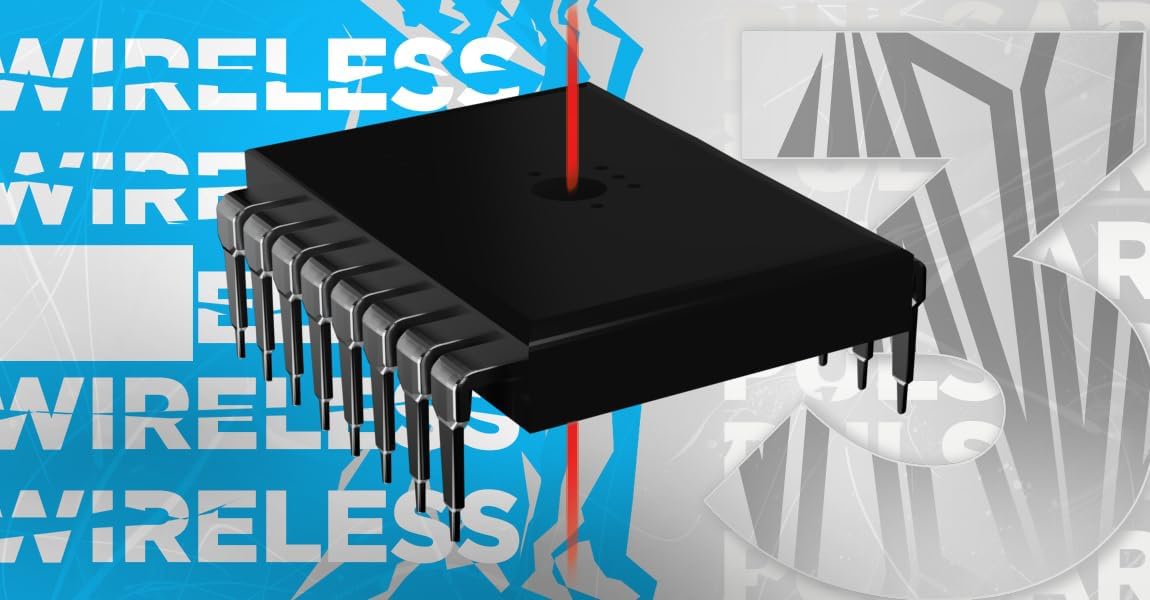
Figure 4: Software DPI Settings
This image displays a screenshot of the HATOR mouse configuration software. It shows options for adjusting DPI steps (e.g., 400, 800, 1000, 1200, 1600) and polling rates (125Hz, 250Hz, 500Hz, 1000Hz), indicating customizable performance settings.
2. Programmable Buttons
The HATOR Pulsar 3 Wireless mouse is equipped with multiple programmable buttons. These buttons can be customized to perform various functions, macros, or shortcuts using the official HATOR software. Refer to the software's user interface for detailed instructions on button assignment.

Figure 5: Software Macro and Button Assignment
This image shows a screenshot of the HATOR mouse configuration software, specifically the section for macro management and button assignment. It displays a list of recorded macros and options to assign them to mouse buttons, along with settings for macro playback.
3. Battery Life and Indicator
The HATOR Pulsar 3 Wireless mouse offers an extended battery life of up to 60 hours on a single charge. The mouse features an LED indicator that provides information on battery status. When the battery is low, the LED will typically flash or change color to alert you to recharge the mouse.
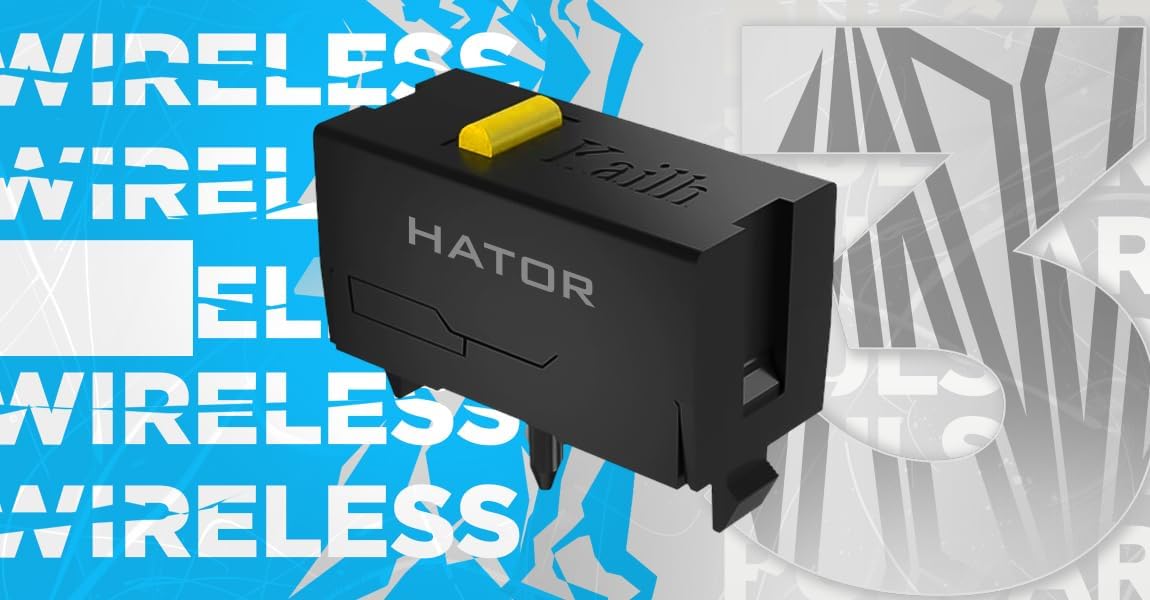
Figure 6: Battery Capacity
This image features a HATOR mouse with a graphic overlay highlighting its internal battery, labeled "600 mAh," indicating its capacity.
Maintenance
1. Cleaning the Mouse
To maintain optimal performance and hygiene, regularly clean your HATOR Pulsar 3 Wireless mouse. Use a soft, lint-free cloth slightly dampened with water or a mild cleaning solution. Avoid using harsh chemicals, abrasive cleaners, or excessive moisture, as these can damage the mouse.
2. Sensor Cleaning
Periodically inspect the optical sensor on the underside of the mouse for dust or debris. Use a cotton swab or compressed air to gently clean the sensor area. A clean sensor ensures accurate tracking.
3. Storage
When not in use for extended periods, store the mouse in a cool, dry place away from direct sunlight and extreme temperatures. If storing for a long time, ensure the mouse is fully charged before storage to preserve battery health.
Troubleshooting
| Problem | Possible Cause | Solution |
|---|---|---|
| Mouse not responding (Wireless) | Low battery; Receiver unplugged; Incorrect connection mode; Interference. | Charge the mouse; Ensure receiver is securely plugged in; Switch to correct 2.4 GHz or Bluetooth mode; Move closer to receiver or reduce interference sources. |
| Mouse not responding (Wired) | Cable not connected properly; Faulty USB port. | Ensure USB-C cable is fully inserted into mouse and computer; Try a different USB port. |
| Inaccurate tracking | Dirty sensor; Uneven surface; Software settings. | Clean the optical sensor; Use a clean, uniform mouse pad; Check DPI settings in software. |
| Buttons not working | Software conflict; Physical damage. | Restart computer; Reinstall HATOR software; Check for physical obstructions. |
| Bluetooth pairing issues | Mouse not in pairing mode; Bluetooth on computer off; Already paired to another device. | Ensure mouse is in Bluetooth pairing mode; Enable Bluetooth on computer; Unpair from other devices if necessary. |
Specifications
| Feature | Detail |
|---|---|
| Model Name | HATOR Pulsar 3 Wireless |
| Model Number | HTM630 |
| Connectivity | 2.4 GHz Wireless, Bluetooth, Wired (USB-C) |
| Sensor | Pixart PMW3311 |
| DPI Range | Up to 12,000 DPI |
| Switches | HATOR Optical Switches (100 million clicks) |
| Battery Life | Up to 60 hours |
| Weight | 71 Grams |
| Dimensions | 12.3L x 6.8W centimeters |
| Color | Black |
Warranty Information
HATOR products are manufactured to the highest quality standards. This product is covered by a limited warranty from the date of purchase against defects in materials and workmanship. The specific warranty period may vary by region and product type. Please retain your proof of purchase for warranty claims.
This warranty does not cover damage caused by accident, abuse, misuse, natural disaster, or unauthorized modification or repair. For full warranty terms and conditions, please visit the official HATOR website or contact customer support.
Support
For technical support, driver downloads, software updates, or frequently asked questions, please visit the official HATOR support website:
www.hator.gg/support (Example URL, replace with actual if known)
You may also contact HATOR customer service directly via email or phone, details for which can be found on the support website.
Related documentsHATOR Pulsar 3 Wireless


Ask a question about this manual
Ask about setup, troubleshooting, compatibility, parts, safety, or missing instructions. Manuals+ will review the question and use this page’s manual context to help answer it.