
1. Introduction
This manual provides comprehensive instructions for the setup, operation, maintenance, and troubleshooting of your Acer Nitro VG270 X1 27 Inch IPS Full HD Gaming Monitor. This monitor is designed to deliver a high-performance visual experience with its Full HD resolution, 200Hz refresh rate, and AMD FreeSync Premium technology.
Please read this manual thoroughly before using the monitor to ensure proper installation and operation.
2. Safety Information
Observe the following safety precautions to prevent damage to the monitor and ensure user safety:
- Do not place the monitor on an unstable cart, stand, or table.
- Do not block ventilation openings.
- Do not use near water or in high humidity environments.
- Ensure the power cord is properly grounded and connected to a suitable power outlet.
- Unplug the monitor from the power outlet before cleaning. Use a soft, damp cloth for cleaning; avoid liquid or aerosol cleaners.
- Refer all servicing to qualified service personnel.
3. Package Contents
Verify that all items listed below are present in your package:
- Monitor
- Stand
- Power cord
- Manual
- HDMI Cable

Image: The Acer Nitro VG270 X1 monitor with its included stand, ready for assembly.
4. Setup Instructions
4.1 Assembling the Monitor Stand
- Carefully remove the monitor and stand components from the packaging.
- Attach the stand base to the stand neck, securing it with the provided screw.
- Attach the assembled stand to the back of the monitor until it clicks into place or is secured with screws, depending on the model.
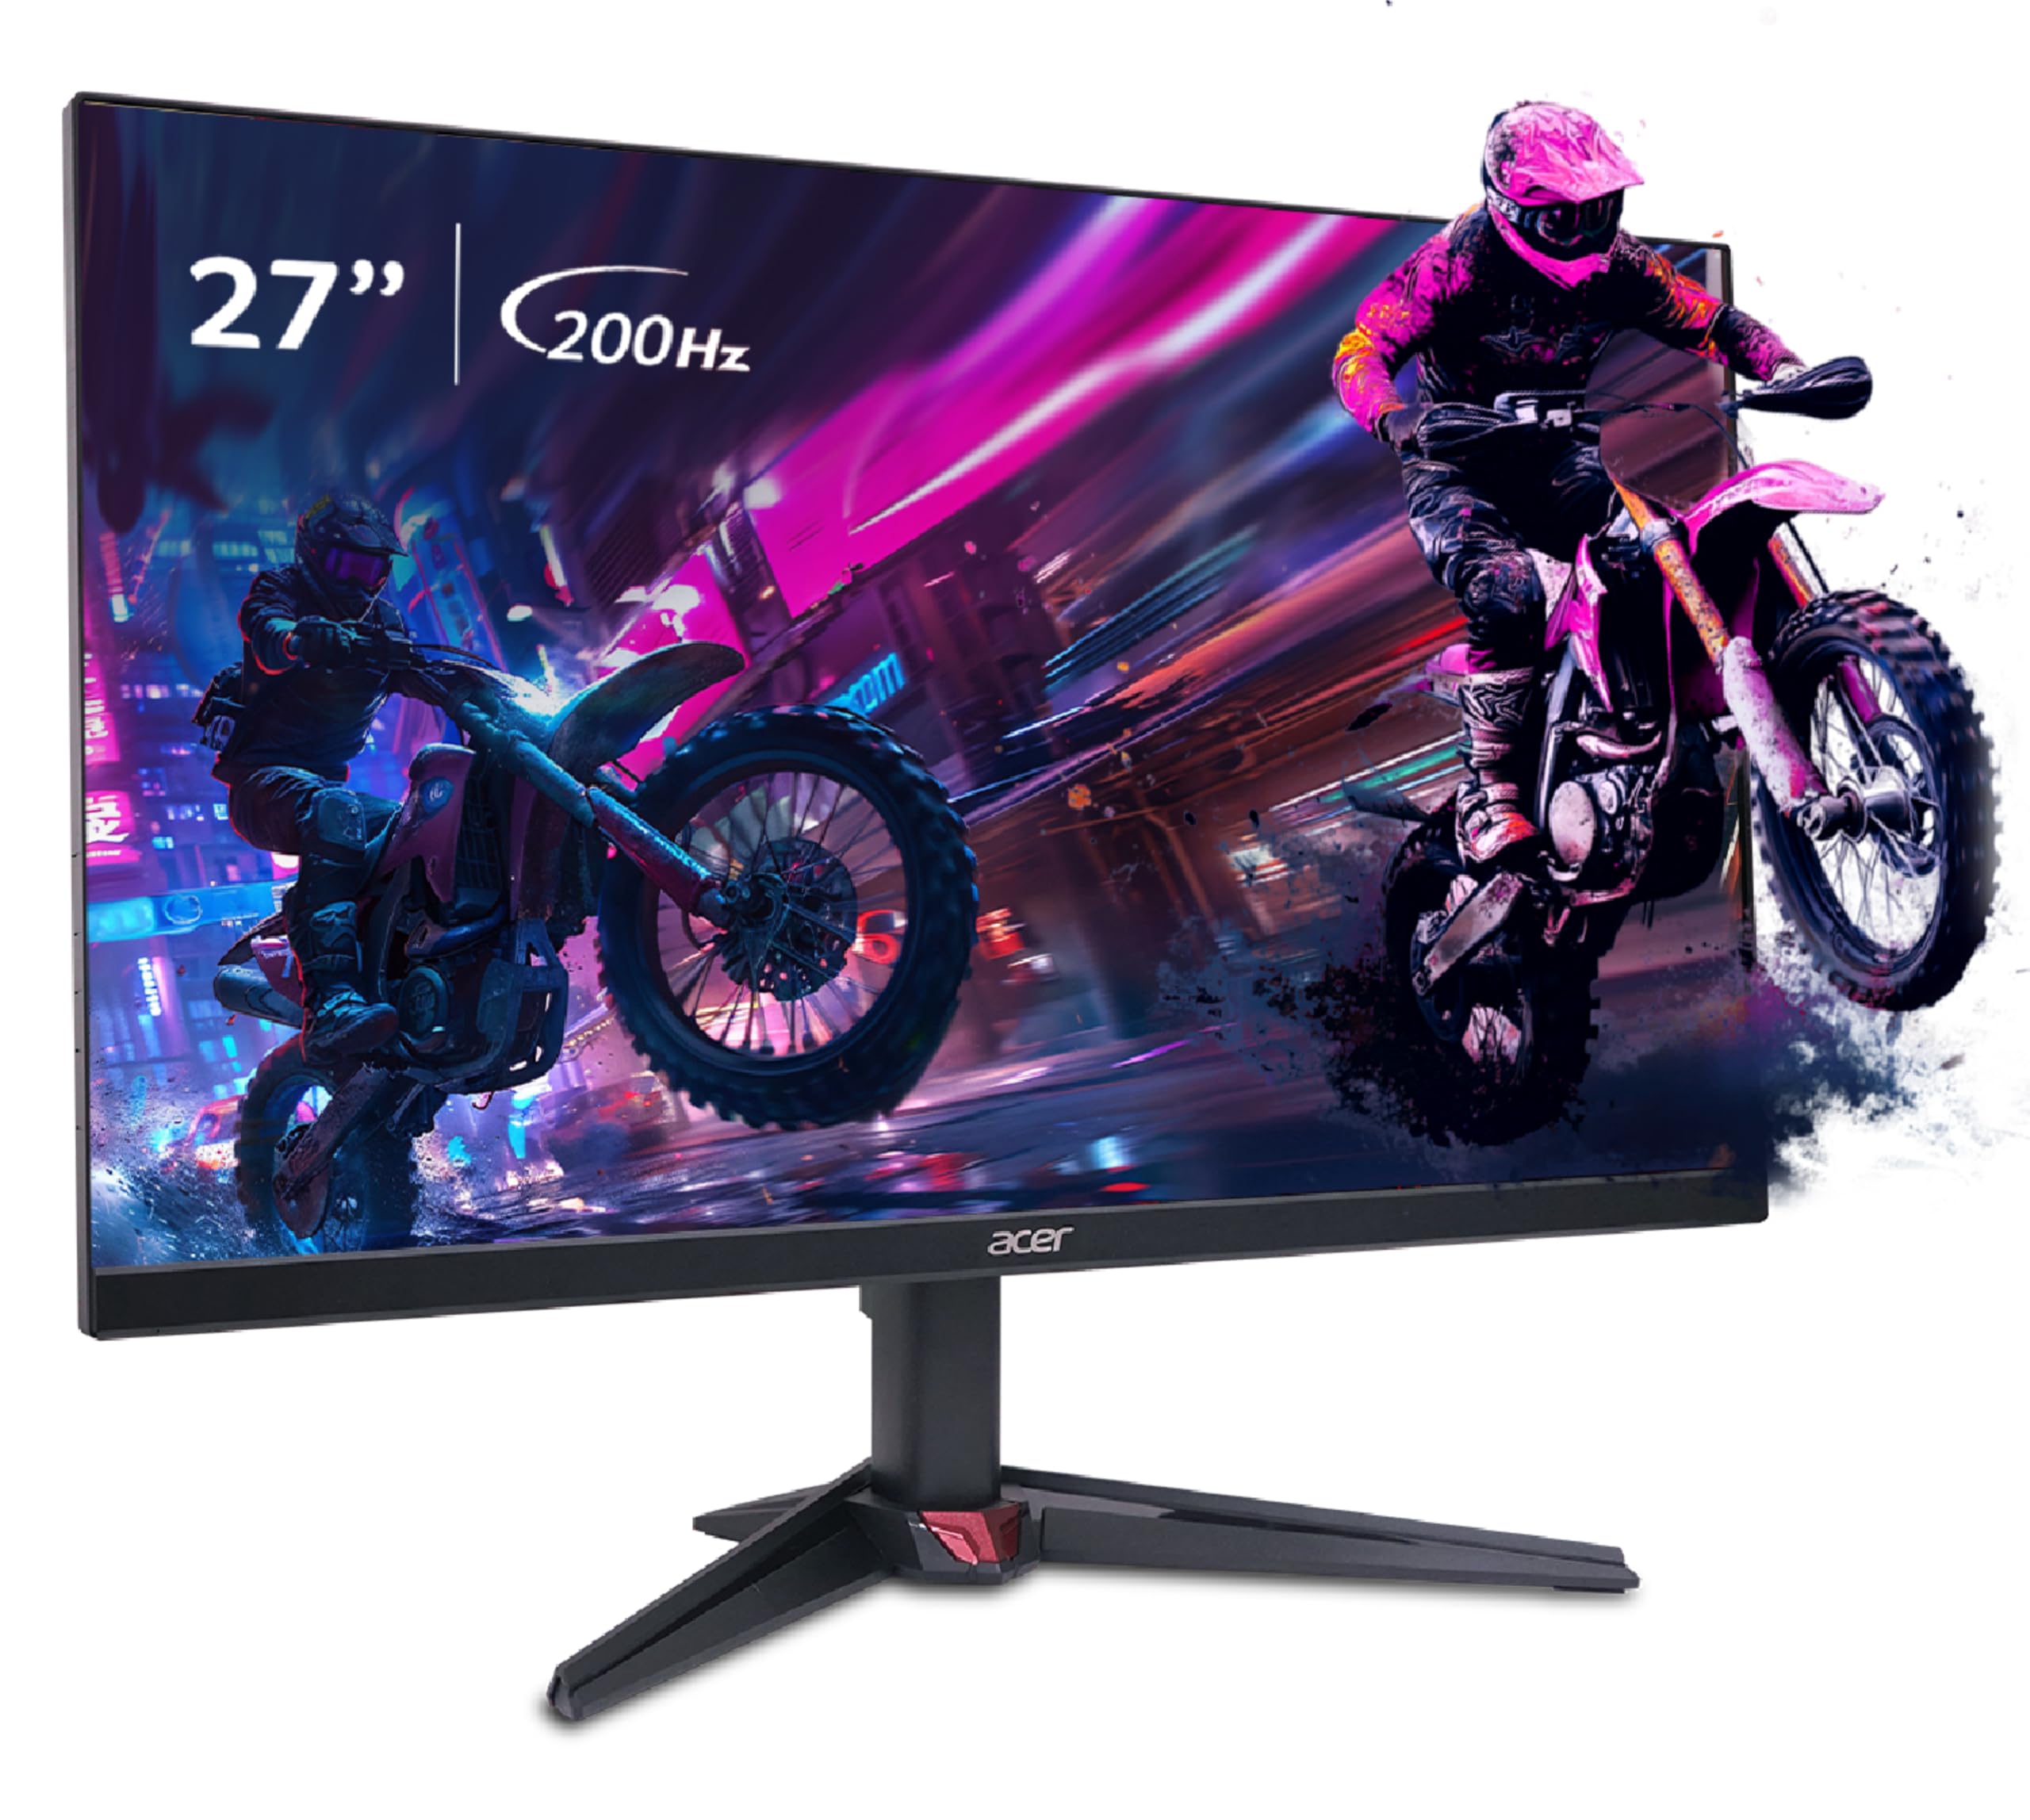
Image: The Acer Nitro VG270 X1 monitor fully assembled on its stand.
4.2 Connecting to a Computer
The monitor supports HDMI and DisplayPort connections. Choose the appropriate cable for your computer.
- HDMI Connection: Connect one end of the HDMI cable (included) to an HDMI port on your computer and the other end to one of the two HDMI 2.0 ports on the monitor.
- DisplayPort Connection: Connect one end of a DisplayPort cable (not included) to the DisplayPort 1.2 on your computer and the other end to the DisplayPort on the monitor.
- Audio Output: For external speakers or headphones, connect an audio cable from the monitor's audio out port to your audio device. The monitor also has integrated 2W x 2 stereo speakers.

Image: Rear view of the monitor highlighting the 2x HDMI 2.0 ports, 1x DisplayPort 1.2, and Audio Out port.
4.3 Power Connection
- Connect the power cord to the monitor's power input.
- Plug the other end of the power cord into a grounded electrical outlet.
5. Operating Instructions
5.1 Powering On/Off
Press the power button, usually located on the bottom right or rear of the monitor, to turn the monitor on or off. The power indicator light will illuminate when the monitor is on.
5.2 On-Screen Display (OSD) Menu
The OSD menu allows you to adjust various monitor settings. Typically, buttons on the back or bottom of the monitor are used to navigate the menu. Common adjustments include brightness, contrast, color settings, input selection, and game modes.
For easy modification of monitor settings, the Acer Display Widget software can be used.
5.3 Key Features and Settings
- Full HD Resolution & IPS Panel: Experience sharp and smooth visuals with 1920 x 1080 resolution and a wide 178-degree viewing angle from the IPS panel.

Image: Visual representation of sRGB 99% color accuracy for brilliant colors.
- 200Hz Refresh Rate & 0.5ms Response Time: Enjoy ultra-smooth, lag-free gameplay and blur-free motion, even in fast-paced scenes.

Image: Illustrates the benefit of a 200Hz refresh rate for smoother visuals in gaming.

Image: Demonstrates how 0.5ms response time eliminates motion blur.
- AMD FreeSync Premium: Synchronizes the monitor's refresh rate with your graphics card's frame rate to eliminate screen tearing and stuttering for a fluid gaming experience.

Image: Illustrates the smooth, tear-free gaming experience provided by AMD FreeSync Premium.
- HDR 10 Support: Enhances contrast and color accuracy for a more immersive visual experience with compatible content.

Image: Shows the enhanced visual depth and detail with HDR 10 enabled.
- Acer VisionCare 2.0: Features like Bluelight Shield PRO, Flickerless, Low Dimming, and Comfyview are integrated to reduce eye strain during prolonged use. The monitor is Eye Safe Certified.

Image: Visual representation of Acer VisionCare technology protecting user's eyes.
- Game View Technology: Offers eight pre-set display modes to optimize visuals for different types of content, enhancing your gaming experience.
6. Maintenance
6.1 Cleaning the Monitor
- Always unplug the monitor from the power outlet before cleaning.
- Use a soft, lint-free cloth lightly dampened with water or a mild, non-abrasive screen cleaner.
- Do not spray cleaner directly onto the screen.
- Avoid using benzene, thinner, ammonia-based cleaners, or abrasive materials.
6.2 General Care
- Avoid placing heavy objects on the monitor or its cables.
- Do not expose the monitor to direct sunlight or extreme temperatures.
- Ensure adequate ventilation around the monitor.
7. Troubleshooting
| Problem | Possible Solution |
|---|---|
| No image on screen |
|
| Screen tearing or stuttering during gaming |
|
| Blurry or ghosting images |
|
| Poor color quality or brightness |
|
8. Specifications
| Feature | Detail |
|---|---|
| Brand | Acer |
| Model Name | VG270 X1 |
| Model Number | UM.HV0SS.101 |
| Screen Size | 27 Inches |
| Resolution | FHD 1080p (1920 x 1080 Pixels) |
| Display Technology | IPS LED |
| Refresh Rate | 200 Hz |
| Response Time | 0.5 Milliseconds |
| Aspect Ratio | 16:9 |
| Viewing Angle | 178 Degrees |
| Image Brightness | 250 nits |
| Contrast Ratio | 1000:1 |
| Color Gamut | sRGB 99% |
| HDR Support | HDR 10 |
| Adaptive Sync | AMD FreeSync Premium |
| Connectivity | 2 x HDMI (2.0), 1 x DisplayPort (1.2), Audio Out |
| Speakers | Integrated 2W x 2 Stereo Speakers |
| Eye Care Features | Acer VisionCare 2.0 (Bluelight Shield PRO, Flickerless, Low Dimming, Comfyview), Eye Safe Certified |
| Mounting Type | Wall, Desk (VESA compatible) |
| Power Consumption | 26 Watts |
| Item Weight | 3.8 Kilograms |
| Dimensions (D x W x H) | 24D x 61.3W x 46H Centimeters |
9. Warranty and Support
9.1 Warranty Information
This Acer Nitro VG270 X1 monitor comes with a 3 Years Manufacturer Warranty. Please retain your proof of purchase for warranty claims. The warranty covers manufacturing defects but typically excludes internal or external physical damage caused by misuse or accidents.
9.2 Customer Support
For service-related queries or technical assistance, please contact Acer customer support:
- Toll-Free Number: 1800-11-4100
- WhatsApp Support: 6366800400
- Email: acersupport@in.startek.com
- Online Support: Visit https://acer1.in/swdlo
- Live Agent Support: Available Monday to Saturday, 9 AM to 6 PM (Public Holidays excluded).

Image: Acer customer support details including phone numbers, email, and QR code for online support.


