
Introduction
This manual provides essential information for the installation, operation, maintenance, and troubleshooting of your FOSA Washer Lid Lock Assembly. This component is designed to replace existing lid lock mechanisms in compatible washing machine models, ensuring safe and proper operation of your appliance.
The Washer Lid Lock Assembly is a critical safety component that prevents the washer lid from opening during operation, particularly during spin cycles. It is constructed from durable ABS material to ensure reliability and longevity.

Image: Top view of the FOSA Washer Lid Lock Assembly, showing the main housing, wiring, and connector.
Safety Information
- Always disconnect power to the washing machine before attempting any installation, repair, or maintenance.
- Wear appropriate personal protective equipment, such as gloves, to prevent injury.
- If you are unsure about any step, consult a qualified appliance technician.
- Ensure all connections are secure and correct before restoring power.
Setup and Installation
This section outlines the general steps for replacing a washer lid lock assembly. Specific steps may vary slightly depending on your washing machine model. Refer to your washing machine's service manual for detailed instructions.
Tools Required:
- Screwdriver (Phillips and/or Flathead)
- Nut Driver or Socket Wrench (if applicable)
- Pliers (optional, for wire harness clips)
Installation Steps:
- Disconnect Power: Unplug the washing machine from the electrical outlet or turn off the circuit breaker supplying power to the washer.
- Access the Lid Lock: Depending on your washer model, you may need to remove the top panel, control panel, or front panel to access the lid lock. This often involves removing screws located at the back or front of the top panel.
- Locate the Old Assembly: Identify the existing lid lock assembly. It is typically mounted near the lid opening.
- Disconnect Wiring: Carefully disconnect the electrical wire harness from the old lid lock assembly. Note the orientation of the connector if it's not keyed.
- Remove Old Assembly: Unscrew or unclip the old lid lock assembly from its mounting position.
- Install New Assembly: Position the new FOSA Washer Lid Lock Assembly in place and secure it with the screws or clips removed earlier.
- Connect Wiring: Reconnect the electrical wire harness to the new assembly. Ensure the connection is firm and secure.
- Secure Wiring: The assembly includes sturdy bellow tubing for the wiring harness. Ensure the wiring is routed correctly and protected.
- Reassemble Washer: Reattach any panels or components that were removed to access the lid lock. Ensure all screws are tightened.
- Restore Power: Plug the washing machine back into the electrical outlet or turn on the circuit breaker.
- Test Functionality: Close the washer lid and attempt to start a cycle to verify the lid lock engages properly.

Image: Angled view of the FOSA Washer Lid Lock Assembly, highlighting the main body and the flexible bellow tubing.
Operating Principle
The FOSA Washer Lid Lock Assembly functions as a safety interlock. When a wash cycle begins, the washer's control board sends a signal to the lid lock. The assembly then engages, physically locking the washer lid to prevent it from being opened during high-speed operations like agitation and spin cycles.
This mechanism ensures user safety by preventing access to the moving parts inside the washer tub. Once the cycle is complete and the tub has stopped, the control board disengages the lid lock, allowing the lid to be opened.
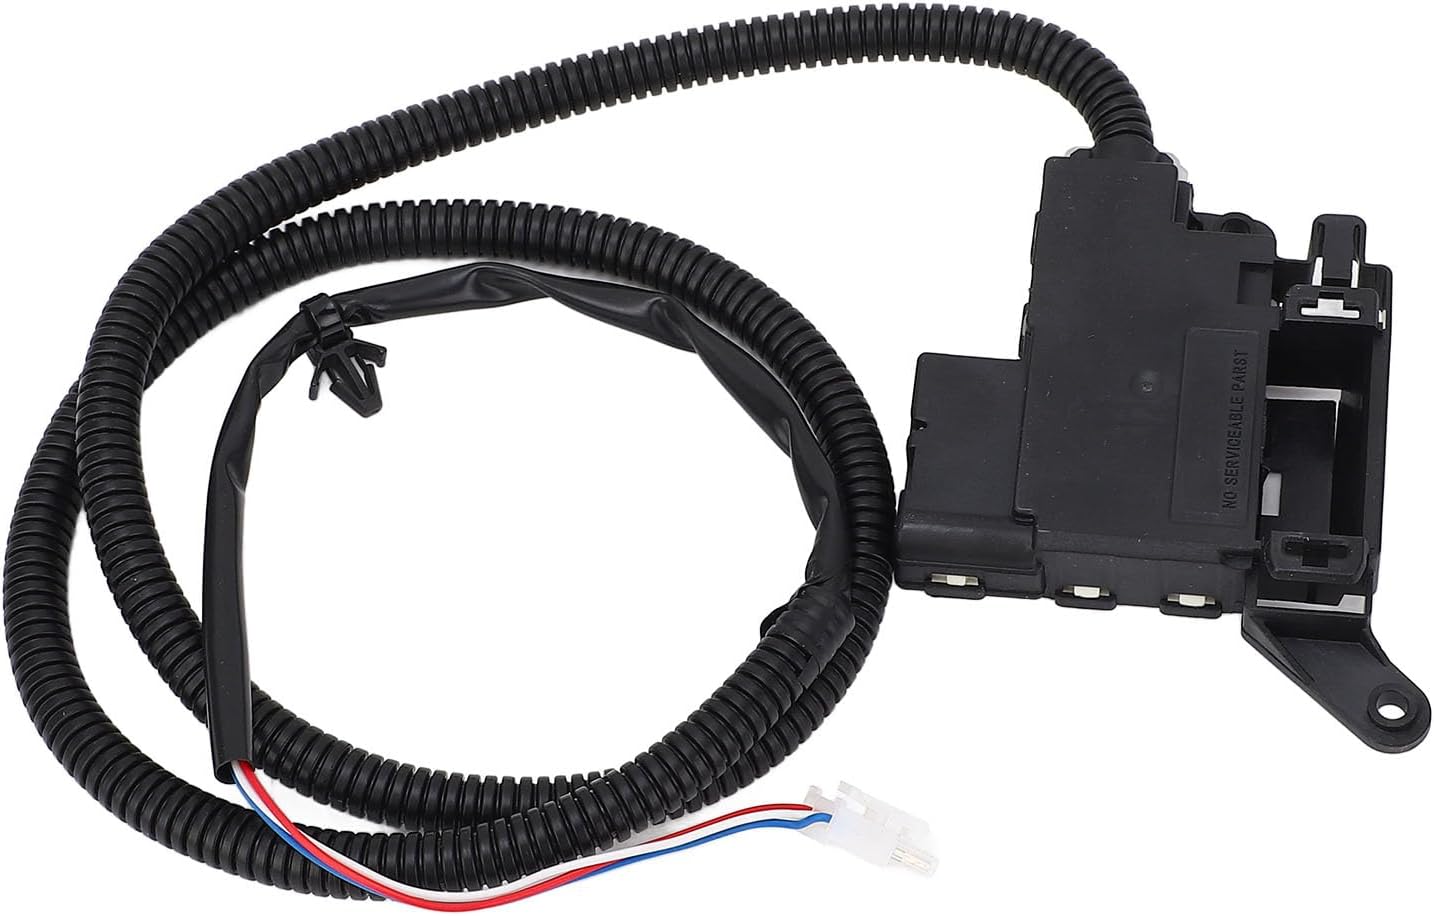
Image: Side view of the FOSA Washer Lid Lock Assembly, showing the robust construction and the wiring conduit.
Maintenance
The Washer Lid Lock Assembly is designed for durability and typically requires minimal maintenance. However, periodic inspection can help ensure its continued proper function.
- Visual Inspection: Periodically inspect the lid lock assembly and its wiring for any signs of wear, damage, or corrosion. Ensure the bellow tubing protecting the wiring is intact.
- Cleaning: If accessible, gently wipe down the exterior of the lid lock assembly to remove any dust or lint buildup. Do not use harsh chemicals or abrasive cleaners.
- Functionality Check: Regularly test the lid lock by attempting to open the washer lid during a cycle (e.g., during the initial fill or agitation phase) to ensure it remains securely locked.
Troubleshooting
This section addresses common issues that a malfunctioning lid lock assembly can cause and how this replacement part helps resolve them.
| Symptom | Possible Cause (Lid Lock Related) | Resolution with New Assembly |
|---|---|---|
| Washer will not start | Lid lock not engaging or faulty sensor preventing cycle initiation. | The new assembly ensures proper lid lock engagement, allowing the washer to start. |
| Washer will not spin or drain | Safety interlock prevents high-speed operations if lid lock status is incorrect. | A functional lid lock allows the washer to proceed with spin and drain cycles. |
| Washer will not fill with water | Lid lock sensor failure can prevent the washer from filling. | Correct lid lock operation enables the water fill cycle. |
| Unresponsive touch panel or timer issues | Faulty lid lock feedback can confuse the control board. | Restores proper communication between the lid lock and the washer's control system. |
| Lid not locking securely | Worn or broken lid lock mechanism. | The new assembly provides a secure locking function. |
If issues persist after replacing the lid lock assembly, consult a professional appliance repair technician.

Image: Close-up view of the electrical connector on the FOSA Washer Lid Lock Assembly, showing the red, blue, and white wires.
Specifications
| Attribute | Detail |
|---|---|
| Item Type | Washer Lid Lock Assembly |
| Material | ABS |
| Weight | Approx. 126g / 4.4oz |
| Product Dimensions | 6.29 x 4.72 x 1.57 inches |
| Applicable Models | For WTW5010LW1, WTW5057LW1, WTW5015LW1, CAW45125LW1, etc. |
| Manufacturer | FOSA |
| Part Number | fosa9mrpf42qxh |
| Item Model Number | fosa9mrpf42qxh |
Warranty and Support
This FOSA Washer Lid Lock Assembly comes with a manufacturer warranty. Please refer to the details below:
- Warranty Period: 90 days from the date of purchase.
- Return Policy: 30-day refund/replacement policy from the date of purchase.
For technical support, warranty claims, or further assistance, please contact your retailer or the manufacturer directly. Ensure you have your product model number (fosa9mrpf42qxh) and purchase details available when contacting support.