
Introduction
Thank you for choosing the Clovis Frameless Double Sliding Shower Door. This manual provides essential information for the safe and correct installation, operation, and maintenance of your new shower door. Please read all instructions carefully before beginning installation and retain this manual for future reference.
Safety Information
- Always wear safety glasses and gloves during installation to prevent injury.
- Handle glass panels with extreme care. Tempered glass, while strong, can shatter if struck at the edges or corners.
- Ensure the wall structure is capable of supporting the weight of the shower door. Use appropriate anchors for your wall type.
- Do not overtighten screws, as this can damage components or glass.
- Professional installation is recommended for optimal safety and performance.
- Keep children and pets away from the installation area.
Package Contents
Verify that all components are present and undamaged before beginning installation. If any parts are missing or damaged, please contact customer service.
- Frameless Tempered Glass Panels (Fixed and Sliding)
- Top Track/Rail (Anodized Aluminum)
- Wall Brackets
- Roller Disk System
- Handles
- Bottom Guide Rail
- Sealing Strips
- Mounting Hardware (screws, wall anchors, hex keys)
Tools Required
The following tools are typically required for installation:
- Drill
- Drill Bits (e.g., 5/16 inch for wall anchors)
- Measuring Tape
- Pencil
- Level
- Phillips Head Screwdriver
- Hex Keys (Allen Wrenches)
- Caulk Gun and Silicone Sealant (mildew-resistant)
- Saw (if top track or bottom guide rail requires cutting)
Installation Instructions
Please watch the official installation video for a visual guide to the process. Detailed steps are provided below.
Official installation video for Clovis shower doors, demonstrating the assembly process.
- Prepare the Shower Area: Ensure the shower walls are plumb and level. Clean the installation area thoroughly.
- Install Wall Brackets:
- Mark the drill points for the wall brackets on both walls. (Refer to video: 0:15-0:18)
- Drill holes using a 5/16 inch drill bit. (Refer to video: 0:19-0:22)
- Insert wall anchors into the drilled holes and secure the wall brackets with screws. (Refer to video: 0:23-0:30)

Detailed diagram illustrating the dimensions and key components of the shower door system.
- Measure and Cut Top Track (if necessary):
- Measure the exact distance between the installed wall brackets. (Refer to video: 0:31-0:33)
- If required, cut the anodized aluminum top track to the precise length using a suitable saw. (Refer to video: 0:34-0:40)
- Insert the end caps and the buffer system into the top track. (Refer to video: 0:41-0:43)
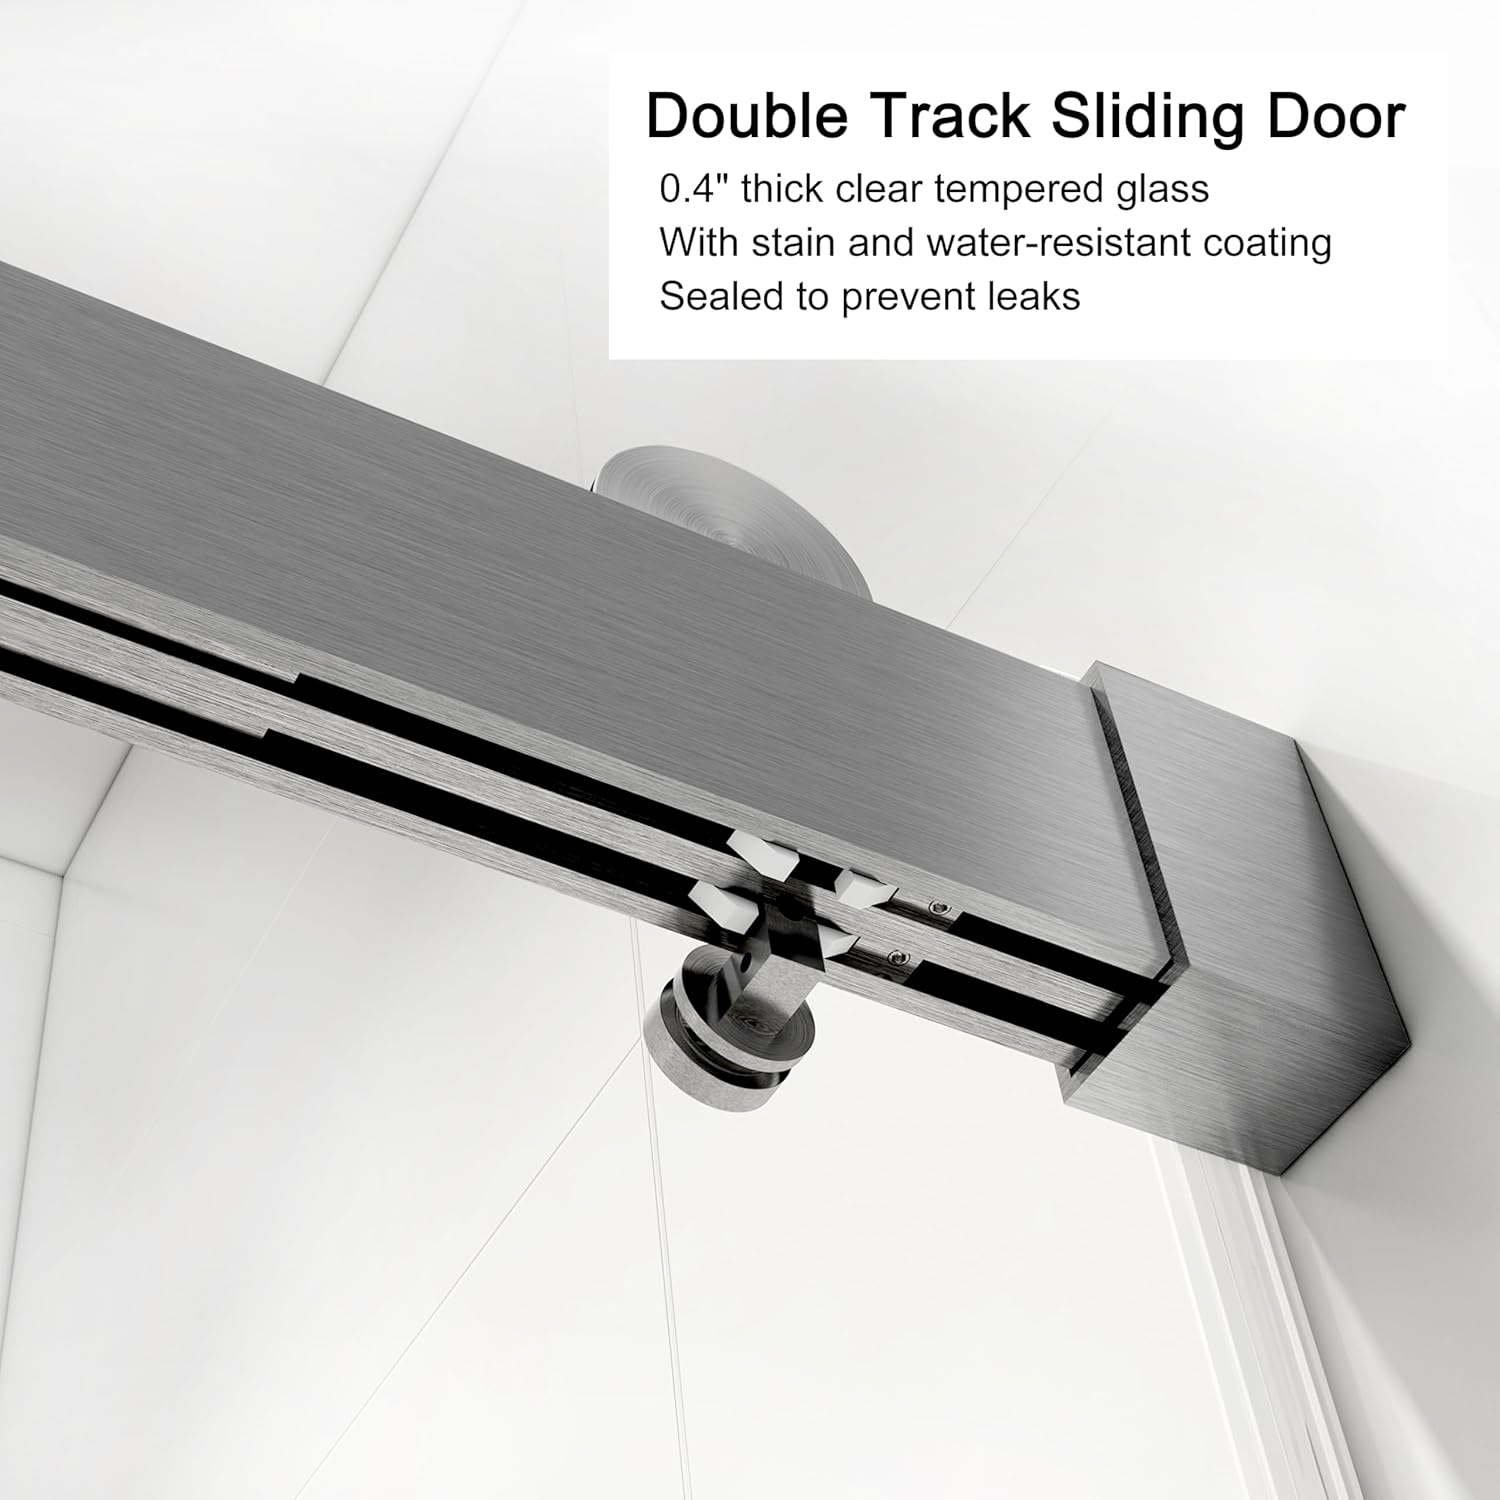
Close-up view of the double track sliding system, highlighting its robust construction and smooth operation.
- Mount Top Track:
- Carefully attach the top track to the previously installed wall brackets. (Refer to video: 0:47-0:52)
- Secure the track to the brackets using the provided hex keys. (Refer to video: 0:53-0:59)
- Use a level to ensure the top track is perfectly horizontal for proper door function. (Refer to video: 1:12-1:16)

Detailed view of the widened and thickened square top track, showcasing the smooth and noiseless sliding rollers.
- Install Fixed Glass Panels: Carefully place the fixed glass panels into the top track and secure them with the provided clamps or screws. Ensure these panels are plumb and securely fastened. (Refer to video: 1:00-1:04, 1:10-1:24)
- Install Sliding Glass Panels and Rollers:
- Attach the roller disk system to the top edge of the sliding glass panels. (Refer to video: 1:59-2:09)
- Hang the sliding glass panels onto the top track rollers. (Refer to video: 2:10-2:29)
- Adjust the rollers as needed to ensure smooth operation and proper alignment of the panels. (Refer to video: 2:30-2:56)

The shower door features a bypass double sliding design, allowing entry from either side.
- Install Handles: Attach the handles to the pre-drilled holes on the sliding glass panels. Secure them firmly but do not overtighten. (Refer to video: 3:10-3:27)
- Install Bottom Guide Rail:
- Measure and cut the bottom guide rail if necessary to fit the shower base. (Refer to video: 3:28-3:33)
- Apply a continuous bead of silicone sealant to the bottom of the guide rail.
- Place the guide rail on the shower base, ensuring it aligns correctly with the glass panels. (Refer to video: 3:37-3:43)
- Apply Silicone Sealant: Apply a continuous, even bead of mildew-resistant silicone sealant along all exterior seams where the glass panels meet the walls and the shower base. This is crucial for preventing leaks. Allow the sealant to cure completely (typically 24-48 hours) before using the shower. (Refer to video: 3:44-3:47)
Operating Instructions
Your Clovis Frameless Double Sliding Shower Door is designed for smooth and quiet operation.
- To open or close the shower door, grasp the handle firmly and gently slide the glass panel along the top track.
- The integrated buffer system ensures a soft and controlled closing action, minimizing noise and preventing abrupt impacts.
- Avoid forcing the door or slamming it shut, as this can cause damage to the rollers or glass.
Maintenance
Regular maintenance will ensure the longevity and optimal performance of your shower door.
- Cleaning Glass: Use a soft cloth or sponge with a non-abrasive glass cleaner. Avoid harsh chemicals, abrasive pads, or scouring powders, as these can scratch the glass or damage protective coatings. For best results, clean regularly to prevent hard water spots.
- Cleaning Hardware: Wipe down metal components with a soft, damp cloth. For stubborn spots, use a mild, non-abrasive cleaner specifically designed for brushed nickel finishes.
- Roller System: Periodically inspect the roller disk system and top track for any accumulation of soap scum or debris. Clean with a soft brush and mild soap solution to ensure smooth sliding.
- Sealing Strips: Check the sealing strips along the edges of the glass panels for wear, tear, or discoloration. Replace them if they appear damaged or are no longer effectively preventing water leakage.
- Fasteners: Occasionally check all screws and fasteners for tightness. Retighten if necessary, but be careful not to overtighten, especially those connected to glass.
Troubleshooting
If you encounter any issues with your shower door, refer to the following common problems and solutions:
| Problem | Possible Cause | Solution |
|---|---|---|
| Door not sliding smoothly | Debris in track, loose rollers, unlevel track | Clean the top track and rollers. Check and tighten roller screws. Verify the top track is level and adjust if necessary. |
| Water leakage | Damaged or improperly sealed strips, gaps in silicone sealant, unlevel shower base | Inspect all sealing strips and replace if damaged. Reapply silicone sealant to any gaps. Ensure the bottom guide rail is properly sealed. |
| Glass panel misalignment | Improperly installed top track or wall brackets, loose rollers | Verify the top track and wall brackets are level and securely installed. Adjust the roller system for proper alignment. |
Specifications
- Brand: Clovis
- Model: 68-72"W x 76"H Double Sliding Frameless Shower Door
- Dimensions: Adjustable width 68-72 inches, Height 76 inches
- Glass Thickness: 3/8 inch (10MM)
- Glass Type: Clear SGCC Tempered Glass with Explosion-Proof Film
- Frame Material: Anodized Aluminum (Top Track), 304 Stainless Steel (Rollers, Handles)
- Color: Nickel Brushed
- Features: Double sliding bypass design, buffer system, rust-resistant components
- Assembly: Required

The 3/8 inch (10mm) clear SGCC tempered glass is designed for safety and easy cleaning, featuring an explosion-proof film.
Warranty and Support
For detailed warranty information, product registration, or to contact customer support, please visit the official Clovis Goods website or refer to the documentation included with your purchase. Please retain your purchase receipt as proof of purchase for any warranty claims.
