
1. Introduction
This manual provides detailed instructions for the setup, operation, and maintenance of your Antmap Mini Projector 400ANSI. Please read this manual thoroughly before using the product to ensure proper function and to extend its lifespan. Keep this manual for future reference.
2. Safety Information
- Do not look directly into the projector lens when the lamp is on.
- Ensure proper ventilation around the projector to prevent overheating.
- Use only the power adapter supplied with the projector.
- Keep the projector away from water or other liquids.
- Avoid placing the projector on unstable surfaces.
- Do not attempt to repair the projector yourself. Contact qualified service personnel for assistance.
3. Package Contents
Verify that all items are present in your package:
- Antmap Mini Projector 400ANSI
- HDMI Cable
- Power Cord
- Projector Lens Cover
- Remote Control
- User Manual (this document)
4. Product Overview
The Antmap Mini Projector 400ANSI is a compact and versatile projector designed for various entertainment and presentation needs. It features 400 ANSI lumens brightness, 1080P native resolution, and supports 4K input. Its dual-band WiFi and Bluetooth 5.1 connectivity offer flexible options for media streaming and audio output.
4.1 Projector Components
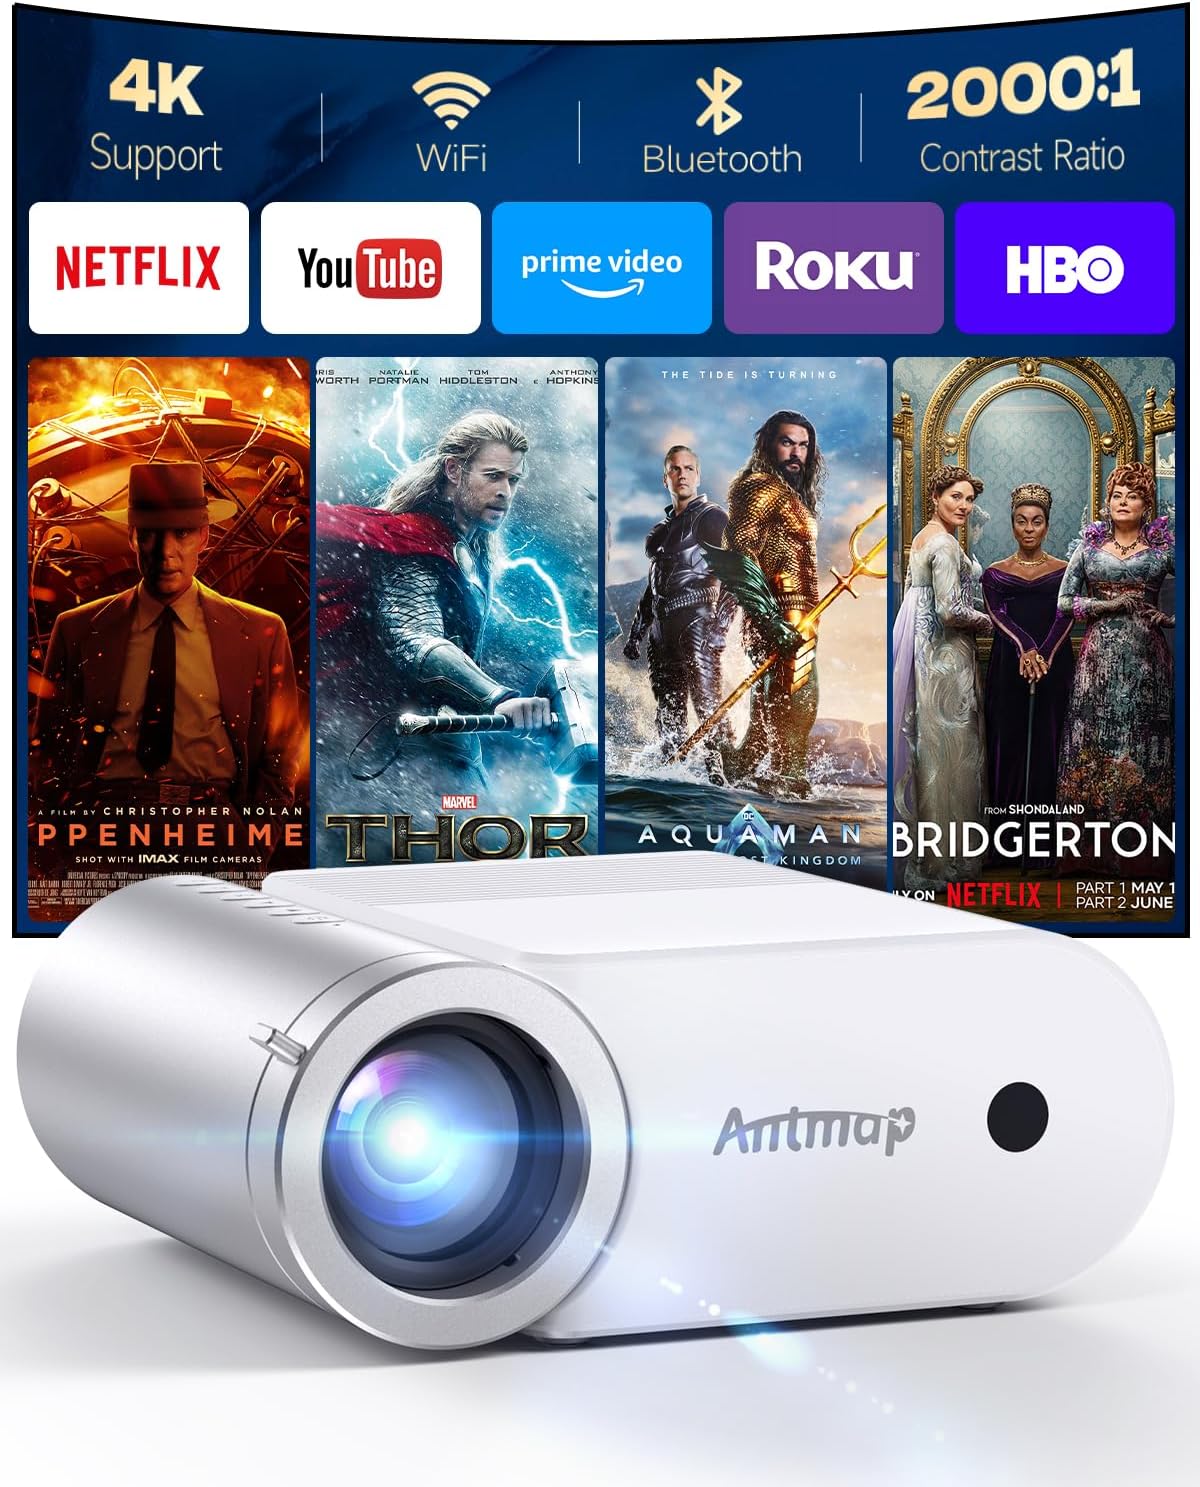
Image 4.1: Front view of the Antmap Mini Projector 400ANSI. This image displays the projector's lens and overall compact design.

Image 4.2: Side view of the Antmap Mini Projector 400ANSI with dimensions. The projector measures approximately 6.81 x 5.47 x 2.76 inches.
4.2 Ports and Controls
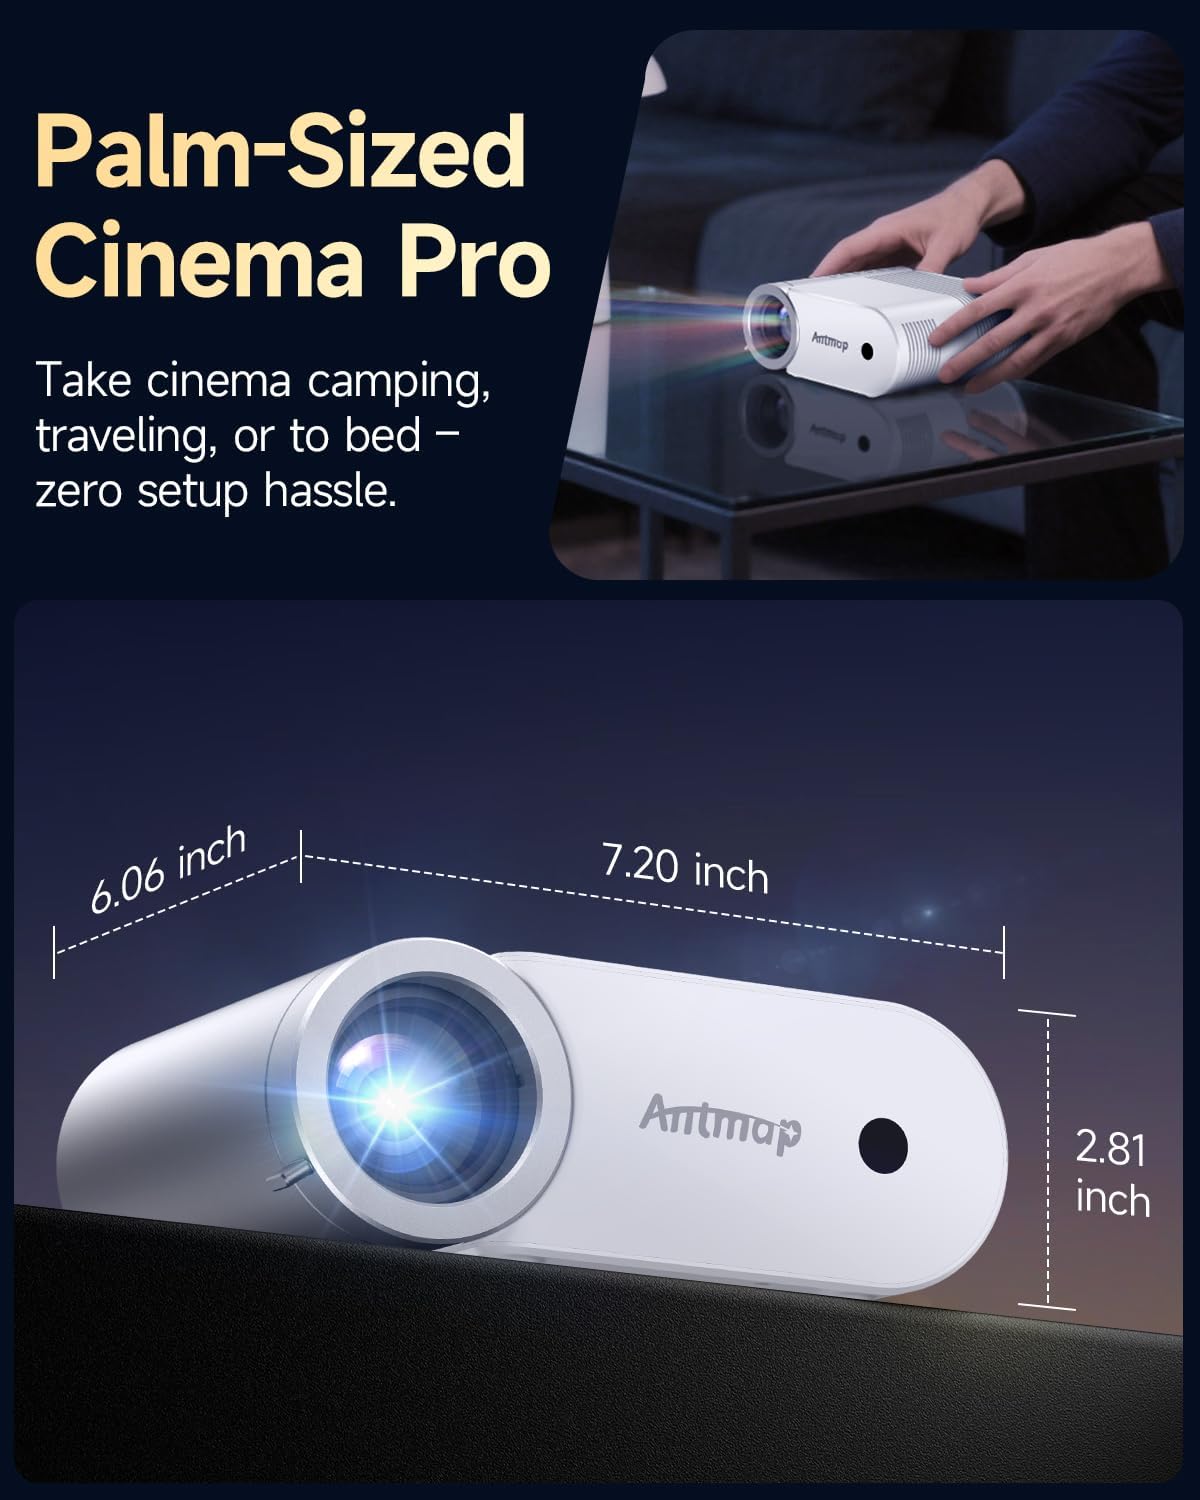
Image 4.3: Rear and side view illustrating the various ports and controls on the Antmap Mini Projector 400ANSI. These include USB-C, HDMI, Audio Out, USB, and power input.
- Power Input: Connect the power adapter here.
- HDMI Port: Connect to devices like laptops, gaming consoles, or TV sticks.
- USB Port: For connecting USB drives to play media files.
- Audio Out (3.5mm): Connect external headphones or speakers.
- Focus Ring: Adjust for a clear image.
- Keystone Correction: Adjust image shape.
5. Setup
5.1 Initial Placement and Power
- Place the projector on a stable, flat surface or mount it according to your preference (tripod, ceiling, tabletop).
- Connect the power cord to the projector and then to a power outlet.
- Press the power button on the projector or remote control to turn it on.
5.2 Adjusting Focus and Keystone
- Focus: Rotate the focus ring near the lens until the projected image is sharp and clear.
- Keystone Correction: Use the keystone adjustment feature (physical dial or digital setting) to correct distorted images (trapezoid shape) if the projector is not perfectly perpendicular to the screen. The projector supports up to 17° keystone correction.
5.3 Projection Size and Distance
The projector can display an image size from 35 inches to 200 inches, with optimal projection distances ranging from 3.3 feet to 17 feet. Adjust the distance from the projection surface to achieve your desired screen size.

Image 5.1: Illustration of projection distances and corresponding screen sizes (e.g., 50" at 4.92ft, 100" at 9.84ft, 150" at 14.76ft, 200" at 19.69ft).
6. Operating Instructions
6.1 Connectivity Options
Your Antmap Mini Projector offers multiple ways to connect to your devices:
6.1.1 WiFi Connection (Screen Mirroring)
The projector supports 2.4G and 5G dual-band WiFi for seamless screen mirroring from iOS and Android smartphones.
- Navigate to the WiFi settings on the projector's main menu.
- Select your home WiFi network and enter the password to connect the projector to the internet.
- For iOS devices, select "iOS Cast" or "Screen Mirroring" on the projector. On your iPhone/iPad, open Control Center and tap "Screen Mirroring," then select the projector from the list.
- For Android devices, select "Android Cast" on the projector. Ensure your Android device supports screen mirroring (e.g., Smart View, Multi-screen, Cast). Activate the feature on your device and select the projector.
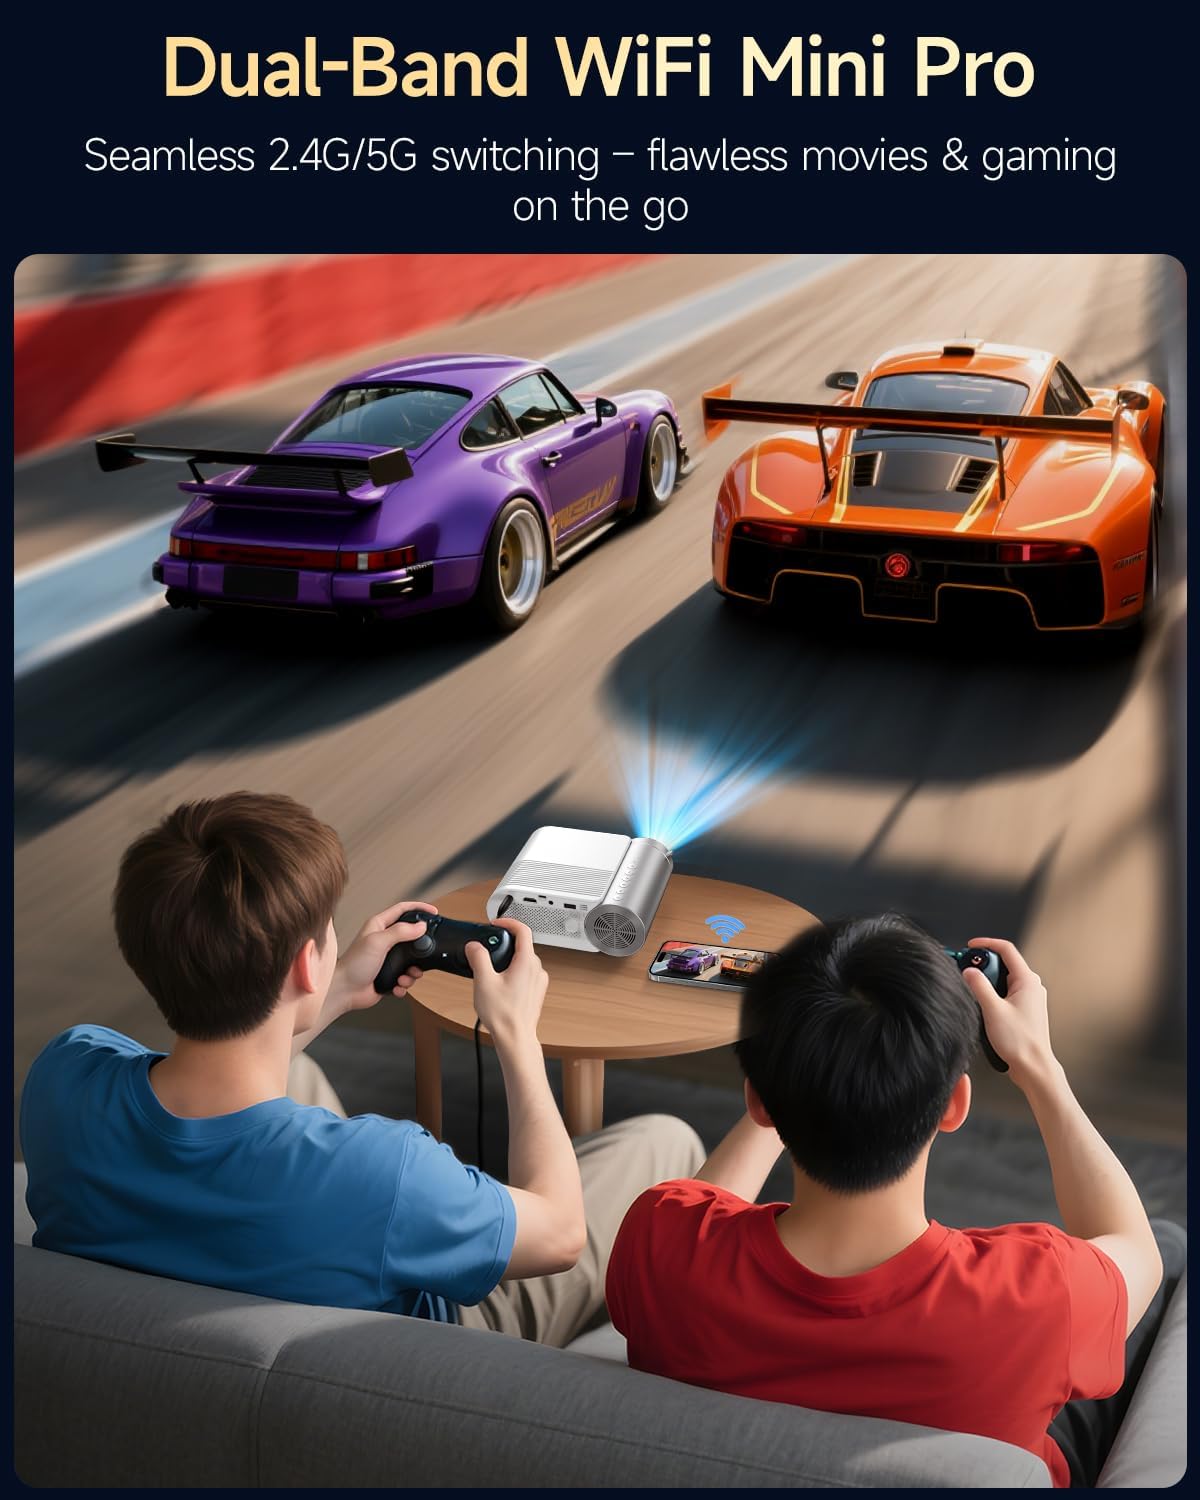
Image 6.1: A visual representation of the projector wirelessly connected to a smartphone via 5G+2.4G WiFi for screen mirroring, displaying content on a large screen.
Video 6.1: This video demonstrates the various connectivity options of the projector, including how to connect external devices and utilize WiFi for screen mirroring.
6.1.2 Bluetooth Connection (Audio Output)
Connect external Bluetooth speakers or headphones for enhanced audio, or use the projector as a Bluetooth speaker.
- Connecting to External Speakers:
- Go to the Bluetooth settings on the projector.
- Enable Bluetooth and search for available devices.
- Select your Bluetooth speaker or headphones from the list to pair.
- Using as a Bluetooth Speaker:
- Select "Bluetooth Speaker Mode" on the projector.
- On your smartphone or other Bluetooth device, search for the projector in your Bluetooth settings and connect.
- Play audio from your device, and it will output through the projector's speakers.

Image 6.2: This image illustrates the dual audio freedom of the projector, showing both transmission mode (projector to external speakers) and speaker mode (smartphone to projector's internal speakers) via Bluetooth.
6.1.3 Wired Connections
Connect various devices using the available ports:
- HDMI: Connect to laptops, gaming consoles (PS4, Xbox), TV sticks (Amazon Fire TV Stick), DVD players, and other HDMI-enabled devices.
- USB: Insert a USB flash drive to play local media files (videos, photos, music).
- Audio Out (3.5mm): For direct connection to wired headphones or external speakers.
- USB-C: Connect compatible devices for video input.
6.2 Media Playback
Once a device is connected (via WiFi, Bluetooth, or cable), select the appropriate input source from the projector's menu. Use the remote control to navigate menus, select content, and adjust playback settings.
7. Maintenance
7.1 Cleaning the Projector
- Lens: Use a soft, lint-free cloth specifically designed for optical lenses. Do not use abrasive cleaners or cloths.
- Exterior: Wipe the projector's exterior with a soft, dry cloth. For stubborn marks, a slightly damp cloth can be used, followed by a dry one.
- Ventilation Ports: Periodically check and gently clean the ventilation ports to ensure unobstructed airflow. Use a soft brush or compressed air.
7.2 Storage
When not in use, store the projector in a cool, dry place, away from direct sunlight and extreme temperatures. Always replace the lens cover to protect the lens from dust and scratches.
8. Troubleshooting
| Problem | Possible Cause | Solution |
|---|---|---|
| No image displayed | Power not connected; Incorrect input source; Lens cap on. | Check power connection; Select correct input source (HDMI, USB, Screen Mirroring); Remove lens cap. |
| Image is blurry | Focus not adjusted; Projector too far/close. | Adjust the focus ring; Adjust projection distance. |
| Image is trapezoidal | Projector not perpendicular to screen. | Adjust keystone correction. |
| No sound | Volume too low; Muted; External speakers not connected/paired. | Increase volume; Unmute; Check Bluetooth connection or 3.5mm audio cable. |
| WiFi/Bluetooth connection issues | Out of range; Interference; Incorrect password. | Move closer to router/device; Reduce interference; Re-enter password. |
9. Specifications
| Feature | Detail |
|---|---|
| Brand | antmap |
| Model | 400ANSI |
| Item Weight | 1.67 pounds |
| Product Dimensions | 6.81 x 5.47 x 2.76 inches |
| Color | Silver White |
| Special Feature | Portable |
| Connectivity Technology | Bluetooth, HDMI, USB, Wi-Fi |
| Display Resolution | 1280 x 720 (Native) |
| Recommended Uses | Business, Education, Gaming, Home Cinema |
10. Warranty and Support
Your Antmap Mini Projector 400ANSI comes with a standard manufacturer's warranty. Please refer to the warranty card included in your package for specific terms and conditions. For technical support, troubleshooting assistance, or warranty claims, please contact Antmap customer service through the retailer where you purchased the product or refer to the contact information provided on the product packaging.