
Psisuvry HC
Psisuvry 1.8 Cubic Feet Digital Home Security Safe Instruction Manual
Model: HC
Introduction
This manual provides detailed instructions for the setup, operation, and maintenance of your Psisuvry 1.8 Cubic Feet Digital Home Security Safe. Please read this manual thoroughly before using the safe to ensure proper function and security.

Image: The Psisuvry 1.8 Cubic Feet Digital Home Security Safe, shown open with various items stored inside, highlighting the electronic keypad and internal lighting.
Safety Information
- Keep emergency keys in a secure location away from the safe and not inside the safe.
- Do not store the safe's code or emergency keys where unauthorized individuals can access them.
- Ensure the safe is securely mounted to prevent unauthorized removal.
- This safe is designed for security against theft and unauthorized access. While it offers some protection against fire, it is not certified as a fireproof safe.
- Avoid exposing the safe to extreme temperatures or humidity.
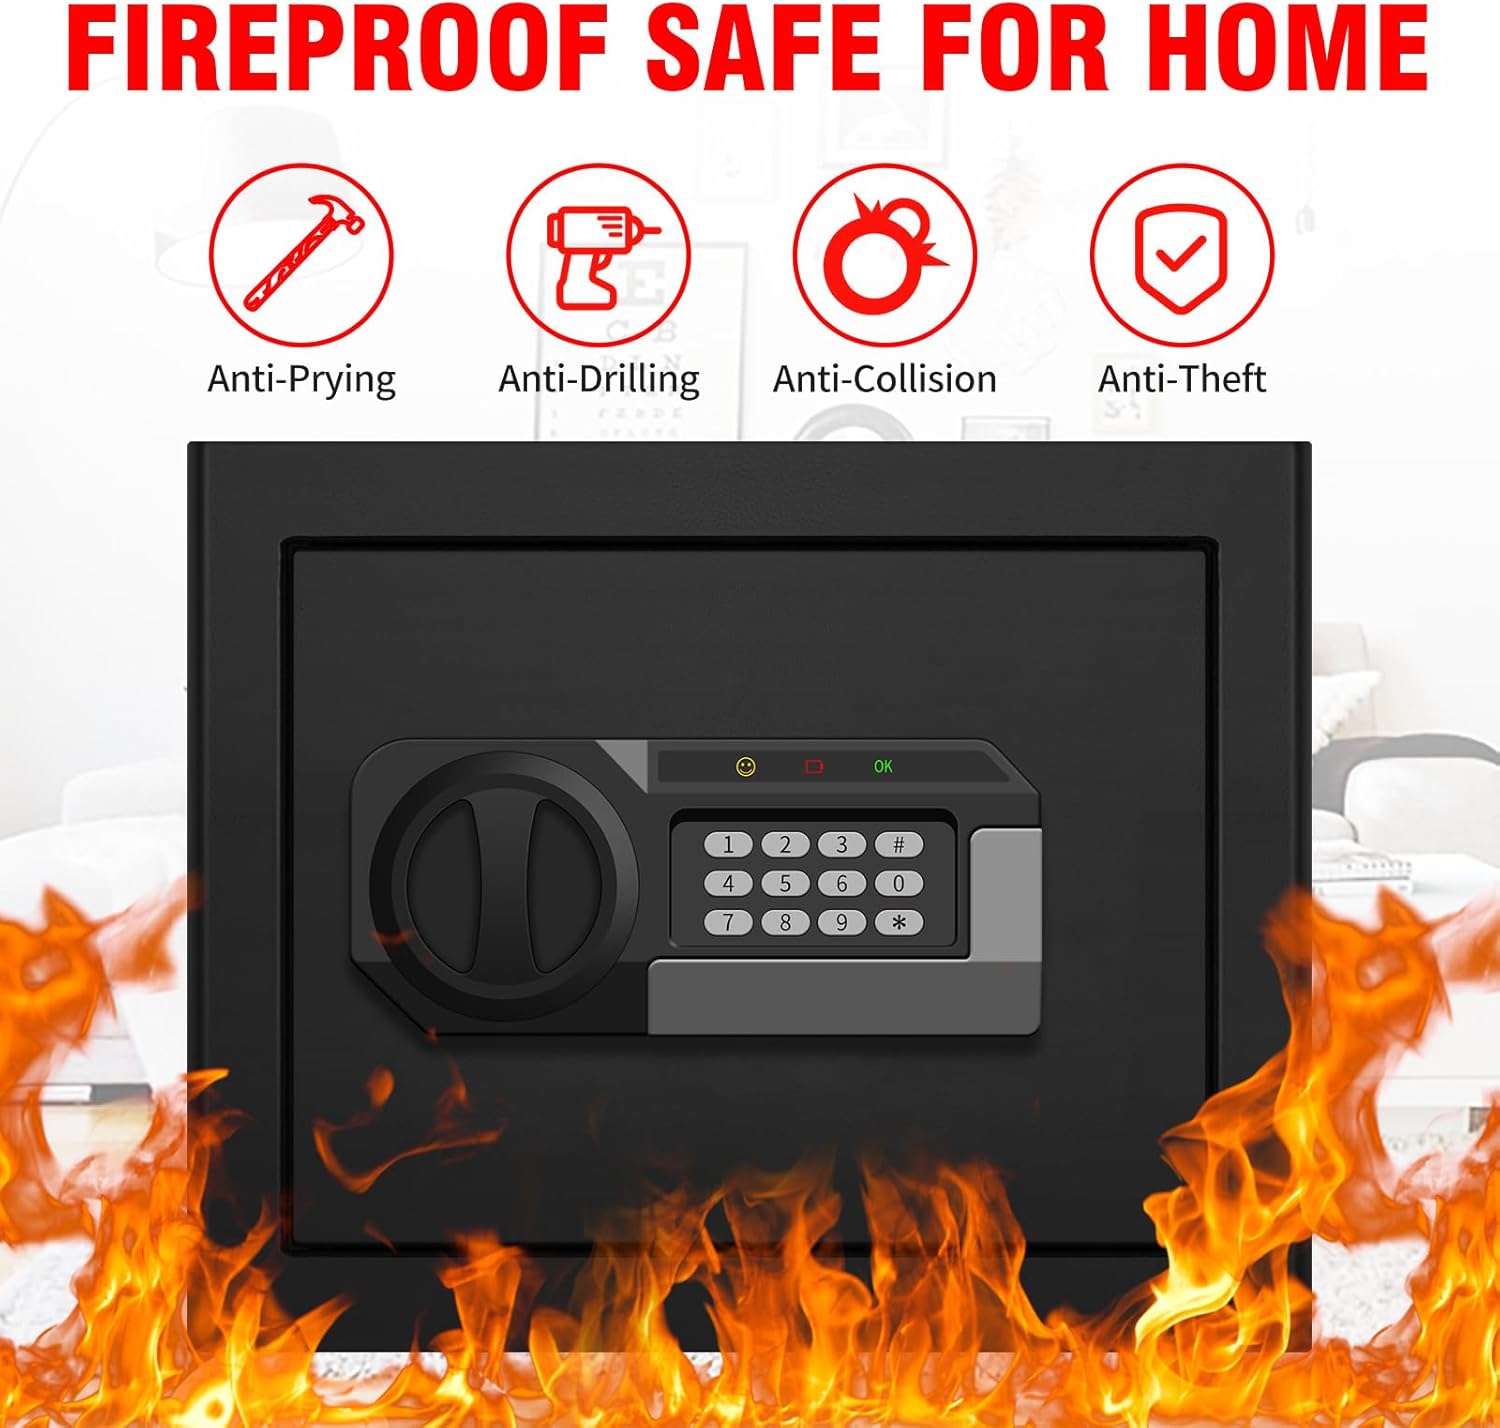
Image: Visual representation of the safe's anti-theft features, including resistance to prying, drilling, collision, and general theft.
Package Contents
Verify that all components are present before proceeding with installation and setup:
- 1 x Psisuvry Safe Box
- 1 x Instruction Manual
- 2 x Emergency Keys
- 2 x Expansion Screws (for mounting)
- 1 x Mat (for interior)

Image: The safe displayed with its key dimensions (14.57 in width, 11.81 in depth, 12.2 in height) and all included accessories: expansion screws, emergency keys, user manual, and interior mat.
Setup
1. Initial Opening (Using Emergency Key)
- Locate the emergency keyhole, usually concealed behind the keypad cover or a small plate.
- Insert one of the emergency keys into the keyhole.
- Turn the key clockwise while simultaneously turning the knob on the keypad counter-clockwise to open the safe door.
2. Battery Installation
The electronic keypad requires batteries to function. Batteries are not included.
- With the safe door open, locate the battery compartment on the inside of the door.
- Open the battery compartment cover.
- Insert 4 AA batteries (not included), ensuring correct polarity (+/-).
- Close the battery compartment cover.
- Test the keypad by pressing any button; a beep or light should indicate power.
3. Setting Your Personal Code
It is recommended to set your personal code immediately after battery installation.
- With the safe door open, press the red reset button located on the inside of the door, near the hinge. You will hear a beep.
- Within 5 seconds, enter your desired 3-8 digit code on the keypad.
- Press the "#" button to confirm. The safe will beep twice, indicating successful code setting.
- Important: Test the new code several times with the safe door open before closing it. If the code does not work, repeat the steps.
4. Mounting the Safe
For enhanced security, it is highly recommended to mount the safe to a wall or floor using the provided expansion screws.
- Choose a suitable location for mounting, such as a solid wall stud or concrete floor.
- Mark the drilling points through the pre-drilled holes at the back or bottom of the safe.
- Drill pilot holes at the marked locations.
- Align the safe with the drilled holes and secure it using the expansion screws.
- Ensure the safe is firmly attached and cannot be easily removed.
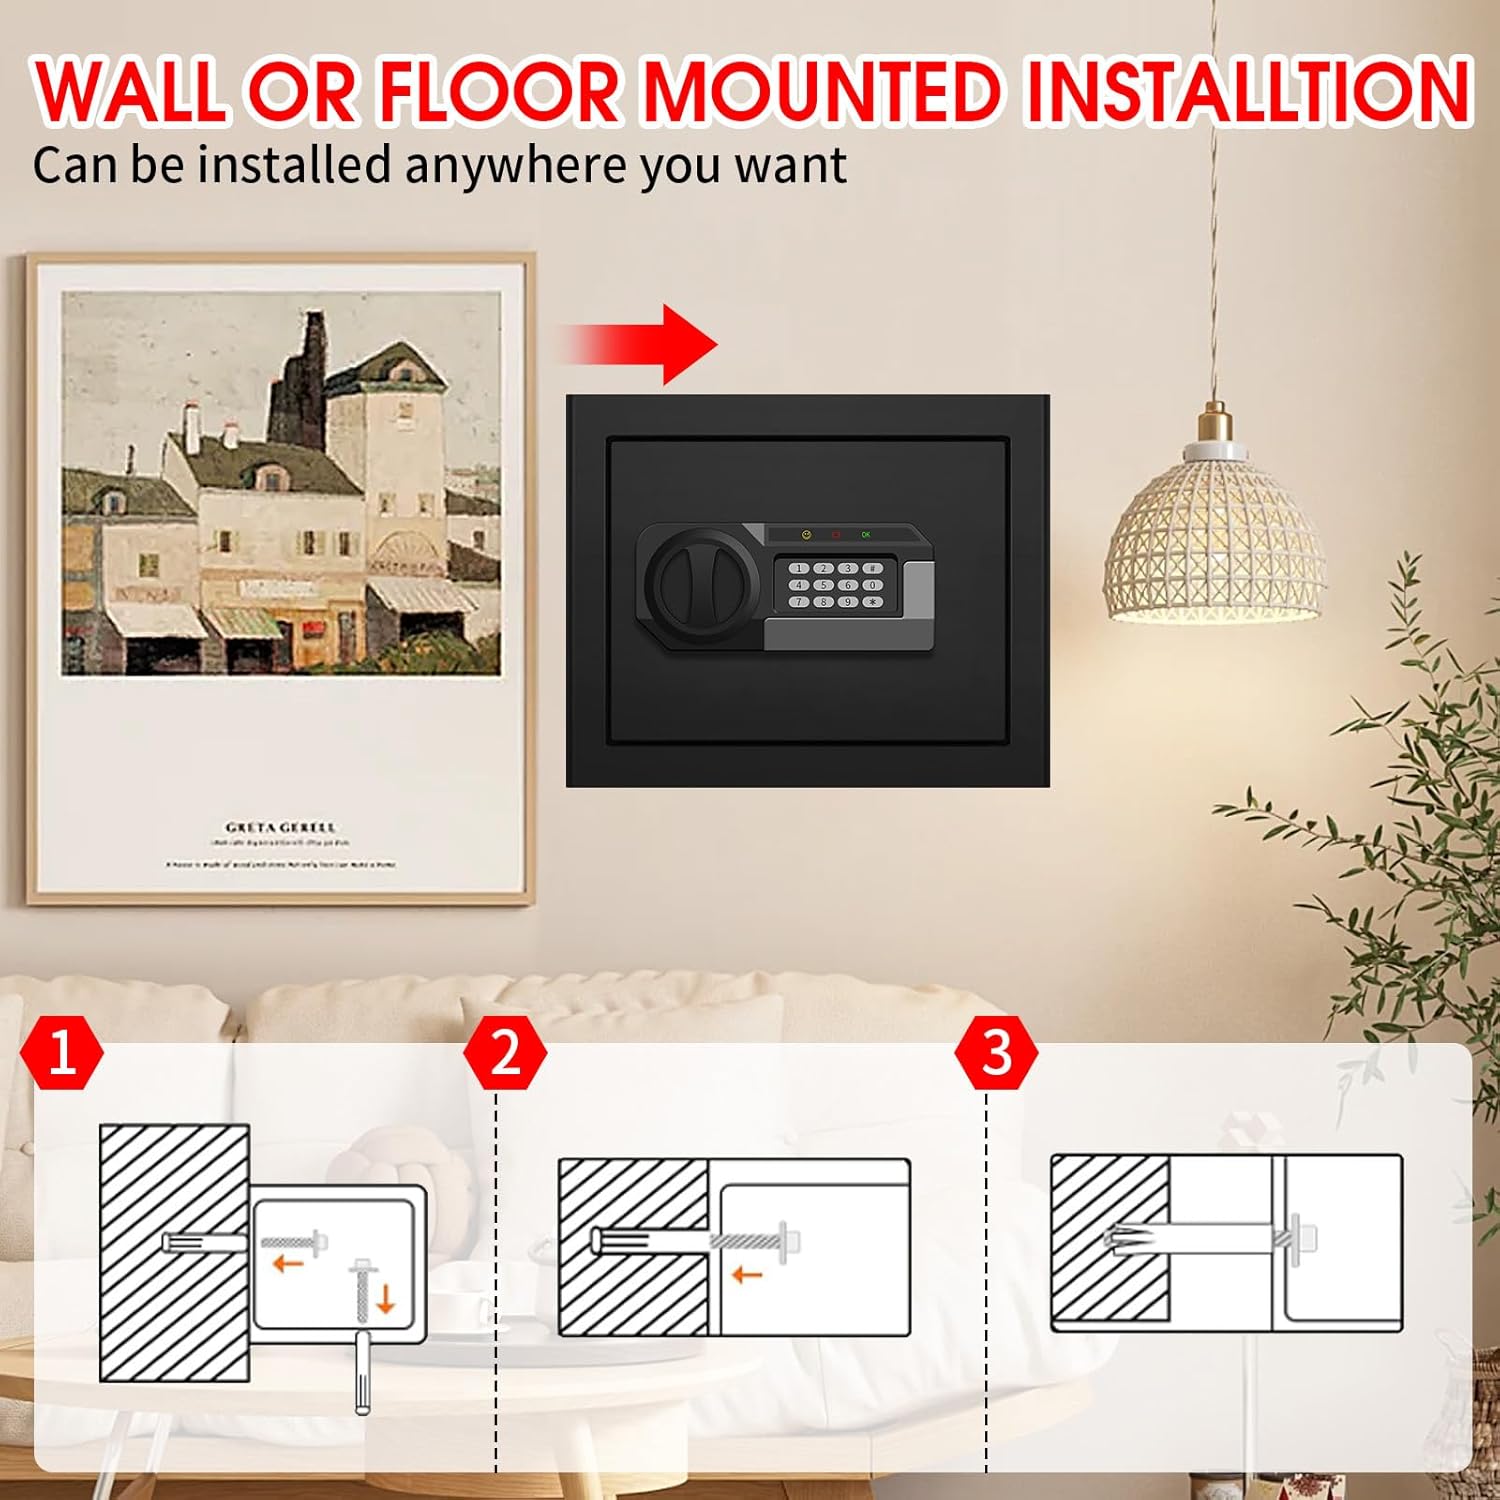
Image: Step-by-step diagram illustrating how to securely mount the safe to a wall using screws, showing the process from marking to final attachment.
Operating Instructions
1. Opening the Safe with Your Code
- Enter your 3-8 digit personal code on the keypad.
- Press the "#" button. The "OK" light will illuminate.
- Within 5 seconds, turn the knob counter-clockwise to open the safe door.
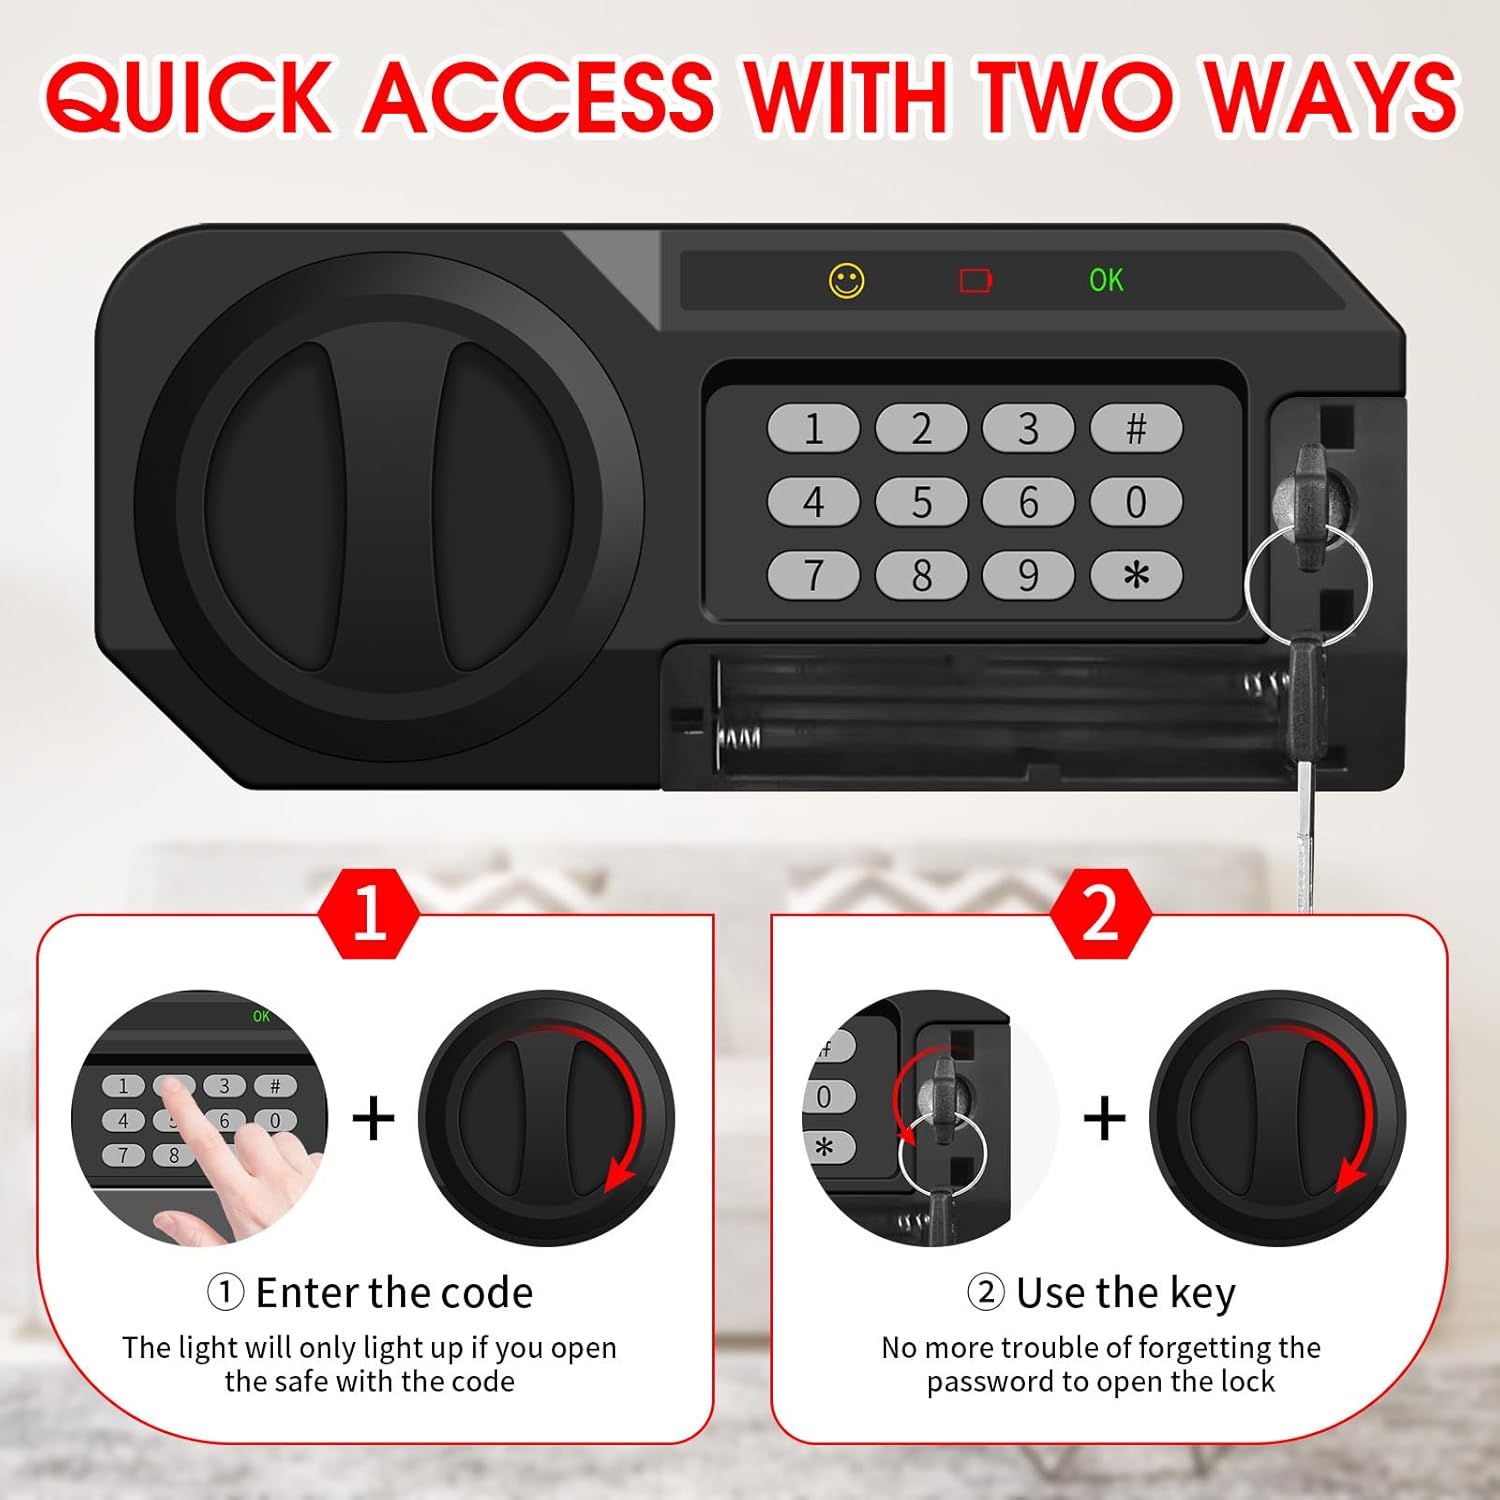
Image: Illustration detailing the two methods for accessing the safe: entering the digital code on the keypad or using the physical emergency key.
2. Opening the Safe with Emergency Key (Manual Override)
Use the emergency key if you forget your code or if the batteries are depleted.
- Locate the emergency keyhole.
- Insert the emergency key and turn it clockwise.
- While holding the key turned, rotate the knob counter-clockwise to open the door.
3. Changing Your Personal Code
To change your code, follow the same steps as setting the initial code:
- With the safe door open, press the red reset button on the inside of the door.
- Enter your new 3-8 digit code.
- Press the "#" button to confirm.
- Test the new code with the door open before closing.
4. Alarm System
The safe is equipped with an anti-theft alarm system.
- If an incorrect code is entered 3 consecutive times, the alarm will activate.
- The safe will lock for 20 seconds, and an audible alarm will sound.
- To silence the alarm, enter the correct code or use the emergency key.

Image: The safe with a flashing alarm light on top, illustrating the activation of its small alarm system after multiple incorrect entries.
5. Removable Shelf
The safe includes a removable shelf to organize items of different sizes.
- To remove the shelf, simply lift it and pull it out.
- To reinsert, align it with the internal supports and lower it into place.

Image: A comparison view of the safe's interior, demonstrating how the removable shelf can be used to organize items like cash, documents, and jewelry, or removed for larger objects.
Maintenance
- Battery Replacement: Replace batteries annually or when the low battery indicator lights up. Always use 4 new AA batteries.
- Cleaning: Wipe the safe's exterior with a soft, damp cloth. Avoid abrasive cleaners or solvents.
- Key Care: Store emergency keys carefully. Do not duplicate them without authorization.
Troubleshooting
| Problem | Possible Cause | Solution |
|---|---|---|
| Safe does not open with code. | Incorrect code entered, dead batteries, or knob not turned within 5 seconds. | Re-enter code carefully. Replace batteries. Ensure knob is turned promptly after "OK" light. Use emergency key if necessary. |
| Alarm sounds unexpectedly. | Incorrect code entered 3 times, or safe was tampered with. | Enter correct code or use emergency key to silence. Check for signs of tampering. |
| Keypad is unresponsive. | Dead batteries. | Replace all 4 AA batteries. Use emergency key to open if needed. |
| Door does not close properly. | Obstruction in the door frame or locking bolts. | Check for any items blocking the door or bolts. Ensure the safe is on a level surface. |
Specifications
- Brand: Psisuvry
- Model: HC
- Capacity: 1.8 Cubic Feet
- Product Dimensions: 14"D x 12"W x 11"H
- Item Weight: 22.8 pounds (10.35 Kilograms)
- Lock Type: Electronic Combination Lock, Key
- Color: Black
- Material: Metal (Solid Steel Construction)
- Mounting Type: Floor Mount, Wall Mount
- Special Features: Alarm System, Anti-Theft, Removable Shelf, Scratch Resistant
- Included Components: 1 x Instruction, 1 x Mat, 1 x Safe Box, 2 x Emergency Keys, 2 x Expansion Screws

Image: Detailed view of the safe's door mechanism, highlighting the solid steel construction and the robust anti-pry bolts designed for enhanced security.
Warranty and Support
For warranty information or technical support, please refer to the contact details provided with your purchase documentation or visit the official Psisuvry website. If an emergency key is lost, contact customer support with the unique number found on the keyhole for assistance.
Ask a question about this manual
Ask about setup, troubleshooting, compatibility, parts, safety, or missing instructions. Manuals+ will review the question and use this page’s manual context to help answer it.