
1. Introduction
This manual provides essential information for the safe and effective operation, assembly, and maintenance of your Bennett Read XTR2200 Dynamic Pressure Washer. Please read these instructions thoroughly before using the appliance to ensure proper function and to prevent injury or damage.

Figure 1: Bennett Read XTR2200 Dynamic Pressure Washer. This image shows the complete pressure washer unit from a front-side angle, highlighting its orange and black casing, handle, and wheels.
2. Safety Information
Always observe basic safety precautions when using electrical appliances to reduce the risk of fire, electric shock, and personal injury. Keep this manual for future reference.
- Electrical Safety: Ensure the power supply matches the voltage specified on the pressure washer. Do not operate with damaged cords or plugs. Use a residual current device (RCD) for added protection.
- Water Connection: Connect the pressure washer only to a potable water supply. Do not use recycled or contaminated water.
- Personal Protective Equipment: Always wear appropriate eye protection, hearing protection, and protective clothing when operating the pressure washer.
- Operating Environment: Use the pressure washer on a stable, level surface. Keep children and pets away from the operating area.
- Nozzle Safety: Never direct the high-pressure spray at people, animals, electrical equipment, or the unit itself. The high-pressure jet can be dangerous if misused.
- Chemical Use: Use only detergents recommended for pressure washers. Follow detergent manufacturer's instructions for use and disposal.
- Maintenance: Disconnect the power supply before performing any maintenance or cleaning.
3. Package Contents
Carefully unpack the box and ensure all items are present and undamaged. If any parts are missing or damaged, contact your retailer immediately.
- Bennett Read XTR2200 Pressure Washer Unit
- High-Pressure Hose
- Spray Gun with Lance
- Adjustable Nozzle
- Detergent Bottle (Onboard)
- Water Inlet Connector
- User Manual

Figure 2: Front view of the pressure washer. This image provides a clear view of the front panel, power switch, and detergent tank.
4. Assembly and Setup
Follow these steps to assemble and prepare your pressure washer for use.
4.1 Attaching the Handle and Wheels
The main handle and wheels are typically pre-assembled or require minimal attachment. Ensure they are securely fastened for stability and maneuverability.

Figure 3: Side view of the pressure washer. This image shows the robust wheels and the overall compact design, indicating ease of movement.
4.2 Connecting the Water Supply
- Connect a standard garden hose (not supplied) to the water inlet connector on the pressure washer.
- Ensure the connection is tight to prevent leaks.
- Connect the other end of the garden hose to a potable water tap.
- Turn on the water tap fully to ensure a steady water flow to the unit.
4.3 Connecting the High-Pressure Hose and Spray Gun
- Attach one end of the high-pressure hose to the high-pressure outlet on the pressure washer unit.
- Attach the other end of the high-pressure hose to the spray gun.
- Connect the spray lance to the spray gun.
- Attach the desired nozzle (e.g., adjustable nozzle) to the end of the spray lance.

Figure 4: Rear view of the pressure washer, showing the integrated hose reel. This feature aids in convenient storage and deployment of the high-pressure hose.
4.4 Filling the Detergent Bottle
The XTR2200 features an onboard detergent bottle. Fill it with a high-foam detergent suitable for pressure washers, following the detergent manufacturer's dilution instructions.

Figure 5: Close-up of the onboard detergent bottle. This image highlights the integrated design for easy detergent application during cleaning tasks.
5. Operating Instructions
Before starting, ensure all connections are secure and the water supply is turned on.
5.1 Starting the Pressure Washer
- Plug the power cord into a suitable electrical outlet.
- Hold the spray gun firmly and point it in a safe direction.
- Press the trigger on the spray gun to release any trapped air and allow water to flow through the system until a steady stream emerges.
- Turn the ON/OFF switch on the pressure washer to the "ON" position. The motor will start.
5.2 Using the Spray Gun and Nozzle
The adjustable nozzle allows you to vary the spray pattern from a concentrated jet to a wide fan. Rotate the nozzle to select the desired spray pattern for your cleaning task.
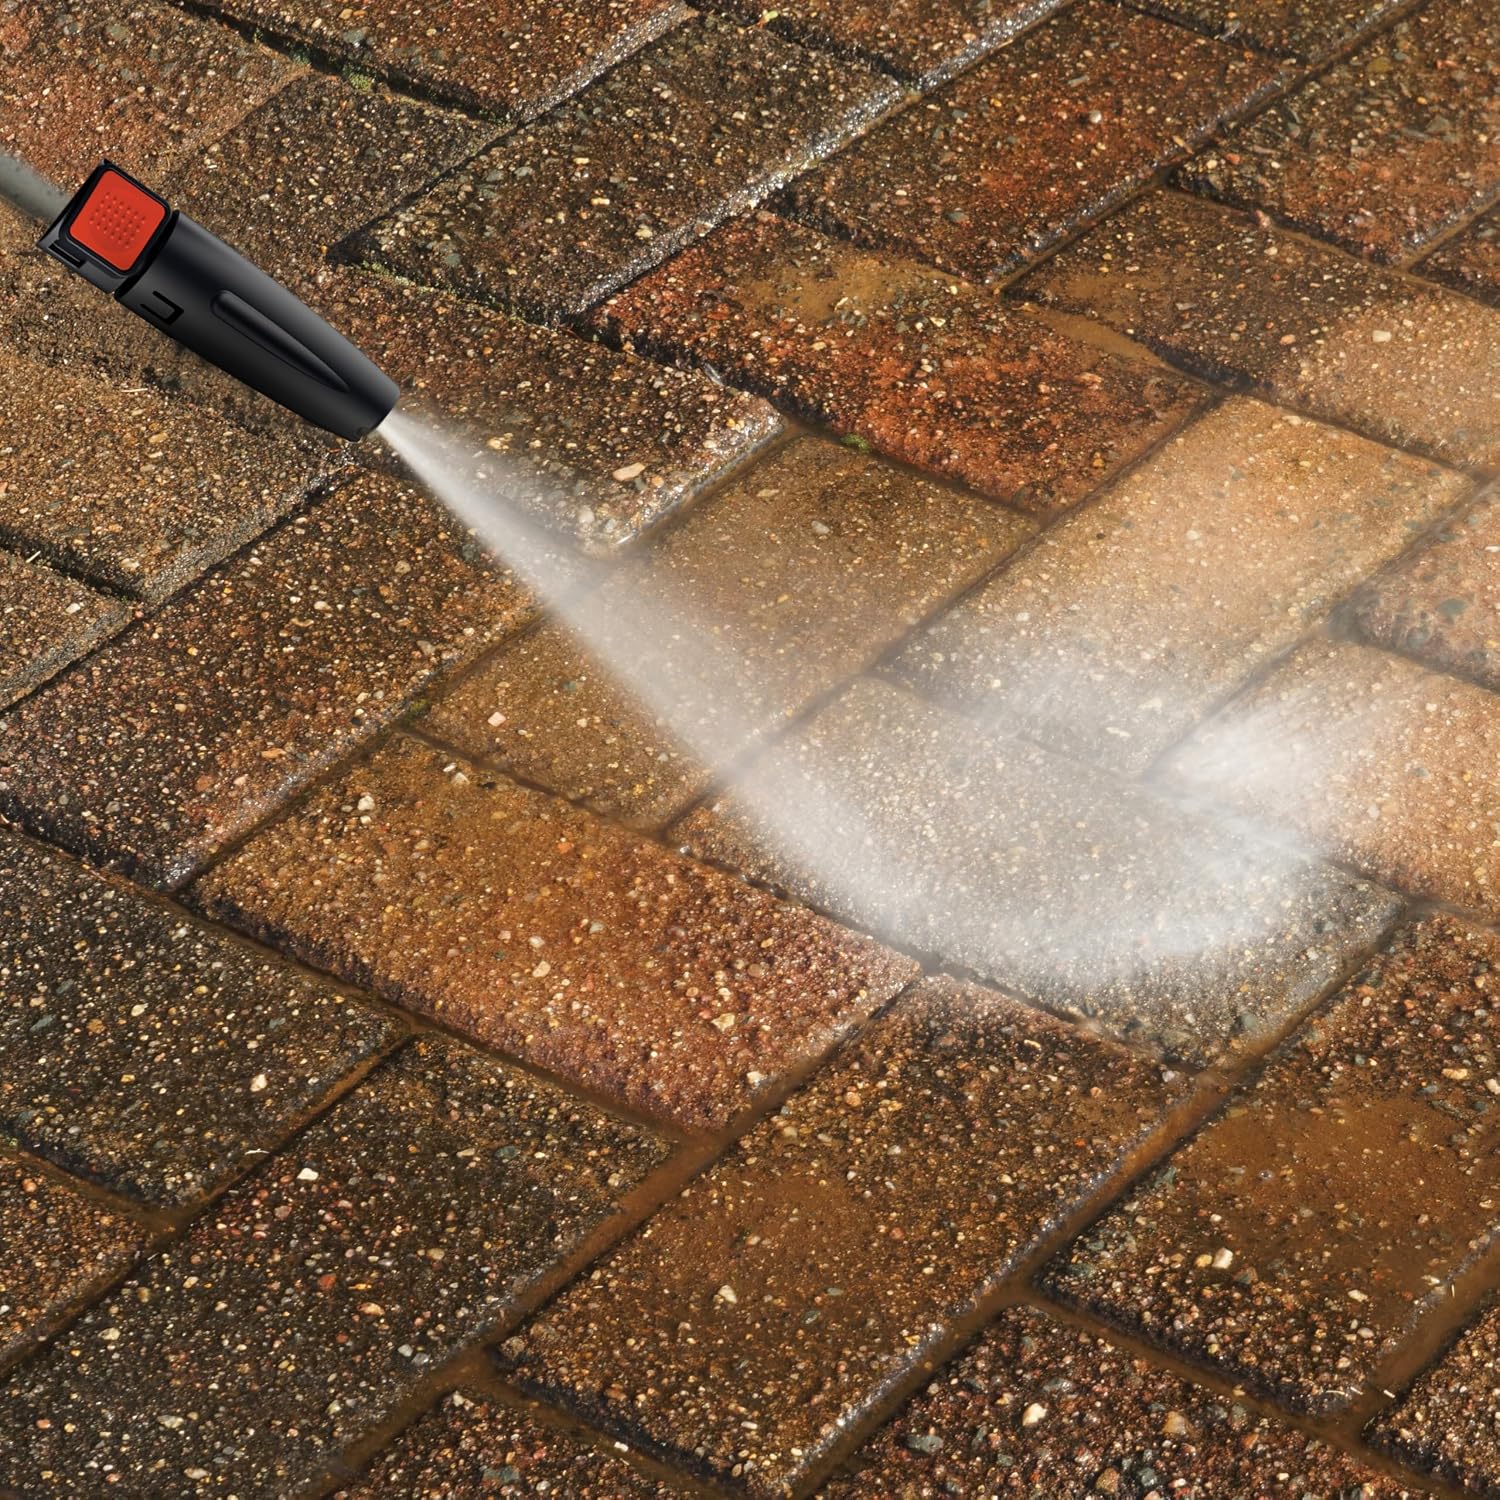
Figure 6: Pressure washing a paved surface. This image demonstrates the effective cleaning power of the pressure washer on outdoor surfaces.

Figure 7: Pressure washing a roof. This image illustrates the unit's capability for demanding cleaning tasks, highlighting its 2200W motor and 160 bar pressure.
5.3 Applying Detergent
To apply detergent, ensure the detergent bottle is filled. The pressure washer will draw detergent automatically when the appropriate nozzle setting or detergent mode is selected (refer to the specific nozzle instructions for detergent application). Apply detergent to the surface, allow it to soak for a few minutes (do not let it dry), then rinse thoroughly with clean water.

Figure 8: Applying foam detergent to a car. This image demonstrates the use of the onboard detergent system for effective vehicle cleaning.
5.4 Shutting Down the Pressure Washer
- Turn the ON/OFF switch to the "OFF" position.
- Turn off the water supply tap.
- Press the trigger on the spray gun to release any remaining pressure in the system.
- Disconnect the power cord from the outlet.
- Disconnect the garden hose and high-pressure hose.
6. Maintenance
Regular maintenance ensures the longevity and optimal performance of your pressure washer.
6.1 Cleaning
- After each use, flush the system with clean water to remove any detergent residue.
- Clean the exterior of the unit with a damp cloth. Do not use harsh chemicals.
- Inspect the water inlet filter regularly and clean it if clogged.
6.2 Storage
- Drain all water from the pump, hoses, and spray gun before storing.
- Store the pressure washer in a dry, frost-free environment.
- Use the integrated hose reel to neatly store the high-pressure hose.

Figure 9: Winding the hose onto the integrated reel. This image demonstrates the convenient storage solution for the high-pressure hose, promoting tidiness and extending hose life.
7. Troubleshooting
Refer to this section for common issues and their solutions. If the problem persists, contact customer support.
| Problem | Possible Cause | Solution |
|---|---|---|
| Motor does not start | No power supply; ON/OFF switch is OFF; Thermal overload activated. | Check power connection; Turn switch ON; Allow motor to cool down. |
| Low pressure | Insufficient water supply; Clogged nozzle; Air in pump. | Ensure water tap is fully open; Clean nozzle; Purge air from system by running with trigger open. |
| Water leaks | Loose connections; Damaged O-rings. | Tighten all connections; Inspect and replace O-rings if necessary. |
| Detergent not dispensing | Detergent bottle empty; Nozzle not in detergent mode; Clogged detergent intake. | Refill detergent bottle; Adjust nozzle setting; Clean detergent intake. |
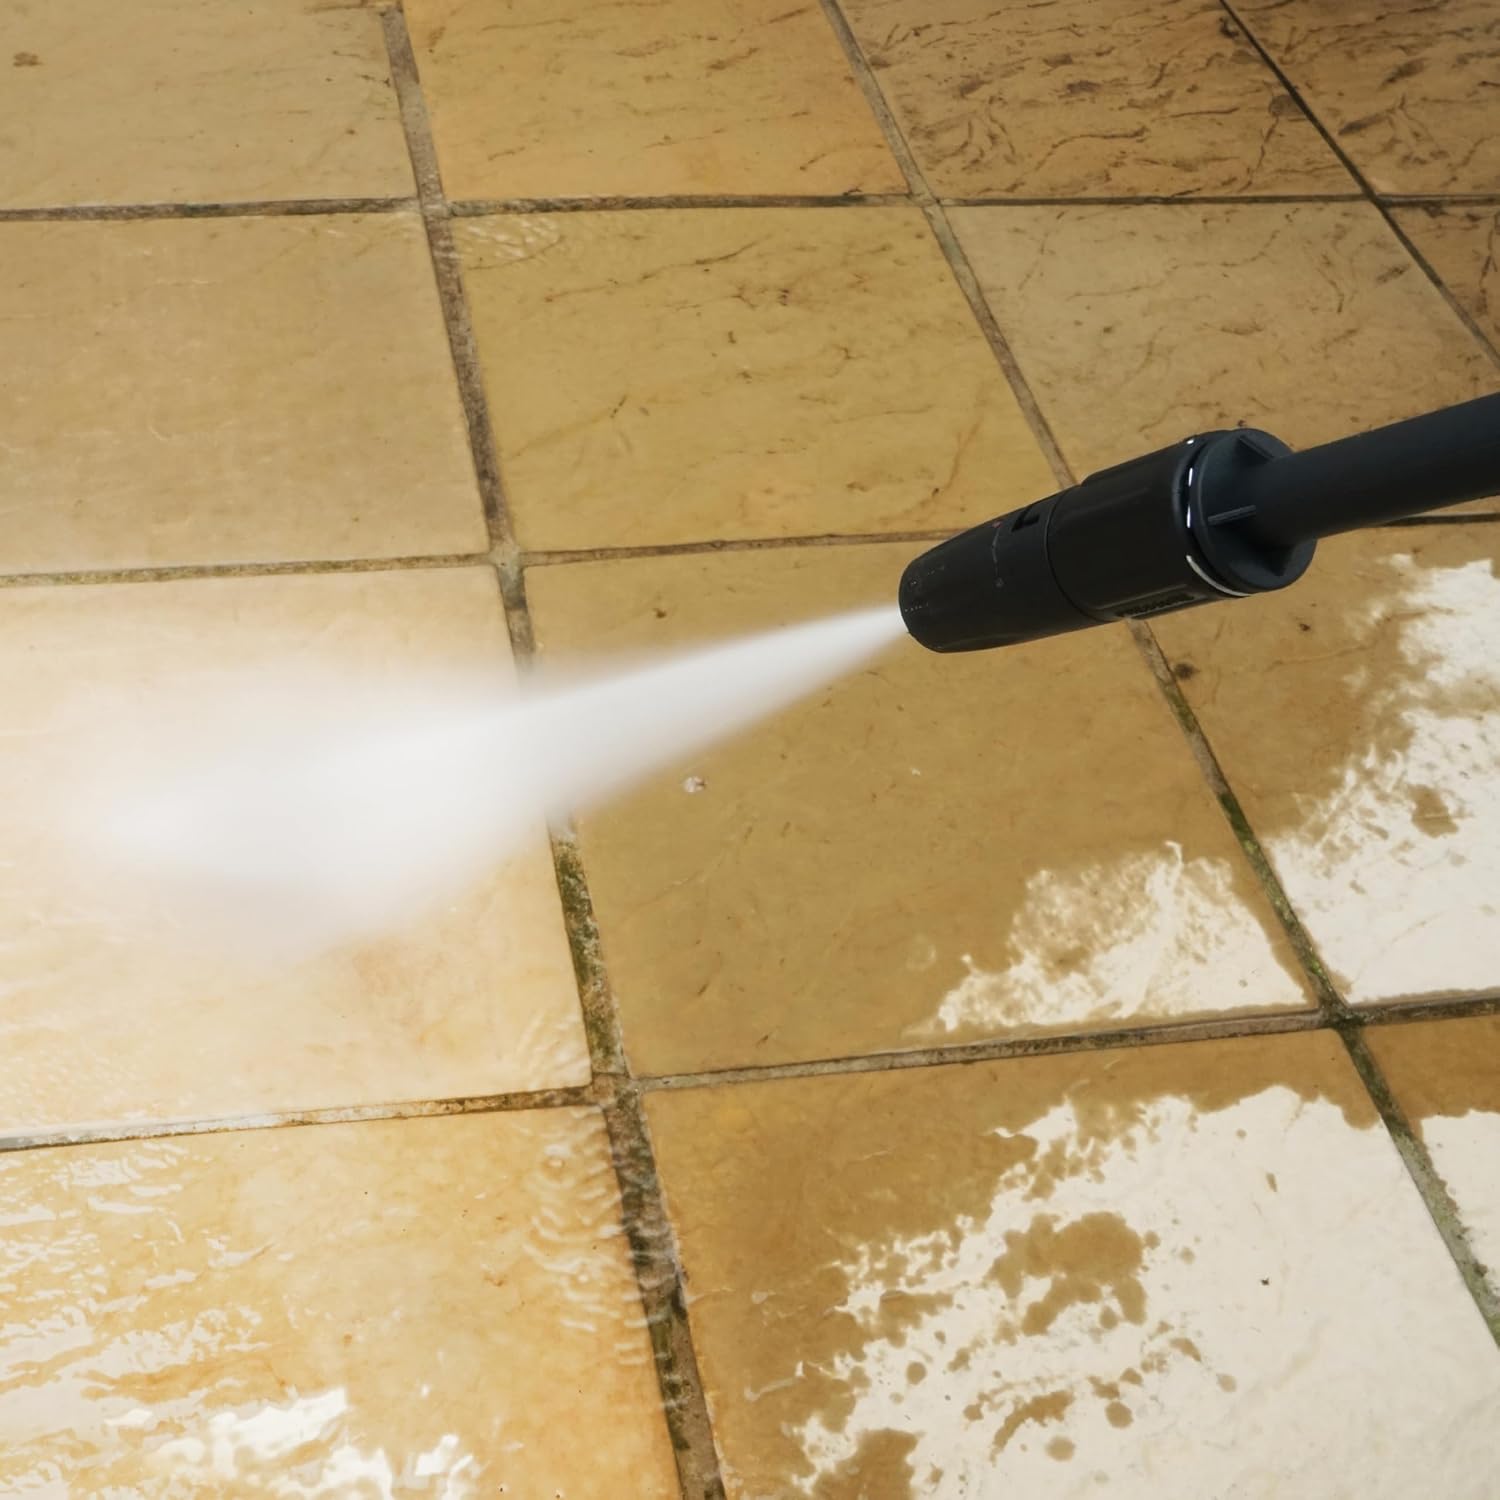
Figure 10: Pressure washing a tiled surface. This image illustrates the effective removal of grime and dirt from outdoor tiles, showcasing the unit's cleaning capability.
8. Specifications
| Feature | Detail |
|---|---|
| Model Number | HPW301 |
| Power Source | Corded Electric |
| Motor Power | 2200W |
| Max Pressure | 160 Bar |
| Hose Length | 5m |
| Item Weight | 12.24 Kilograms |
| Product Dimensions (L x W x H) | 50L x 36.5W x 55.3H centimetres |
| Pump Type | Tri-axial plunger pump |
9. Warranty and Support
For warranty information, technical support, or to purchase spare parts, please refer to the warranty card included with your product or visit the official Bennett Read website. Keep your proof of purchase for warranty claims.