
1. Introduction
Thank you for choosing the Puxinat Mini Projector TP-02. This compact and stylish projector is designed to provide a powerful home cinema experience with its advanced features and versatile connectivity. This manual will guide you through the setup, operation, and maintenance of your new projector.

Image: The Puxinat Mini Projector, a compact white device, projecting a vibrant home cinema interface onto a large screen, showcasing various streaming services and content options.
2. Safety Information
WARNING: Do not stare directly at the projector lamp when it is operating. The intense light can cause severe harm to your eyes.
Always ensure proper ventilation around the projector to prevent overheating. Keep the projector away from water or other liquids. Use only the power adapter supplied with the device.

Image: The side of the Puxinat projector packaging, displaying safety warnings in multiple languages, including a prominent caution against staring into the projector lamp.
3. Package Contents
Please check the box for the following items:
- Puxinat Mini Projector TP-02
- HDMI Cable
- Power Cord
- Projector Lens Cover
- Remote Control

Image: The black retail box for the Puxinat Projector, featuring a minimalist line drawing of the projector on its front surface.
4. Product Overview
Familiarize yourself with the various ports and controls on your Puxinat Mini Projector.

Image: A detailed diagram illustrating the universal connectivity options of the Puxinat projector, highlighting HDMI, USB, AUX, and TF card ports, along with examples of compatible devices.
Ports and Interfaces:
- HDMI Port: For connecting devices like TV sticks, laptops, game consoles, and TV boxes.
- USB Port: For connecting USB drives or charging smartphones.
- AUX (3.5mm Audio) Port: For connecting external speakers or headphones.
- TF Card Slot: For media playback from a TF (MicroSD) card.
- Power Input: For connecting the power cord.
Controls:
- Focus Ring: Adjusts image clarity.
- Keystone Correction: Adjusts image shape (manual or digital, depending on model).
- Power Button: Turns the projector on/off.
- Navigation Buttons: For menu navigation.
5. Setup
5.1 Placement
The Puxinat Mini Projector offers flexible placement options:
- Floor Mounting: Place the projector on a flat, stable surface.
- Ceiling Mounting: Use a compatible ceiling mount (not included). Ensure the image can be inverted in the settings if mounted upside down.
- Tripod Mounting: The projector has a standard tripod screw hole for easy tripod attachment.
For optimal viewing, position the projector perpendicular to the screen or wall. The projector supports a display size of up to 200 inches.
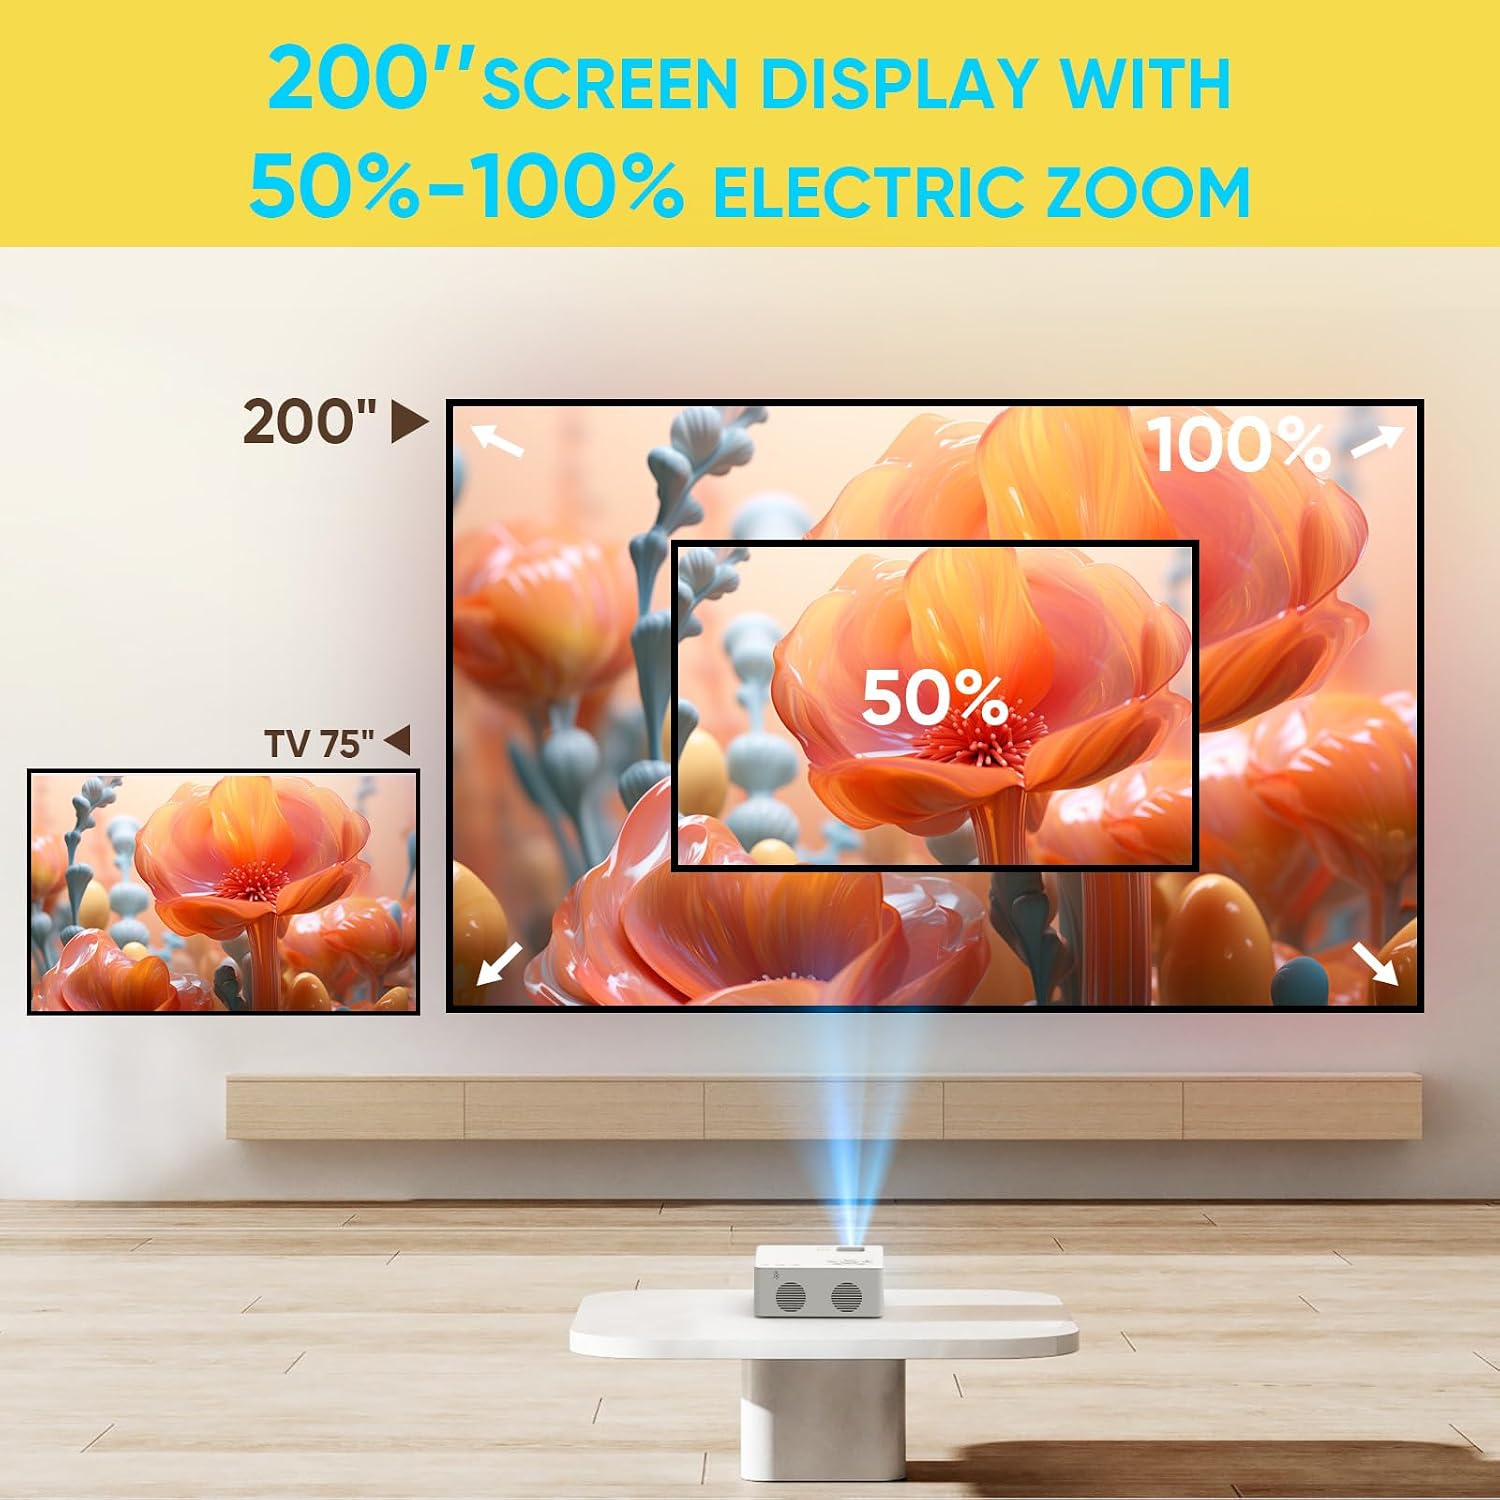
Image: A visual representation of the projector's capability to produce a 200-inch display, along with an inset showing the 50% to 100% electric zoom function for adjusting screen size without moving the projector.
5.2 Power Connection
- Connect the power cord to the projector's power input port.
- Plug the other end of the power cord into a power outlet.
5.3 Initial Power On and Adjustment
- Press the power button on the projector or the remote control to turn on the device.
- Adjust the Focus Ring on the projector lens until the image appears clear and sharp.
- If the image appears trapezoidal, use the Keystone Correction feature (manual or digital via settings) to square the image.
6. Operating Instructions
6.1 Connecting Devices
The Puxinat Mini Projector offers multiple ways to connect your devices:
6.1.1 HDMI Connection
Connect your TV Stick, laptop, game console, or TV box using an HDMI cable.
- Plug one end of the HDMI cable into the projector's HDMI port.
- Plug the other end into your device's HDMI output.
- Select the HDMI input source on the projector's menu.

Image: A visual guide demonstrating how to connect various devices such as a TV Stick, TV Box, and Chromecast to the projector via HDMI for a seamless entertainment experience.
6.1.2 USB Connection
Connect USB drives for media playback or use a USB cable to connect your smartphone (adapter may be required).
6.1.3 AUX (3.5mm Audio) Connection
Connect external speakers or headphones for enhanced audio.
- Plug a 3.5mm audio cable into the projector's AUX port.
- Connect the other end to your external audio device.
6.1.4 Bluetooth Connection (Two-Way Bluetooth 5.2)
The projector features two-way Bluetooth functionality, allowing it to connect to external speakers or act as a standalone Bluetooth speaker.
- Connecting to External Bluetooth Speakers: Pair the projector with your Bluetooth speakers for improved sound output.
- Using as a Standalone Bluetooth Speaker: Connect your smartphone or other Bluetooth-enabled device to the projector to play music directly through its built-in speakers.

Image: A visual explanation of the projector's two-way Bluetooth 5.2 feature, showing how it can connect wirelessly to external Bluetooth speakers and also function as a standalone Bluetooth speaker for playing music from a smartphone.
6.1.5 Smartphone Compatibility
The projector is compatible with iOS, Android, and Windows devices. For direct screen mirroring, an adapter cable (not included) or a Google Chromecast (not included) may be required.

Image: A graphic illustrating the projector's compatibility with iOS, Android, and Windows smartphones, detailing connection methods such as Google Chromecast and HDMI adapter cables.
6.2 Adjusting Display
- Digital Zoom (50%-100%): Use the remote control or on-screen menu to adjust the screen size from 50% to 100% without physically moving the projector.
- Focus Adjustment: Rotate the focus ring on the lens to achieve a sharp image.
6.3 Audio
The projector features built-in 3W cavity speakers for clear sound. For a more immersive experience, connect external speakers via Bluetooth or the AUX port.
7. Maintenance
7.1 Cleaning the Lens
Gently wipe the projector lens with a soft, lint-free cloth specifically designed for optical surfaces. Do not use abrasive cleaners or excessive force.
7.2 Cooling System
The projector is equipped with an advanced fan cooling system designed to minimize power consumption and extend the bulb life up to 50,000 hours. Ensure the ventilation vents are not blocked to maintain optimal performance and prevent overheating.
8. Troubleshooting
If you encounter issues with your Puxinat Mini Projector, refer to the following common problems and solutions:
| Problem | Possible Cause | Solution |
|---|---|---|
| No image displayed | Power not connected; Incorrect input source; Device not connected properly. | Check power cord; Select correct input (HDMI, USB, etc.); Reconnect device cables. |
| Blurry image | Out of focus; Incorrect keystone correction. | Adjust focus ring; Adjust keystone correction. |
| No sound | Volume too low; Incorrect audio output setting; External speaker not connected. | Increase volume; Check audio settings; Ensure external speakers are properly connected or paired via Bluetooth. |
| Remote control not working | Dead batteries; Obstruction between remote and projector. | Replace batteries; Ensure clear line of sight to the projector's IR receiver. |
| Overheating | Blocked ventilation vents. | Ensure vents are clear; Place projector in a well-ventilated area. |
If the problem persists after trying these solutions, please contact Puxinat customer support for further assistance.
9. Specifications
Detailed technical specifications for the Puxinat Mini Projector TP-02:
| Feature | Specification |
|---|---|
| Brand | Puxinat |
| Model | TP-02 |
| Product Dimensions | 13.2 x 7 x 17.5 cm |
| Item Weight | 1.13 kg |
| Display Type | LCD |
| Native Resolution | 1280 x 720P |
| Supported Resolution | 1080P Full HD |
| Image Contrast Ratio | 18000:1 |
| Aspect Ratio | 16:9, 4:3 |
| Wattage | 55 watts |
| Refresh Rate | 60 Hz |
| Connectivity Technology | 3.5mm Jack, Bluetooth 5.2, HDMI, USB |
| Compatible Devices | Gaming Console, Laptop, Smartphone, Speaker, Tablet |
| Special Features | Dust-Proof, Lightweight, Portable, Two-way Bluetooth, Digital Zoom (50%-100%) |
| Mounting Type | Floor mounting, Ceiling mounting, Tripod mounting |
| Lamp Life | Up to 50,000 hours |
10. Warranty and Support
For warranty information and customer support, please refer to the documentation included with your purchase or contact Puxinat directly. Please have your model number (TP-02) and ASIN (B0DYTY3RWL) ready when contacting support.
Manufacturer: Puxinat