1. Introduction
Thank you for choosing the WORKPRO Mini Electric Bike Pump. This compact and powerful tire inflator is designed for convenient and efficient inflation of bicycle tires, motorcycle tires, and various sports balls. Featuring a digital display, auto shut-off, and multiple inflation modes, it ensures precise and safe operation. Please read this manual thoroughly before use to ensure proper operation and maintenance.

Figure 1: WORKPRO Mini Electric Bike Pump
This image shows the WORKPRO Mini Electric Bike Pump from a front-facing perspective, highlighting its compact size and digital display. The device is gray with a black screen and green power button.
2. Package Contents
Verify that all items listed below are included in your package:
- 1 × WORKPRO Electric Bike Pump
- 1 × Tapered Valve Adaptor
- 1 × Needle Valve Adaptor
- 1 × Presta to Schrader Valve Adaptor
- 1 × Air Hose
- 1 × USB-C Charging Cable
- 1 × Flannel Bag
- 1 × User Manual (this document)
3. Product Features
- Compact and Portable: Measures 2.8 × 1.4 × 4.7 inches and weighs 0.57 lb (260 g), making it easy to carry.
- High Pressure Output: Delivers up to 140 PSI with 12L/min airflow for fast inflation.
- Smart Digital Display: Clear LED screen shows real-time and preset tire pressure with ±1 PSI accuracy. Supports PSI/BAR/KPA units.
- 3 Preset Modes: Includes modes for bicycle (45 PSI), motorcycle (35 PSI), and ball (8 PSI).
- Auto Shut-Off: Automatically stops inflation once the preset pressure is reached, ensuring safety and precision.
- Rechargeable Battery: Powered by an 1100mAh lithium battery, capable of inflating up to 5 bike tires or 1 car tire on a single charge.
- 3-Mode LED Light: Features steady, fast flash, and slow flash modes for illumination during night use or emergencies.
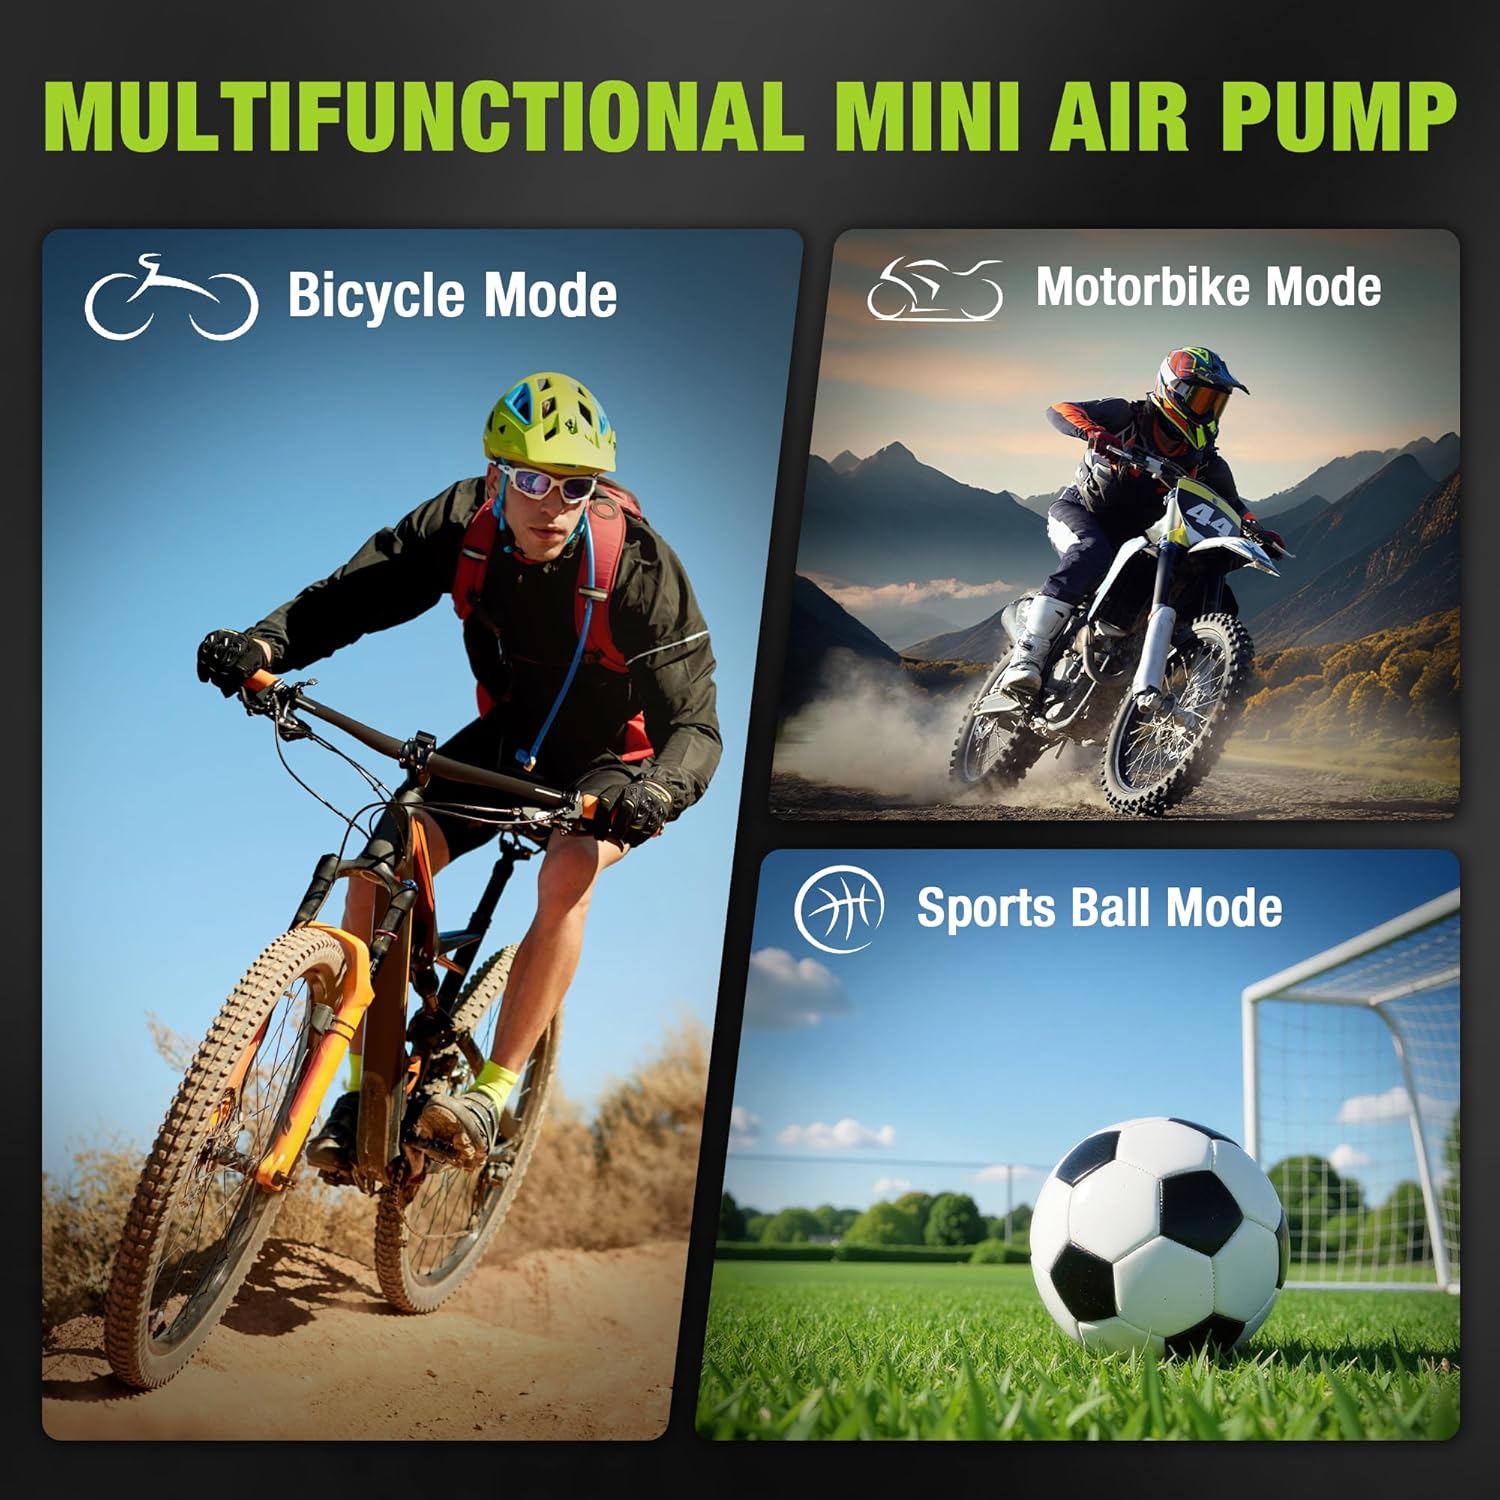
Figure 2: Inflation Modes
This image illustrates the versatility of the pump, showing it can be used for Bicycle Mode, Motorbike Mode, and Sports Ball Mode, each with a corresponding icon.
4. Setup
Before using the pump, ensure it is adequately charged. Connect the USB-C charging cable to the pump's USB-C DC input port and a compatible power source (e.g., USB wall adapter, power bank).
4.1 Attaching the Air Nozzle
- Turn the air outlet knob on the top of the pump to the right to loosen it.
- Connect the air hose by screwing it into the air outlet. Tighten it by turning to the left.
- Select the appropriate valve adaptor for your item (Tapered, Needle, or Presta to Schrader). Screw the chosen adaptor onto the end of the air hose.
- Connect the air hose with the adaptor to the item you wish to inflate.

Figure 3: Air Nozzle and Adaptor Connection
This image provides a step-by-step visual guide on how to attach the air hose and various adaptors (for bicycle, ball, and swimming ring) to the pump.
5. Operating Instructions
5.1 Power On/Off and Basic Operation
- Power On: Long press the power button (green circle) to turn on the inflator. The LED screen will light up.
- Select Mode: Press the mode button (circle icon) to cycle through the 3 preset modes: Bicycle, Motorcycle, and Ball. The corresponding icon will appear on the screen.
- Adjust Pressure: Use the "+" and "-" buttons to increase or decrease the desired pressure. Long press these buttons for faster adjustment.
- Start/Stop Inflation: Short press the power button to start inflation. The pump will automatically stop when the preset pressure is reached. Short press again to stop manually.
- Power Off: Long press the power button to turn off the inflator.

Figure 4: Control Panel Overview
This image highlights the control buttons on the pump: Pressure buttons (+/-), Mode button, Light button, and Switch button, explaining their functions for easy operation.
5.2 Digital Display Information
The LED screen displays important information:
- Real-Time Pressure: Shows the current pressure of the item being inflated.
- Preset Pressure: Displays the target pressure you have set.
- Pressure Unit: Indicates the selected unit (PSI, BAR, or KPA). Press and hold the mode button to switch between units.
- Battery Level: Shows the remaining battery charge.
- Mode Indicator: Displays the active inflation mode (Bicycle, Motorcycle, or Ball).

Figure 5: Digital Display Details
This image provides a close-up of the digital LED screen, pointing out the pressure unit, battery level, switching modes, and real-time/preset pressure indicators.
5.3 LED Light Operation
The pump includes an integrated LED light for use in low-light conditions or emergencies.
- Press the light button (sun icon) to turn on the steady light.
- Press again to switch to fast flash mode.
- Press a third time for slow flash mode.
- Press a fourth time to turn off the LED light.

Figure 6: LED Lighting Modes
This image demonstrates the three available lighting modes: Steady Light, Fast Strobe, and Slow Strobe, useful for various situations.
6. Maintenance
- Cleaning: Wipe the pump's exterior with a soft, damp cloth. Do not use harsh chemicals or abrasive cleaners.
- Storage: Store the pump in a cool, dry place, away from direct sunlight and extreme temperatures. Use the provided flannel bag for protection.
- Charging: Recharge the battery regularly, even if not in frequent use, to prolong its lifespan. Avoid fully depleting the battery before recharging.
- Hose and Adaptors: Ensure the air hose and adaptors are clean and free from debris before and after each use.
7. Troubleshooting
| Problem | Possible Cause | Solution |
|---|---|---|
| Pump does not turn on. | Low battery or no charge. | Charge the pump using the USB-C cable. |
| Pump inflates slowly or not at all. | Incorrect adaptor, loose connection, or blocked air hose. | Ensure the correct adaptor is used and securely attached. Check for any blockages in the air hose. |
| Inaccurate pressure reading. | Loose connection to valve. | Ensure the air hose and adaptor are tightly connected to the item's valve. |
| Pump stops unexpectedly. | Reached preset pressure (auto shut-off) or low battery. | Check the display for current pressure. If below target, check battery level and recharge if necessary. |
8. Specifications
- Model Name: WORKPRO 8V Mini Bike Tire Pump
- Model Number: W125363A
- Color: Black
- Power Source: Battery Powered
- Battery Type: Lithium, 1100mAh
- Air Flow Capacity: 12 Liters Per Minute
- Maximum Pressure: 140 PSI (Pound per Square Inch)
- Item Package Dimensions (L x W x H): 5.2 x 4.96 x 1.93 inches
- Package Weight: 0.39 Kilograms
- UPC: 820909617785
9. Warranty and Support
This WORKPRO Mini Electric Bike Pump is covered by a 2-Year Manufacturer Warranty from the date of purchase. This warranty covers defects in materials and workmanship under normal use. It does not cover damage resulting from misuse, accidents, unauthorized modifications, or normal wear and tear.
For warranty claims, technical support, or any questions regarding your product, please contact WORKPRO customer service through the retailer where the product was purchased or visit the official WORKPRO website for contact information.


