
XIEBro Life BR151-YY
XIEBro Life BR151-YY Robot Vacuum and Mop Combo User Manual
Model: BR151-YY
Introduction
This manual provides essential information for the safe and efficient operation, maintenance, and troubleshooting of your XIEBro Life BR151-YY Robot Vacuum and Mop Combo. Please read this manual thoroughly before using the product and retain it for future reference.
Important Safety Instructions
Always follow basic safety precautions when using electrical appliances to reduce the risk of fire, electric shock, or injury.
- Read all instructions before using the appliance.
- Do not operate the robot in areas with open flames or flammable materials.
- Keep hair, loose clothing, fingers, and all parts of the body away from openings and moving parts.
- Use only as described in this manual. Use only manufacturer's recommended attachments.
- Do not use without dust bin and/or filters in place.
- Do not allow children to play with the robot.
- Unplug from outlet when not in use and before servicing.
Package Contents
Verify that all components are present and in good condition upon unboxing.

Image: The XIEBro Life BR151-YY Robot Vacuum and Mop Combo, showing the main unit, remote control, charging dock, power adapter, water tank, dustbin, side brushes, and user manual.
- BR151 Robotic Vacuum Cleaner
- Remote Control (2 AAA batteries included)
- Charging Dock
- Power Adapter
- 230mL Water Tank (with washable mopping cloth)
- 220mL Dustbin (with high-efficiency filter)
- 2 Side Brushes
- User Manual
- FQA (Frequently Asked Questions)
- Networking Guide
Setup
1. Charging Dock Placement
Place the charging dock against a wall in an open area, ensuring there are no obstacles within 1 meter (3 feet) to the sides and 2 meters (6 feet) in front of the dock. Connect the power adapter to the dock and plug it into a wall outlet.
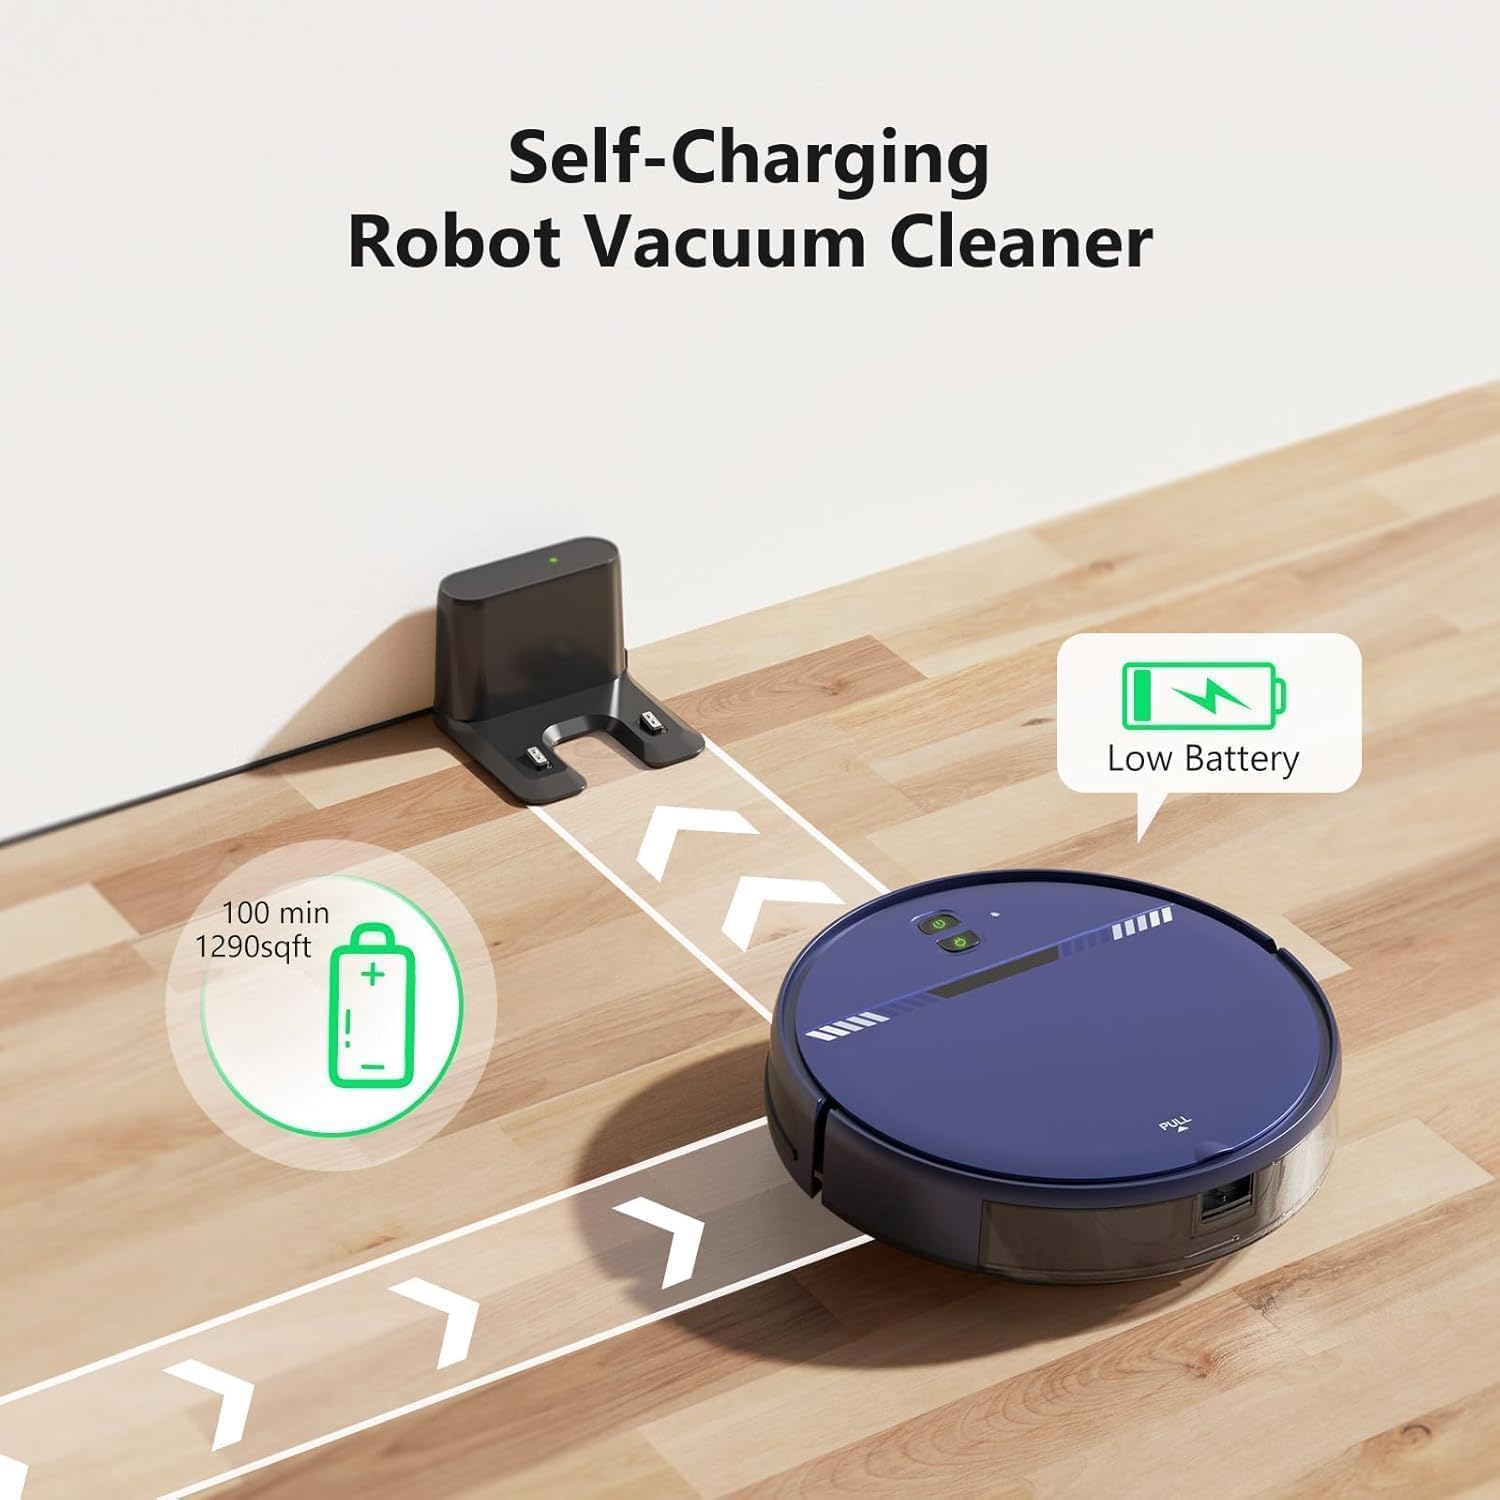
Image: The robot vacuum approaching its charging dock, illustrating the self-charging function.
2. Initial Charging
Place the robot vacuum onto the charging dock. Ensure the charging contacts on the robot align with those on the dock. The indicator light on the robot will show charging status. For first-time use, charge the robot for at least 6 hours to ensure optimal battery performance.
3. Installing Side Brushes
Attach the two side brushes to the corresponding posts on the bottom of the robot until they click into place.
4. App Connection (2.4GHz WiFi Only)
- Download the Tuya Smart App from your mobile device's app store.
- Register or log in to your account.
- Ensure your phone is connected to a 2.4GHz WiFi network.
- Follow the in-app instructions to add your BR151-YY robot vacuum. This typically involves putting the robot into pairing mode (refer to the Networking Guide for specific steps).

Image: A person using a smartphone app to control the robot vacuum, demonstrating the smart app control feature.
The app allows for setting cleaning schedules, changing cleaning modes, and controlling the robot's direction.
5. Remote Control Setup
Insert the included AAA batteries into the remote control. The remote control provides an alternative method for operating the robot without the app.
Operation
Starting a Cleaning Cycle
Press the power button on the robot, the "AUTO" button on the remote control, or initiate cleaning via the Tuya Smart App or voice command (if configured with Google Assistant).
Cleaning Modes
The BR151-YY offers four cleaning modes, selectable via the app or remote control:
- Auto Cleaning: The robot intelligently navigates and cleans the entire floor area.
- Spot Cleaning: The robot cleans a specific area in a spiral pattern, ideal for concentrated dirt.
- Edge Cleaning: The robot cleans along walls and furniture edges.
- Zig-zag Cleaning: The robot cleans in a systematic zig-zag pattern, covering a large area efficiently.

Image: Visual representation of the four cleaning modes: Zig-Zag, Edge Cleaning, Spot Cleaning, and Auto Cleaning, illustrating the robot's movement patterns.
Mopping Function
To use the mopping function:
- Fill the 230ml water tank with clean water.
- Attach the washable mopping cloth to the water tank.
- Install the filled water tank into the robot.
- Select a cleaning mode. The robot will vacuum and mop simultaneously.
The electronically controlled water tank ensures uniform water penetration, suitable for hard floors like laminate, ceramic tile, granite, and parquet.
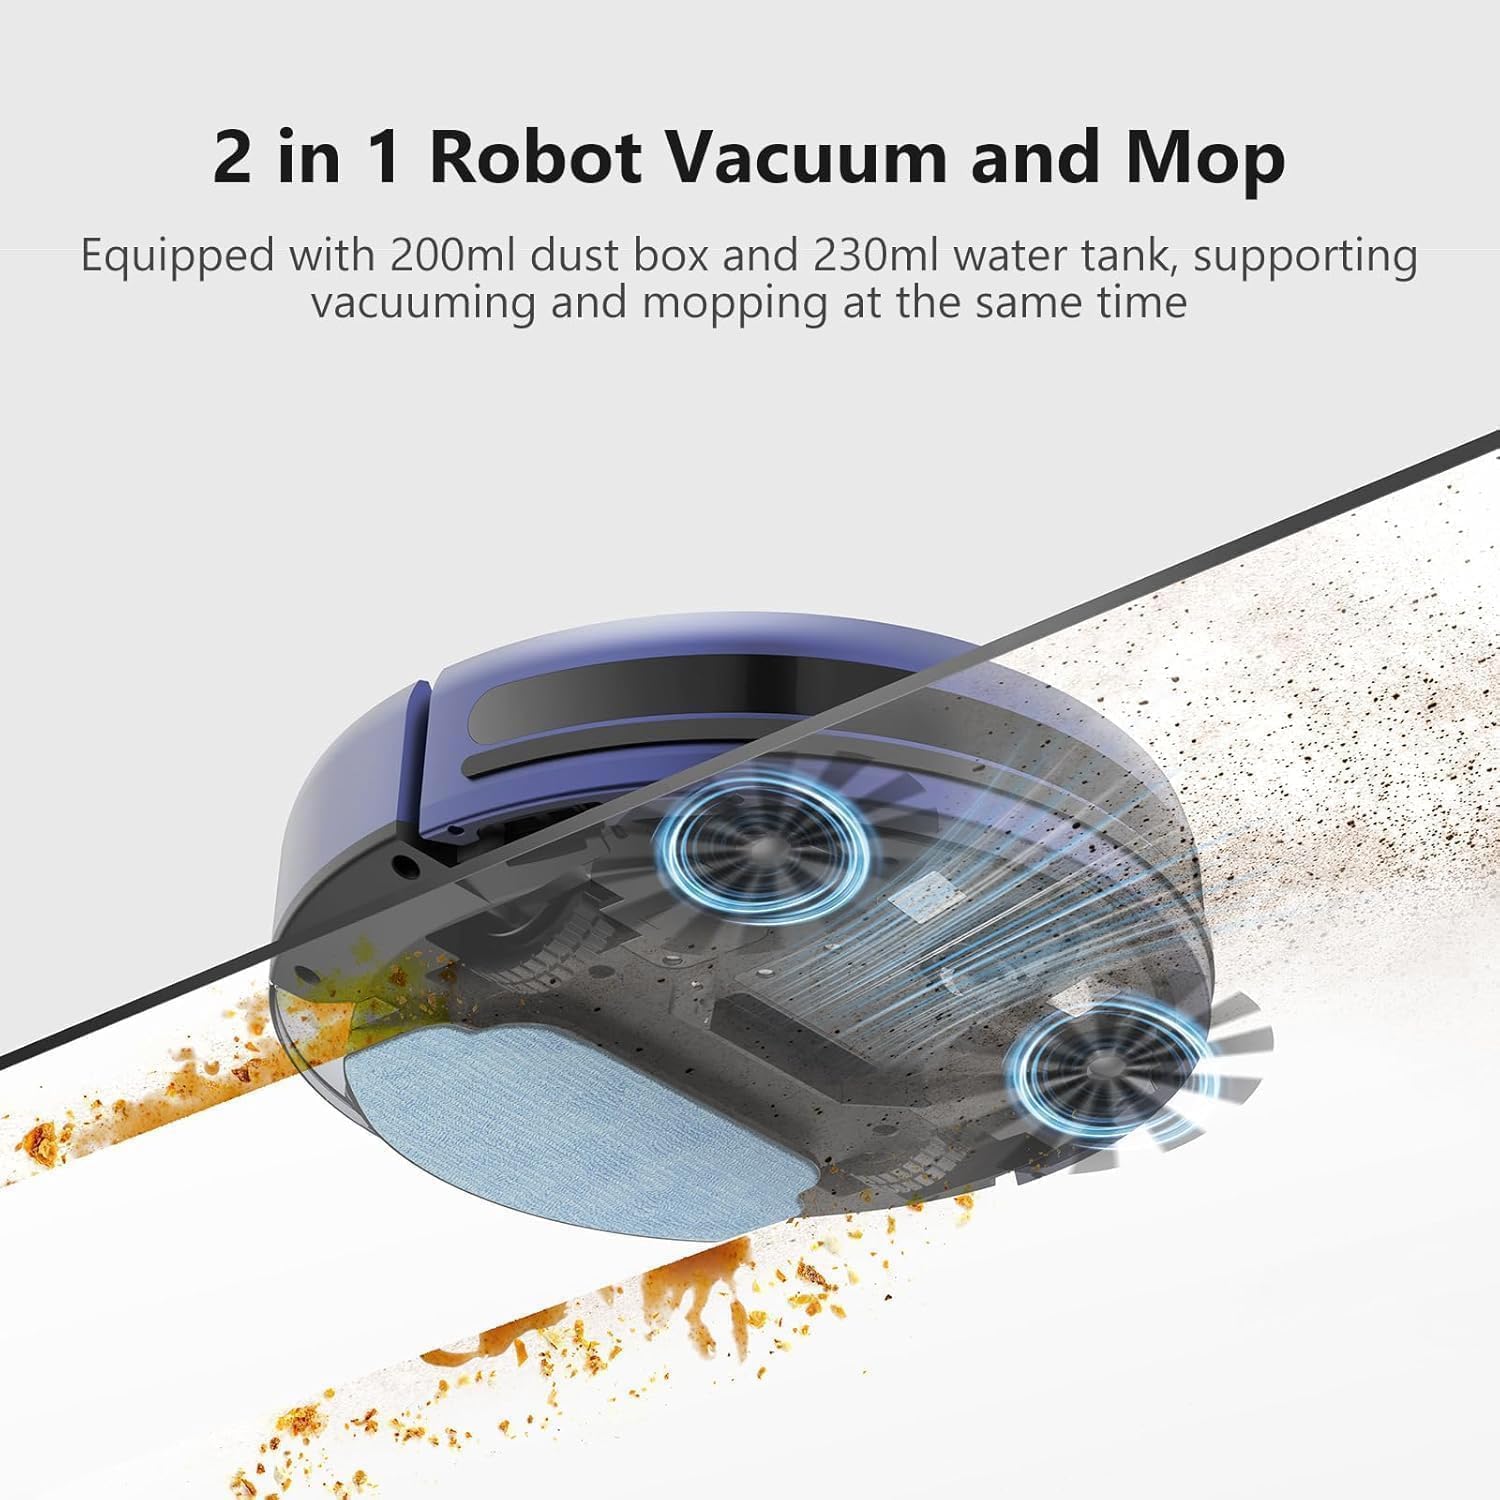
Image: An exploded view of the robot vacuum showing the dust box and water tank, highlighting its 2-in-1 vacuuming and mopping capability.
Automatic Recharge
When the battery level is low or a cleaning cycle is complete, the robot will automatically return to its charging dock to recharge.
The robot can operate for up to 100 minutes on a full charge, covering approximately 1290 square feet.
Obstacle Avoidance
The robot is equipped with advanced 3D obstacle avoidance technology, using sensors to identify and navigate around walls, stairs, and other obstacles. Its slim 2.87-inch design allows it to clean under furniture.

Image: The slim robot vacuum cleaning underneath a sofa, demonstrating its ability to access low-clearance areas.
Maintenance
Regular maintenance ensures optimal performance and extends the lifespan of your robot vacuum.
1. Emptying the Dustbin
After each cleaning cycle, or when the dustbin is full, remove it from the robot and empty its contents. Clean the dustbin with a dry cloth or brush.
2. Cleaning the Filter
The high-efficiency filter inside the dustbin should be cleaned regularly. Tap it gently to remove dust. Replace the filter every 3-6 months, or as needed, to maintain suction power.
3. Cleaning the Water Tank and Mopping Cloth
After mopping, empty any remaining water from the tank. Remove the mopping cloth and wash it thoroughly. Allow both the tank and cloth to air dry completely before reassembling.
4. Cleaning Side Brushes
Periodically check the side brushes for tangled hair or debris. Carefully remove any obstructions. If brushes are worn or damaged, replace them.
5. Cleaning Sensors and Charging Contacts
Wipe the robot's sensors (cliff sensors, anti-collision sensors) and the charging contacts on both the robot and the charging dock with a clean, dry cloth to ensure proper function.
Troubleshooting
If you encounter issues with your robot vacuum, refer to the following common problems and solutions:
| Problem | Possible Cause | Solution |
|---|---|---|
| Robot does not turn on. | Low battery; Power switch off. | Charge the robot; Ensure power switch is on. |
| Robot does not charge. | Charging contacts dirty; Dock not powered. | Clean charging contacts; Ensure dock is plugged in. |
| Poor cleaning performance. | Dustbin full; Filter clogged; Brushes tangled. | Empty dustbin; Clean/replace filter; Clean side brushes. |
| Robot gets stuck frequently. | Obstacles on floor; Cliff sensors dirty. | Clear floor of cables/small objects; Clean sensors. |
| App cannot connect to robot. | Incorrect WiFi band; Robot not in pairing mode. | Ensure 2.4GHz WiFi; Follow Networking Guide for pairing. |
For further assistance, please refer to the included FQA document or contact customer support.
Specifications
- Model Name: BR151-YY Robot Vacuum and Mop
- Brand: XIEBro Life
- Product Dimensions: 11.8"L x 11.8"W x 2.87"H
- Item Weight: 7.89 pounds
- Battery Life: Up to 100 minutes (2500mAh capacity)
- Dustbin Capacity: 220mL
- Water Tank Capacity: 230mL
- Suction Power: 1400Pa (adjustable)
- Special Features: 360-Degree Swivel, Anti-Fall, Scheduling, Simultaneous Vacuuming & Mopping, Wet/Dry, App Control (2.4GHz WiFi), Voice Control (Google Assistant compatible)
- Filter Type: Foam
- UPC: 850073522509
Warranty and Customer Support
The XIEBro Life BR151-YY Robot Vacuum and Mop Combo comes with a 12-month warranty from the date of purchase.
For professional customer service, technical support, or warranty claims, please refer to the contact information provided in your product packaging or visit the official XIEBro Life website.
Ask a question about this manual
Ask about setup, troubleshooting, compatibility, parts, safety, or missing instructions. Manuals+ will review the question and use this page’s manual context to help answer it.