
PRORECK StagePro 12
PRORECK Stage Pro 12 PA Speaker System Instruction Manual
Model: StagePro 12 | Brand: PRORECK
Introduction
Thank you for choosing the PRORECK Stage Pro 12 PA Speaker System. This powerful audio system is designed to deliver exceptional sound quality for various events, including DJ performances, weddings, meetings, and live events. With its 8000W peak power, dual 12" subwoofers, four line array speakers, and versatile DSP presets, the Stage Pro 12 offers a comprehensive solution for your audio needs. This manual provides essential information for the proper setup, operation, maintenance, and troubleshooting of your system.
Key features include:
- 8000W Powerful Sound System: Experience unmatched audio performance with 8000W peak power and 1200W RMS for crystal-clear, high-quality sound.
- 4x Line Array Speakers + 2x 12" Subwoofer: Provides a perfect balance of crisp highs, rich mids, and deep bass.
- 3 DSP Presets: Optimize audio output with STANDARD, DJ, and LIVE presets for different occasions.
- TWS Bluetooth for Wireless Connectivity: Stream music wirelessly and connect two Stage Pro 12 speakers for enhanced stereo sound.
- Versatile and Professional-Grade: Ideal for DJs, musicians, and event organizers.
Safety Information
Please read and understand all safety instructions before operating this product. Failure to follow these instructions may result in electric shock, fire, or serious injury.
- Power Source: Connect the system only to a power supply of the type described in this manual or marked on the unit. Ensure the voltage switch is set correctly for your region (AC 120V or AC 240V).
- Ventilation: Do not block any ventilation openings. Install in accordance with the manufacturer's instructions.
- Water and Moisture: Do not expose this apparatus to rain or moisture. Do not use near water.
- Heat: Do not install near any heat sources such as radiators, heat registers, stoves, or other apparatus (including amplifiers) that produce heat.
- Grounding: This product must be grounded. Do not defeat the safety purpose of the polarized or grounding-type plug.
- Servicing: Do not attempt to service this product yourself. Refer all servicing to qualified service personnel.
- Handling: Use caution when moving the system to prevent injury or damage.
What's in the Box
Upon unpacking, please verify that all components listed below are present and in good condition. If any items are missing or damaged, contact PRORECK customer support immediately.

Image: All components of the PRORECK Stage Pro 12 system, including the two 12-inch subwoofers, four line array speakers, power cable, and speaker cables.
- 2 x 12" Subwoofer Units
- 4 x Line Array Speaker Units
- 1 x Power Cable
- Speaker Cables (for connecting line array speakers to subwoofers and subwoofers to each other)
Note: The system is typically shipped in three separate packages.
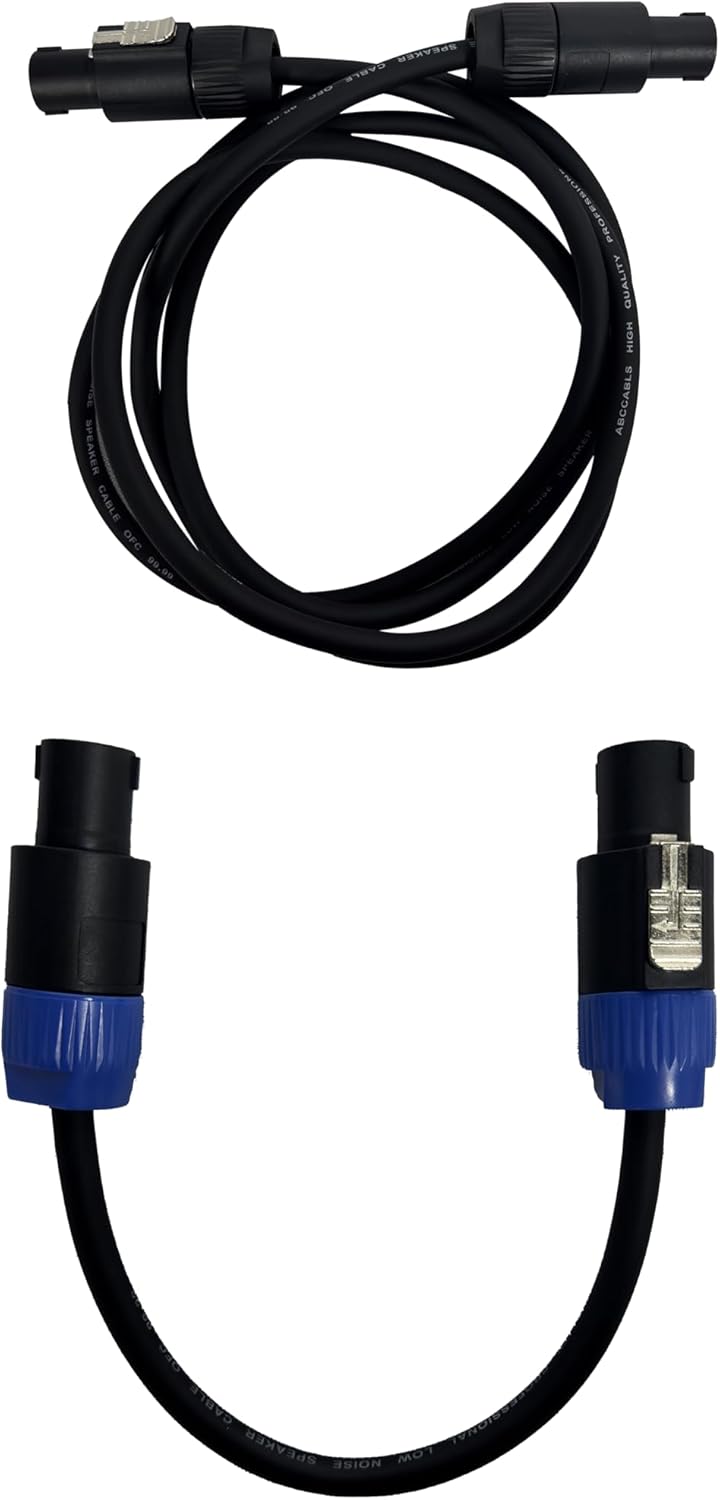
Image: The three distinct packages (Stage Pro 12Y, 12W, 12X) in which the PRORECK Stage Pro 12 system is shipped.
Product Overview: Control Panel
Familiarize yourself with the control panel located on the rear of the subwoofer unit. Understanding these controls is crucial for proper operation.
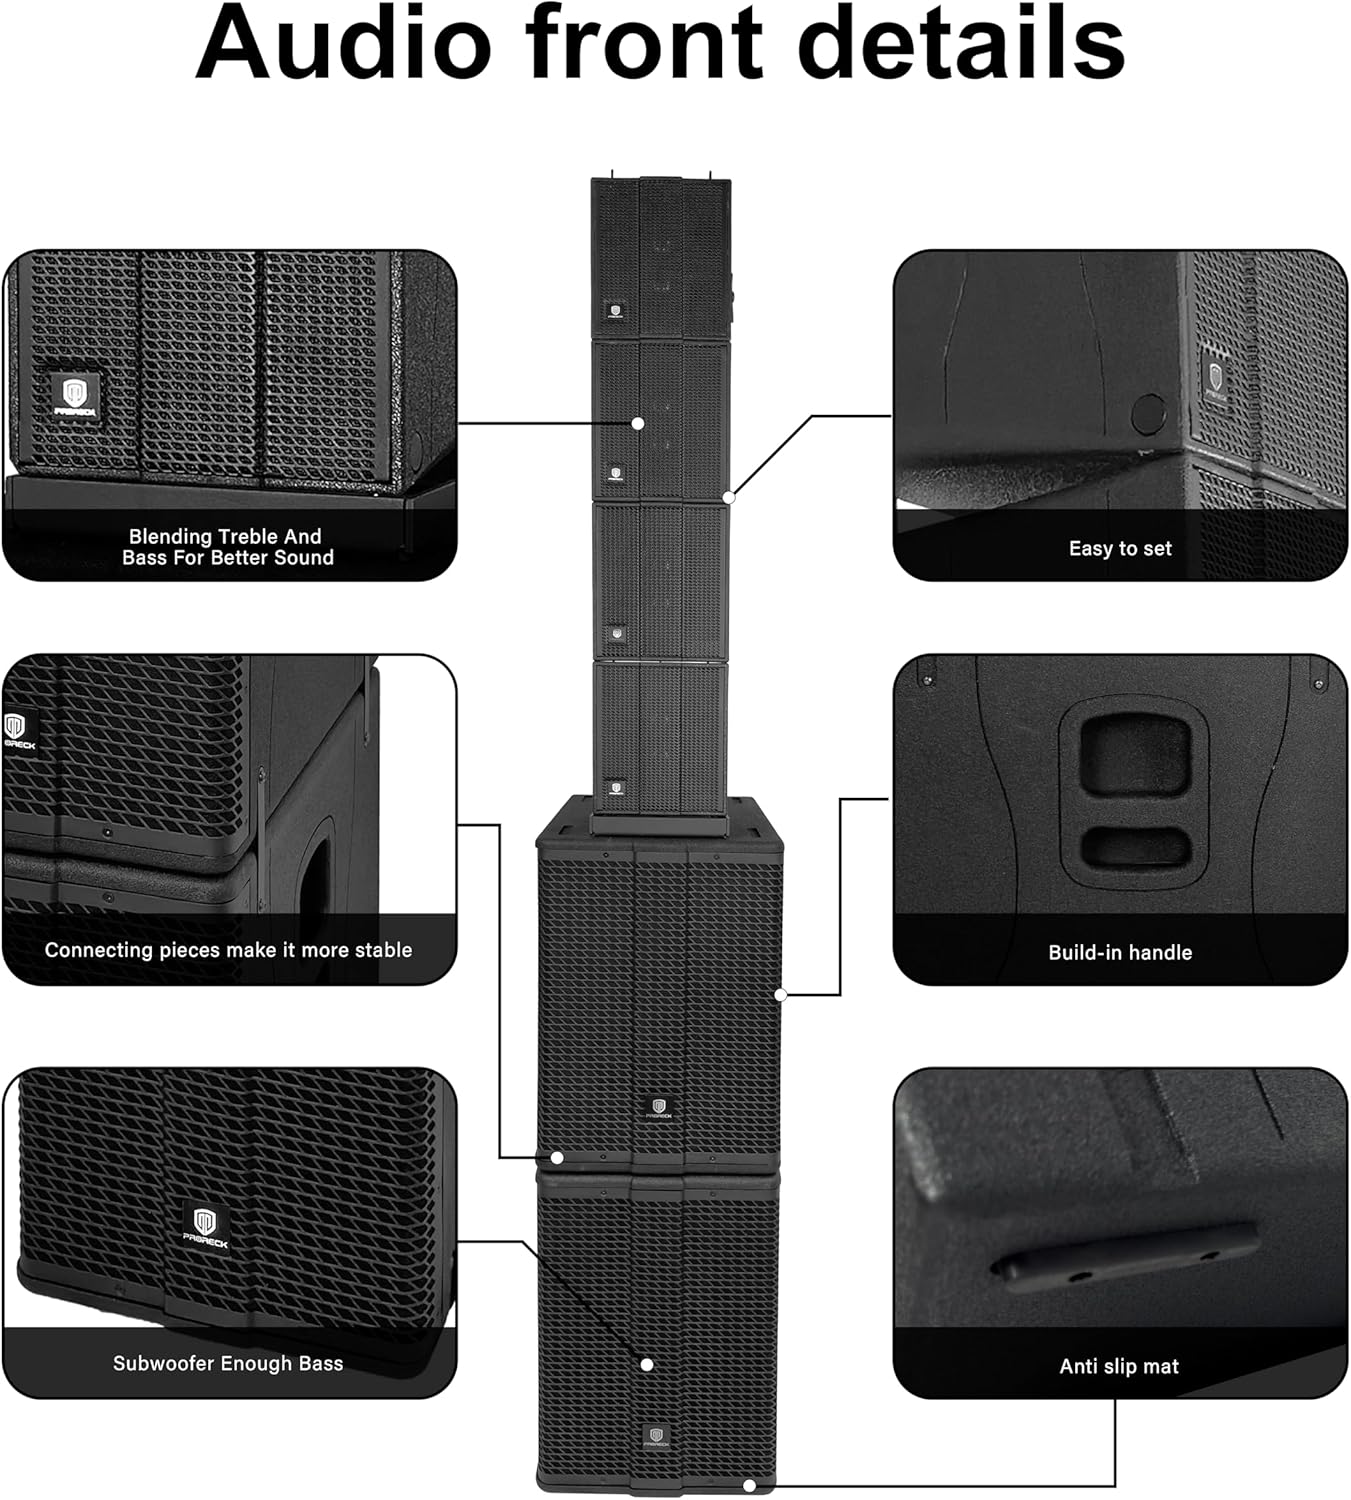
Image: A close-up view of the main control panel on the PRORECK Stage Pro 12 subwoofer, showing all inputs, outputs, and control knobs with corresponding labels.
- SUB LEVEL: Adjusts the output volume of the subwoofer.
- SATELLITE LEVEL: Adjusts the output volume of the line array speakers.
- XLR/TRS COMBO INPUT: Input for audio sources using XLR or 1/4" TRS cables (Left and Right channels).
- XLR LINK OUTPUT: Output for linking to another speaker system or mixer.
- DSP PRESETS: Selects between STANDARD, DJ, and LIVE sound modes.
- BLUETOOTH/TWS SWITCH: Activates Bluetooth pairing mode or True Wireless Stereo (TWS) linking.
- SATELLITE POWER OUTPUT: Connects to the line array speakers.
- SUBWOOFER OUTPUT: Connects to the second subwoofer unit.
- VOLTAGE SWITCH: Selects between AC 120V and AC 240V power input. Ensure this matches your local power supply.
- POWER SWITCH: Turns the system ON or OFF.
- MAIN POWER INPUT: Connects the system to the main power supply using the provided power cable.
Setup
1. System Assembly
The PRORECK Stage Pro 12 system is designed for easy assembly. Follow these steps to set up your speakers:
- Place the two 12" subwoofer units on a stable, flat surface. The bottom subwoofer should be placed first, followed by the second subwoofer stacked directly on top.
- Carefully place the four line array speaker units on top of the upper subwoofer. Ensure they are securely connected using the integrated connecting pieces for stability.

Image: The complete PRORECK Stage Pro 12 system fully assembled, showing the two subwoofers at the base and the four line array speakers stacked vertically above them.
2. Electrical Connections
- Power Connection: Before connecting to power, ensure the VOLTAGE SWITCH (9) on the control panel is set to match your local power supply (AC 120V or AC 240V). Connect the provided power cable to the MAIN POWER INPUT (11) on the subwoofer and then to a grounded electrical outlet.
- Subwoofer Connection: Use a speaker cable to connect the SUBWOOFER OUTPUT (8) of the primary subwoofer to the input of the second subwoofer unit.
- Line Array Speaker Connection: Connect the line array speakers to the SATELLITE POWER OUTPUT (7) on the primary subwoofer using the appropriate speaker cables. Ensure all four line array speakers are daisy-chained or connected as per the system's design.

Image: The rear panel of the PRORECK Stage Pro 12 system, illustrating the correct cable connections for power, linking subwoofers, and connecting the line array speakers.
3. Audio Source Connection
- Connect your audio source (mixer, microphone, instrument, etc.) to the XLR/TRS COMBO INPUT (3) on the control panel. Use either XLR or 1/4" TRS cables.
- For linking to another speaker system or recording device, use the XLR LINK OUTPUT (4).
Operating Instructions
1. Powering On/Off
- Ensure all connections are secure before powering on.
- Turn the SUB LEVEL (1) and SATELLITE LEVEL (2) knobs to their minimum positions.
- Flip the POWER SWITCH (10) to the "ON" position. The power indicator light will illuminate.
- To power off, turn the level knobs to minimum, then flip the POWER SWITCH (10) to "OFF".
2. Adjusting Volume Levels
- Use the SUB LEVEL (1) knob to control the volume of the subwoofer.
- Use the SATELLITE LEVEL (2) knob to control the volume of the line array speakers.
- Adjust both levels to achieve a balanced sound for your environment.
3. DSP Presets
The Stage Pro 12 features three Digital Signal Processing (DSP) presets to optimize sound for different applications:
- STANDARD: General purpose setting for balanced audio reproduction.
- DJ: Enhanced bass and treble for music playback, ideal for parties and events.
- LIVE: Optimized for live vocals and instruments, providing clarity and presence.
Use the DSP PRESETS (5) switch to cycle through these modes and select the one best suited for your current use.
4. Bluetooth and TWS Connectivity
- Bluetooth Pairing: Flip the BLUETOOTH/TWS SWITCH (6) to the Bluetooth position. The Bluetooth indicator light will flash, indicating it's ready for pairing. On your smartphone, tablet, or laptop, search for "PRORECK Stage Pro 12" in your Bluetooth settings and connect. Once paired, the light will become solid.
- True Wireless Stereo (TWS): To connect two Stage Pro 12 systems for stereo sound, ensure both units are powered on and in Bluetooth mode. On one unit, press and hold the BLUETOOTH/TWS SWITCH (6) until the TWS indicator light flashes. The two units will automatically pair, and audio will be split into left and right channels for a wider soundstage.
Maintenance
Proper maintenance ensures the longevity and optimal performance of your PRORECK Stage Pro 12 system.
- Cleaning: Use a soft, dry cloth to clean the exterior surfaces of the speakers. Do not use abrasive cleaners, waxes, or solvents. For stubborn dirt, a slightly damp cloth can be used, followed by a dry cloth.
- Ventilation: Regularly check that the ventilation openings are clear of dust and debris to prevent overheating.
- Storage: When not in use for extended periods, store the system in a cool, dry place, away from direct sunlight and extreme temperatures. It is recommended to use the original packaging for storage and transport.
- Cable Care: Inspect all cables regularly for signs of wear or damage. Replace any damaged cables immediately to prevent electrical hazards or signal loss.
Troubleshooting
If you encounter issues with your PRORECK Stage Pro 12 system, refer to the following common problems and solutions:
| Problem | Possible Cause | Solution |
|---|---|---|
| No sound from speakers. |
|
|
| Distorted or poor sound quality. |
|
|
| Bluetooth pairing issues. |
|
|
| TWS connection fails. |
|
|
If the problem persists after trying these solutions, please contact PRORECK customer support for further assistance.
Specifications
Detailed technical specifications for the PRORECK Stage Pro 12 PA Speaker System:
| Model Number | StagePro 12 |
| Brand | PRORECK |
| Speaker Maximum Output Power | 8000 Watts (Peak) |
| RMS Power | 1200 Watts |
| Included Components | Line Array Speakers (4x), Subwoofers (2x 12") |
| Connectivity Technology | Bluetooth (TWS supported) |
| Audio Output Mode | Stereo |
| Mounting Type | Floor Standing |
| Control Method | Voice (via connected device for Bluetooth), Manual Knobs/Switches |
| Number of Items | 1 (complete system) |
| Dimensions (Approximate) | Total Height: 192cm (75.5 inches) |

Image: Detailed dimensional drawing of the PRORECK Stage Pro 12 system, providing measurements for the overall height, and individual dimensions for the subwoofers and line array speakers.
Warranty
The PRORECK Stage Pro 12 PA Speaker System comes with a Limited Warranty. Please refer to the warranty card included with your product for specific terms, conditions, and duration of coverage. Retain your proof of purchase for warranty claims.
Support
For technical assistance, troubleshooting beyond this manual, or warranty inquiries, please contact PRORECK customer support. You can find more information and contact details on the official PRORECK website or through the PRORECK Store on Amazon.
Visit the PRORECK Store for additional product information and support resources.
Ask a question about this manual
Ask about setup, troubleshooting, compatibility, parts, safety, or missing instructions. Manuals+ will review the question and use this page’s manual context to help answer it.