1. Product Overview
The Flozari Digital Flow Meter is an intelligent, stainless steel device designed for accurate measurement of liquid flow. It provides reliable data for various liquids, making it suitable for a wide range of applications.
Constructed from high-quality materials, this flow meter is engineered to prevent corrosion, ensuring durability and long-lasting performance even in challenging environments. Its robust design allows it to withstand various conditions.
The device features an adaptable diameter structure, enabling flexible installation on piping systems or for use with refueling nozzles. It offers multiple unit options, allowing users to switch between GAL, QTS, PTS, L, and m³ to meet specific measurement needs.
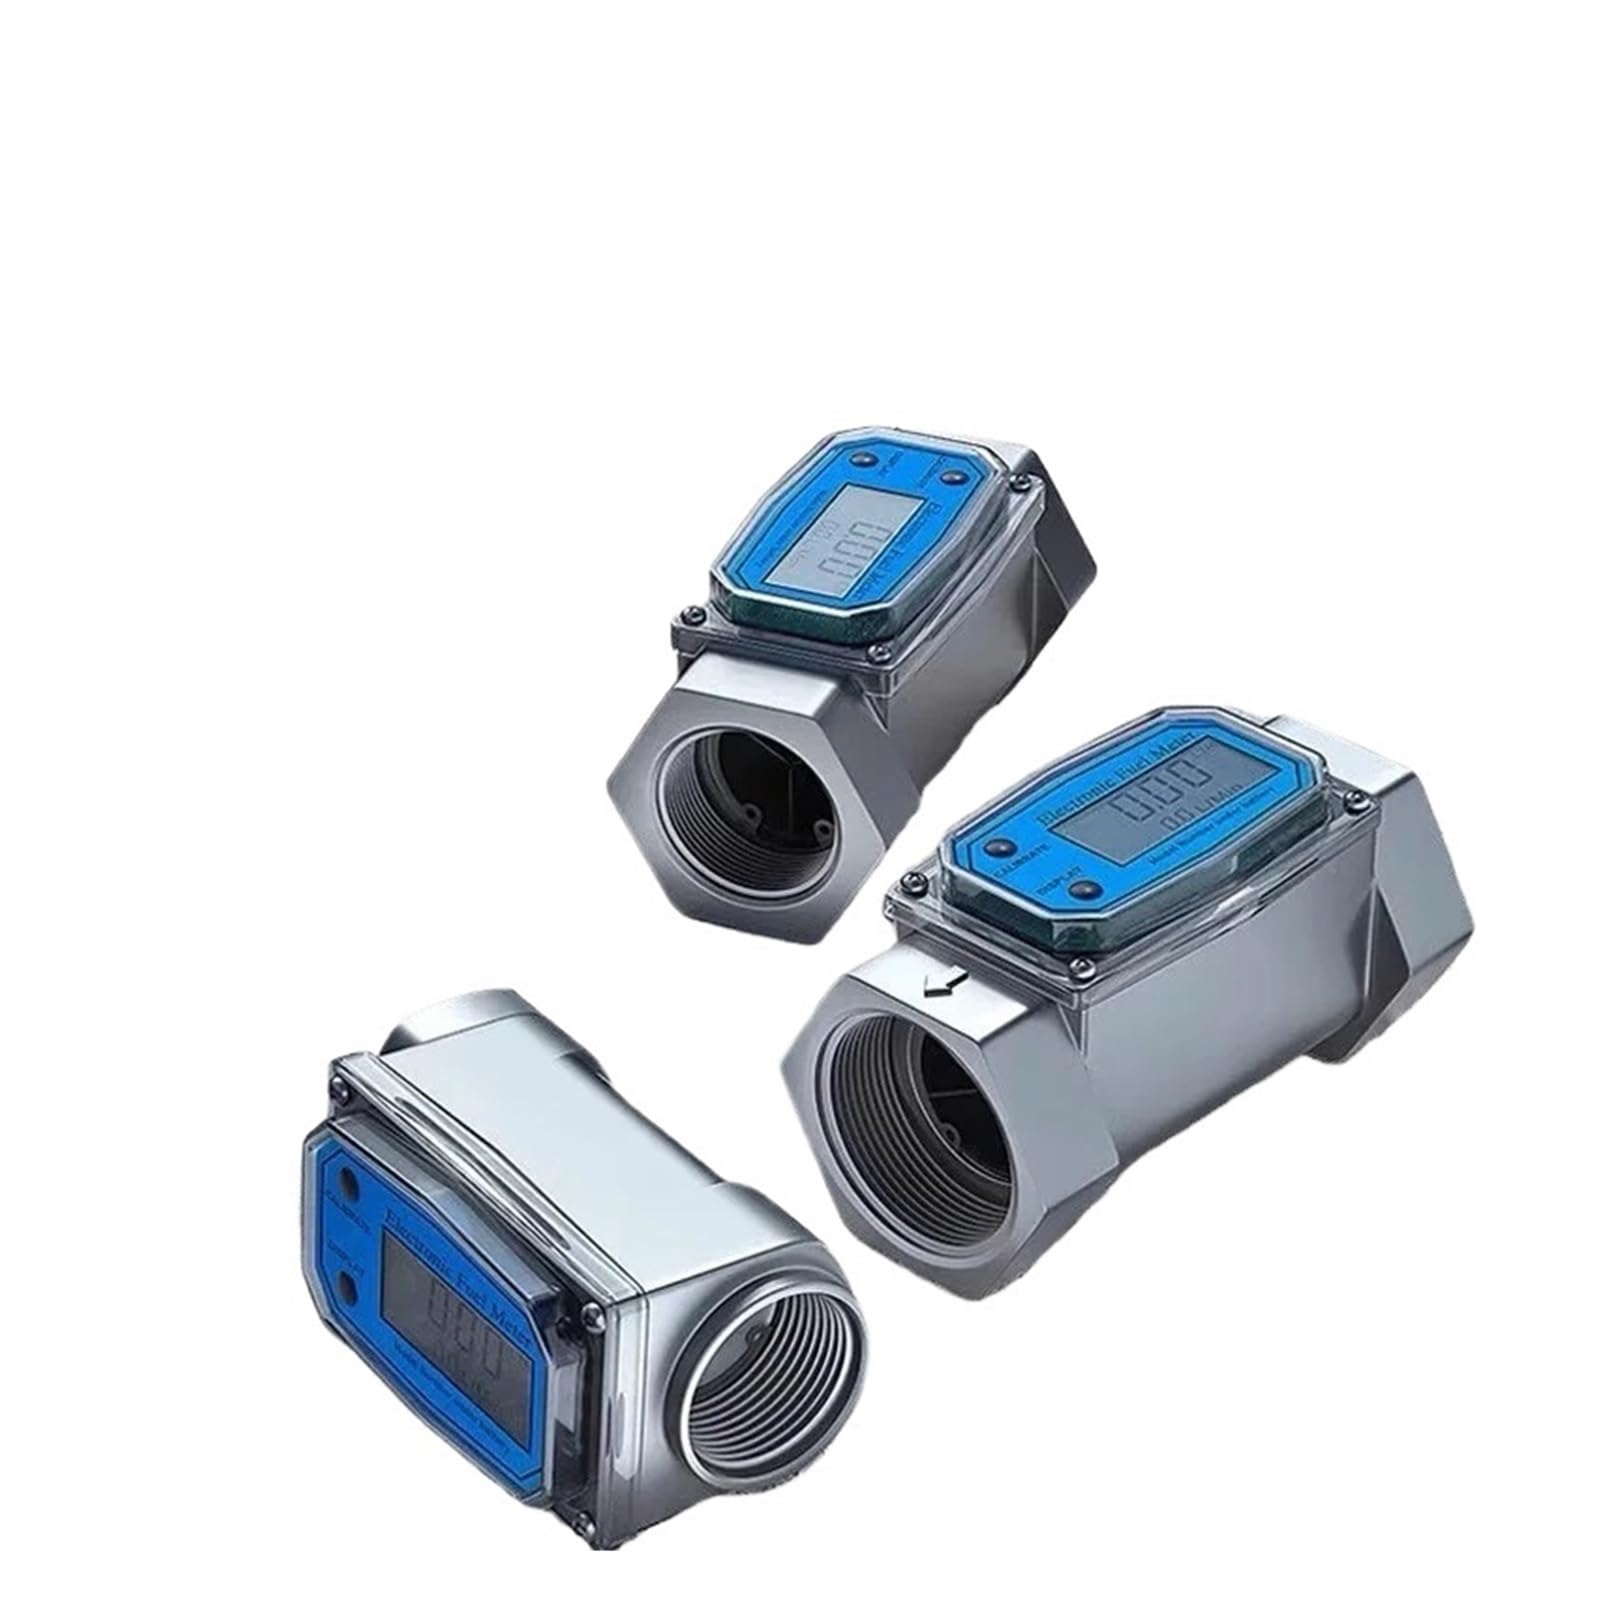
Figure 1: Overview of the Flozari Digital Flow Meter. This image displays the main unit with its integrated LCD screen, showing flow readings and unit indicators. The meter features a hexagonal body for easy installation into piping systems.
2. Installation and Setup
- Unpacking: Carefully remove the flow meter from its packaging. Inspect for any visible damage.
- Location Selection: Choose an appropriate installation point in your piping system. Ensure the location allows for easy access for viewing the display and maintenance.
- Flow Direction: Identify the flow direction arrow on the meter body. Install the meter so that the arrow aligns with the direction of liquid flow in the pipe.
- Connection: The meter is designed for 2-inch pipe connections. Use appropriate sealing materials (e.g., PTFE tape) on the threads to ensure a leak-free connection. Tighten securely but do not overtighten.
- Power: The device is typically battery-powered. Ensure batteries are correctly installed according to polarity markings.

Figure 2: Multiple views of the Flozari Digital Flow Meter. This image showcases three meters from various angles, highlighting the threaded connections and the LCD display panel. Note the 'CALIBRATE' and 'DISPLAY' buttons on the front panel.
3. Operation Instructions
The Flozari Digital Flow Meter features an intuitive LCD display and control buttons for easy operation.
- Power On/Off: The meter typically powers on automatically when flow is detected or by pressing a display button. It may enter a low-power state after a period of inactivity.
- Reading Flow: The LCD display will show the current flow rate and total accumulated volume. The primary reading is usually the instantaneous flow rate.
- Unit Selection: Use the 'DISPLAY' button to cycle through available measurement units (GAL, QTS, PTS, L, m³). Select the unit appropriate for your application.
- Calibration: The 'CALIBRATE' button is used for fine-tuning the meter's accuracy. Refer to specific calibration procedures if adjustments are required. This typically involves flowing a known volume of liquid and adjusting the meter's reading to match.
- Resetting Total Volume: Consult the device's specific instructions for resetting the accumulated total volume, if this function is available and desired.

Figure 3: A series of Flozari Digital Flow Meters. This image shows three meters aligned, with their LCD screens clearly visible, displaying numerical readings and unit indicators. The 'CALIBRATE' and 'DISPLAY' buttons are prominent on each unit.
4. Maintenance
Regular maintenance ensures the longevity and accuracy of your Flozari Digital Flow Meter.
- Cleaning: Periodically clean the exterior of the meter with a soft, damp cloth. Avoid using abrasive cleaners or solvents that could damage the display or housing.
- Inspection: Regularly inspect the meter and its connections for any signs of leaks, corrosion, or physical damage. Address any issues promptly.
- Battery Replacement: If the display becomes dim or unresponsive, replace the batteries. Ensure correct battery type and polarity.
- Recalibration: For critical applications, periodic recalibration may be necessary to maintain accuracy. Refer to professional calibration services if required.

Figure 4: Two Flozari Digital Flow Meters positioned side-by-side. This image provides a close-up view of the threaded ends and the LCD displays, one showing 'LTR' for liters, indicating unit flexibility.
5. Troubleshooting
If you encounter issues with your flow meter, consider the following troubleshooting steps:
- No Display/Dim Display:
- Check battery installation and replace batteries if necessary.
- Ensure the meter is powered on or that flow is sufficient to activate the display.
- Inaccurate Readings:
- Verify that the meter is installed correctly with the flow direction arrow aligned.
- Check for air bubbles or debris in the fluid stream that could affect readings.
- Consider recalibration if the discrepancy persists.
- No Flow Reading:
- Ensure there is actual liquid flow through the meter.
- Check for blockages in the piping system.
- Inspect the internal components for damage if safe to do so (e.g., turbine blockage).
- Leaks at Connections:
- Ensure threads are properly sealed with PTFE tape or other suitable sealant.
- Tighten connections, but avoid overtightening which can damage threads.
6. Technical Specifications
| Specification | Detail |
|---|---|
| Product Type | Digital Flow Meter |
| Model | Digital Flow Meter 2 inch |
| Material | Stainless Steel |
| Pipe Size Compatibility | 2 inch (1/2"~2" range mentioned in description, but product title specifies 2 inch) |
| Display | LCD Digital Display |
| Measurement Units | GAL, QTS, PTS, L, m³ |
| Item Weight | 1.32 pounds (0.6 kg) |
| Package Dimensions | 1.18 x 0.79 x 0.39 inches (3 x 2 x 1 cm) |
| Assembly Required | No |
7. Warranty and Support
For warranty information, technical support, or service inquiries, please refer to the documentation provided with your purchase or contact the retailer/manufacturer directly.
Keep your purchase receipt or proof of purchase for any warranty claims.


