
Introduction
The Rain Bird 42SASPG 42SA Gear Drive Rotor Sprinkler is designed for efficient lawn and garden watering. Mounted on a robust powder-coated metal stake, it delivers reliable performance. Featuring intuitive adjustments and impressive coverage uniformity, this sprinkler ensures even watering, reducing water consumption and promoting healthier turf. The patented Rain Curtain nozzle technology provides a consistent, wind-resistant rotating curtain of large water droplets. Micro-ramps direct spray near the sprinkler head to eliminate dry spots. Ideal for large lawn and garden areas, the professional-grade rotor offers an adjustable spray distance of 7.6 to 11.5 meters (26-38 feet) and a pattern from 40° to 360° (preset to 180°).
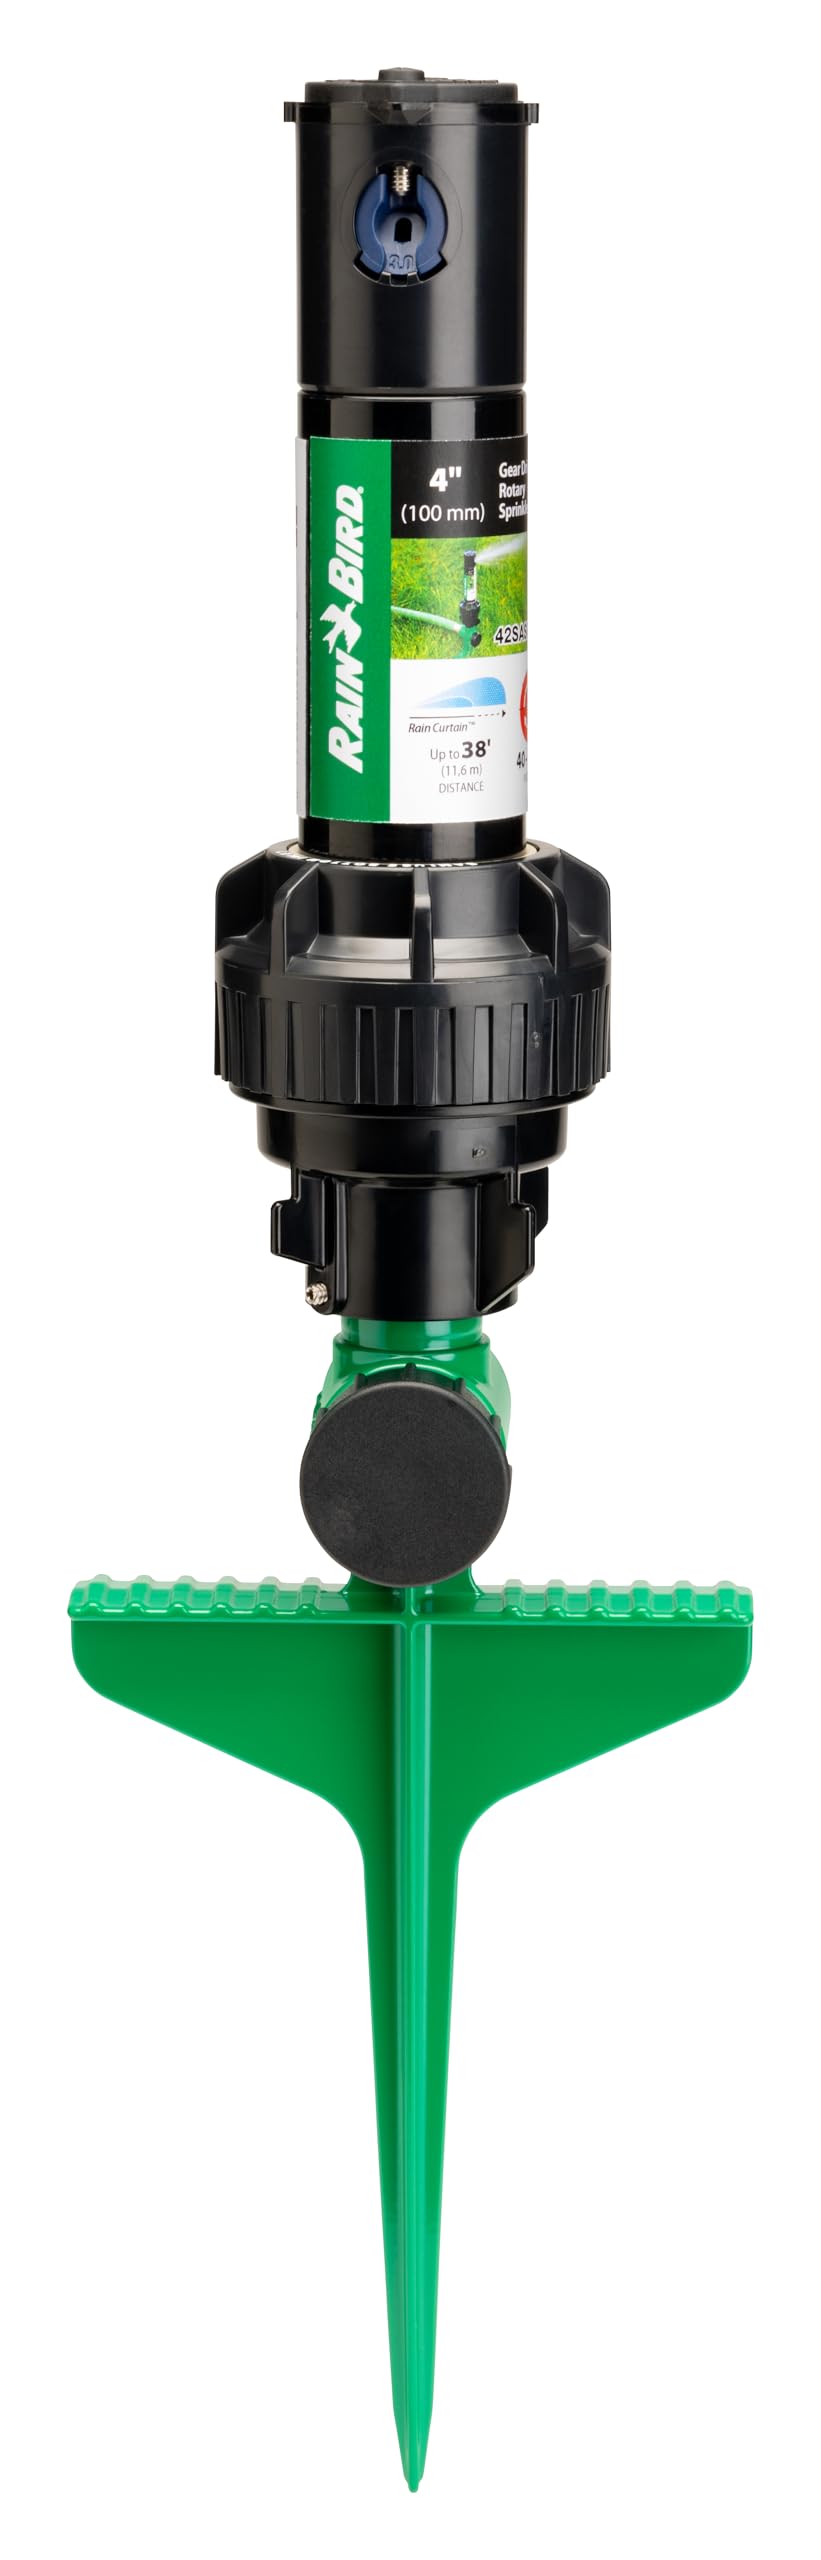
Image: The Rain Bird 42SASPG 42SA Gear Drive Rotor Sprinkler, showing its full assembly on a green stake.
Setup
Follow these steps to set up your Rain Bird 42SASPG sprinkler:
- Unpack: Carefully remove the sprinkler from its packaging.
- Placement: Insert the robust metal stake firmly into the ground in the desired watering area. Ensure the sprinkler head is upright and stable.
- Connection: The heavy-duty 3/4 inch Female Hose Thread (FHT) metal inlet connects to all standard garden hoses. Attach your garden hose securely to the sprinkler inlet.

Image: Diagram of the Rain Bird 42SASPG sprinkler highlighting key features such as coverage area, 3/4" garden hose thread inlet, heavy-duty 8" metal step stake, Rain Curtain technology, adjustable pattern (40-360°), and spray distance (26-38 ft).
Operating Instructions
The Rain Bird 42SASPG sprinkler allows for easy adjustment of both spray pattern (arc) and distance.
Adjusting Spray Pattern (Arc)
The sprinkler's arc is adjustable from 40° to 360°.
- Find Fixed Left Edge: Rotate the sprinkler shaft to the right until it stops, then rotate it to the left until it stops. This establishes the fixed left edge. Rotate the entire rotor case to align this left edge to your desired starting point for water rotation.
- Adjust Pattern: Use a flat-bladed screwdriver to turn the arc adjustment screw located on the top of the sprinkler. Turn clockwise to increase the arc or counter-clockwise to decrease it. The pattern can be adjusted between 40° and 360°.
Important Note:
- Do not force the rotor past the fixed left edge, as this may strip the internal gears.
- When adjusting the arc while the rotor is operating, only turn the arc adjustment screw in the direction the rotor is already turning. Turning it against the direction it is already turning can damage the rotor by stripping the gears.

Image: A hand using a screwdriver to adjust the spray pattern on the top of the sprinkler head. This image illustrates how to increase or decrease the pattern from 40° to 360°.
Adjusting Spray Distance (Radius)
The spray distance can be adjusted from 7.6 to 11.5 meters (26-38 feet).
- Adjust Distance: Use a flat-bladed screwdriver to turn the radius reduction screw (also known as the forward screw) on the top of the sprinkler. Turning this screw will decrease the spray distance by up to 25%.
Important Note:
- Do not back out the reduction screw so far that it no longer sits in front of the nozzle while watering. This can cause the nozzle to be pushed out by water pressure, making it difficult to locate.
- While the spray distance can range from 19-32 feet, the reduction screw only reduces the distance by up to 25%. Any further increase or reduction in distance requires changing rotor nozzles or adjusting water pressure.

Image: A hand using a screwdriver to adjust the spray distance on the top of the sprinkler head. This image demonstrates how to adjust the distance by turning the forward screw.
Maintenance
Proper maintenance ensures the longevity and optimal performance of your Rain Bird sprinkler.
- Cleaning Nozzle: The pre-installed 3 gallons per minute nozzle is easily removable. Regularly check the nozzle for debris such as dirt or small particles and clean if necessary to maintain optimal spray performance.
- Filter Inspection: Periodically inspect the inlet filter for any blockages. A clogged filter can reduce water flow and affect performance. Clean the filter by rinsing it under running water.
- Durability: The water-lubricated, gear-driven design ensures long-lasting reliability. Additional seals protect against hard and dirty water, minimizing the need for frequent internal maintenance.
- Nozzle Replacement: Additional nozzles are available (search model # 4252NZLPK, sold separately) to customize watering based on your specific flow rate and system requirements. Refer to the nozzle chart provided with the replacement kit for selection.

Image: A close-up view of the Rain Bird 42SASPG sprinkler, highlighting the inlet where the filter is located, important for maintenance.
Troubleshooting
If you encounter issues with your sprinkler, refer to the following common problems and solutions:
| Problem | Possible Cause | Solution |
|---|---|---|
| Uneven Water Coverage | Incorrect arc or distance settings; clogged nozzle. | Adjust arc and distance settings as per operating instructions. Clean the nozzle for any debris. |
| No Water or Low Pressure | Water supply off; kinked hose; clogged inlet filter or nozzle. | Ensure water supply is on. Straighten any kinks in the hose. Inspect and clean the inlet filter and nozzle. |
| Sprinkler Not Rotating | Arc adjustment screw overtightened or turned against rotation; internal gear damage. | Ensure arc adjustment screw is not overtightened. Avoid turning the screw against the direction of rotation. If gears are stripped, replacement may be necessary. |
| Water Spraying Too Far/Not Far Enough | Distance adjustment incorrect; incorrect nozzle for water pressure; water pressure too high/low. | Adjust the radius reduction screw. Consider changing to a different nozzle size (sold separately) or checking your water pressure. |
Specifications
- Model Number: 42SASPG
- Brand: Rain Bird
- Material: Plastic and Stainless Steel
- Dimensions (L x W x H): 17.1 x 7.1 x 43.9 cm (6.7 x 2.8 x 17.3 inches)
- Weight: 390 grams (0.86 lbs)
- Maximum Pressure: 55 PSI (Pounds per Square Inch)
- Maximum Flow Rate: 3 Gallons per Minute (GPM)
- Adjustable Pattern: 40° to 360°
- Spray Distance: 7.6 to 11.5 meters (26 to 38 feet) at 45-55 PSI
- Inlet Size: 3/4 inch Female Hose Thread (FHT)
- Color: Green, Black, Silver, Red
- Country of Origin: Mexico
Warranty and Support
For warranty information, please refer to the documentation included with your product packaging or visit the official Rain Bird website. Rain Bird provides customer support for product inquiries, troubleshooting, and parts replacement.
Rain Bird Official Website: www.rainbird.com
For further assistance, please contact Rain Bird customer service directly.


