Introduction
Thank you for choosing the Dapper Supply 6-Gallon Wet/Dry Vacuum. This versatile 3-in-1 vacuum is designed for heavy-duty performance, offering powerful suction for wet and dry debris, as well as a blower function. Its durable stainless steel tank and efficient filtration system make it ideal for various cleaning tasks in your home, garage, or job site. Please read this manual thoroughly before operation to ensure safe and effective use of your new vacuum cleaner.

Image: The Dapper Supply 6-Gallon Wet/Dry Vacuum, showcasing its stainless steel tank, motor head, hose, and floor nozzle, ready for use.
Safety Information
WARNING: Always follow basic safety precautions when using electrical appliances to reduce the risk of fire, electric shock, or injury.
- Read all instructions before using the appliance.
- Do not leave appliance when plugged in. Unplug from outlet when not in use and before servicing.
- Do not use outdoors or on wet surfaces.
- Do not allow to be used as a toy. Close attention is necessary when used by or near children.
- Use only as described in this manual. Use only manufacturer's recommended attachments.
- Do not use with damaged cord or plug. If appliance is not working as it should, has been dropped, damaged, left outdoors, or dropped into water, return it to a service center.
- Do not pull or carry by cord, use cord as a handle, close a door on cord, or pull cord around sharp edges or corners. Do not run appliance over cord. Keep cord away from heated surfaces.
- Do not unplug by pulling on cord. To unplug, grasp the plug, not the cord.
- Do not handle plug or appliance with wet hands.
- Do not put any object into openings. Do not use with any opening blocked; keep free of dust, lint, hair, and anything that may reduce air flow.
- Keep hair, loose clothing, fingers, and all parts of body away from openings and moving parts.
- Do not pick up anything that is burning or smoking, such as cigarettes, matches, or hot ashes.
- Do not use to pick up flammable or combustible liquids, such as gasoline, or use in areas where they may be present.
- Do not use without filters in place.
- Turn off all controls before unplugging.
- Use extra care when cleaning on stairs.
Package Contents
Before assembly, ensure all parts listed below are present and undamaged. If any parts are missing or damaged, contact Dapper Supply customer support.
- Wet/Dry Vacuum Unit (Stainless Steel Tank & Motor Head)
- 1-7/8" x 7' EVA Hose
- Utility Nozzle
- Cylinder Filter (for fine particles and dust)
- Wide Filter (for carpet and pet hair)
- Car Nozzle (Crevice Tool)
- Blower Port Attachment
- Round Dust Brush
- Extension Wands (2 pieces)
- Floor Brush

Image: A visual representation of all accessories included with the vacuum, numbered for easy identification.
Setup and Assembly
Follow these steps to assemble your Dapper Supply Wet/Dry Vacuum:
- Filter Installation:
- For dry vacuuming, install the Cylinder Filter onto the motor head. Ensure it is securely in place.
- For wet vacuuming, remove the Cylinder Filter and install the Wide Filter (foam filter) over the filter cage.
- Secure Motor Head: Place the motor head onto the stainless steel tank, aligning the latches. Securely fasten the latches on both sides to ensure a tight seal.
- Attach Hose: Insert the larger end of the 1-7/8" x 7' EVA Hose into the suction port on the front of the tank. Twist to lock it in place.
- Assemble Extension Wands: Connect the two Extension Wands together to create a longer reach for floor cleaning.
- Attach Nozzles:
- For general cleaning, attach the Floor Brush to the end of the extension wands or directly to the hose.
- For tight spaces, attach the Car Nozzle (crevice tool) directly to the hose or extension wand.
- For dusting, attach the Round Dust Brush.
- For blowing function, attach the hose to the blower port located on the top of the motor head.
- Install Handle and Wheels: Attach the handle to the designated slots on the motor head for easy portability. Ensure the four smooth-rolling wheels are securely attached to the base of the tank for effortless mobility.
Video: Dapper Wet Dry Vacuum Cleaner Installation Guide. This video demonstrates the step-by-step assembly process, including filter installation, securing the motor head, attaching the hose, and connecting various accessories.
Operating Instructions
Your Dapper Supply Wet/Dry Vacuum offers three primary functions: wet vacuuming, dry vacuuming, and blowing.
Dry Vacuuming
For dry debris, ensure the Cylinder Filter is properly installed. Connect the desired attachment (e.g., Floor Brush for large areas, Crevice Tool for tight spots) to the hose. Plug the vacuum into a suitable power outlet and turn the power switch to the "ON" position. The powerful 2100W peak motor will provide strong suction for dust, dirt, and other dry particles.

Image: Illustrates the powerful 3.0 Peak HP motor and the dual filtration system, showing the wide filter for carpet and pet hair, and the cylinder filter for fine particles and dust.
Wet Vacuuming
Before wet vacuuming, remove the Cylinder Filter and install the Wide Filter (foam filter) over the filter cage. This prevents damage to the motor. The 6-gallon stainless steel tank is designed to handle liquid spills. When the tank is full, the float mechanism will automatically shut off suction to prevent overflow. Empty the tank via the built-in drain port after use.
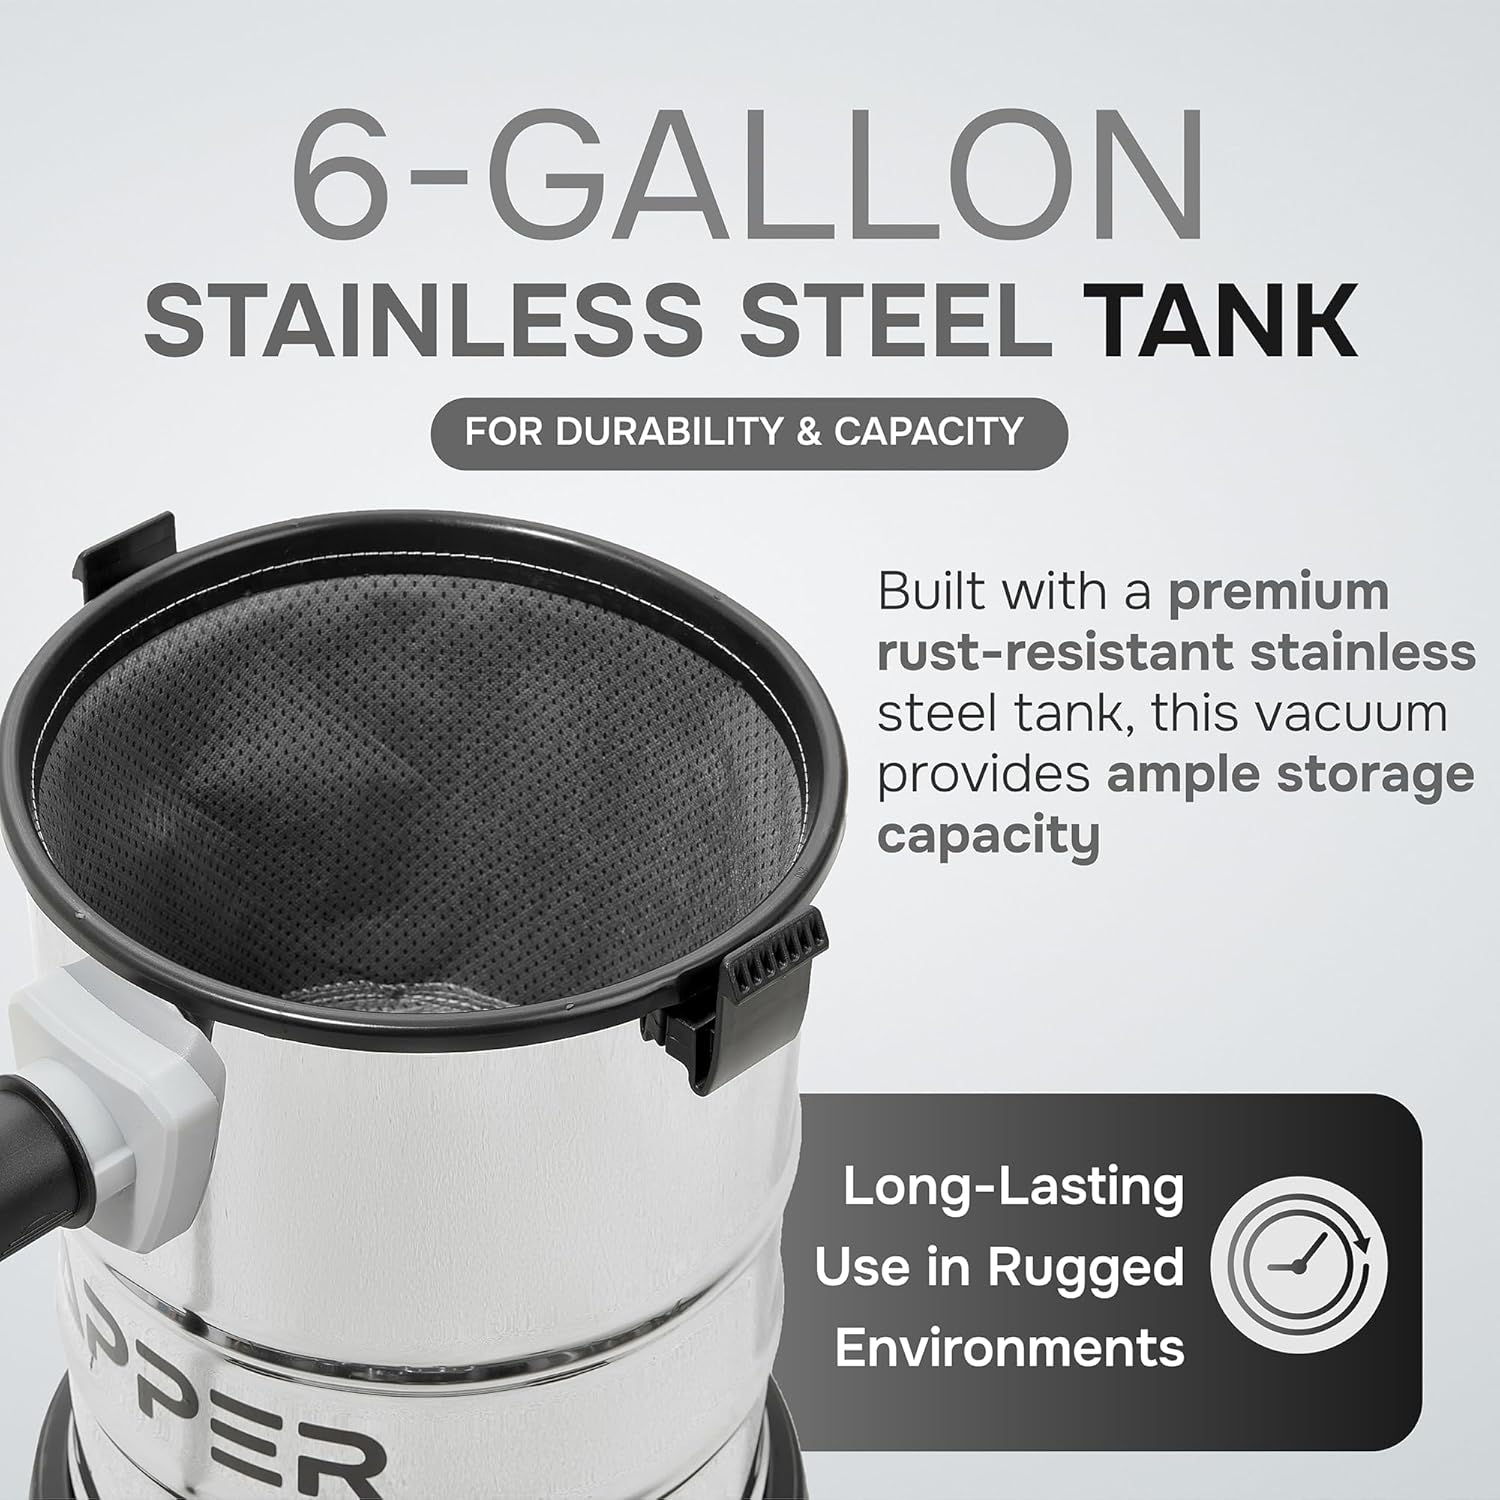
Image: Highlights the durable 6-gallon stainless steel tank, emphasizing its capacity and suitability for rugged environments.
Blower Function
To use the blower function, detach the hose from the suction port and connect it to the blower port located on the top of the motor head. This function is ideal for clearing leaves, dust, and debris from driveways, workshops, or other areas where suction is not required.

Image: Demonstrates the powerful blower function, useful for clearing debris from various surfaces.

Image: Overview of the vacuum's 3-in-1 functionality, highlighting its versatility for wet, dry, and blowing tasks with superior filtration.
Maintenance
Regular maintenance ensures optimal performance and extends the life of your vacuum cleaner.
- Filter Cleaning/Replacement:
- The Cylinder Filter (for dry use) should be cleaned regularly by tapping off excess dust or rinsing with water if heavily soiled (allow to dry completely before re-installation). Replace if damaged or suction decreases significantly.
- The Wide Filter (foam filter for wet use) can be rinsed with water and allowed to air dry.
- Tank Emptying: For wet vacuuming, empty the tank immediately after use by opening the drain port. For dry vacuuming, empty the tank when it is full or when suction power decreases. The bagged design allows for easy disposal and mess-free maintenance.
- Hose and Accessory Cleaning: Periodically check the hose and accessories for blockages. Clean them with water if necessary and ensure they are dry before storage.
- Exterior Cleaning: Wipe the exterior of the vacuum with a damp cloth. Do not use harsh chemicals or abrasive cleaners.
Troubleshooting
| Problem | Possible Cause | Solution |
|---|---|---|
| Vacuum does not turn on. | No power, faulty switch, or tripped circuit breaker. | Check power cord connection, wall outlet, and circuit breaker. Ensure power switch is ON. |
| Loss of suction. | Clogged hose/attachments, full tank, dirty filter, or improper filter installation. | Check for blockages in hose/attachments. Empty tank. Clean or replace filter. Ensure filter is correctly installed. |
| Motor shuts off during wet vacuuming. | Tank is full (float mechanism activated). | Empty the tank. |
| Unusual noise or vibration. | Foreign object in impeller, loose parts, or motor issue. | Turn off and unplug. Inspect for foreign objects. Check for loose components. If problem persists, contact customer support. |
Specifications
| Feature | Detail |
|---|---|
| Brand | Dapper Supply |
| Model Name | DP-CVC1118 |
| Capacity | 6 Gallons |
| Motor Horsepower | 3.0 Peak HP |
| Wattage | 1400 watts (2100W peak) |
| Suction Power | 18Kpa |
| Airflow | 108 CFM |
| Water Lift | 74.3 inches |
| Tank Material | Stainless Steel |
| Hose Length | 3.9 Feet (1.2 meters) |
| Power Cord Length | 16.4 Feet (5 meters) |
| Noise Level | 78-80 dBA |
| Product Dimensions (L x W x H) | 13.97" x 14.17" x 20.27" |
| Item Weight | 9 pounds |
| Certifications | UL Certified |
Warranty and Support
The Dapper Supply 6-Gallon Wet/Dry Vacuum comes with a 1-year warranty from the date of purchase. This warranty covers defects in materials and workmanship under normal use. It does not cover damage resulting from misuse, abuse, accident, alteration, or unauthorized repair.
For warranty claims, technical assistance, or any questions regarding your product, please contact Dapper Supply customer support. Please have your model number (DP-CVC1118) and proof of purchase ready when contacting support.
Dapper Supply Customer Support:
- Visit the Dapper Supply Store on Amazon for more information and contact options.


