
1. Important Safety Instructions
Please read and understand all safety warnings and instructions before operating this product. Failure to follow the warnings and instructions may result in electric shock, fire, and/or serious injury.
- Eye Protection: Always wear eye protection that is marked to comply with ANSI Z87.1 when operating this product.
- Hearing Protection: Wear hearing protection during extended use.
- Clothing: Do not wear loose clothing or jewelry. Keep hair, clothing, and gloves away from moving parts.
- Battery Safety: Use only the specified battery and charger. Do not expose the battery to water or extreme temperatures.
- Work Area: Keep the work area clean and well-lit. Remove all debris and obstacles that could be blown or sucked into the unit.
- Children and Bystanders: Keep children and bystanders at a safe distance (at least 15 meters) from the operating area.
- Inspection: Before each use, inspect the unit for damaged parts. Do not operate if any part is damaged.
- Proper Use: Use the product only for its intended purpose of blowing or vacuuming leaves and light debris.
2. Product Overview
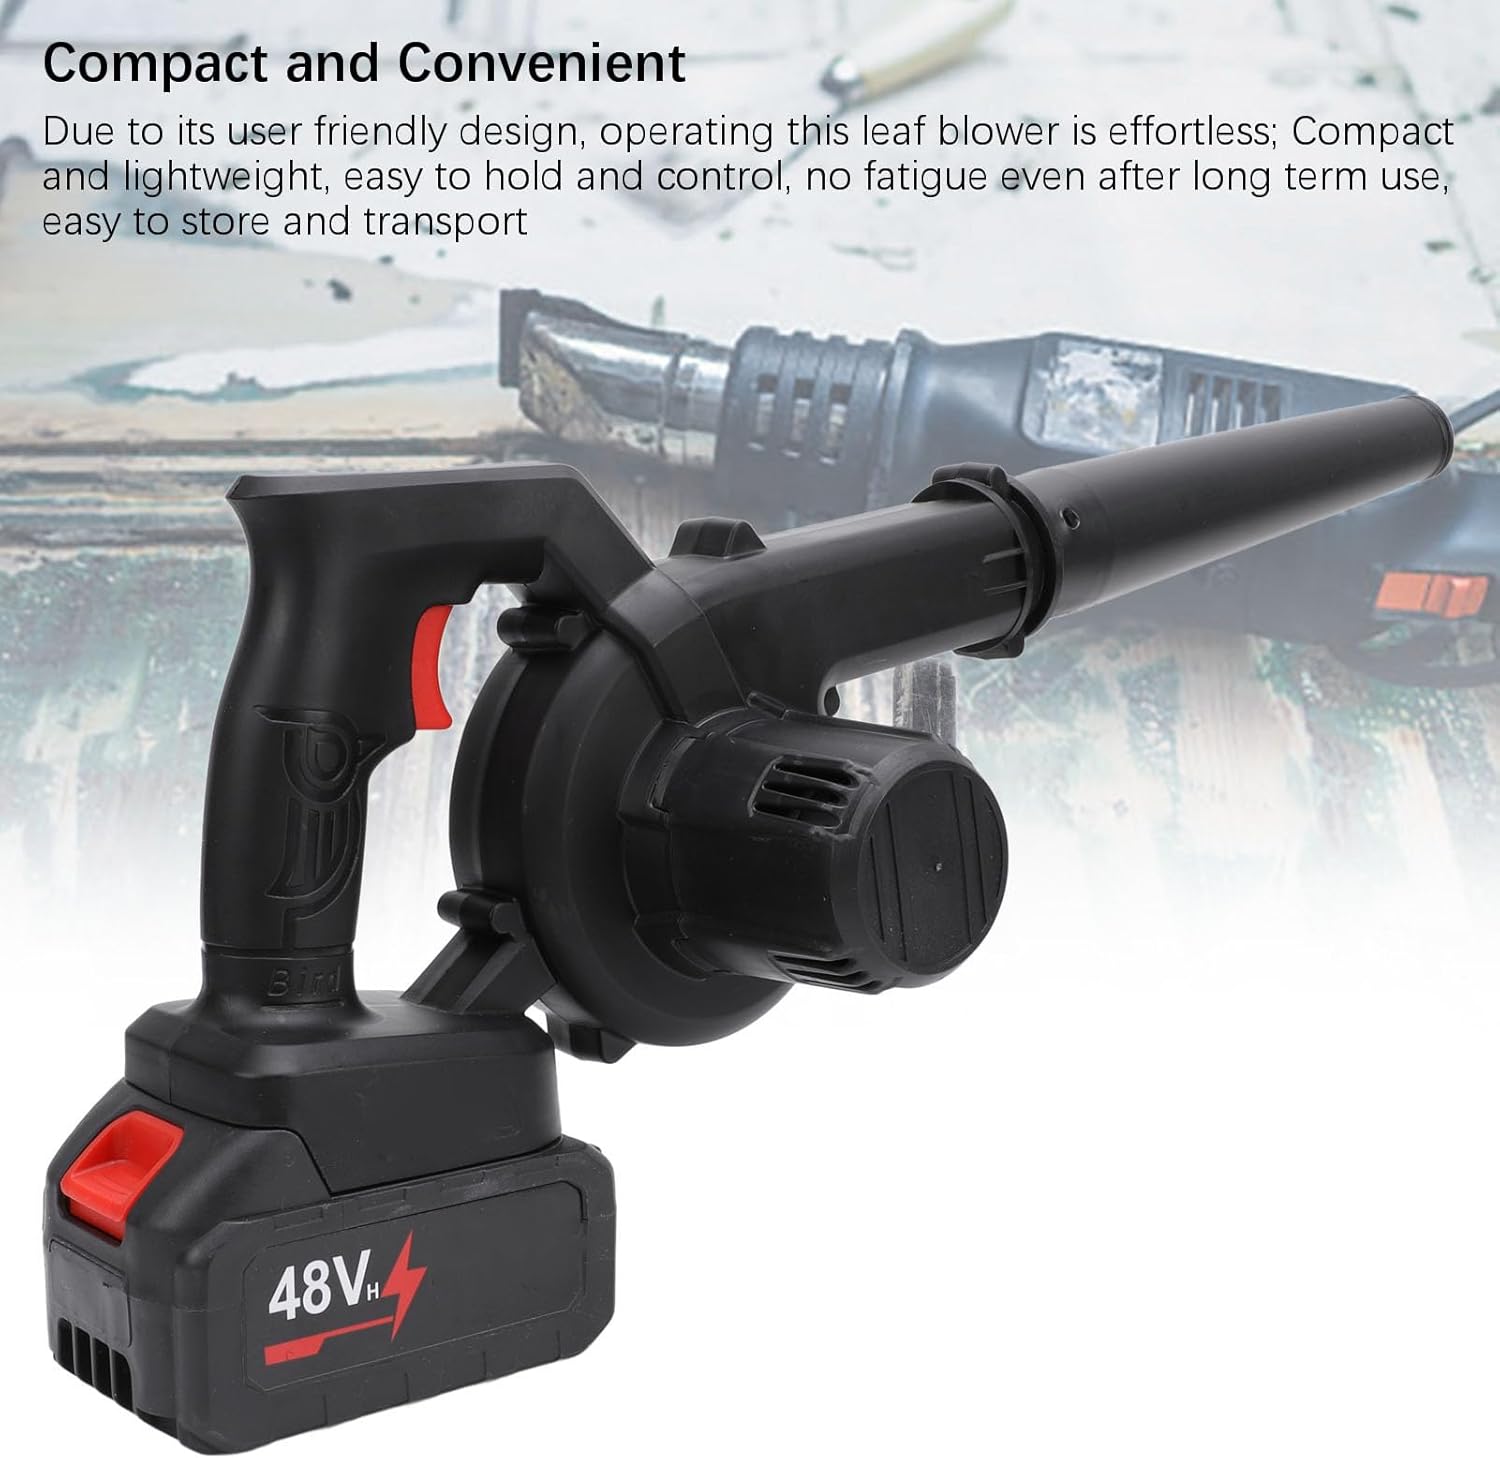
The Walfront Cordless Leaf Blower and Vacuum Kit is designed for efficient cleaning of lawns, gardens, and other outdoor areas. It features a lightweight, cordless design for ease of use.
Package Contents:
- Blower Unit
- Vacuum Hose
- Dust Bag
- Air Duct
- Wide Nozzle
- Narrow Nozzle
- 48VH 12000mAh Battery
- Adapter Parts (3x)
- Adapter (Charger)
- User Manual (this document)


3. Setup
3.1 Battery Charging
- Ensure the battery is fully charged before first use.
- Connect the adapter (charger) to a standard US power outlet.
- Connect the battery to the adapter. The charging indicator light on the battery or charger will illuminate, typically red for charging and green for fully charged.
- Allow the battery to charge completely. Charging time may vary.
3.2 Battery Installation
- Align the fully charged battery with the battery slot on the bottom of the blower unit.
- Slide the battery into the slot until it clicks securely into place. Ensure it is firmly seated to prevent accidental dislodging during operation.
- To remove the battery, press the release button (if present) and slide the battery out.
3.3 Nozzle and Accessory Attachment
The kit includes various nozzles and accessories for different tasks.
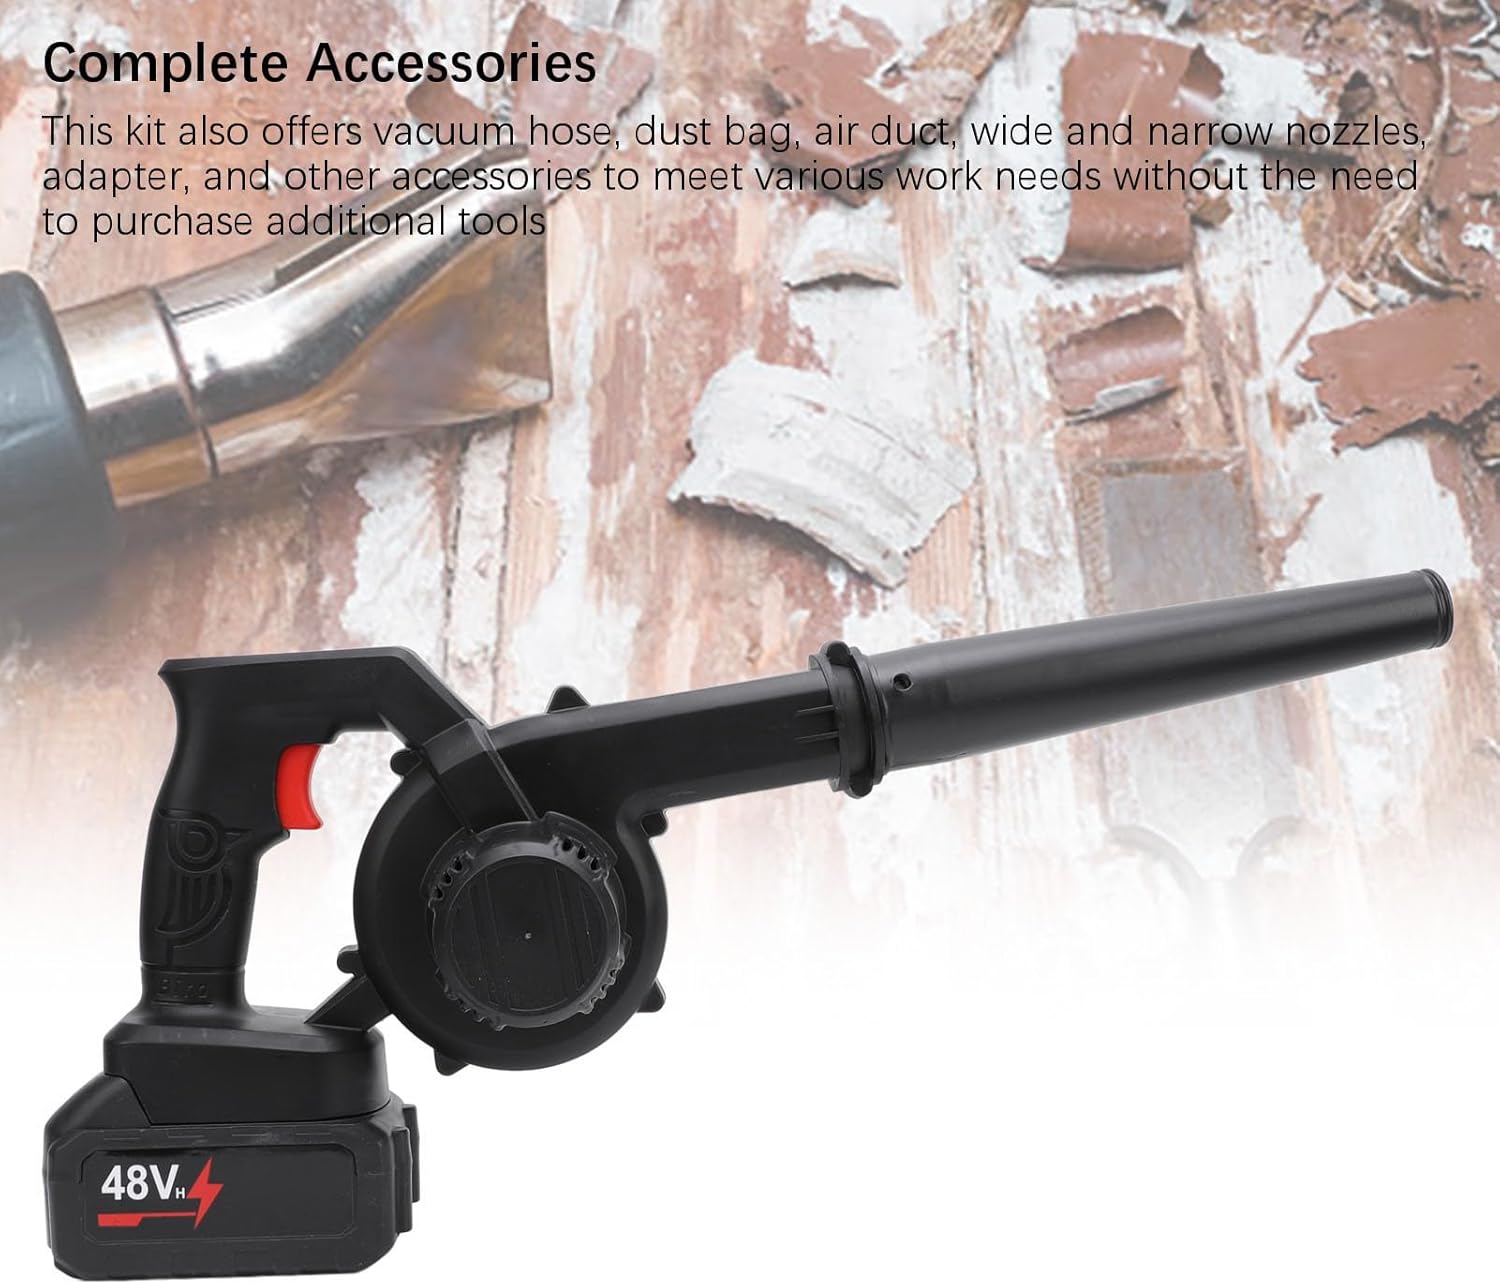
- For Blowing: Attach the desired nozzle (wide or narrow) to the air outlet of the blower unit. Twist or push until it locks securely.
- For Vacuuming:
- Remove any attached blowing nozzle.
- Attach the vacuum hose to the air intake port (usually on the side of the blower housing).
- Attach the dust bag to the air outlet port. Ensure both are securely fastened to prevent debris leakage.
4. Operating Instructions
4.1 Powering On/Off

- To turn the blower ON, press and hold the power trigger located on the handle.
- To turn the blower OFF, release the power trigger.
4.2 Blowing Mode
Use the blowing mode for clearing leaves, grass clippings, and light debris from hard surfaces, lawns, and gardens.
- Ensure the appropriate nozzle is securely attached.
- Hold the blower firmly with one hand, ensuring a comfortable grip.
- Point the nozzle towards the debris you wish to clear.
- Press the power trigger to start the blower.
- Sweep the nozzle from side to side to gather debris into piles or direct it away from the area.
4.3 Vacuum Mode
The vacuum mode is ideal for collecting smaller debris into the dust bag.
- Ensure the vacuum hose is attached to the intake port and the dust bag is attached to the exhaust port.
- Hold the blower firmly and guide the vacuum hose over the debris.
- Press the power trigger to activate the vacuum.
- Move the hose slowly over the debris to allow it to be sucked into the dust bag.
- Periodically check and empty the dust bag when it becomes full to maintain optimal performance.
4.4 Applications
This versatile tool can be used for a variety of cleaning tasks:


5. Maintenance
Regular maintenance ensures optimal performance and extends the life of your tool.
- Cleaning: After each use, remove the battery and clean the exterior of the blower with a damp cloth. Ensure the air intake and outlet are free of debris.
- Dust Bag: Empty the dust bag regularly. Wash the dust bag if necessary and ensure it is completely dry before reattaching.
- Nozzles and Hose: Clean any debris from the nozzles and vacuum hose.
- Storage: Store the blower, battery, and accessories in a dry, secure location away from children and direct sunlight. Ensure the battery is partially charged (not fully depleted or fully charged) for long-term storage.
6. Troubleshooting
If you encounter issues, refer to the following common problems and solutions:
| Problem | Possible Cause | Solution |
|---|---|---|
| Blower does not start | Battery not charged Battery not properly installed Power trigger not fully pressed | Charge the battery Reinstall battery securely Ensure trigger is fully depressed |
| Low blowing/vacuuming power | Battery low Air intake/outlet blocked Dust bag full (vacuum mode) | Recharge battery Clear obstructions Empty dust bag |
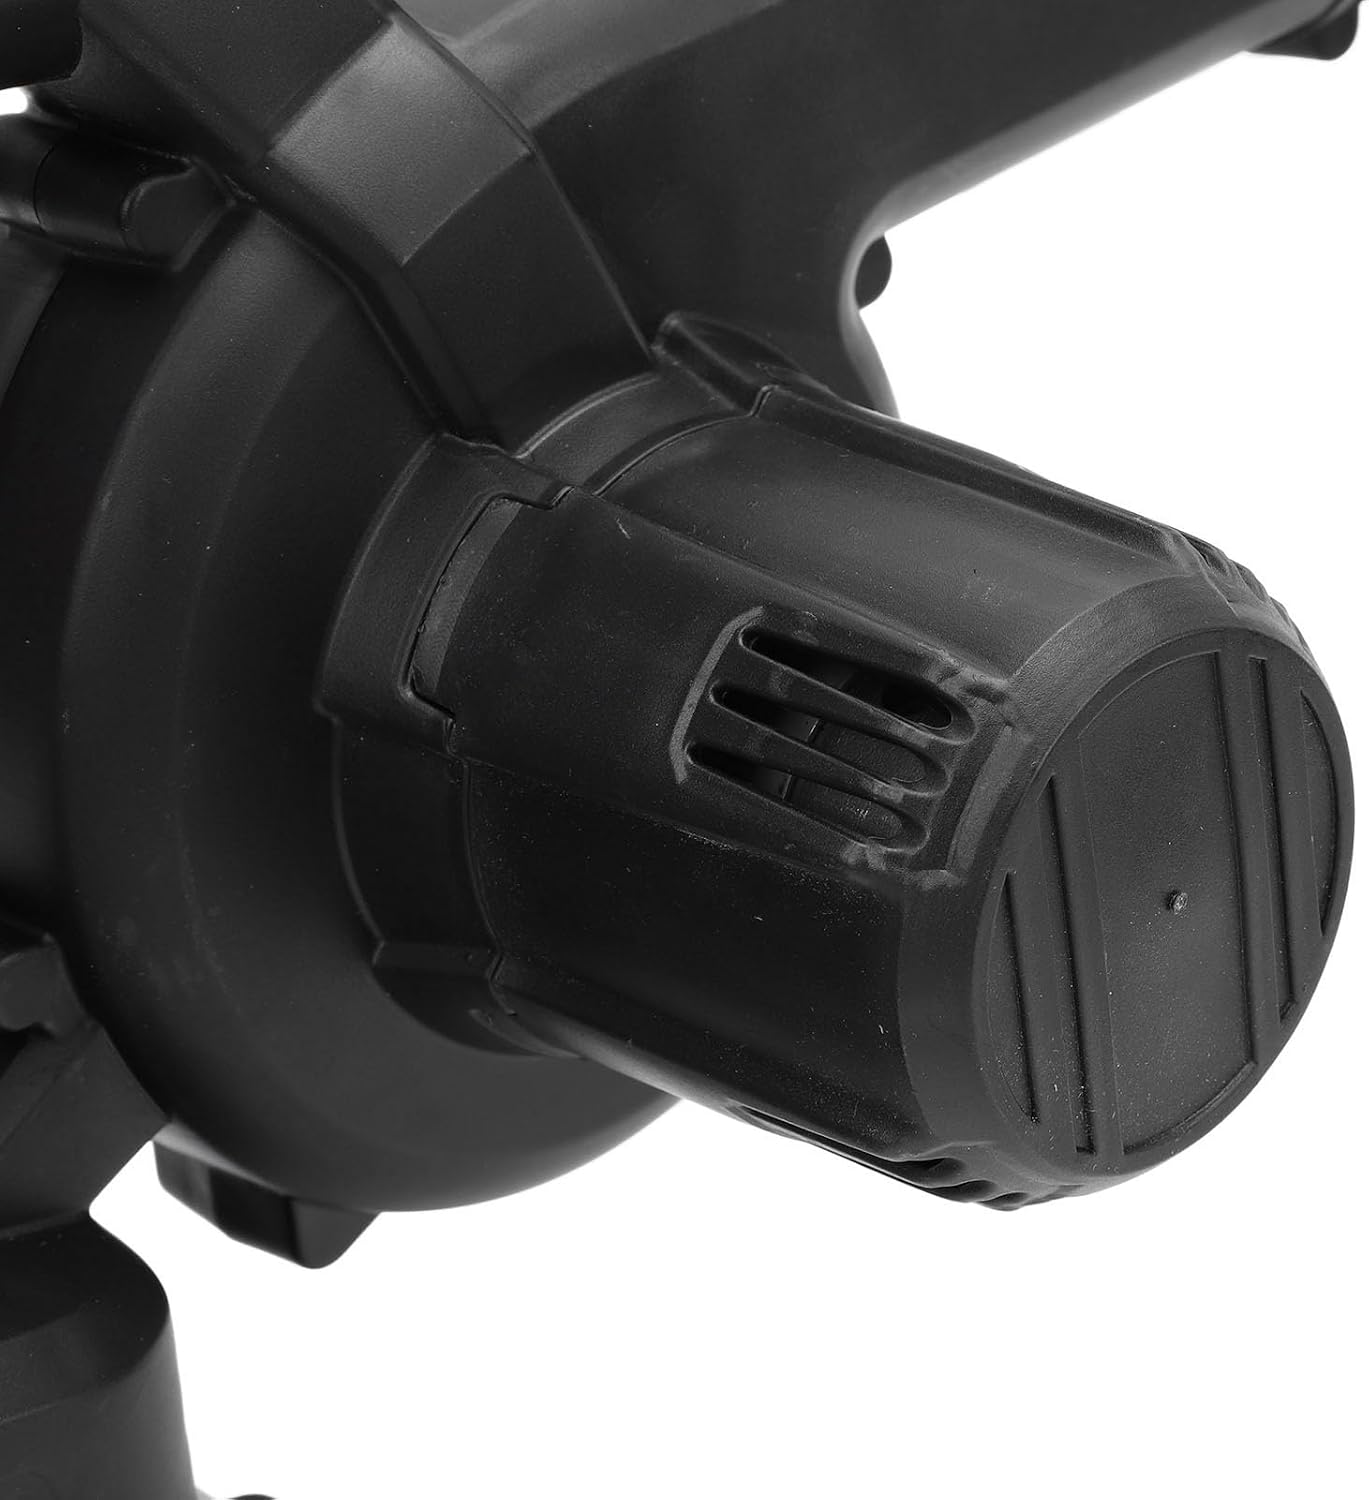
| Excessive vibration | Debris caught in fan Loose components | Remove battery, clear debris from fan Check all attachments are secure |
If the problem persists after trying these solutions, please contact customer support.
7. Specifications
- Model: WALFRONTzcd72hib9t-11
- Item Type: Cordless Leaf Blower / Vacuum
- Material: ABS
- Battery: 1 x 48VH Battery, Capacity: 12000mAh (included)
- Dimensions (Approx.): 500 x 200mm / 19.7 x 7.9in (Length x Height)

8. Warranty and Support
This product comes with a standard manufacturer's warranty. Please refer to your purchase documentation for specific warranty terms and conditions.
For technical support, replacement parts, or warranty claims, please contact Walfront customer service through your retailer or the official Walfront website.