
1. Introduction
Thank you for choosing the HAUSHOF HH25001A Electric Dehumidifier. This appliance is designed to efficiently remove excess moisture from the air, creating a healthier and more comfortable environment in your home. Please read this manual thoroughly before operation to ensure proper use, maintenance, and safety.
2. Safety Instructions
- Always place the dehumidifier upright on a stable, level surface.
- Allow the unit to stand vertically for at least 24 hours before initial use or after transport to allow refrigerants to settle.
- Do not block the air inlet or outlet. Maintain at least 20 cm clearance around the unit.
- Do not operate the unit with a damaged power cord or plug.
- Keep the appliance away from heat sources, direct sunlight, and flammable materials.
- Ensure the water tank is correctly installed before operation.
- Unplug the unit before cleaning or performing any maintenance.
- This appliance is for indoor household use only.
3. Product Overview
The HAUSHOF HH25001A dehumidifier features a compact design with a user-friendly control panel and integrated handles and wheels for easy mobility. It is equipped with a 4.5L water tank and offers both manual and continuous drainage options.
3.1 Main Unit
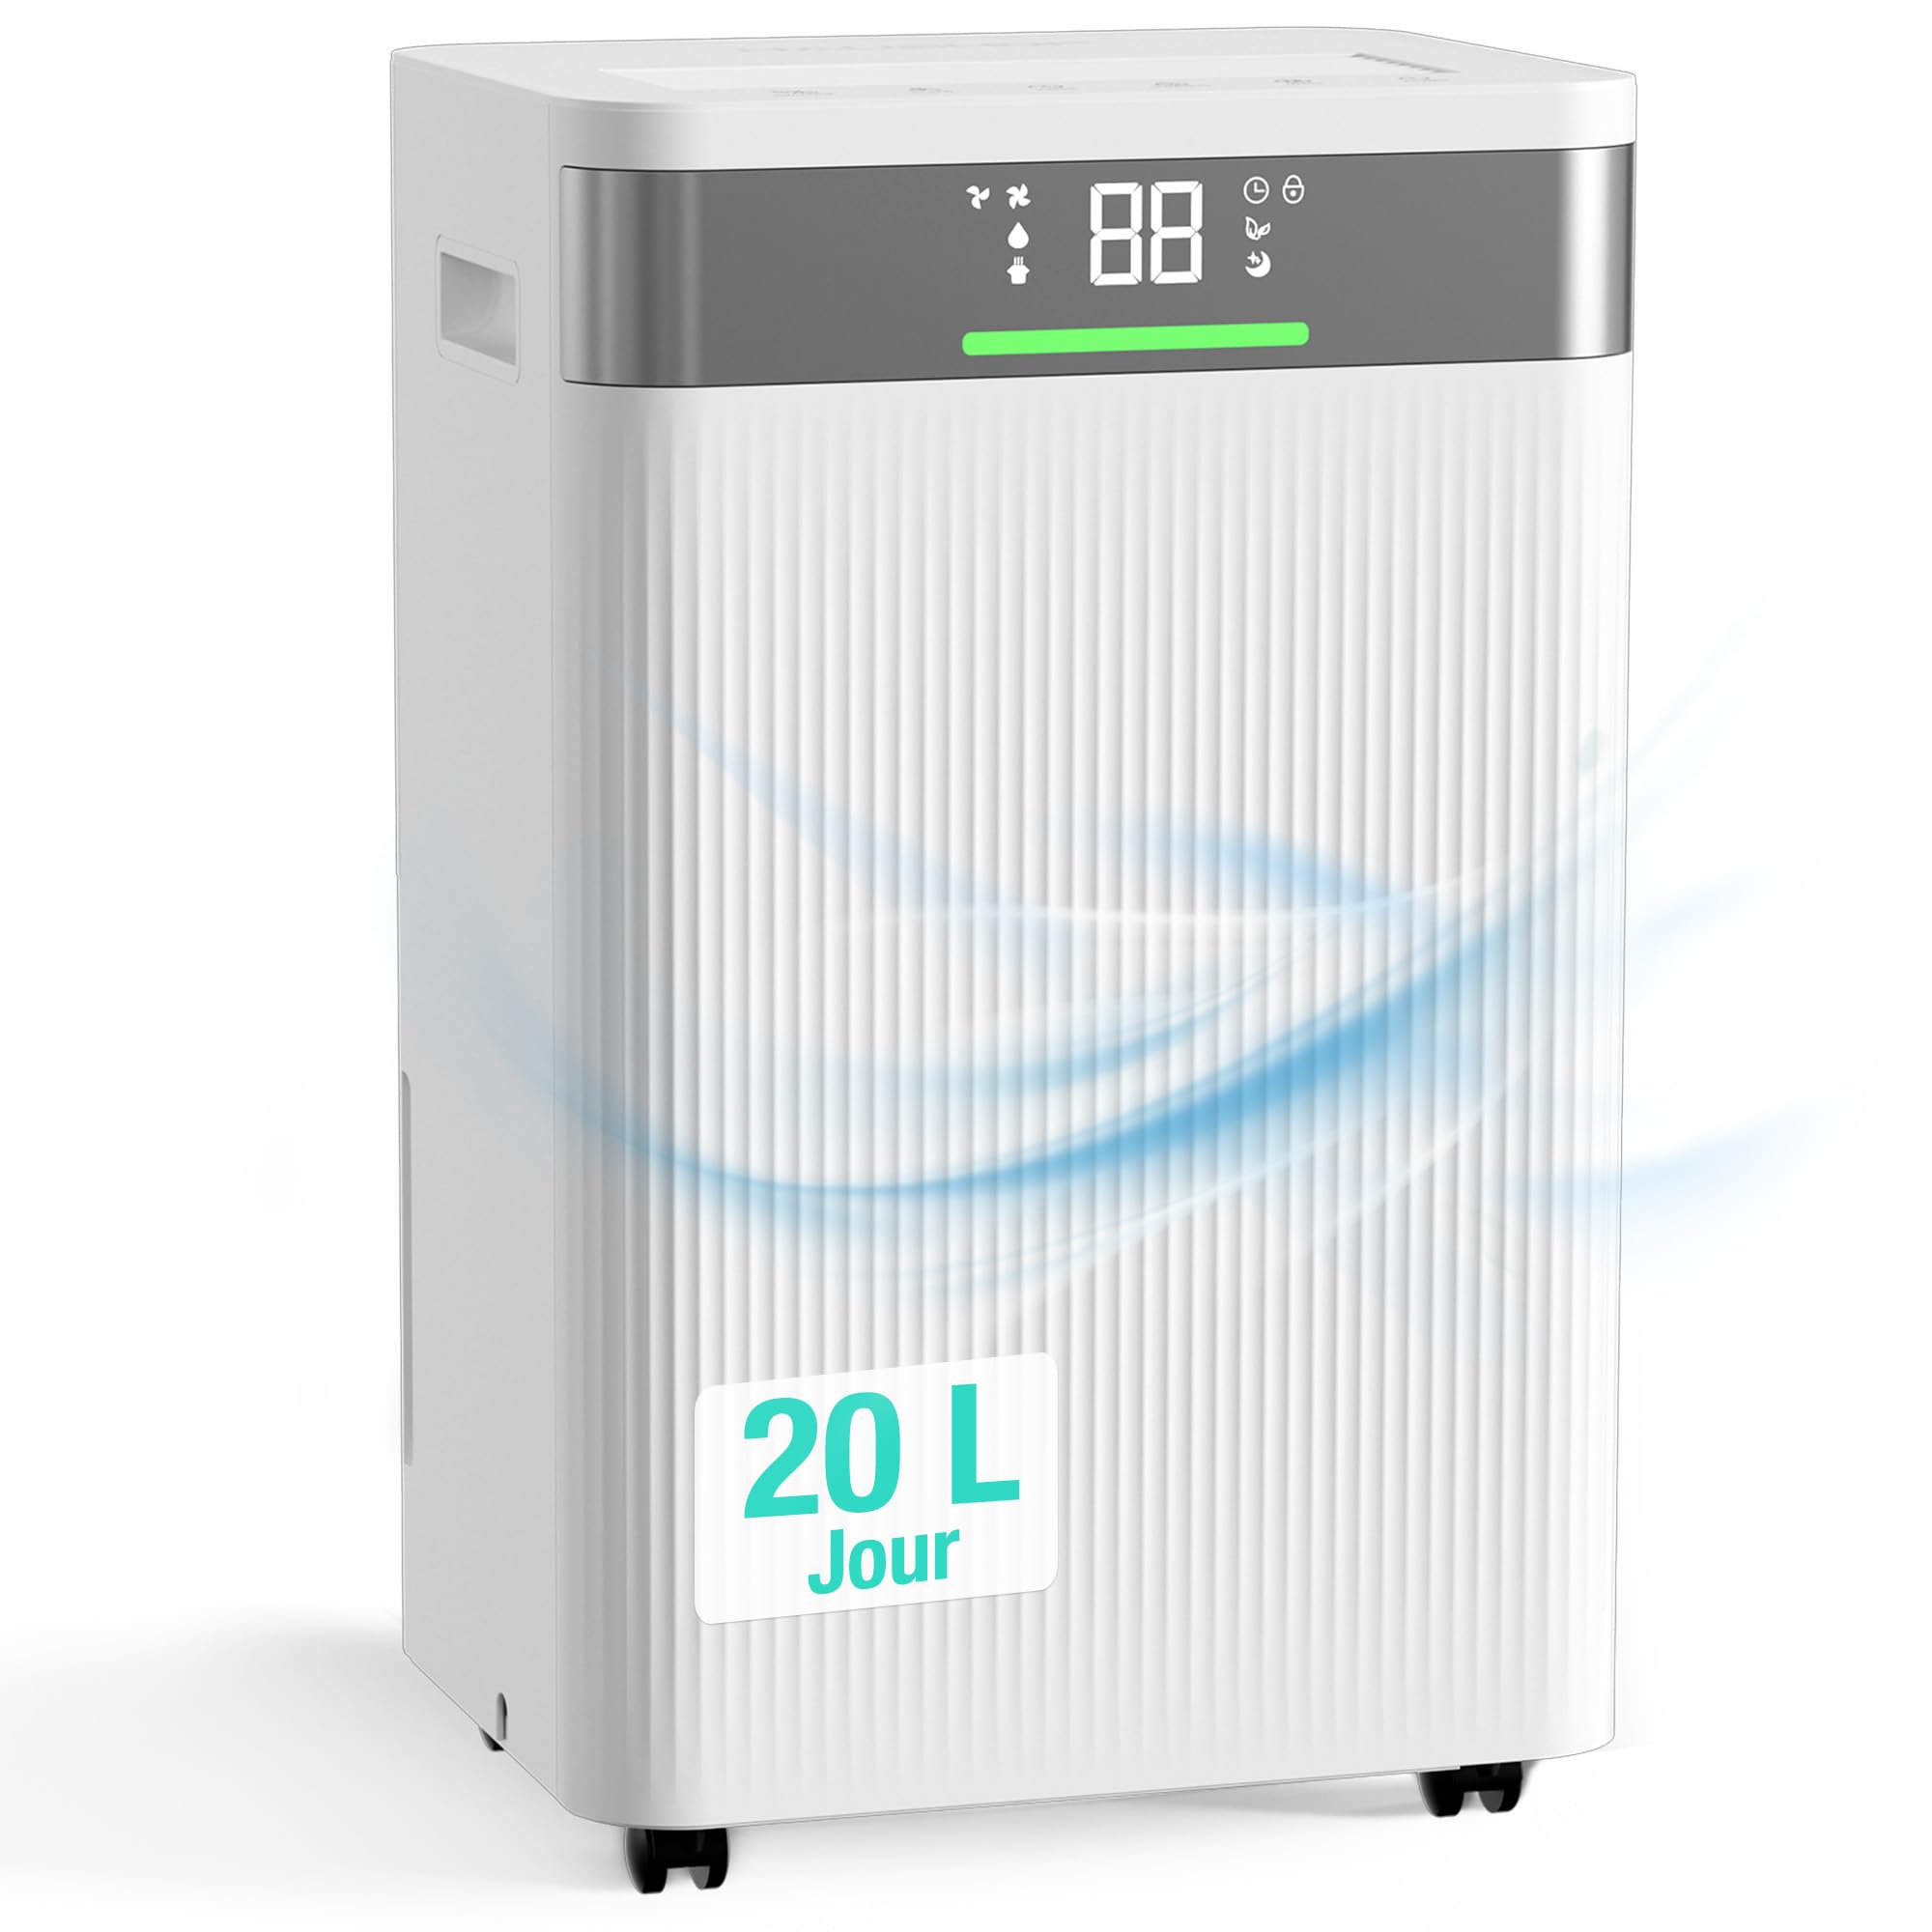
Image: Front view of the HAUSHOF HH25001A Electric Dehumidifier, showing its sleek white design and digital display.
3.2 Control Panel

Image: Close-up of the dehumidifier's touch control panel with LED display, showing buttons for ION/LOCK, SPEED, TIMER, HUMIDITY, MODE, and POWER.
- ION/LOCK Button: Activates ionization or child lock function.
- SPEED Button: Adjusts fan speed.
- TIMER Button: Sets the 24-hour timer.
- HUMIDITY Button: Adjusts desired humidity level.
- MODE Button: Selects operating mode.
- POWER Button: Turns the unit on or off.
- LED Display: Shows current humidity, timer settings, and error codes.
- Humidity Indicator Light: Tri-color light indicating ambient humidity levels (<45% blue, 45%-65% green, >65% red).
4. Setup
4.1 Unpacking and Placement
- Carefully remove the dehumidifier from its packaging.
- Place the unit upright on a firm, level surface in the desired location. Ensure there is at least 20 cm of space around the unit for proper airflow.
- Allow the dehumidifier to stand upright for a minimum of 24 hours before plugging it in. This allows the refrigerant to stabilize.

Image: The dehumidifier shown with its integrated wheels, highlighting its portability for use in various rooms like living rooms, bedrooms, closets, and bathrooms.
4.2 Power Connection
Plug the power cord into a grounded electrical outlet. The unit will enter standby mode.
5. Operating Instructions
5.1 Power On/Off
Press the POWER button to turn the dehumidifier on or off.
5.2 Setting Desired Humidity
Press the HUMIDITY button to adjust the target humidity level between 30% and 80% in 5% increments. The unit will operate until the set humidity is reached.

Image: The dehumidifier's display showing humidity settings and the tri-color indicator for humidity levels: blue for <45%, green for 45%-65%, and red for >65%. Pressing the HUMIDITY button for 3 seconds displays the ambient temperature.
5.3 Fan Speed Adjustment
Press the SPEED button to toggle between High and Low fan speeds.

Image: Two dehumidifiers demonstrating high and low fan speed settings, indicated by airflow graphics.
5.4 Operating Modes
Press the MODE button to cycle through the available modes:

Image: Three scenes illustrating the different operating modes: Auto Mode in a living room, Continuous Drying Mode in a closet, and Sleep Mode in a bedroom.
- Automatic Dehumidification Mode: The unit automatically adjusts operation based on the ambient humidity to maintain the set level. It starts when humidity is 3% above the set level and stops when it's 3% below.
- Continuous Drying Mode: The unit operates continuously at high fan speed, ideal for drying clothes or in very damp conditions.
- Sleep Mode: The unit operates at a low fan speed (approx. 41 dB) for quiet operation. The display lights will dim or turn off after a few seconds to avoid disturbance.
5.5 Timer Function
Press the TIMER button to set an auto-on or auto-off time from 1 to 24 hours. Each press increases the time by one hour. The timer indicator will light up when active.
5.6 Ionization Function
Press the ION/LOCK button briefly to activate the ionization function, which helps purify the air by releasing negative ions. Press again to deactivate.
5.7 Child Lock
Press and hold the ION/LOCK button for 3 seconds to activate the child lock. This disables all other buttons to prevent accidental changes. Repeat to deactivate.
6. Maintenance
6.1 Emptying the Water Tank
When the water tank is full, the unit will automatically stop operating, and the "FL" indicator will illuminate on the display. Carefully remove the tank and empty the collected water. Reinsert the tank securely to resume operation.
6.2 Continuous Drainage
For continuous operation without manual emptying, attach the included drain hose to the continuous drainage port on the back of the unit. Ensure the hose is directed downwards to a suitable drain or container, allowing gravity to facilitate water flow.

Image: Illustration of the two drainage methods: manual emptying of the 4.5L water tank and continuous drainage via a hose connection.
6.3 Cleaning the Air Filter
The air filter should be cleaned regularly (every 2 weeks or as needed) to ensure optimal performance. Remove the filter from the back of the unit, wash it with warm, soapy water, rinse thoroughly, and allow it to air dry completely before reinserting.
6.4 Cleaning the Unit
Wipe the exterior of the dehumidifier with a soft, damp cloth. Do not use harsh chemicals or abrasive cleaners. Ensure the unit is unplugged before cleaning.
7. Troubleshooting
If you encounter any issues with your dehumidifier, please refer to the table below for common problems and solutions. If the problem persists, contact customer support.

Image: A table displaying common error codes and their possible causes, with an example of the "FL" error code on the dehumidifier's display.
| Error Code | Possible Cause | Solution |
|---|---|---|
| FL | Water tank is full or incorrectly installed. | Empty the water tank and ensure it is securely reinserted. |
| E1/E2 | Humidity sensor error. | Unplug the unit for 5 minutes, then plug it back in. If the error persists, contact support. |
| LO | Ambient humidity is below 20%. | This is an informational code. The unit may stop operating if the humidity is too low for its set point. |
| HI | Ambient humidity is above 90%. | This is an informational code. The unit will continue to dehumidify. |
| CL | Ambient temperature is below 5°C (41°F). | The unit may enter defrost mode or stop operating to prevent damage. Move to a warmer environment. |
| CH | Ambient temperature is above 38°C (100°F). | The unit may stop operating to prevent overheating. Move to a cooler environment. |
8. Specifications
| Feature | Specification |
|---|---|
| Brand | HAUSHOF |
| Model Name/Number | HH25001A |
| Moisture Removal Capacity | 20 Liters per day |
| Tank Volume | 4.5 Liters |
| Recommended Floor Area | 20-30 square meters |
| Product Dimensions (L x W x H) | 27.5 x 31.5 x 51.5 cm |
| Item Dimensions (D x W x H) | 34.5 x 51.5 x 27.5 cm |
| Weight | 12.65 kilograms |
| Color | White |
| Material | Plastic |
| Number of Speeds | 3 |
| Special Features | Adjustable humidity control, Silent operation, Timer, Sleep mode, Continuous drainage |
| Included Components | User Manual, Tank, Drain Hose |
| UPC / GTIN | 820909617563 |
9. Warranty and Support
For warranty information and customer support, please refer to the warranty card included with your product or contact HAUSHOF customer service directly. Keep your purchase receipt as proof of purchase.
For further assistance, please visit the official HAUSHOF website or contact their customer support team.
