
1. Introduction
Thank you for purchasing the Chefman Countertop Microwave Oven. This manual provides important information regarding the safe operation, installation, maintenance, and troubleshooting of your appliance. Please read it thoroughly before use and retain it for future reference.

Image 1.1: Front view of the Chefman Countertop Microwave Oven.
2. Important Safeguards
When using electrical appliances, basic safety precautions should always be followed to reduce the risk of fire, electric shock, burns, or injury. Read all instructions before using this appliance.
- Do not operate the oven if it has a damaged cord or plug, if it is not working properly, or if it has been damaged or dropped.
- Do not heat liquids or other foods in sealed containers as they are liable to explode.
- Do not use corrosive chemicals or vapors in this appliance.
- Do not allow the cord to hang over the edge of a table or counter, or touch hot surfaces.
- Always ensure the glass turntable and roller ring are correctly positioned before operation.
- Do not attempt to operate this oven with the door open as this can result in harmful exposure to microwave energy.
- This appliance is intended for household use only.
3. Product Overview
The Chefman Countertop Microwave Oven features a compact design with 0.9 cubic feet capacity and 900 watts of cooking power. It includes various presets and user-friendly controls for efficient food preparation.
3.1 Key Features
- Capacity: 0.9 Cubic Feet
- Power: 900 Watts with 10 Power Levels
- Cooking Presets: 6 popular presets (Popcorn, Pizza, Beverages, Veggies, Potatoes, Leftovers)
- Control Panel: Digital controls with One-Touch Express Cook
- Special Functions: Eco Mode, Child Safety Lock, Mute Button, Memory Function
- Interior: Easy-clean interior with dishwasher-safe glass turntable

Image 3.1: Overview of key features including capacity, power, and safety.
4. Setup
4.1 Unpacking
Carefully remove the microwave oven and all packaging materials from the carton. Check the oven for any damage, such as dents or a broken door. Do not operate the oven if it is damaged. Retain the carton and packaging materials for future use or dispose of them responsibly.
4.2 Placement
- Place the oven on a flat, stable surface that can support its weight and the heaviest food item likely to be cooked in the oven.
- Ensure adequate ventilation. Allow at least 4 inches (10 cm) of space on the top, back, and sides of the oven for proper airflow. Do not block any ventilation openings.
- Keep the oven away from heat sources, steam, or splashing liquids.
- Do not place the oven near a radio or TV, as microwave operation may cause interference.
4.3 Electrical Connection
Plug the oven into a standard 120V, 60Hz AC outlet. Ensure the outlet is properly grounded. Do not use an extension cord unless absolutely necessary, and if so, ensure it is a grounded 3-prong cord with a rating equal to or greater than the microwave's rating.
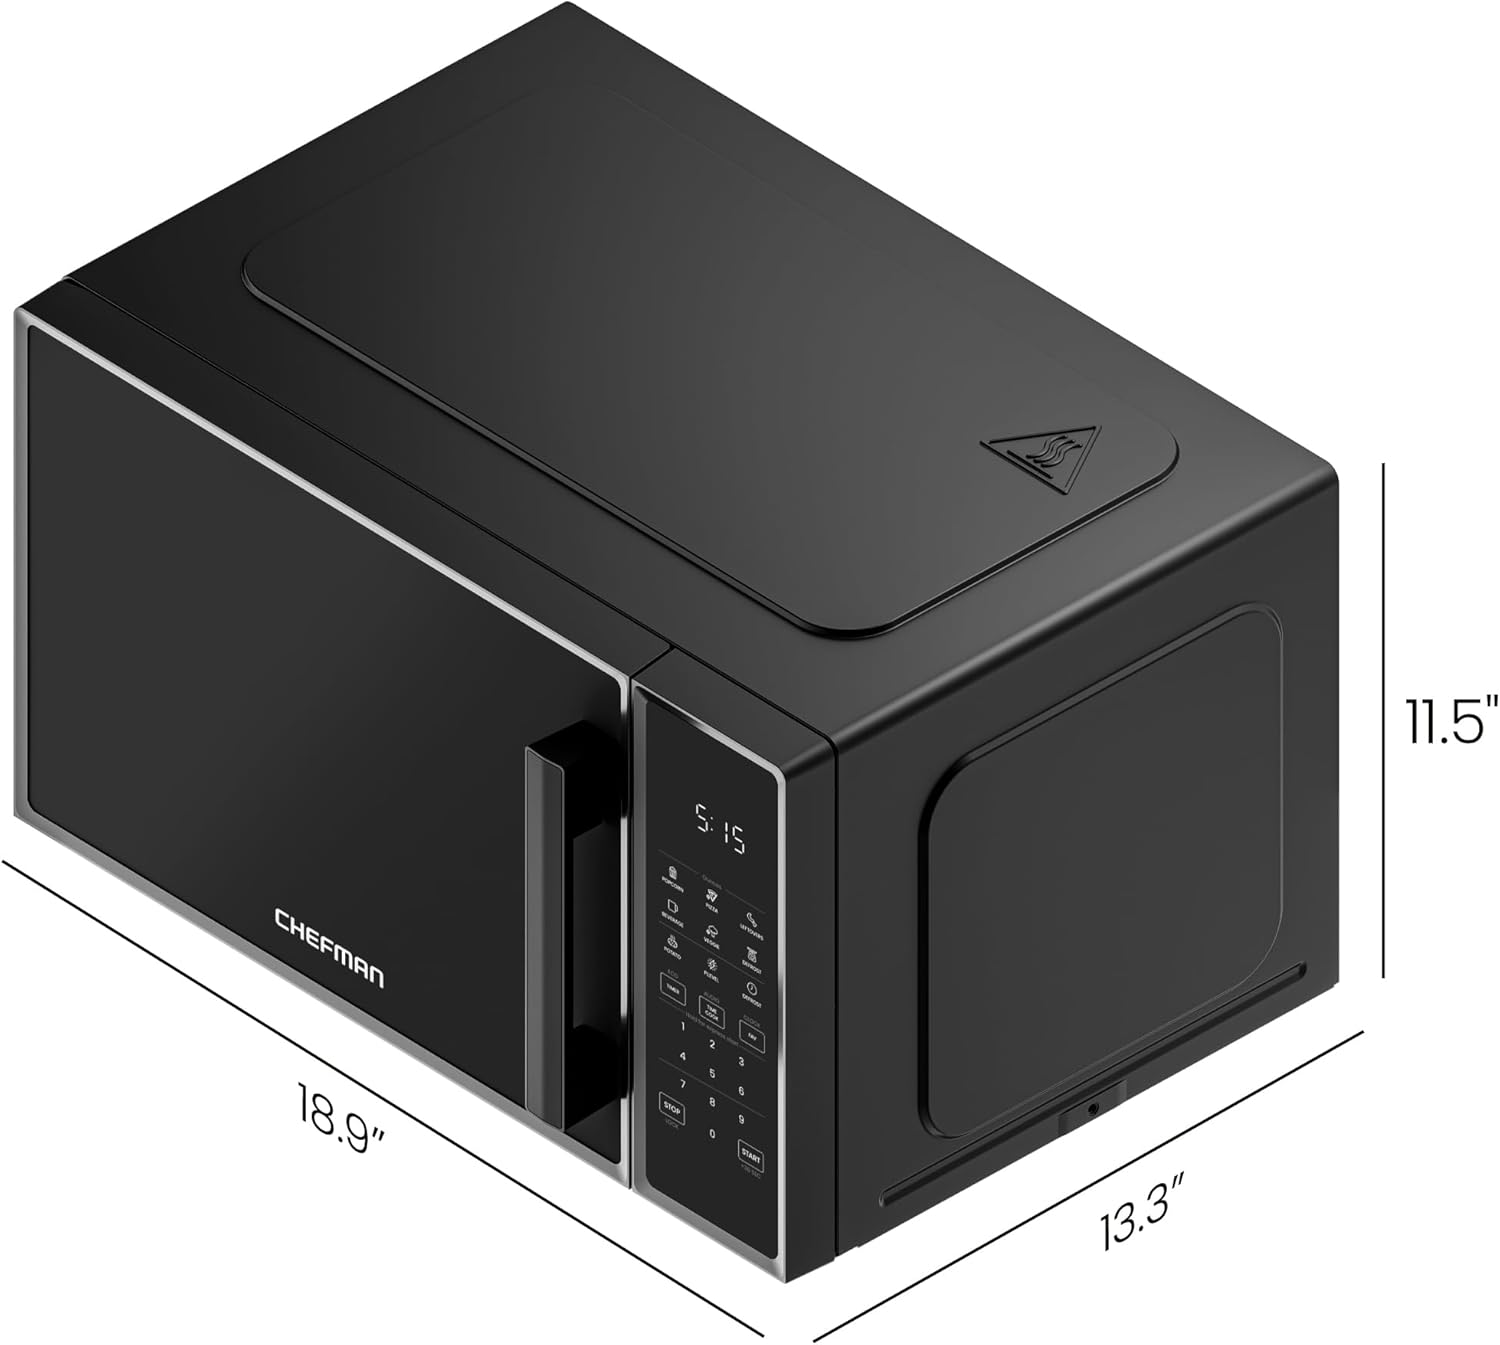
Image 4.1: Product dimensions for proper placement.
5. Operating Instructions
5.1 Setting the Clock
- Press the CLOCK button once.
- Use the number pads to enter the current time (e.g., 1-2-3-0 for 12:30).
- Press the CLOCK button again to confirm.
5.2 Basic Microwave Cooking
- Place food in a microwave-safe container on the glass turntable.
- Close the door securely.
- Press the TIME COOK button.
- Enter the desired cooking time using the number pads (e.g., 1-0-0 for 1 minute).
- To adjust power level (default is 100%): Press P.LEVEL, then use number pads (1-0 for 100%, 5 for 50%, etc.).
- Press START to begin cooking.
5.3 Express Cook Function
For quick cooking, simply press any number key (1-6) to start cooking immediately for that number of minutes at 100% power. For example, pressing '1' will cook for 1 minute.
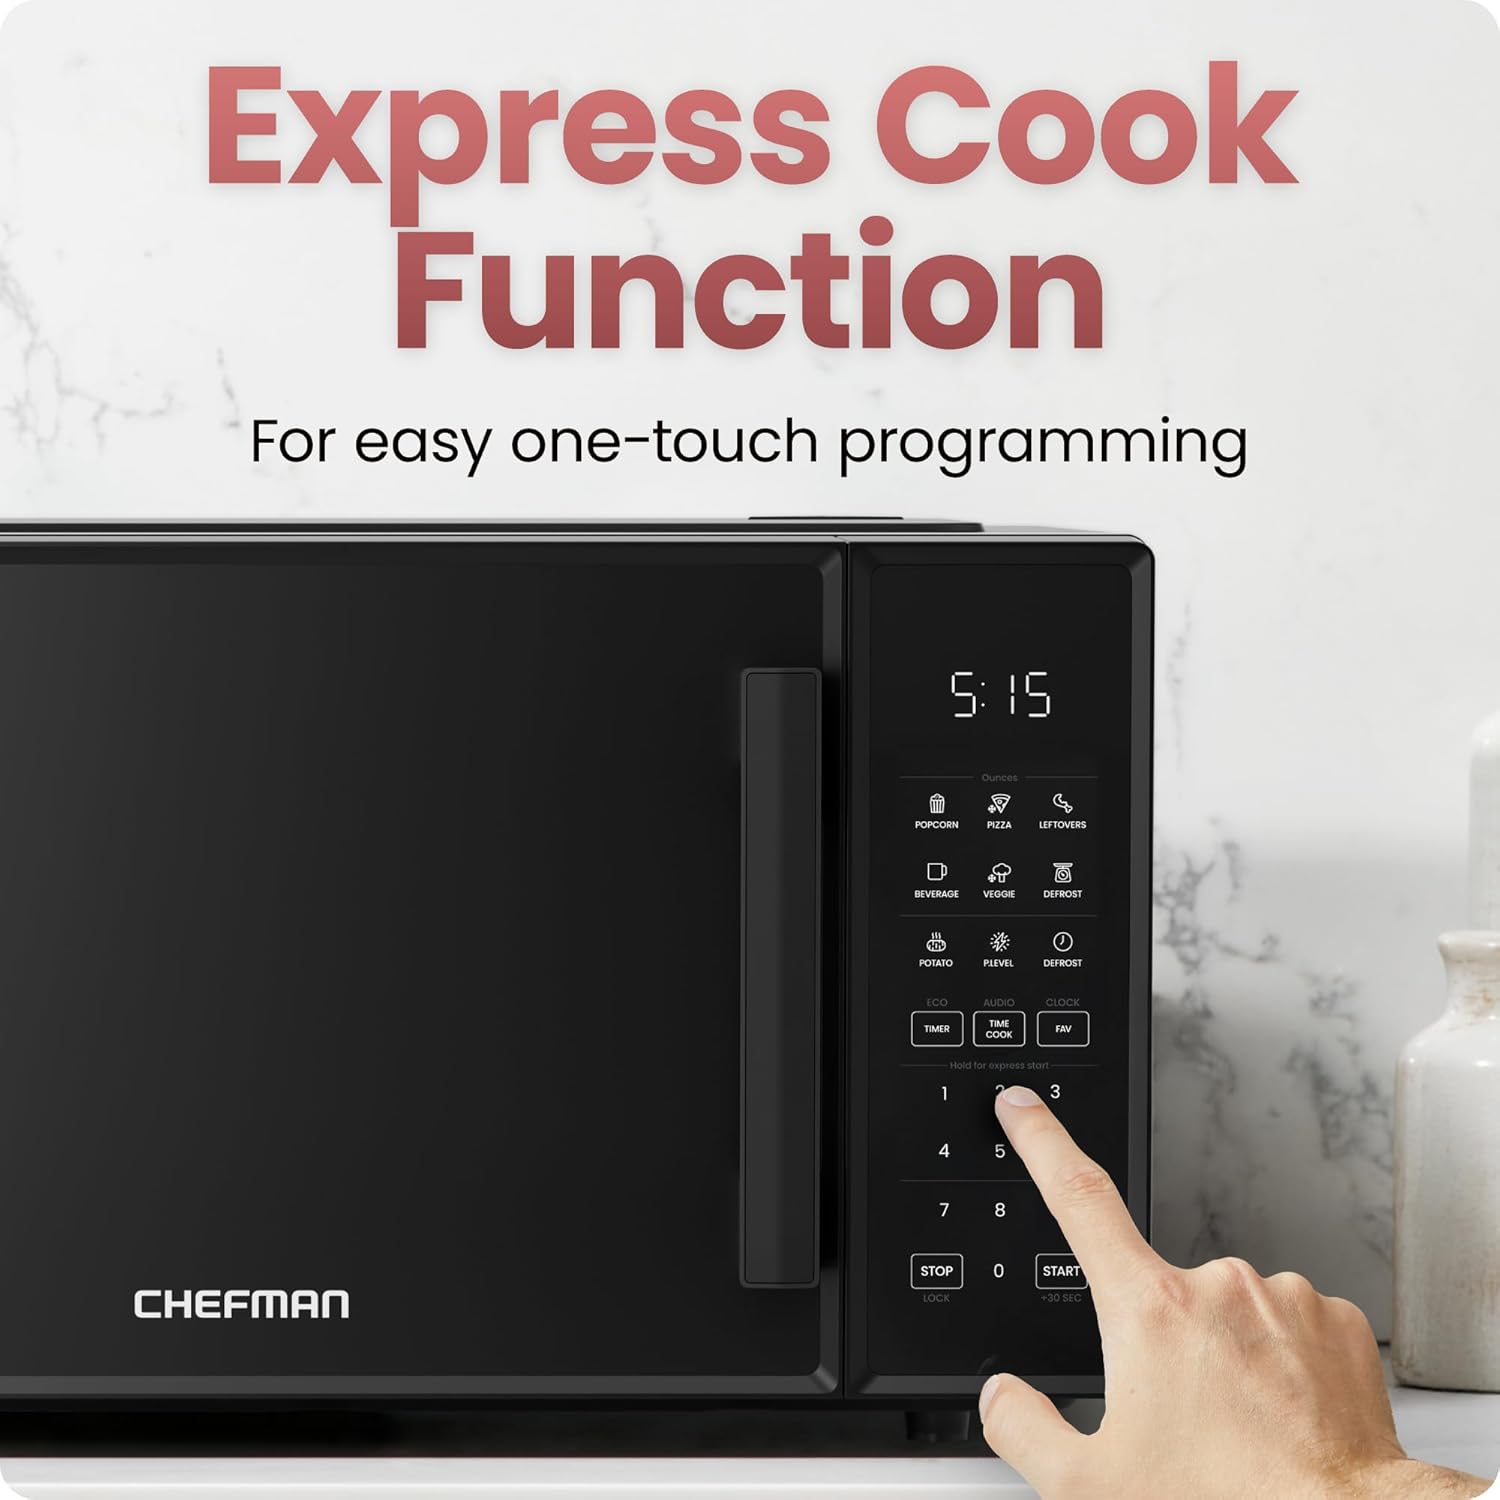
Image 5.1: Using the Express Cook function.
5.4 Preset Cooking Functions
The microwave includes 6 one-touch preset options for common foods:
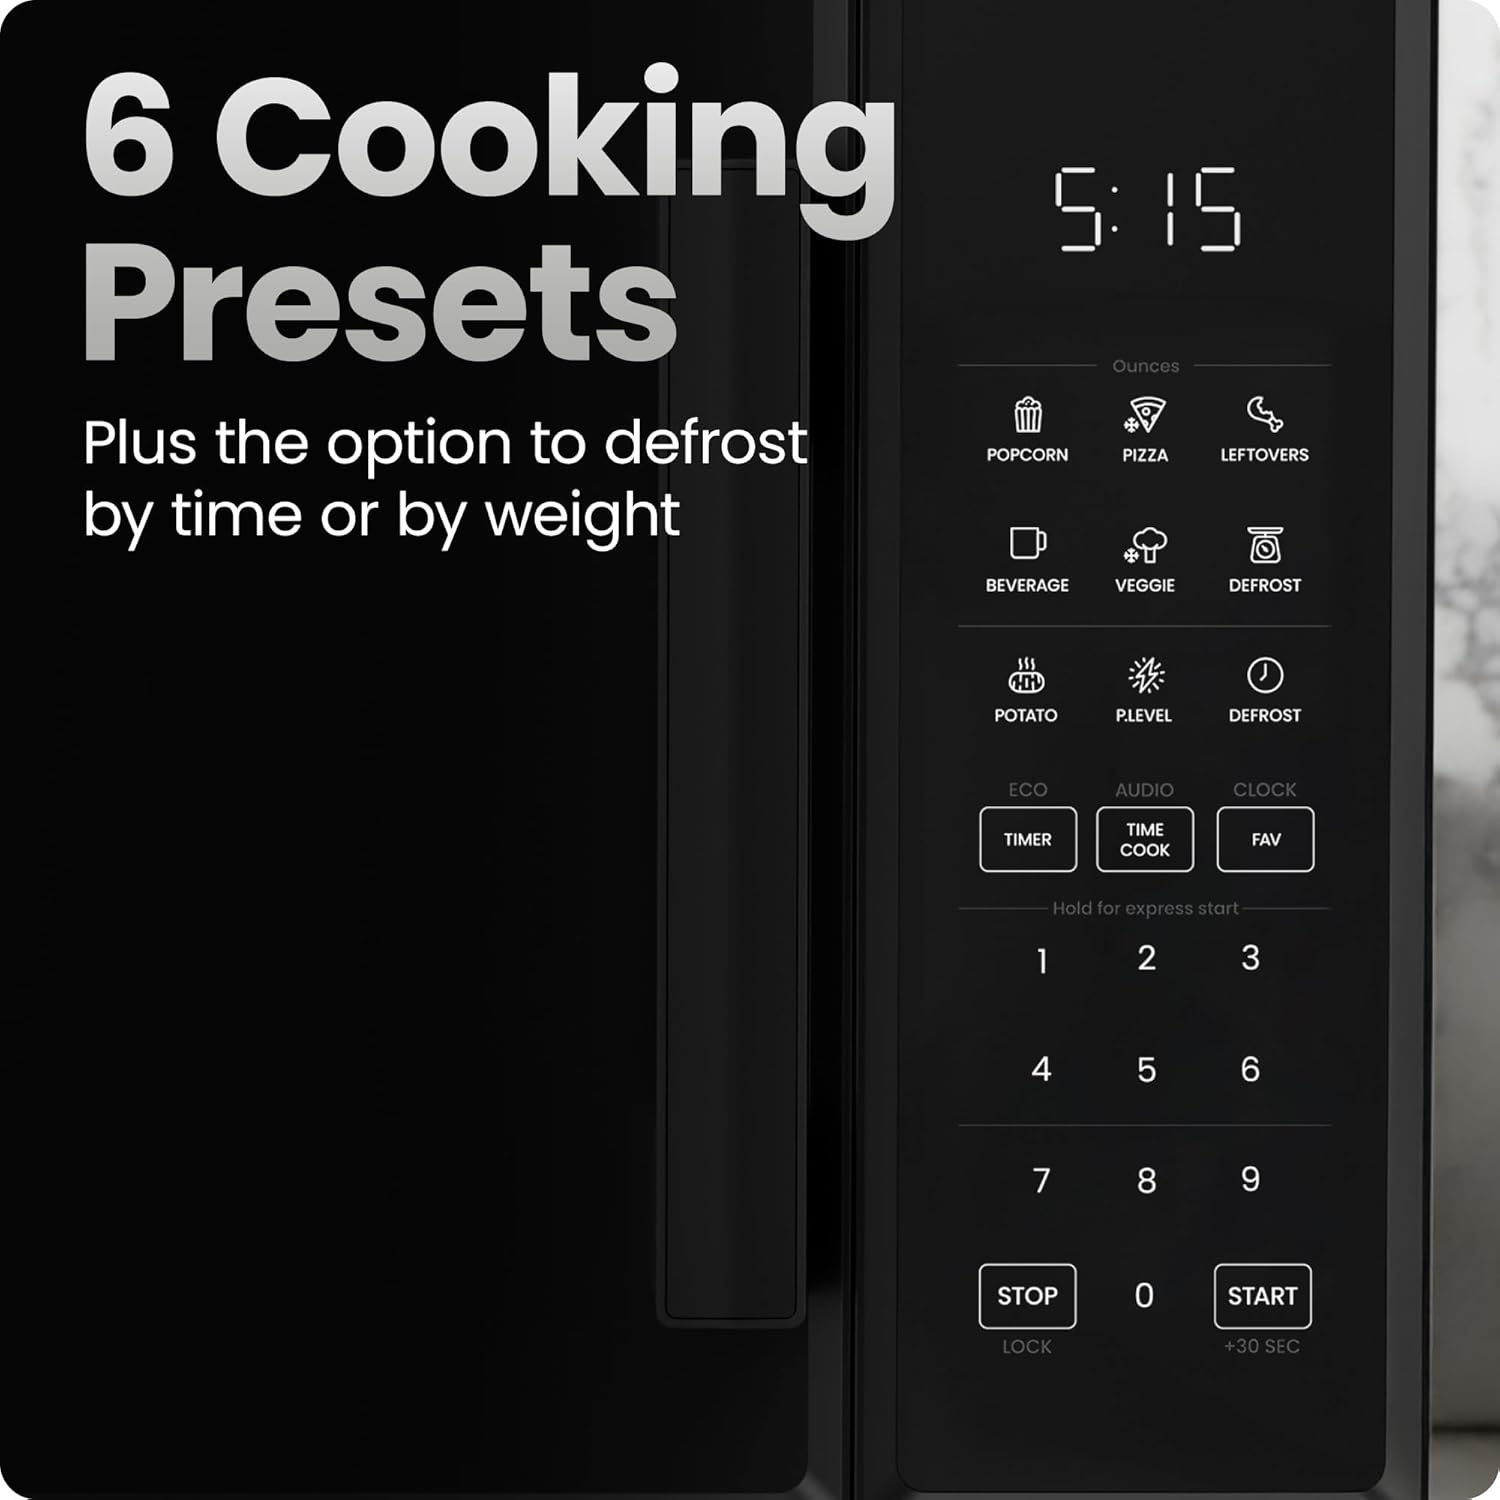
Image 5.2: Control panel with 6 cooking presets.
- Place the food in the oven.
- Press the corresponding preset button (e.g., POPCORN, PIZZA, BEVERAGE, VEGGIE, POTATO, LEFTOVERS).
- The oven will automatically set the appropriate cooking time and power level.
- Press START to begin.
5.5 Defrost Function
The microwave offers defrosting by time or weight.
- Defrost by Weight: Press DEFROST once. Use number pads to enter the weight of the food in ounces. Press START.
- Defrost by Time: Press DEFROST twice. Use number pads to enter the desired defrosting time. Press START.
5.6 Memory Function (FAV)
Program up to three frequently used cooking settings for one-touch access.
- To set: Press FAV, then press a number (1, 2, or 3) to select a memory slot. Enter your desired cooking time and power level (as in Basic Microwave Cooking). Press FAV again to save.
- To use: Press FAV, then the corresponding number (1, 2, or 3). Press START.
5.7 Eco Mode
To save power, the display can be turned off when not in use.
- To activate: Press ECO. The display will turn off after a few seconds of inactivity, showing only the clock.
- To deactivate: Press any button to wake the display, then press ECO again.
5.8 Mute Button (AUDIO)
Silence the microwave's beeping sounds.
- To mute: Press AUDIO. The sound will be turned off.
- To unmute: Press AUDIO again.
5.9 Child Safety Lock (LOCK)
Prevent unintended operation, especially by children.

Image 5.3: Child safety lock feature on the door handle.
- To activate: Press and hold the STOP/LOCK button for 3 seconds. An indicator will appear on the display.
- To deactivate: Press and hold the STOP/LOCK button for 3 seconds again. The indicator will disappear.
6. Maintenance and Cleaning
Regular cleaning and maintenance will ensure the longevity and optimal performance of your microwave oven.
6.1 Exterior Cleaning
Wipe the exterior surfaces with a damp cloth and mild detergent. Avoid abrasive cleaners or harsh chemicals that could damage the finish.
6.2 Interior Cleaning
Clean the interior cavity regularly. For spills, wipe immediately with a damp cloth. For stubborn food residue, place a bowl of water with lemon slices inside and microwave for 2-3 minutes. The steam will loosen the residue, making it easier to wipe clean.

Image 6.1: Easy-clean interior with glass turntable.
6.3 Glass Turntable and Roller Ring
The glass turntable and roller ring can be removed for cleaning. Wash them in warm, soapy water or place them on the top rack of your dishwasher. Ensure they are completely dry and correctly positioned before returning them to the oven.
7. Troubleshooting
If you encounter issues with your microwave oven, refer to the following table for common problems and solutions.
| Problem | Possible Cause | Solution |
|---|---|---|
| Oven will not start | Door not closed properly; Power cord unplugged; Fuse blown or circuit breaker tripped; Child safety lock activated. | Ensure door is firmly closed; Check power cord connection; Reset circuit breaker or replace fuse; Deactivate child safety lock. |
| Food not heating | Incorrect cooking time/power level; Microwave-safe dish not used. | Adjust cooking time and power level; Use only microwave-safe cookware. |
| Turntable not rotating | Turntable or roller ring not positioned correctly; Food too large or obstructing movement. | Reposition turntable and roller ring; Ensure food does not obstruct rotation. |
| Excessive noise during operation | Loose parts; Food container rattling. | Check for loose components; Ensure cookware is stable on the turntable. |
If the problem persists after attempting these solutions, please contact Chefman Customer Support.
8. Specifications
| Specification | Detail |
|---|---|
| Model Number | RJ55-9-V2 |
| Capacity | 0.9 Cubic Feet |
| Wattage | 900 watts |
| Voltage | 120 Volts |
| Product Dimensions (D x W x H) | 13.27" x 18.9" x 11.52" |
| Item Weight | 28.4 Pounds |
| Material | Metal, Plastic |
| Color | Black |
| Installation Type | Countertop |
9. Warranty and Support
This Chefman Countertop Microwave Oven comes with a 1-year assurance provided by Chefman, covering defects in materials and workmanship under normal household use.
For warranty claims, technical support, or further assistance, please visit the official Chefman website or contact their customer service department. You can find more information and products at the Chefman Store.


