
Machenike G3V2PE
Machenike G3V2 Bluetooth Gaming Controller User Manual
Model: G3V2PE
1. Introduction
Welcome to the Machenike G3V2 Bluetooth Gaming Controller user manual. This guide provides detailed instructions on how to set up, operate, and maintain your new gaming controller. The G3V2 controller is designed for a superior gaming experience across multiple platforms, including PC, Nintendo Switch, iOS, and Android devices, featuring advanced Hall Effect technology, customizable RGB lighting, and programmable buttons.
2. Package Contents
- Machenike G3V2 Bluetooth Controller
- Charging Dock (for ST White model)
- USB-C Charging Cable
- 2.4G Wireless Receiver
- User Manual
3. Product Overview

Front view of the Machenike G3V2 Bluetooth Controller, showcasing its translucent design and button layout.

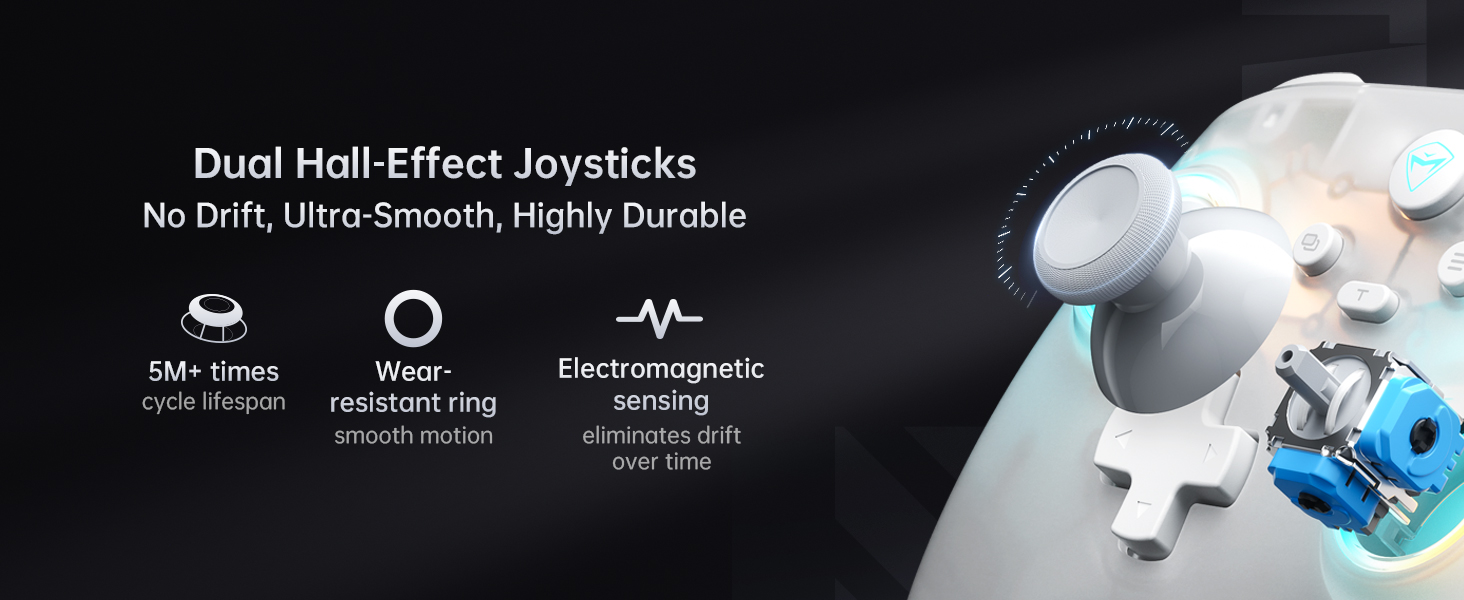
Key features of the Machenike G3V2 controller, highlighting its technical specifications and design elements.
Component Identification
- Left/Right Analog Sticks: Dual Hall-effect joysticks for precise movement.
- D-Pad: Directional pad for navigation and input.
- Action Buttons (A, B, X, Y): Standard gaming input buttons.
- Shoulder Buttons (L1, R1): Top-mounted buttons.
- Triggers (L2, R2): Hall-effect triggers for accurate pressure sensitivity.
- FN Button: Function button for various shortcuts.
- Menu/Options Buttons: For system and game menu navigation.
- M1/M2 Back Buttons: Two customizable programmable buttons on the rear.
- USB-C Port: For wired connection and charging.
- RGB Lighting: Integrated lighting around joysticks and within the controller.
4. Setup
4.1. Charging the Controller
The Machenike G3V2 controller is equipped with a 1000mAh lithium battery. Before first use, or when the battery is low, charge the controller using the provided USB-C cable or the magnetic charging dock (if included with your model).
- Connect the USB-C cable to the controller's USB-C port and to a power source (e.g., PC, USB wall adapter).
- If using the charging dock, simply place the controller onto the dock.
- Charging takes approximately 1.8 to 2 hours for a full charge.
- The RGB lighting on the controller or the dock's RGB indicator will show the charging status (e.g., red for charging, green for fully charged).

The controller features a 1000mAh high-capacity battery for extended playtime.
4.2. Connecting to Devices
The G3V2 controller supports three connection modes: Wired, 2.4GHz Wireless, and Bluetooth.
The Machenike G3V2 supports multiple connection modes for broad compatibility.
Wired Connection (PC/Android TV/Android TV Box)
- Connect the USB-C cable from the controller to a USB port on your PC or compatible device.
- The controller will be automatically recognized and ready for use.
2.4GHz Wireless Connection (PC/Android TV/Android TV Box/Steam Deck/Raspberry Pi 3B)
- Insert the 2.4G wireless receiver into a USB port on your device.
- Press and hold the connection button on the controller (refer to product diagram for location) until the indicator light flashes rapidly.
- The controller will automatically pair with the receiver. Once connected, the indicator light will become solid.
- This mode offers a 1000Hz polling rate for ultra-low latency.
Bluetooth Connection (PC/MacOS/iOS/Android/Nintendo Switch/Tesla)
- For PC/MacOS/Android/iOS:
- Turn on Bluetooth on your device.
- Press and hold the Bluetooth pairing button on the controller (refer to product diagram) until the indicator light flashes rapidly.
- On your device, search for
Related documentsG3V2PE


Ask a question about this manual
Ask about setup, troubleshooting, compatibility, parts, safety, or missing instructions. Manuals+ will review the question and use this page’s manual context to help answer it.