Introduction
The AQQA AQ151-15W Internal Aquarium Filter is designed to provide comprehensive water management for aquariums ranging from 80 to 150 gallons. This submersible unit integrates filtration, water circulation, aeration, and gentle wave-making functions to maintain a healthy and clear aquatic environment for both freshwater and saltwater setups.
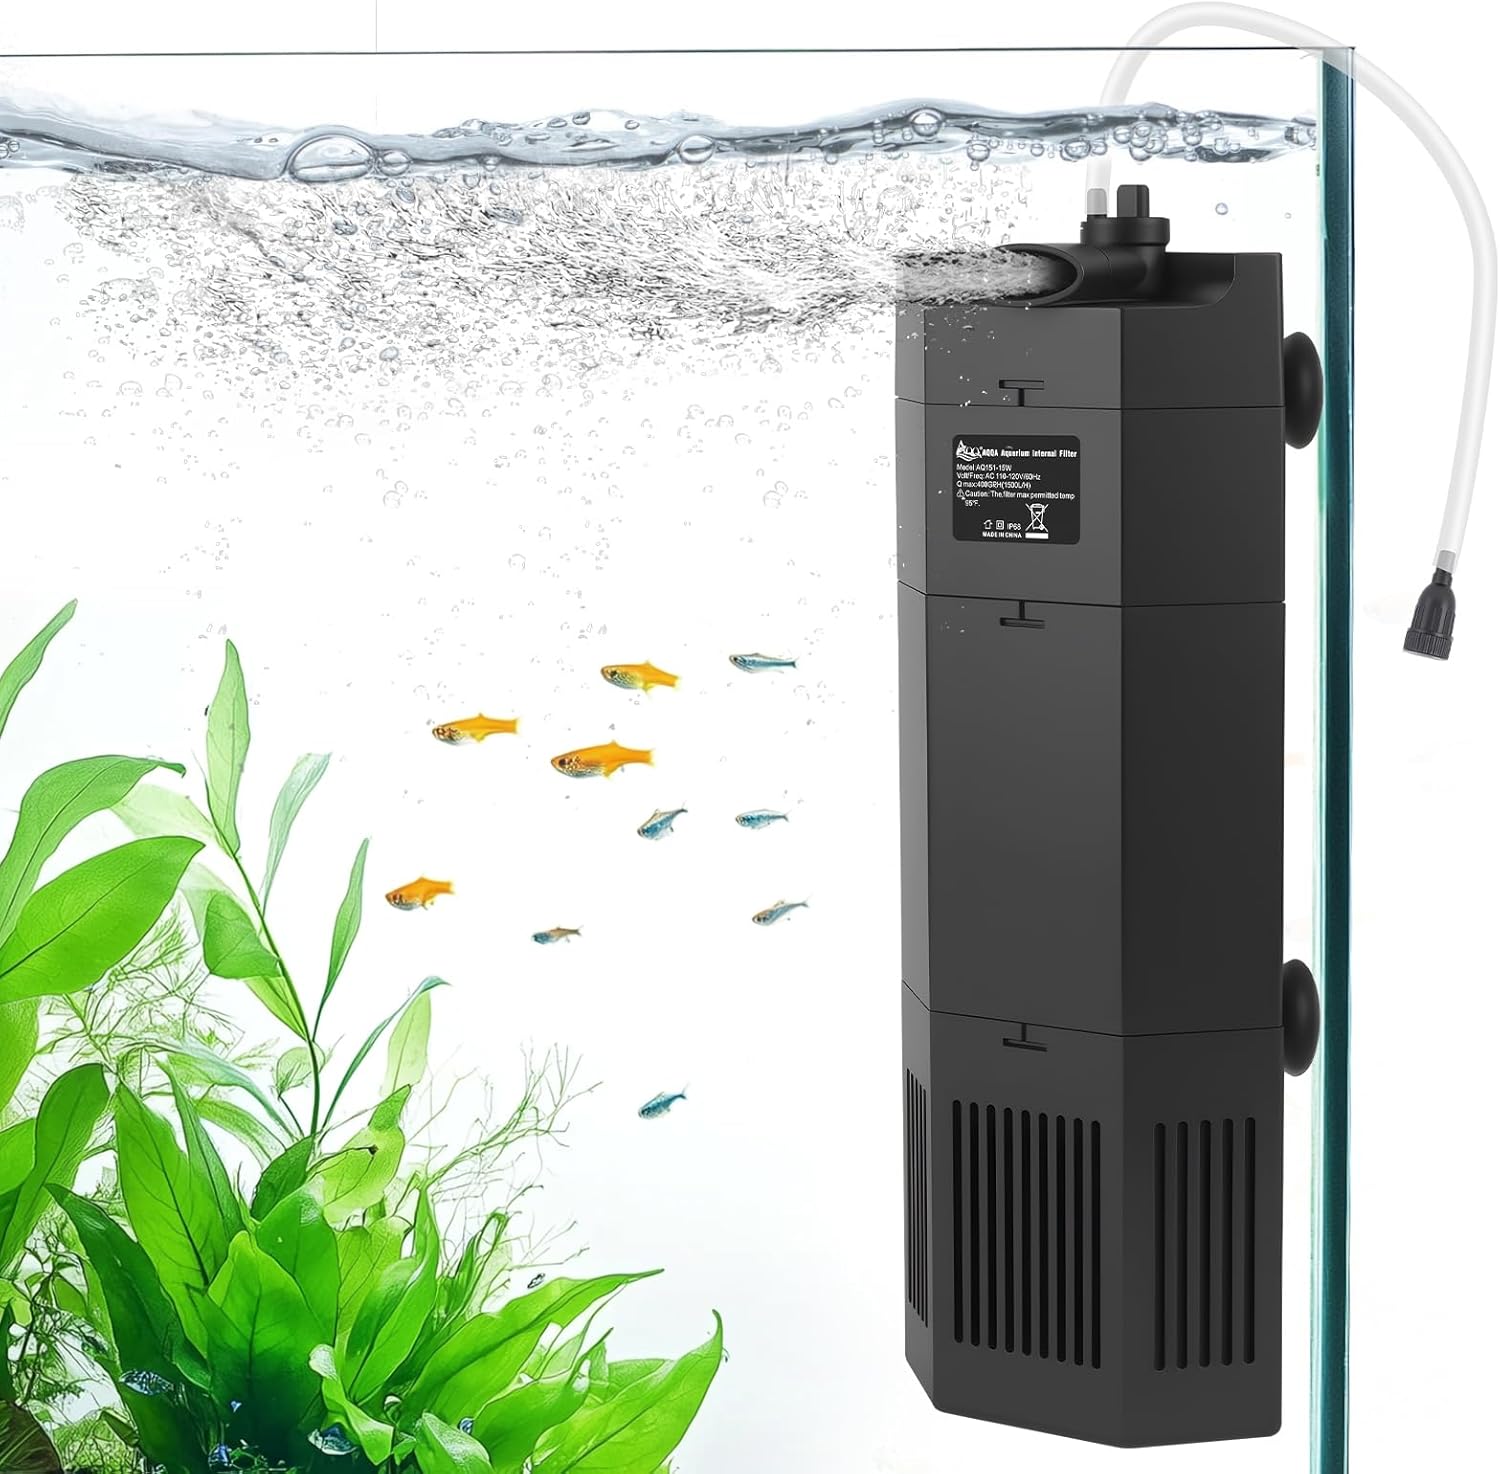
Figure 1: AQQA AQ151-15W Internal Aquarium Filter in operation.
Key Features
- 4-in-1 Multifunctional: Combines filtration, water circulation, aeration, and gentle wave making in one compact unit.
- Quiet Operation: Engineered with low-noise technology for minimal disturbance in any environment.
- Mechanical & Biological Filtration: Utilizes filter sponges for mechanical debris removal and bio ceramic balls for biological filtration, supporting beneficial bacteria.
- Adjustable Water Flow & Air Volume: Customizable settings to suit various fish species and aquarium requirements.
- Space-Saving Corner Design: Designed for discreet placement in the aquarium corner, maximizing space for aquatic life and decorations.

Figure 2: Overview of the filter's multifunctional capabilities.
Package Contents
Upon opening the package, verify that all the following components are present:
- AQQA AQ151-15W Internal Aquarium Filter Unit
- Air tube
- Air volume adjuster
- Filter sponges (pre-installed or separate)
- Bio ceramic balls (pre-installed or separate)
- Suction cups for mounting
- User Manual
Video 1: Unboxing and initial component overview of the AQQA filter.
Setup
- Prepare the Filter: If not already assembled, gently separate the filter sections. Ensure the filter sponges are placed in the lower chambers and the bio ceramic balls are in the middle chamber. Reassemble the sections securely.
- Attach Air Tube and Nozzle: Connect the clear air tube to the small inlet on the top section of the filter. Attach the air volume adjuster to the free end of the air tube. Secure the water outlet nozzle to the main water discharge port.
- Position in Aquarium: Submerge the filter completely in your aquarium water. Use the provided suction cups to firmly attach the filter to the inside corner of the tank. Ensure the water outlet nozzle is positioned to create the desired water movement and aeration.
- Power Connection: Once securely placed and fully submerged, plug the filter into a standard electrical outlet (AC110-120V/60Hz for US models).
Video 2: Demonstrates the assembly and placement of the filter in an aquarium.
Operating Instructions
- Initial Start-up: After plugging in, the filter will immediately begin drawing water and initiating filtration.
- Adjusting Water Flow Rate: The water flow rate can be adjusted by rotating the knob located on the water outlet nozzle. Turn clockwise for reduced flow and counter-clockwise for increased flow.
- Controlling Air Volume: The air volume adjuster on the air tube allows you to control the amount of air bubbles introduced into the water. Rotate it to increase or decrease aeration as needed for your aquatic inhabitants.
- Directing Water Flow: The water outlet nozzle can be swiveled to direct the water flow in different directions, helping to eliminate dead spots and create beneficial water currents.
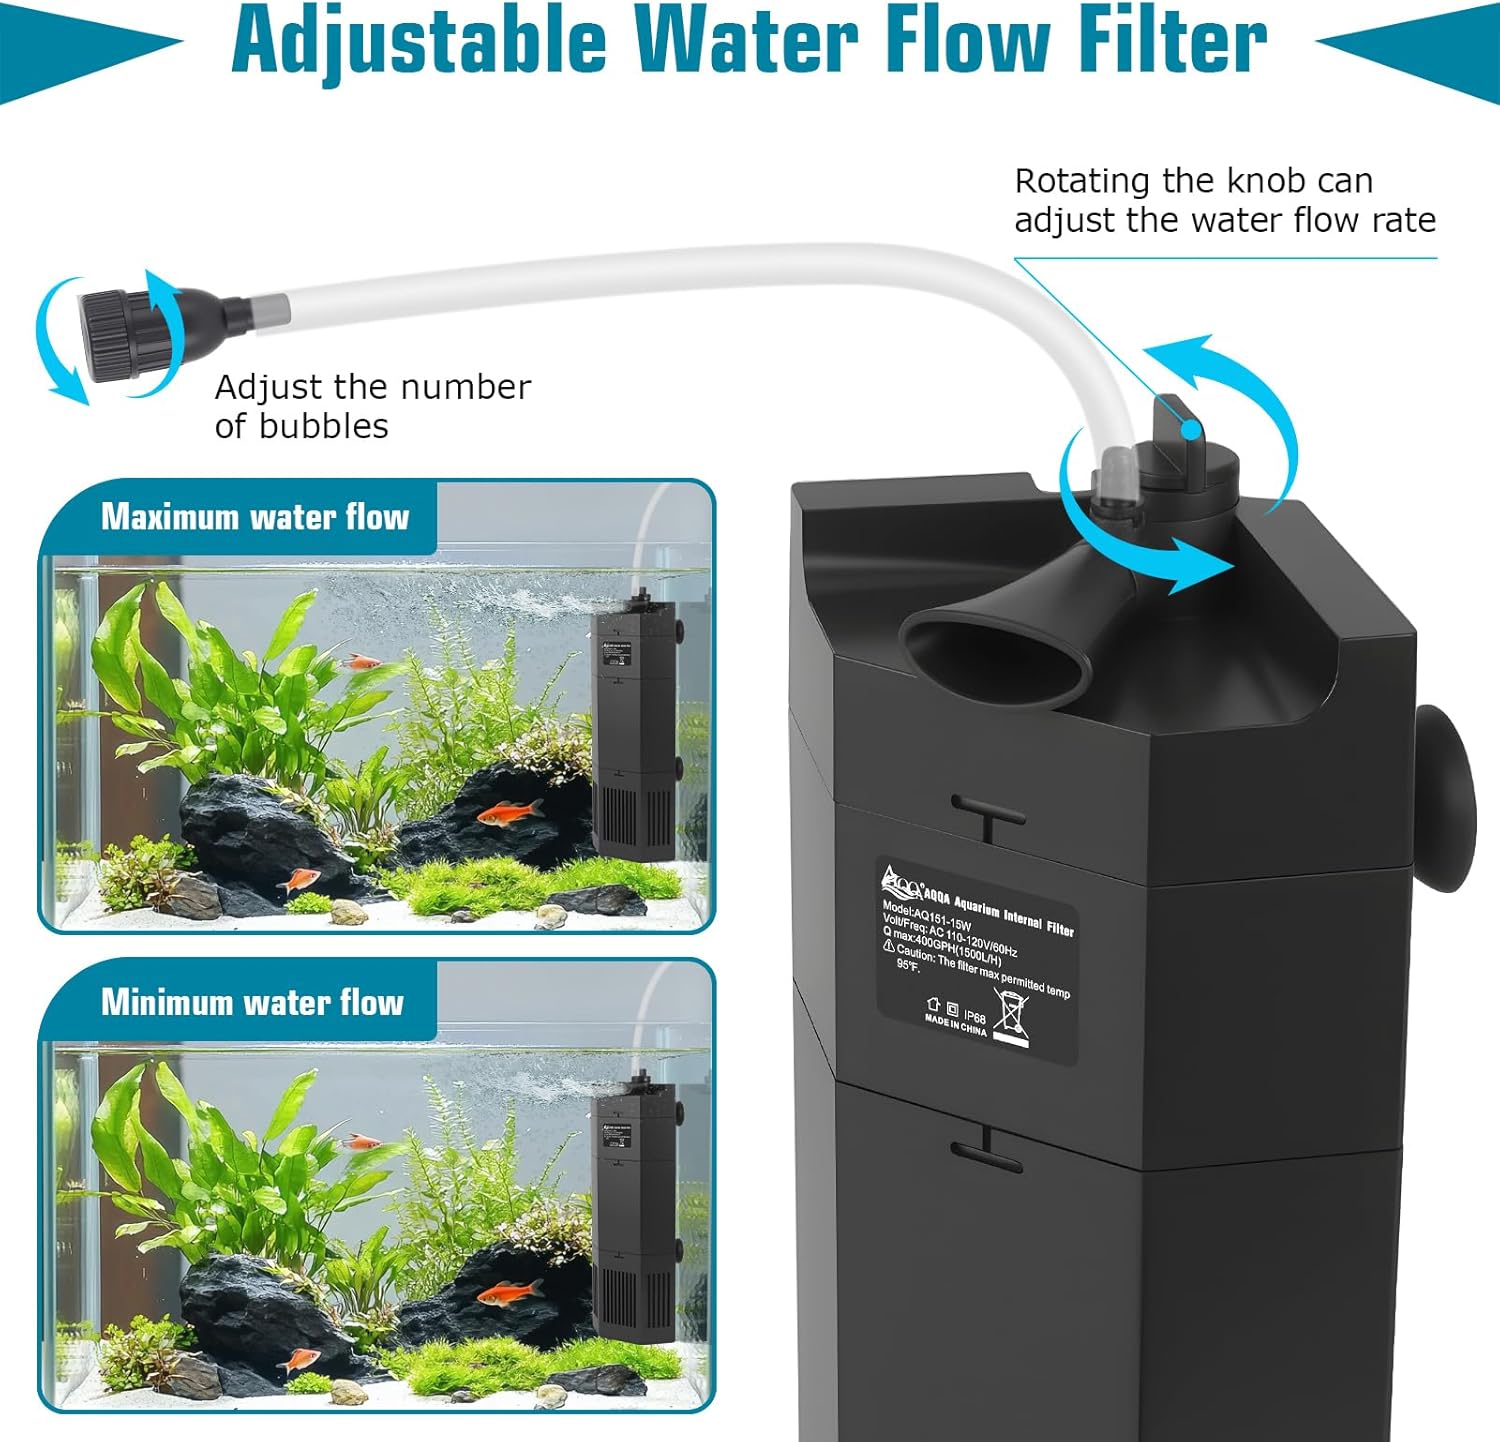
Figure 3: Adjusting water flow and air bubble intensity.
Video 3: A short preview demonstrating the filter's quiet operation.
Maintenance
Regular maintenance is crucial for the optimal performance and longevity of your AQQA filter. It is recommended to clean the filter media and components monthly, or more frequently if water clarity deteriorates.
- Power Off: Always unplug the filter from the power source before performing any maintenance.
- Remove from Tank: Carefully detach the filter from the aquarium wall and remove it from the water.
- Disassemble: Gently pull apart the filter sections to access the filter media. The top section (pump) can also be separated.
- Clean Filter Media: Remove the filter sponges and bio ceramic balls. Rinse them thoroughly using water from your aquarium (during a water change) to avoid killing beneficial bacteria with chlorinated tap water.
- Clean Impeller and Housing: Inspect the impeller for any debris or blockages and clean it. Rinse the motor housing and other plastic components with clean water.
- Reassemble: Place the cleaned media back into their respective chambers. Reassemble the filter sections, ensuring all connections are secure.
- Reinstall: Return the filter to the aquarium, ensuring it is fully submerged, and plug it back into the power source.

Figure 4: Internal structure showing mechanical and biological filtration media.
Troubleshooting
- Filter Not Running:
- Check if the power cord is securely plugged into a functional outlet.
- Ensure the impeller is not jammed by debris. Disassemble and clean the impeller.
- Reduced Water Flow or Aeration:
- Clean the filter media (sponges and ceramic balls) as they may be clogged.
- Check the intake and outlet nozzles for any blockages.
- Ensure the air tube is clear and the air volume adjuster is open.
- Excessive Noise:
- Verify that all filter sections are correctly and securely assembled.
- Clean the impeller and its housing; debris can cause rattling.
- Ensure the suction cups are firmly attached to the aquarium glass to prevent vibration.
Specifications
| Feature | Detail |
|---|---|
| Model Number | GUS-AQ151-15W-US |
| Power | 15W |
| Flow Rate | 400 GPH (Gallons Per Hour) |
| Recommended Aquarium Size | 80-150 Gallons |
| Dimensions (L x W x H) | 12 x 4.8 x 2.5 inches |
| Item Weight | 1.85 pounds |
| Material | Other (Plastic) |
| Color | Black |
| Care Instructions | Clean after Use |

Figure 5: Detailed specifications and size comparison for AQQA filter models.
Warranty and Support
For detailed warranty information, customer service, or technical support regarding your AQQA Aquarium Internal Filter, please refer to the contact details provided in your product packaging or visit the official AQQA website. Keep your purchase receipt for warranty claims.


