
1. Product Overview
This manual provides essential information for the installation and use of the SRJTEK LCD touchscreen replacement, specifically designed for the Samsung Galaxy A16 5G series.
Key Features:
- Compatibility: Exclusively designed for Samsung Galaxy A16 5G models: SM-A166B, SM-A166B/DS, SM-A166P, SM-A166P/DS, SM-A166E, SM-A166E/DS.
- Complete Repair Kit: Includes 1 LCD screen replacement and a set of professional opening tools for a safe and easy replacement process.
- Problem Resolution: Addresses common screen issues such as cracks, dead pixels, touch response problems, color inaccuracies, and non-functional screens.
- Quality Assurance: Each screen undergoes rigorous quality control checks to ensure high performance standards, comparable to original equipment.

Image: The SRJTEK LCD screen replacement for Samsung Galaxy A16 5G, shown alongside the comprehensive set of tools provided for installation, including screwdrivers, prying tools, and a suction cup.
2. Specifications
| Feature | Detail |
|---|---|
| Screen Type | IPS LCD |
| Compatible Models | SM-A166B, SM-A166B/DS, SM-A166P, SM-A166P/DS, SM-A166E, SM-A166E/DS |
| Size | 6.7 inches |
| Resolution | 1080 x 2340 pixels |
| Item Weight | 4.9 ounces |
| Package Dimensions | 7.6 x 4.06 x 1.3 inches |
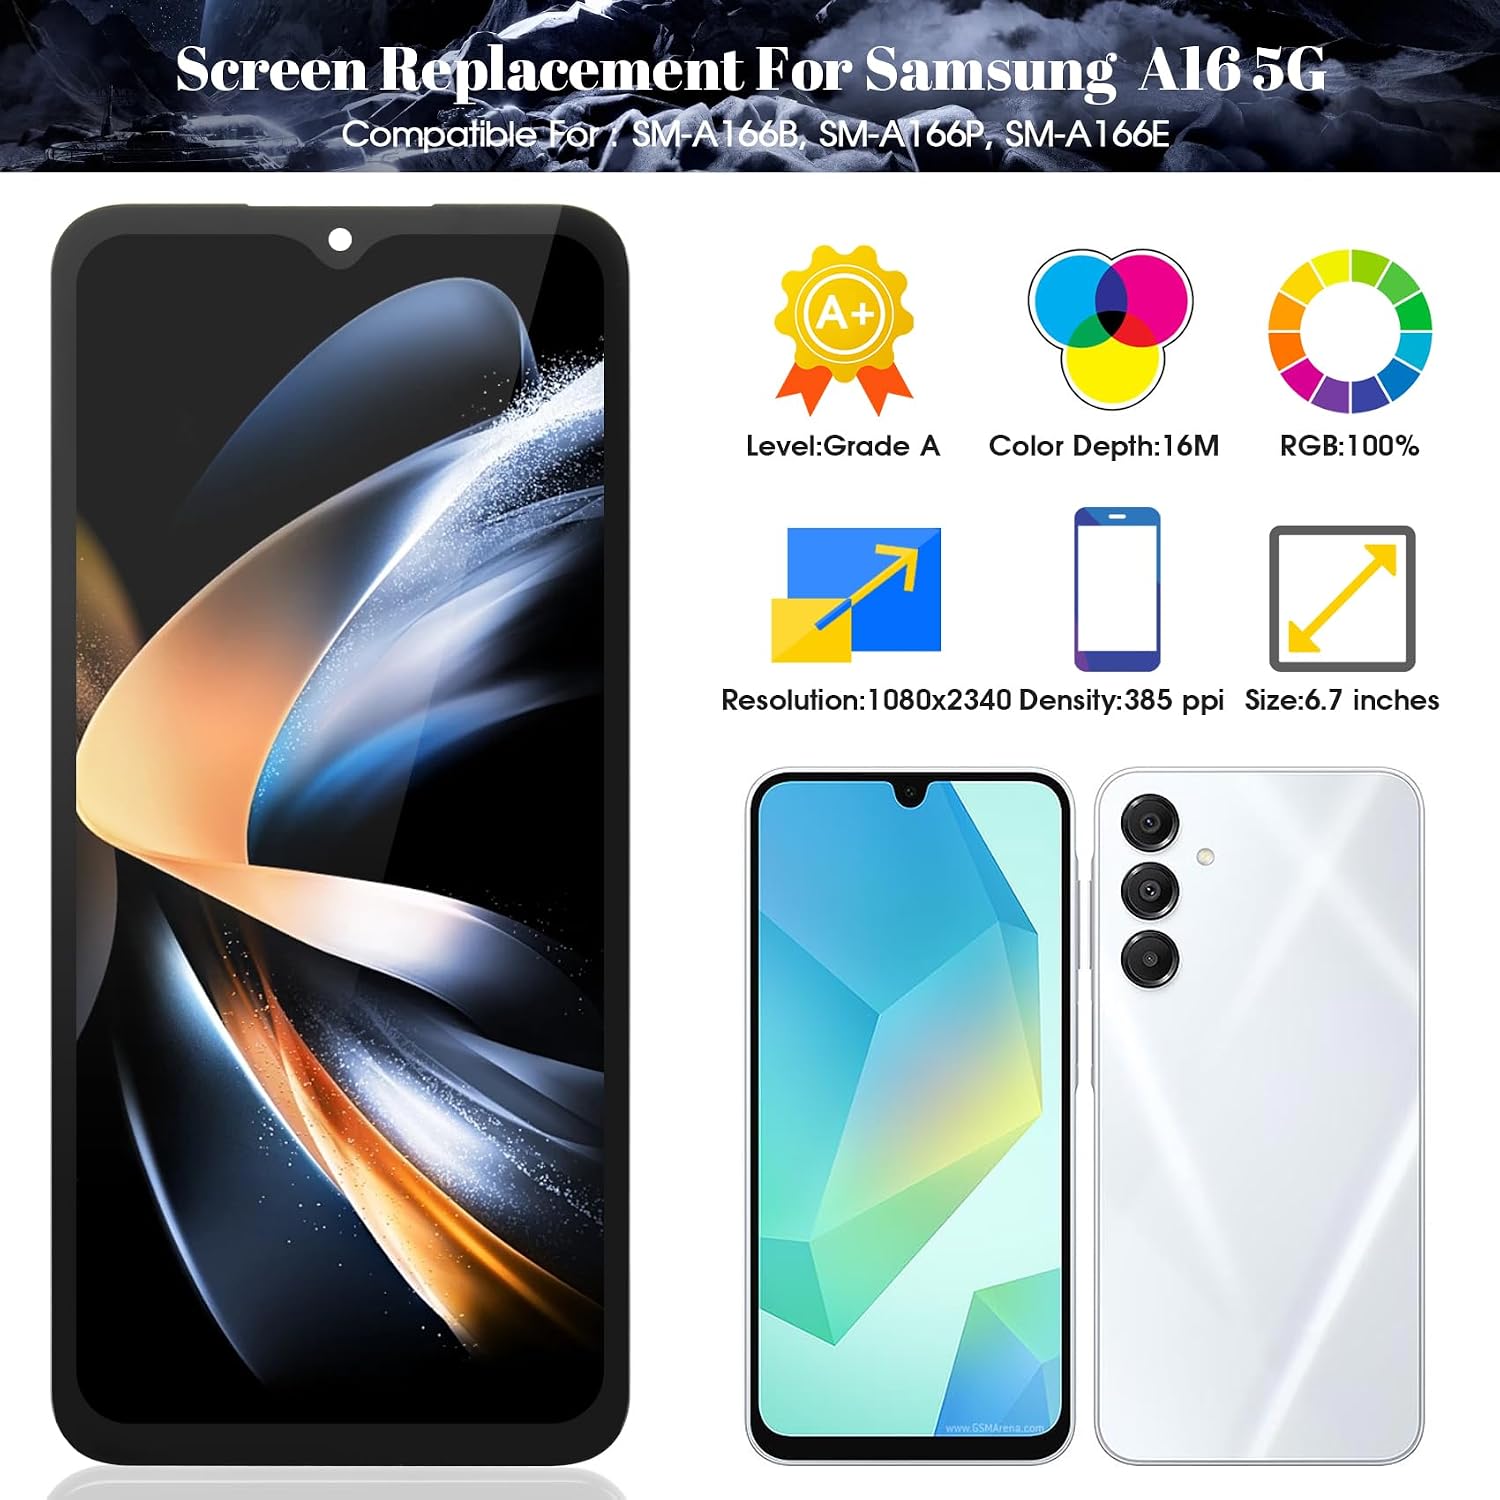
Image: Visual representation of the screen's technical specifications, highlighting its A+ grade quality, 16 million color depth, 1080x2340 resolution, 385 pixels per inch density, and 6.7-inch size.
3. Installation Guide
Replacing a phone screen requires careful handling. We recommend seeking professional expertise for installation to prevent damage to the LCD and IC chip. If performing a DIY installation, please follow these steps diligently.
Important Precautions:
- The screen is fragile; handle with utmost caution.
- Before installing the new screen, ensure to disconnect the battery of your device.
- After installation, connect the new screen and reboot the device for a final functionality test.
- Refer to instructional videos online if you encounter challenges.
Step-by-Step Installation (General Guidance):
- Prepare Your Workspace: Ensure a clean, well-lit, and static-free environment.
- Power Off Device: Completely power off your Samsung Galaxy A16 5G and disconnect the battery.
- Remove Old Screen: Carefully use the provided tools (suction cup, prying tools, screwdrivers) to gently separate the old screen assembly from the phone frame. Be mindful of flex cables.
- Disconnect Cables: Disconnect the display and digitizer flex cables from the motherboard.
- Clean Frame: Remove any adhesive residue or broken glass fragments from the phone frame.
- Test New Screen (Pre-installation): Before fully adhering, connect the new screen's flex cables to the motherboard and briefly reconnect the battery to test display and touch functionality. Disconnect battery again after testing.
- Apply Adhesive: Apply new adhesive around the phone frame where the screen will sit.
- Install New Screen: Carefully align and place the new LCD screen assembly onto the phone frame, ensuring all flex cables are properly connected and not pinched.
- Secure Screen: Gently press the screen into place, ensuring a secure fit.
- Reassemble: Reassemble any other components removed during disassembly.
- Final Test: Reconnect the battery, power on the device, and perform a thorough test of all screen functions.

Image: A visual sequence illustrating the typical steps involved in replacing a smartphone screen, from opening the device to installing the new display, emphasizing the use of specialized tools.

Image: Front and back perspectives of the LCD display module, presented without its frame, showcasing the display panel and the integrated flex cables on the reverse side.
4. Operating the New Screen
Once installed, your new SRJTEK LCD screen replacement will restore full display and touch functionality to your Samsung Galaxy A16 5G. The screen is designed to provide a smooth and responsive user experience.
Expected Performance:
- Vibrant Display: Enjoy clear and vivid visuals for all your content, including browsing and high-definition video watching.
- Responsive Touch: Experience accurate and immediate touch response across the entire screen surface.
- Resolution: The 1080 x 2340 pixel resolution ensures sharp images and text.
Note: After replacing the screen, certain functions like fingerprint recognition may no longer be available if they were integrated into the original screen assembly. Please consider this before purchase and installation.

Image: A close-up view of the front of the LCD screen replacement, showcasing the display area and the notch for the front camera.
5. Maintenance and Care
To ensure the longevity and optimal performance of your new screen, follow these simple maintenance guidelines:
- Cleaning: Use a soft, lint-free cloth, slightly dampened with water or a screen-safe cleaner, to wipe the screen. Avoid harsh chemicals or abrasive materials.
- Protection: Consider using a screen protector and a protective case for your device to guard against scratches and impacts.
- Handling: As the screen is made of glass, avoid dropping the device or subjecting it to excessive pressure.
- Temperature: Avoid exposing the device to extreme temperatures, which can affect screen performance and lifespan.

Image: A side profile view of the premium quality LCD screen, highlighting its thin design and smooth finish.
6. Troubleshooting
If you encounter any issues after installing your new screen, please refer to the following common troubleshooting tips:
- No Display or Flickering:
- Ensure all flex cables are securely connected to the motherboard.
- Verify the battery is properly connected and charged.
- Perform a hard reset of your device.
- Touch Not Responding:
- Check the digitizer flex cable connection.
- Ensure there is no debris or foreign objects between the screen and the frame.
- Reboot the device.
- Color Issues or Dead Pixels:
- If these issues are present immediately after installation and were not caused by physical damage, contact customer support for assistance.
If troubleshooting steps do not resolve the issue, or if you discover any damage or defects that affect normal use not caused by human intervention, please contact our customer service team for support.
7. Warranty and Customer Support
SRJTEK is committed to providing high-quality products and excellent customer service.
Warranty Information:
- If any functional issues arise that are not due to human intervention or damage, we promise to replace the screen with a brand-new one.
- Each unit undergoes thorough quality checks before dispatch to ensure product quality.
Customer Support:
Should you encounter any issues during your purchase, installation, or use of the product, our dedicated customer service team is ready to provide support. We offer complimentary after-sales service for any defects or issues affecting normal use.
For assistance, please refer to the contact information provided with your purchase or visit the SRJTEK store on Amazon: