
1. Introduction
This manual provides essential information for the safe and efficient operation, installation, and maintenance of your Haier 8 Kg 5 Star Fully Automatic Top Load Washing Machine, model ETL80-AES5. Please read these instructions carefully before using the appliance and retain them for future reference.

Image 1.1: Front view of the Haier ETL80-AES5 Washing Machine.
2. Safety Information
For your safety and to ensure proper operation, always adhere to the following precautions:
- Ensure the washing machine is installed on a stable, level surface to prevent vibration and noise.
- Connect the appliance to a grounded power outlet with the correct voltage (220 Volts).
- Do not allow children to play with or operate the washing machine.
- Keep flammable materials away from the appliance.
- Do not wash items that have been cleaned with, washed in, soaked in, or spotted with combustible or explosive substances such as gasoline, kerosene, or paint thinner.
- Unplug the washing machine from the power supply before cleaning, performing maintenance, or if it will be unused for an extended period.
- Do not open the lid during operation, especially during the spin cycle.
- In case of a malfunction, switch off the appliance and disconnect it from the power supply. Contact qualified service personnel.
3. Product Features
The Haier ETL80-AES5 washing machine incorporates several features designed for efficient and effective laundry care:
3.1 Oceanus Wave Drum
The Oceanus Wave Drum design creates powerful water flow for thorough cleaning while being gentle on fabrics, minimizing wear and tear.

Image 3.1: The Oceanus Wave Drum design for effective washing.
3.2 Magic Filter
The integrated Magic Filter efficiently collects lint and debris from your laundry, ensuring cleaner clothes and preventing clogs in the drain system. Regular cleaning of the filter is recommended for optimal performance.
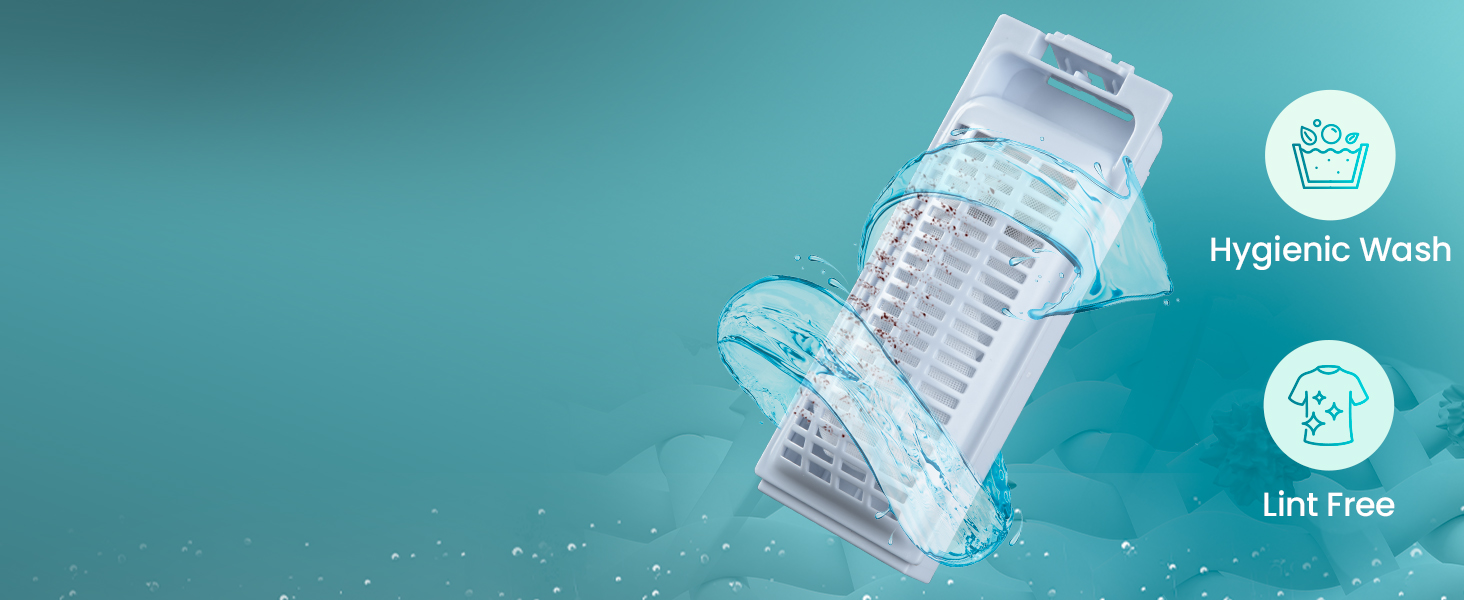
Image 3.2: The Magic Filter for efficient lint collection.
3.3 8 Wash Programs
The washing machine offers 8 specialized wash programs to cater to various fabric types and cleaning needs. These programs optimize water usage, temperature, and spin speed for best results.
- Wash: Standard wash cycle.
- Rinse: For additional rinsing.
- Spin: For water extraction.
- Tub Dry: Helps dry the inner tub to prevent mold and odors.
- Smart: Automatically detects load and optimizes settings.
- Soak: For heavily soiled items requiring pre-soaking.
- Delicate: Gentle cycle for sensitive fabrics.
- Quick: A fast wash cycle for lightly soiled clothes (15 minutes).
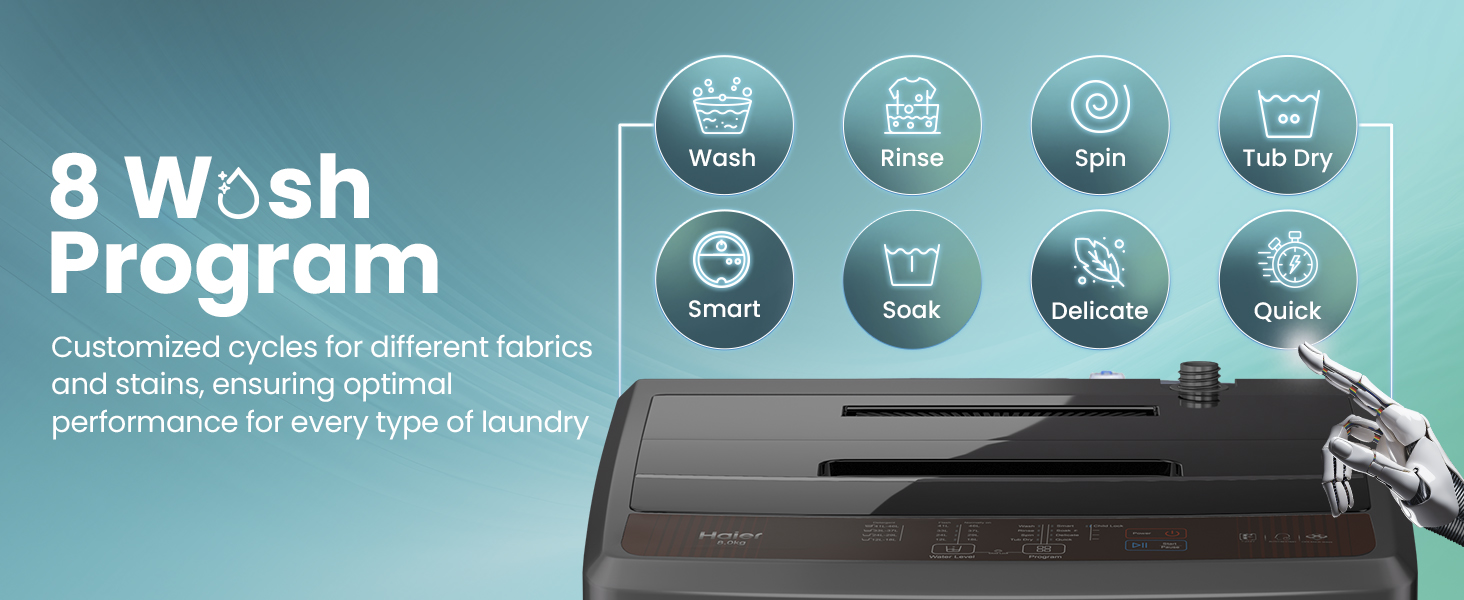
Image 3.3: Overview of the 8 wash programs on the control panel.
3.4 Other Key Features
- Fuzzy Logic: Automatically detects the laundry load and adjusts water level and wash time for optimal performance.
- Near Zero Pressure (NZP): Ensures the washing machine operates efficiently even with low water pressure (as low as 0.01MPA).
- Auto Restart: In case of a power outage, the machine resumes the wash cycle from where it left off once power is restored.
- Child Lock: Prevents accidental changes to settings during operation.
- 5 Star Energy Rating: Indicates high energy efficiency, reducing electricity consumption.
4. Installation Guide
Proper installation is crucial for the safe and efficient operation of your washing machine. Follow these steps carefully:
4.1 Unpacking
- Carefully remove all packaging materials.
- Inspect the machine for any damage incurred during transit. If damage is found, do not install or operate the machine and contact your dealer.
- Ensure all included accessories are present: Drain Hose, Fill Hose, Power Cord.
4.2 Location Requirements
- Place the washing machine on a firm, level floor capable of supporting its weight (28 kg dry weight, plus water and laundry).
- Avoid direct sunlight or locations with extreme temperatures.
- Ensure adequate ventilation around the machine.
- Maintain a minimum clearance of 10 cm from walls or other objects.
4.3 Leveling the Machine
- Use a spirit level to check if the machine is perfectly level.
- Adjust the leveling feet at the bottom of the machine by turning them clockwise or counter-clockwise until the machine is stable and level.
- Ensure all four feet are firmly on the ground to prevent excessive vibration during operation.
4.4 Water Supply Connection
- Connect the fill hose to the water inlet valve at the back of the washing machine and to a cold water tap.
- Ensure all connections are tight to prevent leaks. Do not overtighten.
- Open the water tap fully to check for leaks.
4.5 Drain Hose Installation
- Position the drain hose into a standpipe or over the edge of a sink.
- Ensure the drain hose is securely fixed to prevent it from dislodging during the drain cycle.
- The height of the drain outlet should be between 80 cm and 100 cm from the floor.
4.6 Power Connection
- Plug the power cord into a dedicated, grounded 220V AC power outlet.
- Do not use extension cords or adapters.
- Ensure the power cord is not pinched or damaged.
5. Operating Instructions
Follow these steps to operate your Haier washing machine:
5.1 Preparing Laundry
- Sort laundry by fabric type, color, and degree of soiling.
- Empty pockets, close zippers, and fasten hooks.
- Place delicate items in a mesh laundry bag.
- Do not overload the machine; the maximum capacity is 8 kg.
5.2 Adding Detergent and Softener
- Add the appropriate amount of detergent to the detergent dispenser. Refer to detergent packaging for dosage recommendations.
- If using fabric softener, add it to the designated softener compartment.
5.3 Selecting a Wash Program
- Press the Power button to turn on the machine.
- Load the laundry into the drum and close the lid.
- Use the Program button to select the desired wash cycle (e.g., Wash, Rinse, Spin, Tub Dry, Smart, Soak, Delicate, Quick).
- The machine will automatically detect the water level and adjust settings for the selected program (Fuzzy Logic).
- Press the Start/Pause button to begin the wash cycle.
Note: For specific program details, refer to the "Product Features" section (3.3 8 Wash Programs).
5.4 Child Lock Function
To activate the Child Lock, press and hold the designated Child Lock buttons (refer to your control panel for specific button combination, usually two buttons pressed simultaneously) for a few seconds until the indicator light appears. This prevents accidental changes to settings during operation. To deactivate, repeat the process.
6. Maintenance
Regular maintenance ensures the longevity and optimal performance of your washing machine.
6.1 Cleaning the Magic Filter
- It is recommended to clean the Magic Filter after every few washes or when you notice excessive lint.
- Open the lid and locate the Magic Filter, usually positioned on the side of the drum.
- Remove the filter by pulling it upwards or unlatching it (refer to the diagram on the filter itself if available).
- Open the filter and remove any accumulated lint and debris.
- Rinse the filter under running water to clean it thoroughly.
- Reinsert the clean filter back into its position until it clicks securely.
6.2 Cleaning the Detergent Dispenser
- Periodically remove the detergent dispenser drawer.
- Rinse it under warm water to remove any detergent residue or mold buildup.
- Clean the housing of the dispenser with a damp cloth.
- Reinsert the dispenser drawer.
6.3 Cleaning the Exterior
- Wipe the exterior surfaces of the washing machine with a soft, damp cloth.
- Do not use abrasive cleaners, solvents, or harsh chemicals, as these can damage the finish.
6.4 Tub Cleaning
- Use the "Tub Dry" program regularly to help prevent mold and mildew growth inside the drum.
- For a deeper clean, use a washing machine cleaner or a mixture of vinegar and baking soda with an empty hot wash cycle.
7. Troubleshooting
Before contacting service, refer to the following table for common issues and their solutions:
| Problem | Possible Cause | Solution |
|---|---|---|
| Machine does not start | Power cord not plugged in; Lid not closed properly; Water supply off; Program not selected. | Check power connection; Ensure lid is fully closed; Turn on water supply; Select a program and press Start/Pause. |
| No water filling | Water tap closed; Water inlet hose kinked; Water pressure too low. | Open water tap; Straighten hose; Check household water pressure (NZP feature helps with low pressure). |
| Machine vibrates excessively | Machine not level; Shipping bolts not removed (if applicable); Laundry unevenly distributed. | Adjust leveling feet; Ensure shipping bolts are removed (refer to installation); Redistribute laundry evenly. |
| Water not draining | Drain hose kinked or blocked; Drain filter clogged. | Check and clear drain hose; Clean the Magic Filter. |
| Lid cannot be opened during operation | Safety lock engaged during wash/spin cycle. | This is normal. Wait until the cycle finishes and the lid unlocks automatically. |
8. Technical Specifications
Detailed specifications for the Haier ETL80-AES5 washing machine:
| Specification | Value |
|---|---|
| Brand | Haier |
| Model | ETL80-AES5 |
| Capacity | 8 Kilograms |
| Installation Type | Freestanding |
| Special Features | Balance clean Pulsator, Magic filter, NZP, Oceanus Wave Drum |
| Colour | Brown Grey |
| Control Console | Push Button |
| Access Location | Top Load |
| Voltage | 220 Volts |
| Included Components | Drain Hose, Fill Hose, Power Cord |
| Item Weight | 28 kg |
| Product Dimensions (LxWxH) | 54 x 52 x 93.5 Centimeters |
| Energy Rating | 5 Star |
| Spin Speed | 780 RPM |

Image 8.1: Product dimensions and energy efficiency label.
9. Warranty and Support
Your Haier ETL80-AES5 washing machine comes with a comprehensive warranty:
- Product Warranty: 2 years on the product.
- Motor Warranty: 10 years on the motor.
For warranty claims, technical assistance, or service requests, please contact Haier customer support. Ensure you have your product model number (ETL80-AES5) and purchase details available.
Manufacturer: HAIER APPLIANCES INDIA PVT LTD
Email ID: info@haierindia.com
Service Network: Haier offers support through 800+ service centers and 3000+ technicians across 19000+ pincodes and 170+ locations.


