
1. Introduction
This manual provides essential instructions for the safe operation, setup, and maintenance of your Authticar K170 UH-60 Black Hawk Remote Control Helicopter. Please read this manual thoroughly before operating the helicopter to ensure proper function and to prevent damage or injury.
The K170 UH-60 is a high-simulation remote control helicopter designed with aerodynamic principles for stable flight. It features a 4-channel control system, 6-axis gyroscope, brushless motor, and altitude hold function, making it suitable for both beginners and experienced users.

Image: The Authticar K170 UH-60 Black Hawk Remote Control Helicopter with its remote control, charging cables, spare parts, and landing pad.
2. Safety Precautions
Always prioritize safety during operation. Failure to follow these guidelines may result in injury or damage to the product.
- Age Recommendation: This product is recommended for users 16 years and up.
- Flight Environment: Operate the helicopter in open, clear areas, away from people, animals, buildings, and power lines. Avoid flying in strong winds.
- Pre-Flight Check: Ensure all parts are securely attached and the battery is fully charged before each flight.
- Battery Safety: Use only the provided charger and battery. Do not overcharge or puncture the battery. Disconnect the battery after use.
- Signal Loss Protection: The helicopter features a signal loss anti-crash function. If the remote control signal is lost, the aircraft will maintain its current altitude for 2 seconds and then slowly land to ensure safety. It can be reconnected within the controllable range.
- Emergency Stop: In case of an emergency or collision, press both control sticks simultaneously to cut power to the blades.

Image: The K170 helicopter demonstrating its signal loss anti-crash function, which allows for a controlled descent if communication is interrupted.
3. Package Contents
Verify that all items listed below are included in your package:
- 1 x Helicopter (K170 UH-60)
- 1 x Remote Control
- 1 x Lithium Battery (3.8V 800mAh)
- 4 x Main Propellers (spare)
- 1 x Tail Propeller (spare)
- 1 x Main Gear (spare)
- 1 x USB Charger
- 1 x Screwdriver
- 1 x Wrench
- 1 x Display Stand
- 1 x Landing Pad
- 1 x User Manual

Image: A visual representation of all components included in the product package.
4. Components Overview
4.1 Helicopter Features
- High-Simulation Design: Scaled-down replica of the UH-60L Black Hawk.
- Aerodynamic Blades: Designed for strong power and self-stability.
- Brushless Motor: 1106 outward-rotating brushless main motor for efficient power.
- Coreless Tail Motor: 720 coreless tail motor.
- 6-Axis Gyroscope: Provides stable flight, especially beneficial for beginners.
- Air Pressure Altitude Hold: Maintains current altitude for stable hovering.
- Signal Lights: High brightness, strong penetration, and clear flashing for night flights.
- Articulated Structure: Hinged structure to alleviate complex alternating loads and improve stability.
- 2G Digital Servo: Fast response, high precision, and good flight feel.
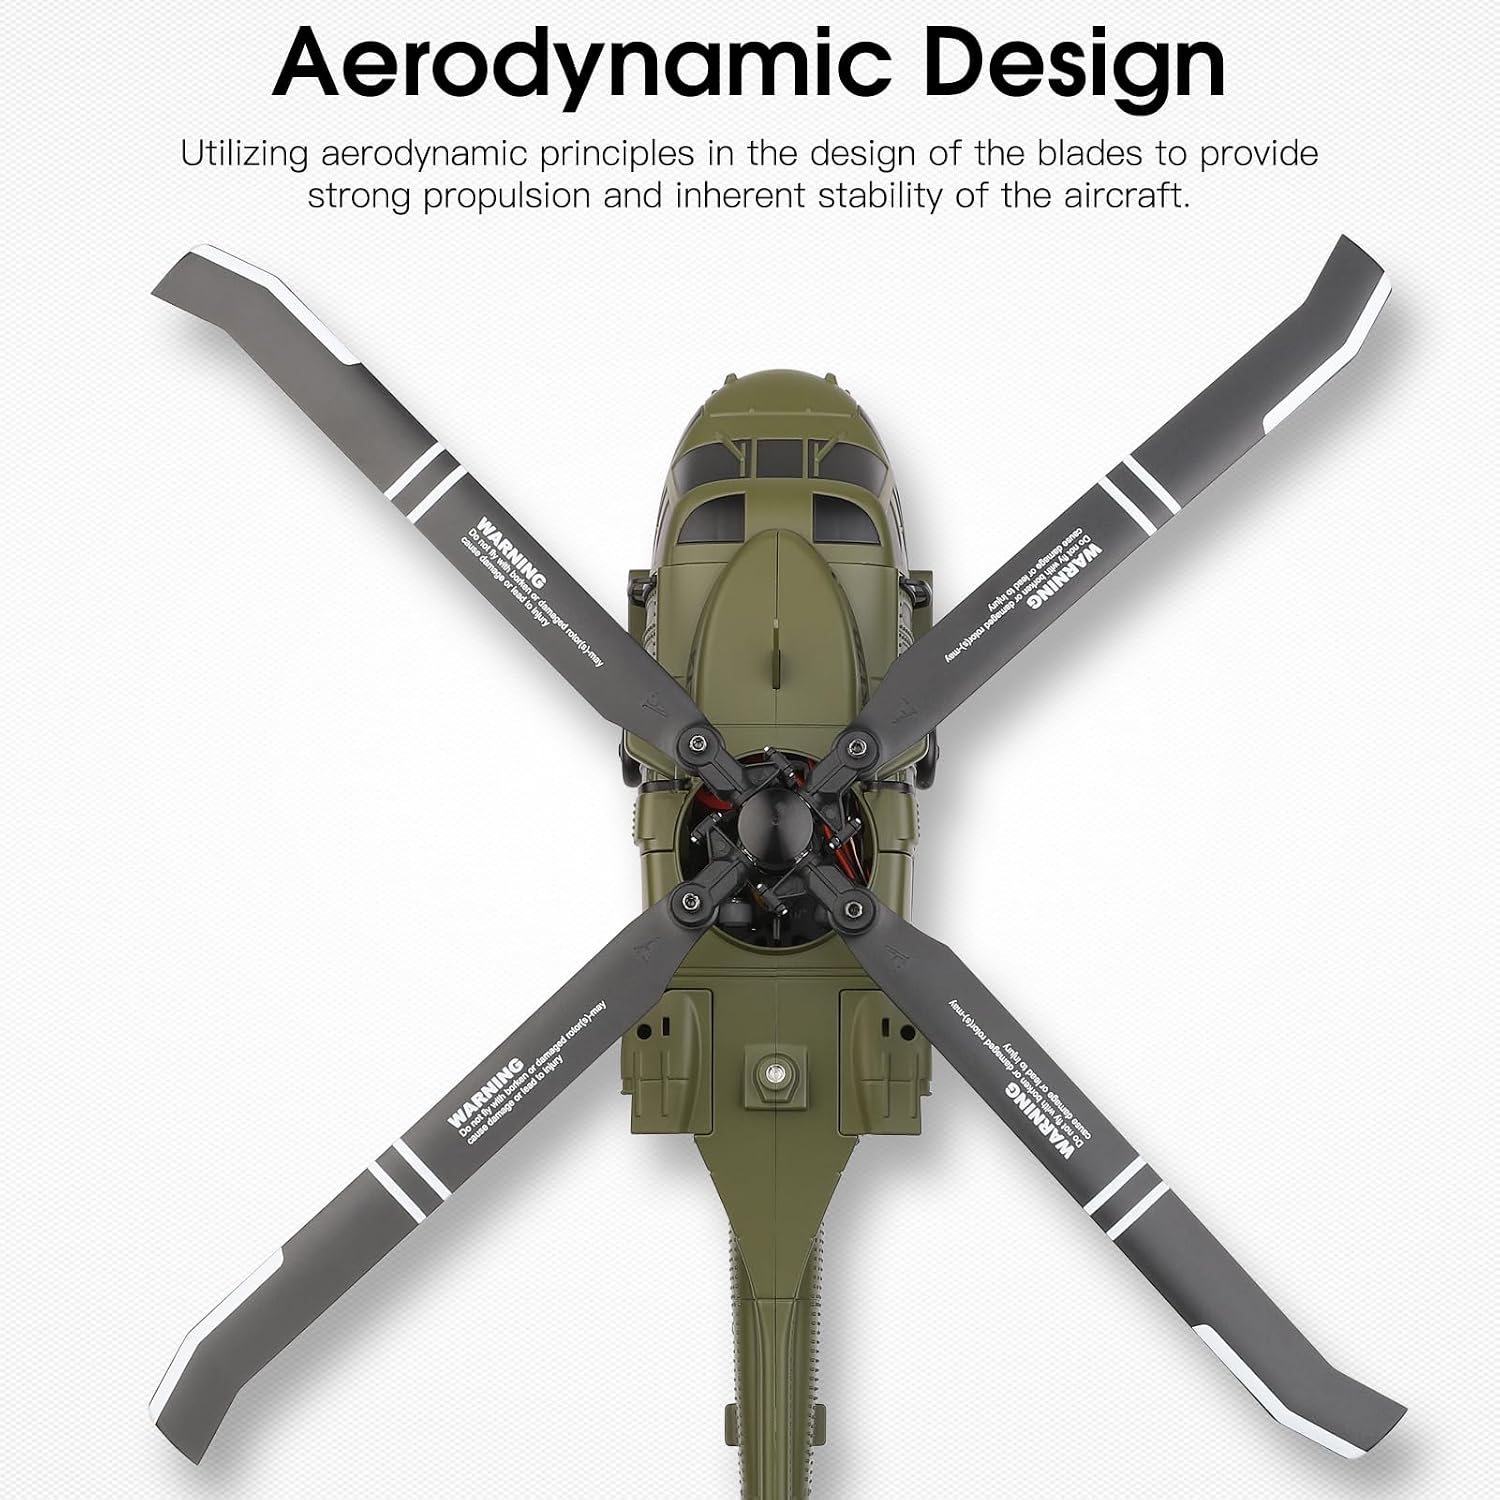
Image: Close-up of the helicopter's main rotor system, highlighting the aerodynamic design of the blades.

Image: Illustration of the helicopter's brushless main motor and coreless tail motor.

Image: The helicopter's signal lights are visible during night flight, aiding in orientation.
4.2 Remote Control Layout
The 2.4GHz remote control features an independent locator joystick seat for precise and comfortable operation. Refer to the image below for button identification.

Image: Labeled diagram of the remote control, showing the power switch, indicator light, speed control, one-key takeoff/landing, antenna, joysticks, and trim buttons.
- Power switch
- Power indicator light
- Speed control
- One-key takeoff/landing
- Antenna
- Throttle/directional joystick (Left stick for Mode 2)
- Left/right/forward/backward joystick (Right stick for Mode 2)
- Forward/backward trim button
- Left/right trim button
- Right long press for power on/hand mode switch
5. Setup
5.1 Battery Installation and Charging
- Helicopter Battery: Gently press the bottom edge of the helicopter's head cover and lift to remove it. Connect the 3.8V 800mAh high-voltage battery to the helicopter's power port. Fasten the top buckle, then press the bottom chassis into place to secure the cover.
- Charging: Use the dedicated USB charger provided to charge the helicopter's battery. The charger protects against overcharging, extending battery life. Charging time is approximately 120 minutes for a full charge.
- Remote Control Batteries: Install appropriate batteries (not included) into the remote control.
Video: Unboxing and Battery Installation Guide for the K170 Helicopter. This video shows how to install the battery into the helicopter and identifies other accessories.
5.2 Binding and Calibration
- Turn on the remote control power switch. The indicator light will flash.
- Ensure the helicopter's battery is connected and the helicopter is powered on.
- Binding: Push the remote control's left throttle stick (Mode 2) up to the top, then pull it down to the bottom quickly. A beep sound will confirm successful binding, and the lights on both the remote and helicopter will stop flashing and become steady.
- Calibration: After binding, pull both control sticks to the lower right corner simultaneously. A beep will sound, and the helicopter's lights will cycle from steady to flash and then back to steady, indicating successful calibration.
6. Operating Instructions
6.1 Flight Modes
- 6G Mode: Equipped with a 6-axis gyroscope, this mode provides stable flight and is ideal for beginners. It helps maintain stability and makes the helicopter easier to control.

Image: The helicopter demonstrating stable flight in 6G mode, utilizing its 6-axis gyroscope.
6.2 Takeoff and Landing
- Unlock Throttle: Push both control sticks outward to form an inverted 'V' shape. The main rotors will begin to spin.
- Manual Takeoff: Gently push the left throttle stick (Mode 2) upwards to increase rotor speed and lift off.
- One-Key Takeoff: Press the "One-key takeoff/landing" button (labeled 4 on the remote control diagram). The helicopter will automatically ascend to a stable hovering altitude.
- One-Key Landing: Press the "One-key takeoff/landing" button again. The helicopter will automatically descend and land gently.
- Manual Landing: Gently pull the left throttle stick (Mode 2) downwards to decrease rotor speed and land.

Image: Visual guide for the one-key takeoff and landing function of the helicopter.
6.3 Basic Flight Controls (4-Channel)
The 4-channel control system allows for precise control over various flight actions:
- Ascend/Descend: Use the left throttle stick (Mode 2) vertically.
- Forward/Backward: Use the right joystick (Mode 2) vertically.
- Left/Right Turns (Yaw): Use the left throttle stick (Mode 2) horizontally.
- Left/Right Side Flight (Roll): Use the right joystick (Mode 2) horizontally.
- Altitude Hold: The air pressure altitude setting function helps maintain a stable hover.

Image: The helicopter in flight, illustrating the capabilities of its 4-channel control system for various maneuvers.
6.4 Official Product Video
Video: Official product video showcasing the Authticar UH-60 Black Hawk Military Helicopter in various flight scenarios, demonstrating its features and performance.
7. Maintenance
- Cleaning: Use a soft, dry cloth to clean the helicopter and remote control. Avoid water or harsh chemicals.
- Propeller Inspection: Regularly check propellers for damage. Replace any bent or broken propellers with the provided spares.
- Battery Care: Store batteries in a cool, dry place. Do not leave batteries fully charged or fully discharged for extended periods.
- Storage: When not in use, store the helicopter and remote control in a safe place, away from direct sunlight and extreme temperatures. The included display stand can be used for storage.
Image: The K170 helicopter displayed on its stand, suitable for storage and presentation.
8. Troubleshooting
| Problem | Possible Cause | Solution |
|---|---|---|
| Helicopter does not respond to remote control. | Not bound or low battery. | Ensure both helicopter and remote are powered on and bound correctly. Charge helicopter battery. Replace remote control batteries. |
| Helicopter drifts during flight. | Not calibrated or trim settings incorrect. | Perform calibration as described in Section 5.2. Adjust trim buttons on the remote control. |
| Helicopter loses signal and lands slowly. | Out of range or signal interference. | This is a safety feature. Move closer to the helicopter to re-establish connection. Avoid areas with strong interference. |
| Short flight time. | Battery not fully charged or aging battery. | Ensure battery is fully charged before use. Consider replacing the battery if it's old and capacity has diminished. |
9. Specifications
- Model: K170 UH-60
- Brand: Authticar
- Type: Four-channel Four-rotor Aileronless Helicopter
- Main Motor: 1106 11200KV Brushless Motor
- Tail Motor: 720 Coreless Motor
- Battery: 3.8V 800mAh High Voltage Lithium Battery
- Flight Time: Approximately 8 minutes
- Charging Time: Approximately 120 minutes
- Remote Control Frequency: 2.4GHz
- Remote Control Distance: Approximately 80-100 meters
- Dimensions (Wing Span x Length x Height): 260mm x 265mm x 72mm (10.24 x 10.43 x 2.83 inches)
- Item Weight: Approximately 0.79 kg (1.74 pounds)
- Recommended Age: 16 years and up

Image: Detailed product information including dimensions, flight time, and motor types.
10. Warranty and Support
For warranty information, technical support, or replacement parts, please refer to the documentation included with your product or visit the official Authticar website. Contact details for customer service are typically provided on the product packaging or within the user manual booklet.