
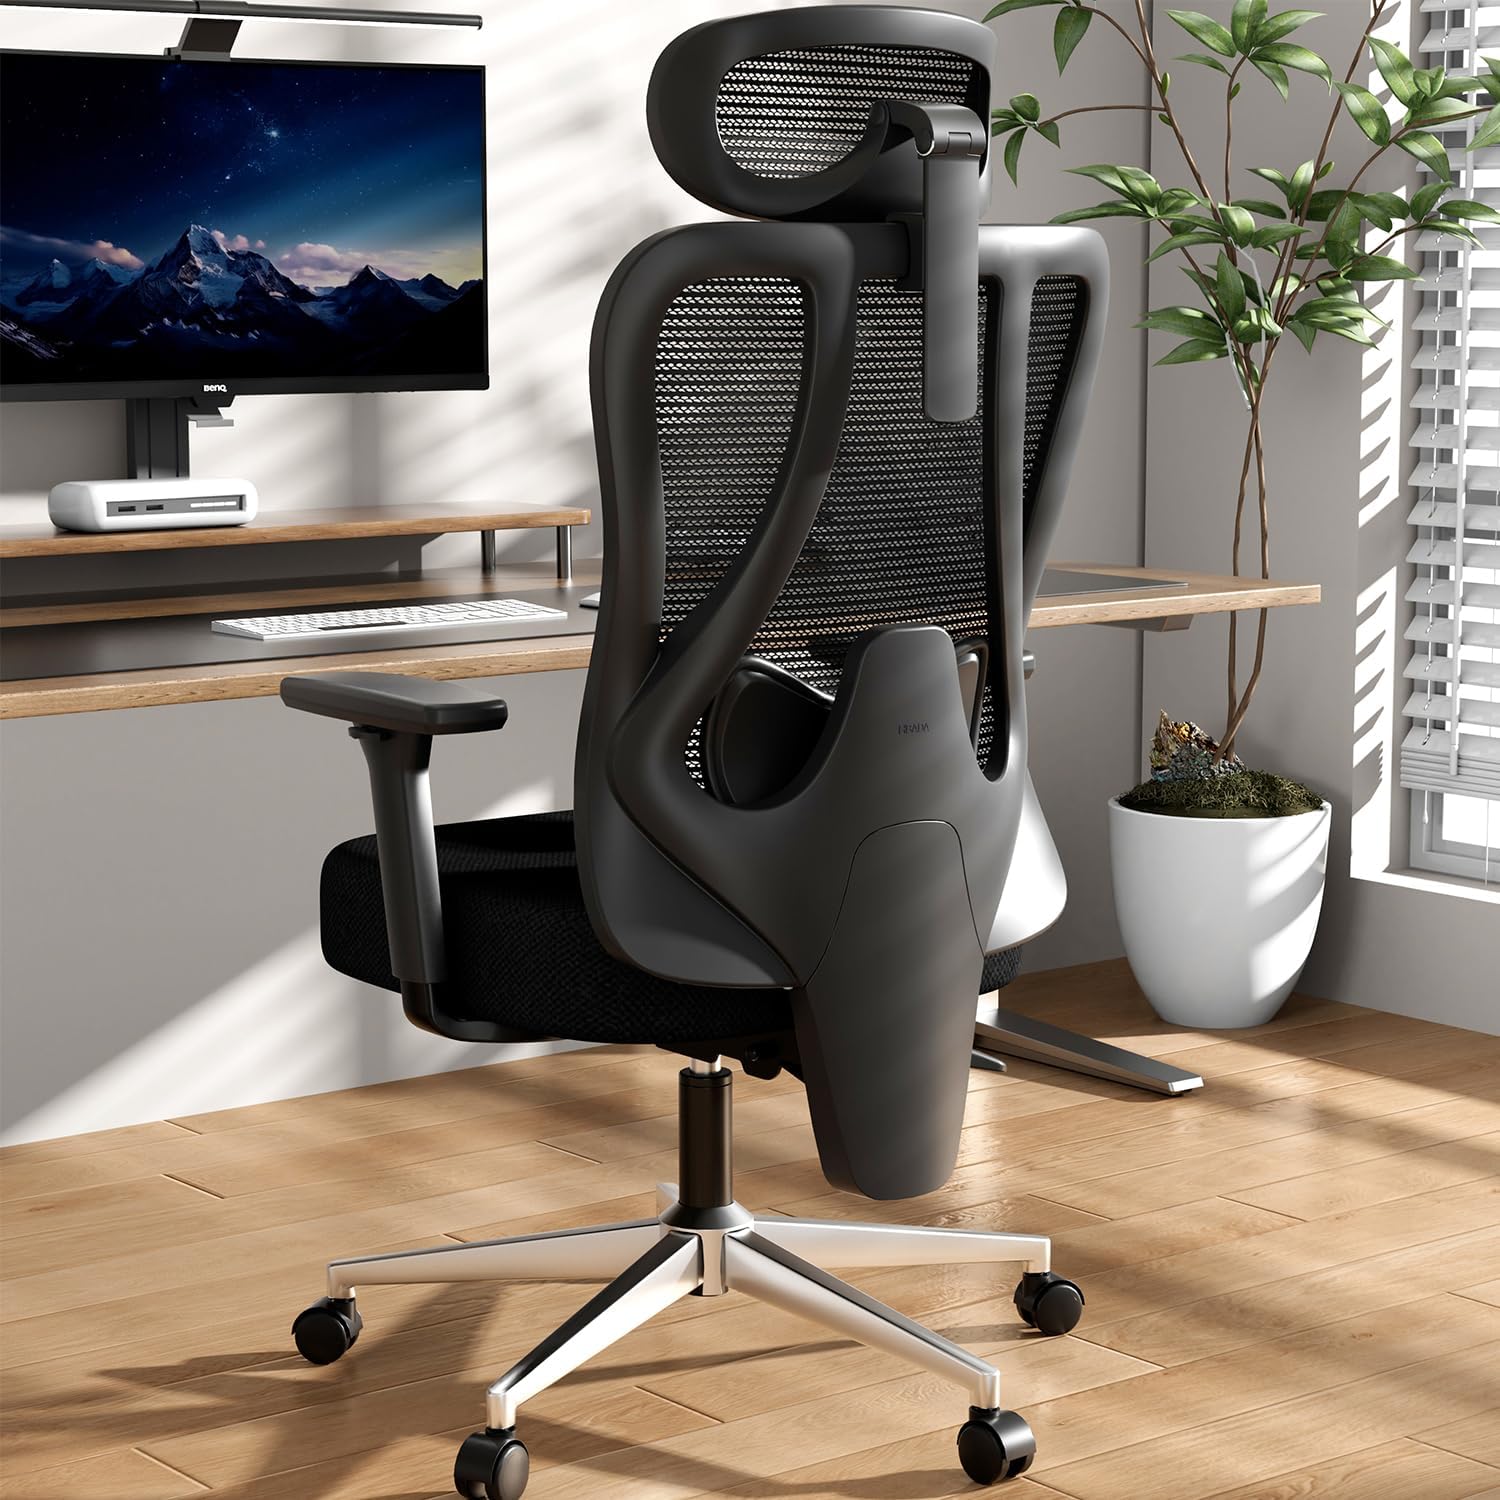
1. Setup Instructions
1.1 Unpacking
Carefully remove all components from the packaging. Ensure all parts listed in the assembly guide are present before proceeding. Keep packaging materials for potential future transport or returns.
1.2 Assembly Overview
Assembly is required for the Hbada P3 Pro Ergonomic Office Chair. It is recommended that two people perform the installation for ease and safety. Instructions and necessary tools are included.
1.3 Assembly Video Guide
This video provides a step-by-step guide on how to assemble the Hbada P3 Pro Ergonomic Office Chair, demonstrating each part's placement and fastening.
1.4 Base Assembly
Attach the five chair legs to the central base using the provided screws and wrench. Ensure they are securely tightened. Insert the five casters into the leg ends, pressing down firmly until they click into place. Finally, insert the gas lift into the central hole of the base.
1.5 Seat Assembly
Invert the seat cushion. Align the armrests with the designated mounting holes on the sides of the seat cushion and secure them with the appropriate screws and washers. Then, align the chassis with the four mounting holes on the underside of the seat cushion and fasten it securely with screws.
1.6 Backrest Attachment
Attach the backrest steel plate to the chassis, ensuring proper alignment. Secure it with the provided screws. Then, slide the backrest shell into the slots on the backrest and secure it with the remaining screws.
1.7 Headrest Attachment
Align the headrest connector with the protrusion on the lower part of the backrest. Rotate the connector to lock it into place. Secure the headrest with the provided screws.
2. Operating Instructions
The Hbada P3 Pro Ergonomic Office Chair offers multiple adjustment features to customize your seating experience for optimal comfort and support.
2.1 Seat Height Adjustment
To raise the seat, stand up and lift the lever located on the outer side of the front control rod. To lower the seat, sit down and lift the same lever. Adjust to your desired height.
2.2 Backrest Recline and Lock
To recline, lift the rear control rod while leaning back. Once at the desired angle (up to 135 degrees), push the control rod down to lock the backrest in that position. To return to an upright position, lift the control rod, lean slightly forward, and then push the rod down to lock.

The chair's backrest can recline up to 135 degrees for relaxation.
2.3 Armrest Adjustments
The 3D armrests can be adjusted in multiple ways:
- Height: Press the button on one side of the armrest and move it up or down (2.8 inches range).
- Forward/Backward: Push or pull the armrest to adjust its position (2.6 inches range).
- Rotation: Rotate the armrest left or right to adjust the angle (40 degrees range).

Visual representation of the 6-way adjustable armrests, highlighting their multi-dimensional support capabilities.
2.4 Headrest Adjustments
The 3D headrest offers comprehensive adjustability:
- Height: Move the neck pillow up or down (5.5 inches range).
- Tilt: Tilt the neck pillow forward or backward (80 degrees full rotation, 70 degrees surface rotation) to adjust its angle.

Illustration of the 3D headrest's mechanical adjustments for height and tilt, designed to relax neck muscles.
2.5 Lumbar Support Adjustment
The 2D adjustable lumbar support can be customized:
- Height: Grip the connector behind the lumbar support and move it up or down (2.2 inches range).
- Depth: Adjust the front/rear position of the lumbar support (1.3 inches range).
- Lock: The lumbar support can be locked in its front and rear positions for stable support.

Detailed view of the 2D adjustable lumbar support, illustrating its vertical and horizontal adjustment capabilities and locking mechanism.
2.6 Usage Video Guide
This video demonstrates the various adjustment features of the Hbada P3 Pro Ergonomic Office Chair, including seat height, recline, armrests, headrest, and lumbar support.
3. Maintenance
3.1 Cleaning
- Mesh Fabric: Use a soft brush or vacuum cleaner to remove dust. For stains, gently wipe with a damp cloth and mild soap, then air dry. Avoid harsh chemicals.
- Frame and Base: Wipe with a soft, damp cloth. Avoid abrasive cleaners.
3.2 Inspection
- Periodically check all screws and bolts to ensure they are tight. Retighten if necessary.
- Inspect casters for smooth movement and clean any debris that may hinder their function.
- Ensure all adjustment mechanisms operate smoothly. Do not force any adjustments.
4. Troubleshooting
| Issue | Possible Cause | Solution |
|---|---|---|
| Chair does not adjust height | Gas lift malfunction or lever not engaged. | Ensure the height adjustment lever is fully engaged. If issue persists, contact customer service. |
| Backrest does not recline or lock | Recline mechanism jammed or lever not engaged. | Check the recline lock lever. Ensure no obstructions. |
| Squeaking noises | Loose connections or friction between parts. | Tighten all screws. Apply a small amount of silicone lubricant to moving parts if necessary. |
| Casters not rolling smoothly | Debris in casters or damaged casters. | Clean casters of hair and debris. Replace damaged casters if needed. |
For issues not listed or if solutions do not resolve the problem, please contact Hbada customer service.
5. Specifications
- Brand: Hbada
- Model: P3 Pro
- Color: Black
- Product Dimensions: 27.6"D x 27.6"W x 40"H
- Item Weight: 44 pounds
- Material: Polypropylene, Mesh, Foam
- Back Style: Mesh
- Max Weight Capacity: Do not exceed 300 pounds.
- Adjustments: 2D Adjustable Lumbar Support, 3D Adjustable Headrest, 6-Way Adjustable Armrests, 135° Stepless Tilt Function.
6. Warranty and Support
6.1 Warranty Information
The Hbada P3 Pro Ergonomic Office Chair comes with a worry-free 3-year warranty. Additionally, a 30-day free return policy and a 15-day price match guarantee are offered.
6.2 Customer Service
For any questions, concerns, or assistance with your Hbada P3 Pro chair, please contact Hbada customer service. Refer to your purchase documentation for specific contact details.


