
Waillynice MD13 HD 1080P Mini Camera User Manual
Model: MD13 (hy029)
Introduction
This manual provides detailed instructions for the safe and effective use of your Waillynice MD13 HD 1080P Mini Camera. Please read this manual thoroughly before operating the device and retain it for future reference.
Product Overview
The MD13 Mini Camera is a compact and versatile digital video recorder designed for various applications, including home security, sports, and outdoor activities. It features high-definition video recording, infrared night vision, and a portable design.
Key Features
- Crystal Clear FHD 1080P Video: Records at 1920x1080 resolution at 30fps for sharp and vibrant footage.
- Infrared Night Vision: Equipped with advanced infrared night vision and a CMOS high-sensitivity sensor for clear recording in low-light conditions.
- Long Battery Life: Built-in 500mAh lithium polymer battery provides up to 3 hours of continuous video recording or 5 hours of audio recording.
- Compact Design: Small size (78x25x10mm) for discreet use and portability.
- Built-In Microphone & Speaker: For high-quality audio recording and playback.
- Easy to Use: Simple one-touch operation and USB 2.0 high-speed data transfer.
- Wide Compatibility: Supports external TF cards up to 128GB (U3 recommended).
- 180° Rotating Lens: Offers flexible recording angles.
Product Components
The MD13 Mini Camera package includes the following items:
- MD13 Mini Camera Unit
- USB Cable
- User Manual

Image: Contents of the MD13 Mini Camera package, showing the camera, USB cable, product box, and user manual.
Camera Diagram and Controls

Image: Detailed diagram of the MD13 Mini Camera highlighting its various controls and ports, including the night vision button, memory card slot, reset button, audio/save button, video/save button, and power switch.
Familiarize yourself with the camera's layout:
- Power Switch: Turns the camera On/Off.
- Video/Save Button: Initiates and stops video recording, and saves recorded files.
- Audio/Save Button: Initiates and stops audio recording, and saves recorded files.
- Night Vision Button: Activates/deactivates infrared night vision.
- Memory Card Slot: Insert your TF card here.
- Reset Button: Used to reset the device if it becomes unresponsive.
- Lens: 180° rotatable lens for flexible recording angles.

Image: The MD13 Mini Camera demonstrating its 180-degree rotating lens capability, allowing for versatile recording perspectives.
Setup
1. Inserting the TF Card
The MD13 Mini Camera requires an external TF (microSD) card for storing recordings. A U3 class TF card up to 128GB (FAT32 format) is recommended for optimal performance.
- Locate the memory card slot on the side of the camera.
- Gently insert the TF card into the slot with the gold contacts facing down until it clicks into place.
- To remove, push the card in slightly until it springs out.

Image: The MD13 Mini Camera with a 128GB TF card positioned next to its memory card slot, illustrating where the card should be inserted.
2. Charging the Camera
Before first use, fully charge the camera's built-in 500mAh lithium polymer battery.
- Connect the provided USB cable to the camera's USB port.
- Connect the other end of the USB cable to a DC5V/1A power source (e.g., a computer USB port or a USB wall adapter).
- The charging indicator light will illuminate. It will turn off or change color once charging is complete.
The camera supports continuous shooting while connected to a power bank or wall adapter for extended operation.
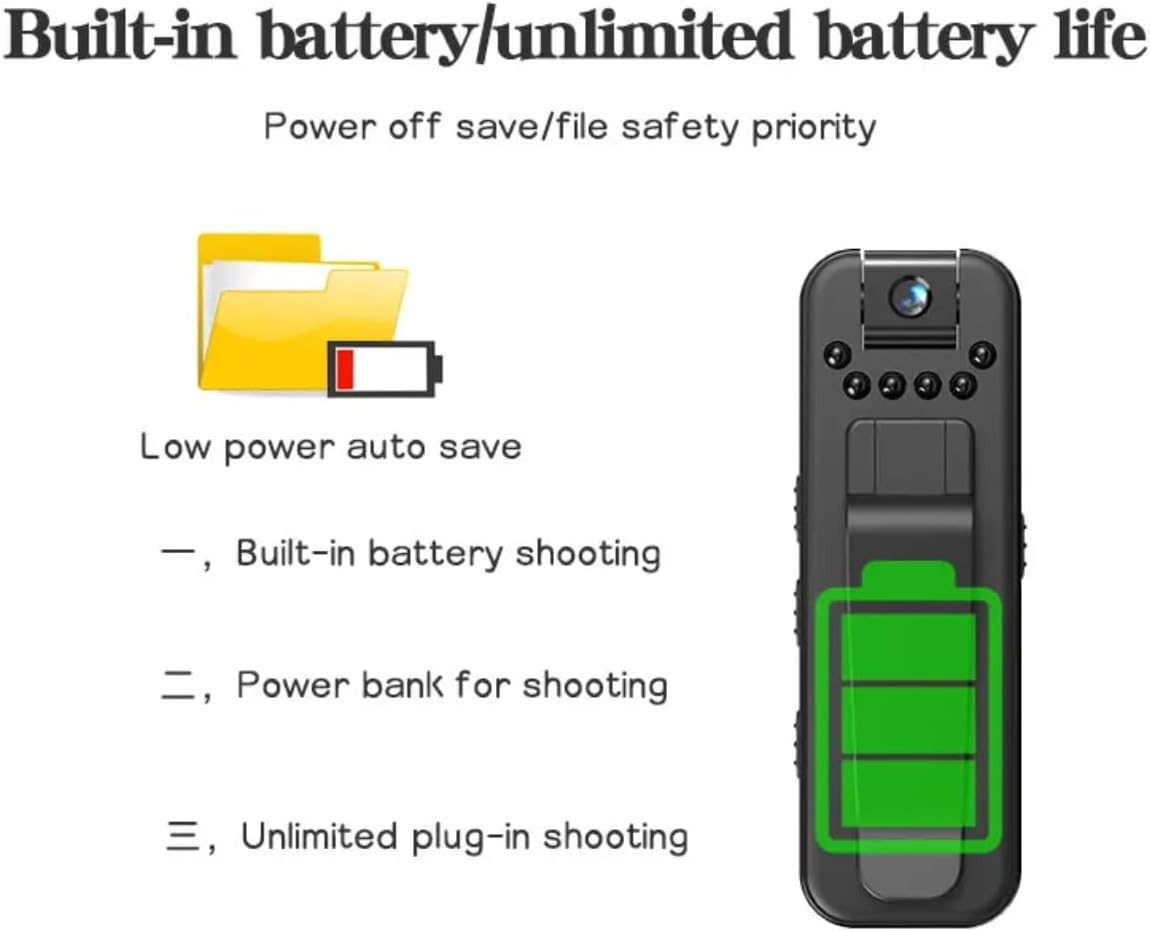
Image: Visual representation of the MD13 Mini Camera's power management, showing low power auto-save, built-in battery operation, and options for extended use with a power bank or continuous power supply.
Operating Instructions
1. Power On/Off
To power on the camera, slide the Power Switch to the "ON" position. To power off, slide it to the "OFF" position.
2. Video Recording
The MD13 Mini Camera records video in FHD 1920x1080 resolution at 30 frames per second (AVI format).
- Ensure the camera is powered on.
- Press the Video/Save Button once to start video recording. The indicator light will flash to indicate recording is in progress.
- Press the Video/Save Button again to stop recording and save the video file to the TF card. The indicator light will stop flashing.
3. Audio Recording
The camera can record audio for up to 5 hours on a full charge.
- Ensure the camera is powered on.
- Press the Audio/Save Button once to start audio recording. The indicator light will flash differently (refer to specific light patterns in the full manual if available) to indicate audio recording.
- Press the Audio/Save Button again to stop recording and save the audio file to the TF card.
4. Night Vision Mode
Activate infrared night vision for clear recording in low-light or dark environments.
- While the camera is powered on, press the Night Vision Button.
- The infrared LEDs will activate, and the camera will switch to night vision mode.
- Press the Night Vision Button again to deactivate night vision.
5. Connecting to a Computer
To access recorded files, connect the camera to a computer using the provided USB cable. The camera will appear as a removable disk, allowing you to transfer or view files.
Maintenance
- Cleaning: Use a soft, dry cloth to clean the camera body. For the lens, use a specialized lens cleaning cloth and solution. Avoid harsh chemicals.
- Storage: Store the camera in a cool, dry place away from direct sunlight and extreme temperatures.
- Battery Care: To prolong battery life, avoid fully discharging the battery frequently. Charge the camera regularly, even if not in use for extended periods.
- Firmware Updates: Check the manufacturer's website periodically for any available firmware updates.
Troubleshooting
- Camera does not power on.
- Ensure the battery is charged. Connect the camera to a power source and try again. If unresponsive, press the Reset button with a thin object.
- Cannot record video/audio.
- Check if a TF card is properly inserted and has sufficient free space. Ensure the TF card is formatted to FAT32. The card might be full or corrupted.
- Poor video quality.
- Ensure the lens is clean. Check lighting conditions; use night vision in low light. Ensure you are using a U3 class TF card for optimal recording speed.
- Camera is not recognized by computer.
- Try a different USB port or cable. Ensure the camera is powered on when connected. Restart your computer.
Specifications
| Feature | Detail |
|---|---|
| Product Model | MD13 (hy029) |
| Brand | Waillynice |
| Dimensions | 78 x 25 x 10 mm |
| Image Sensor | CMOS High Sensitivity Sensor |
| Lens Aperture | F/NO: 2.8 |
| Focus Range | Above 50cm |
| Video Format | AVI |
| Video Resolution | FHD: 1920x1080 (30fps) |
| Audio Recording Time | Up to 5 hours |
| Video Recording Time | Up to 3 hours |
| Battery Type | Built-in 3.7V Lithium Polymer (500mAh) |
| Power Input | DC5V/1A |
| USB Interface | High Speed 2.0 |
| Storage | External TF card, up to 128GB (FAT32, U3 recommended) |
| Working Temperature | -10°C to 55°C |
| Item Weight | 1 Ounce (approximately 28g) |
Warranty and Support
Warranty Information
The Waillynice MD13 Mini Camera comes with a 1-year warranty from the date of purchase. This warranty covers manufacturing defects and malfunctions under normal use. It does not cover damage caused by misuse, accidents, unauthorized modifications, or improper storage.
Please retain your proof of purchase for warranty claims.
Customer Support
For technical assistance, troubleshooting, or warranty inquiries, please contact Waillynice customer support through the retailer where the product was purchased or refer to the official Waillynice website for contact information.