
maXpeedingrods MK97DX
maXpeedingrods 2:1 5.5HP Reduction Gearbox User Manual
Brand: maXpeedingrods | Model: MK97DX
1. Introduction
This manual provides essential information for the proper installation, operation, and maintenance of your maXpeedingrods 2:1 5.5HP Reduction Gearbox. Please read this manual thoroughly before installation and use to ensure safe and efficient operation.
The maXpeedingrods 2:1 5.5HP Reduction Gearbox is designed to reduce the output speed of compatible engines by half while simultaneously doubling the torque. This allows for optimal power delivery in various applications requiring lower RPM and higher torque.
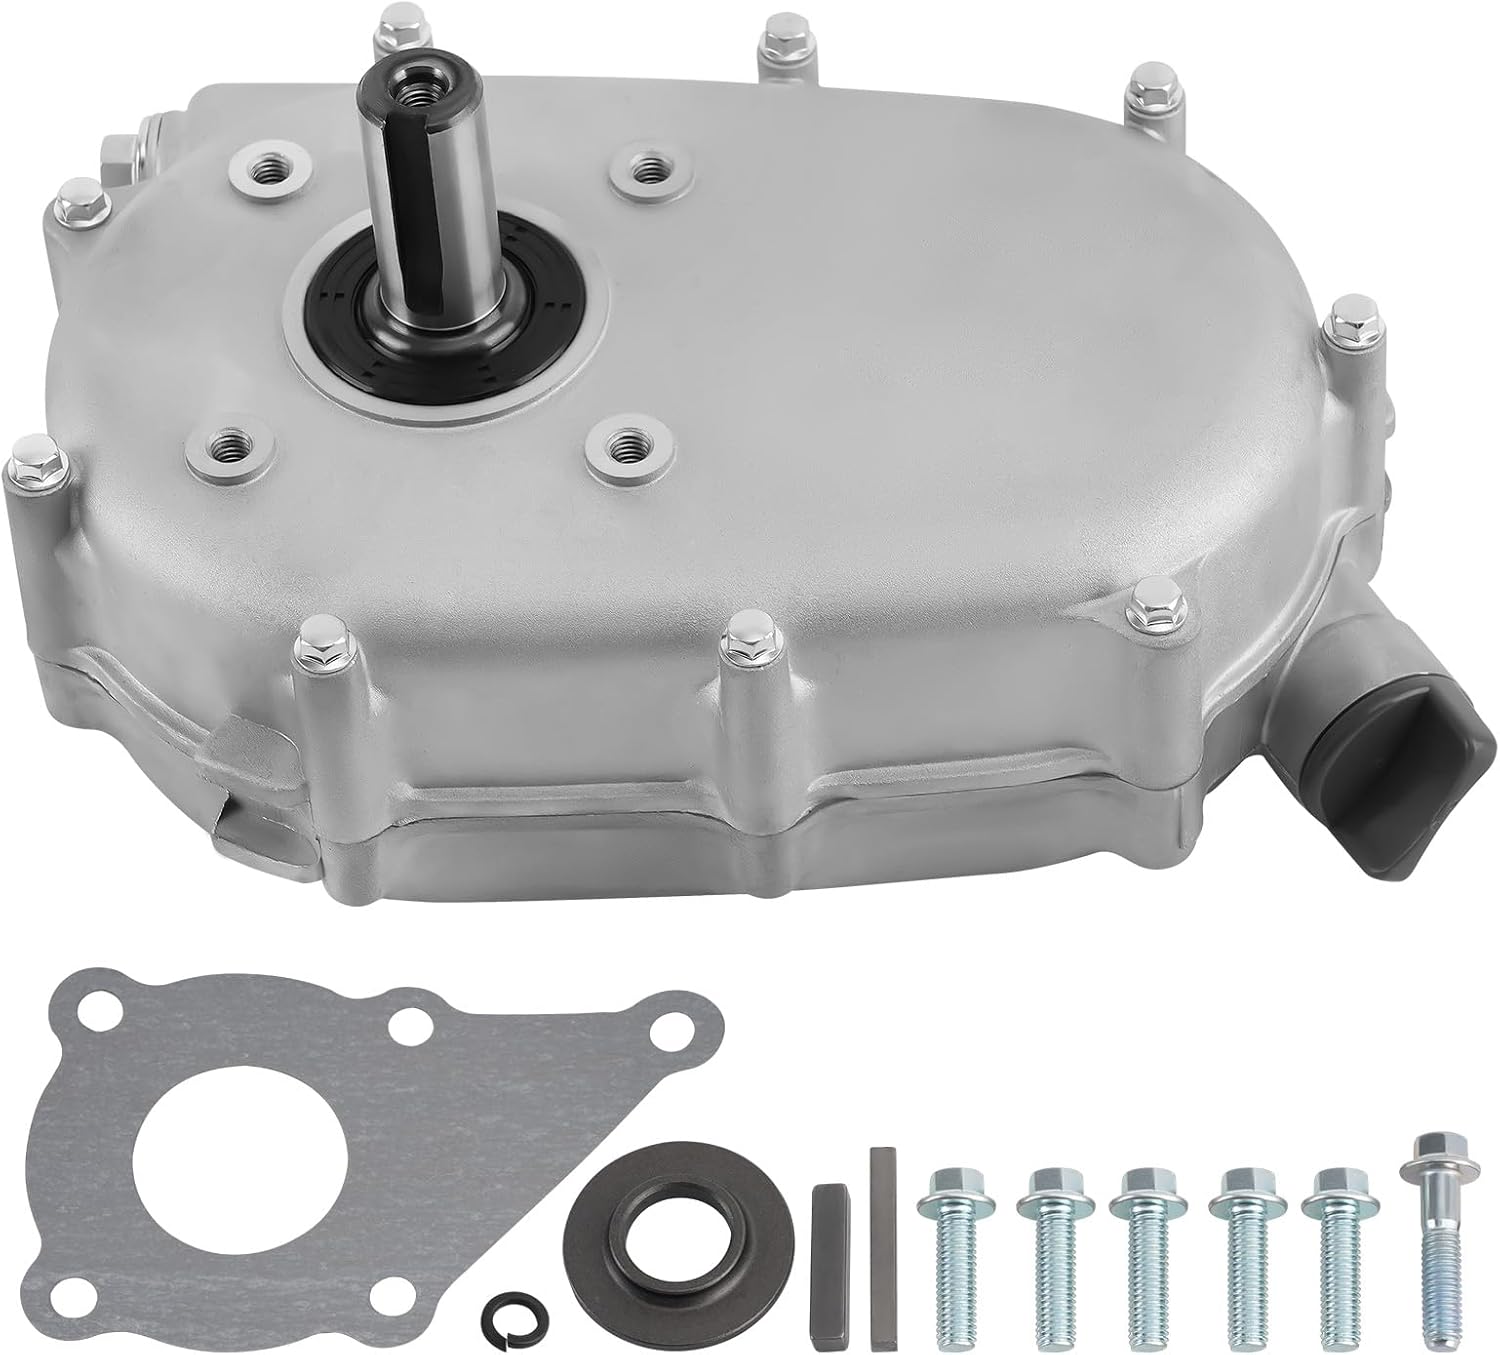
Image 1.1: The maXpeedingrods 2:1 5.5HP Reduction Gearbox, shown with its main housing, output shaft, and accompanying installation hardware including a gasket, key, and bolts.
2. Product Specifications
The following table details the key specifications of the maXpeedingrods 2:1 5.5HP Reduction Gearbox:
| Specification | Value |
|---|---|
| Manufacturer | maXpeedingrods |
| Model Number | MK97DX |
| Item Weight | 13.01 pounds (5.9 kg) |
| Product Dimensions (L x W x H) | 12.24 x 7.17 x 7.95 inches (31.1 x 18.2 x 20.2 cm) |
| Reduction Ratio | 2:1 |
| Power Adaptation | 5.5 HP |
| Input Shaft Diameter | 20mm (Shaft coming off your engine) |
| Output Shaft Diameter | 22mm (Shaft coming out of the gearbox) |

Image 2.1: Visual representation of key specifications including input/output shaft diameters, reduction ratio, and power rating.
3. Vehicle Fitment
This reduction gearbox is designed for a wide range of engines. Verify your engine model against the list below for compatibility:
- For Honda Engines: GX160, GX200
- For Loncin Engines: G160, G200
- For Lifan Engines: LF200, LF210
- For Chinese Engines: 168F, 168F2

Image 3.1: An illustration demonstrating the wide application of the gearbox with various compatible engines, including Honda, Loncin, and Lifan models.
4. Safety Information
WARNING: Improper installation or use can result in serious injury or equipment damage.
- Always wear appropriate personal protective equipment (PPE) during installation and maintenance.
- Ensure the engine is turned off and cooled down before attempting any installation or maintenance.
- Disconnect the spark plug wire to prevent accidental starting.
- Keep hands, feet, and clothing away from moving parts.
- Refer to your engine's manual for additional safety precautions.
- It is strongly recommended to seek professional assistance for installation if you are not familiar with mechanical principles and gear transmission.
5. Package Contents
Upon opening the package, verify that all components are present and undamaged:
- 1x maXpeedingrods 2:1 5.5HP Reduction Gearbox with Wet Clutch
- 1x Gasket
- 1x Key
- Mounting Bolts (Quantity may vary, typically 6-8)
- 1x Oil Seal (Pre-installed or separate)
- 1x Snap Ring (Pre-installed or separate)

Image 5.1: A close-up view of the accessory components included with the gearbox, such as the gasket, key, and mounting bolts.
6. Setup and Installation
Installing the reduction gearbox requires a certain understanding of mechanical principles and gear transmission knowledge. It is strongly recommended to find a professional installer to ensure correct and safe installation.
6.1. Preparation
- Ensure the engine is completely off, cool, and the spark plug wire is disconnected.
- Gather all necessary tools (wrenches, sockets, torque wrench, etc.).
- Clean the engine mounting surface where the gearbox will attach.
6.2. Installation Steps
- Carefully align the gearbox with the engine's output shaft.
- Insert the key into the keyway on the engine shaft and the gearbox input shaft.
- Mount the gasket between the engine and the gearbox to ensure a proper seal.
- Secure the gearbox to the engine using the provided mounting bolts. Tighten bolts evenly and to the manufacturer's recommended torque specifications (refer to your engine manual or consult a professional).
- Ensure the gearbox is securely fastened and there is no wobble or misalignment.

Image 6.1: Detailed views highlighting the input shaft, oil fill/drain plug, and mounting bolt locations on the gearbox housing.
7. Operating Instructions
Once properly installed, the reduction gearbox operates in conjunction with your engine to provide reduced speed and increased torque. No specific operational controls are present on the gearbox itself; its function is passive, modifying the engine's output.
- Ensure the gearbox is filled with the appropriate type and amount of oil before first use. Refer to the oil fill plug for guidance.
- Always operate the engine within its recommended RPM range.
- Monitor for unusual noises, vibrations, or excessive heat during operation, which may indicate an issue.

Image 7.1: A detailed view of the oil fill/drain plug, indicating the location for checking and adding gearbox oil.
8. Maintenance
Regular maintenance is crucial for the longevity and optimal performance of your reduction gearbox.
- Oil Level Check: Periodically check the oil level in the gearbox. Ensure it is at the recommended level. Use only the specified type of gearbox oil.
- Oil Change: Change the gearbox oil according to the engine manufacturer's recommendations or after every 50-100 hours of operation, or annually, whichever comes first.
- Inspection: Regularly inspect the gearbox for any signs of leaks, cracks, loose bolts, or unusual wear.
- Cleaning: Keep the exterior of the gearbox clean to prevent dirt and debris from entering seals or affecting heat dissipation.
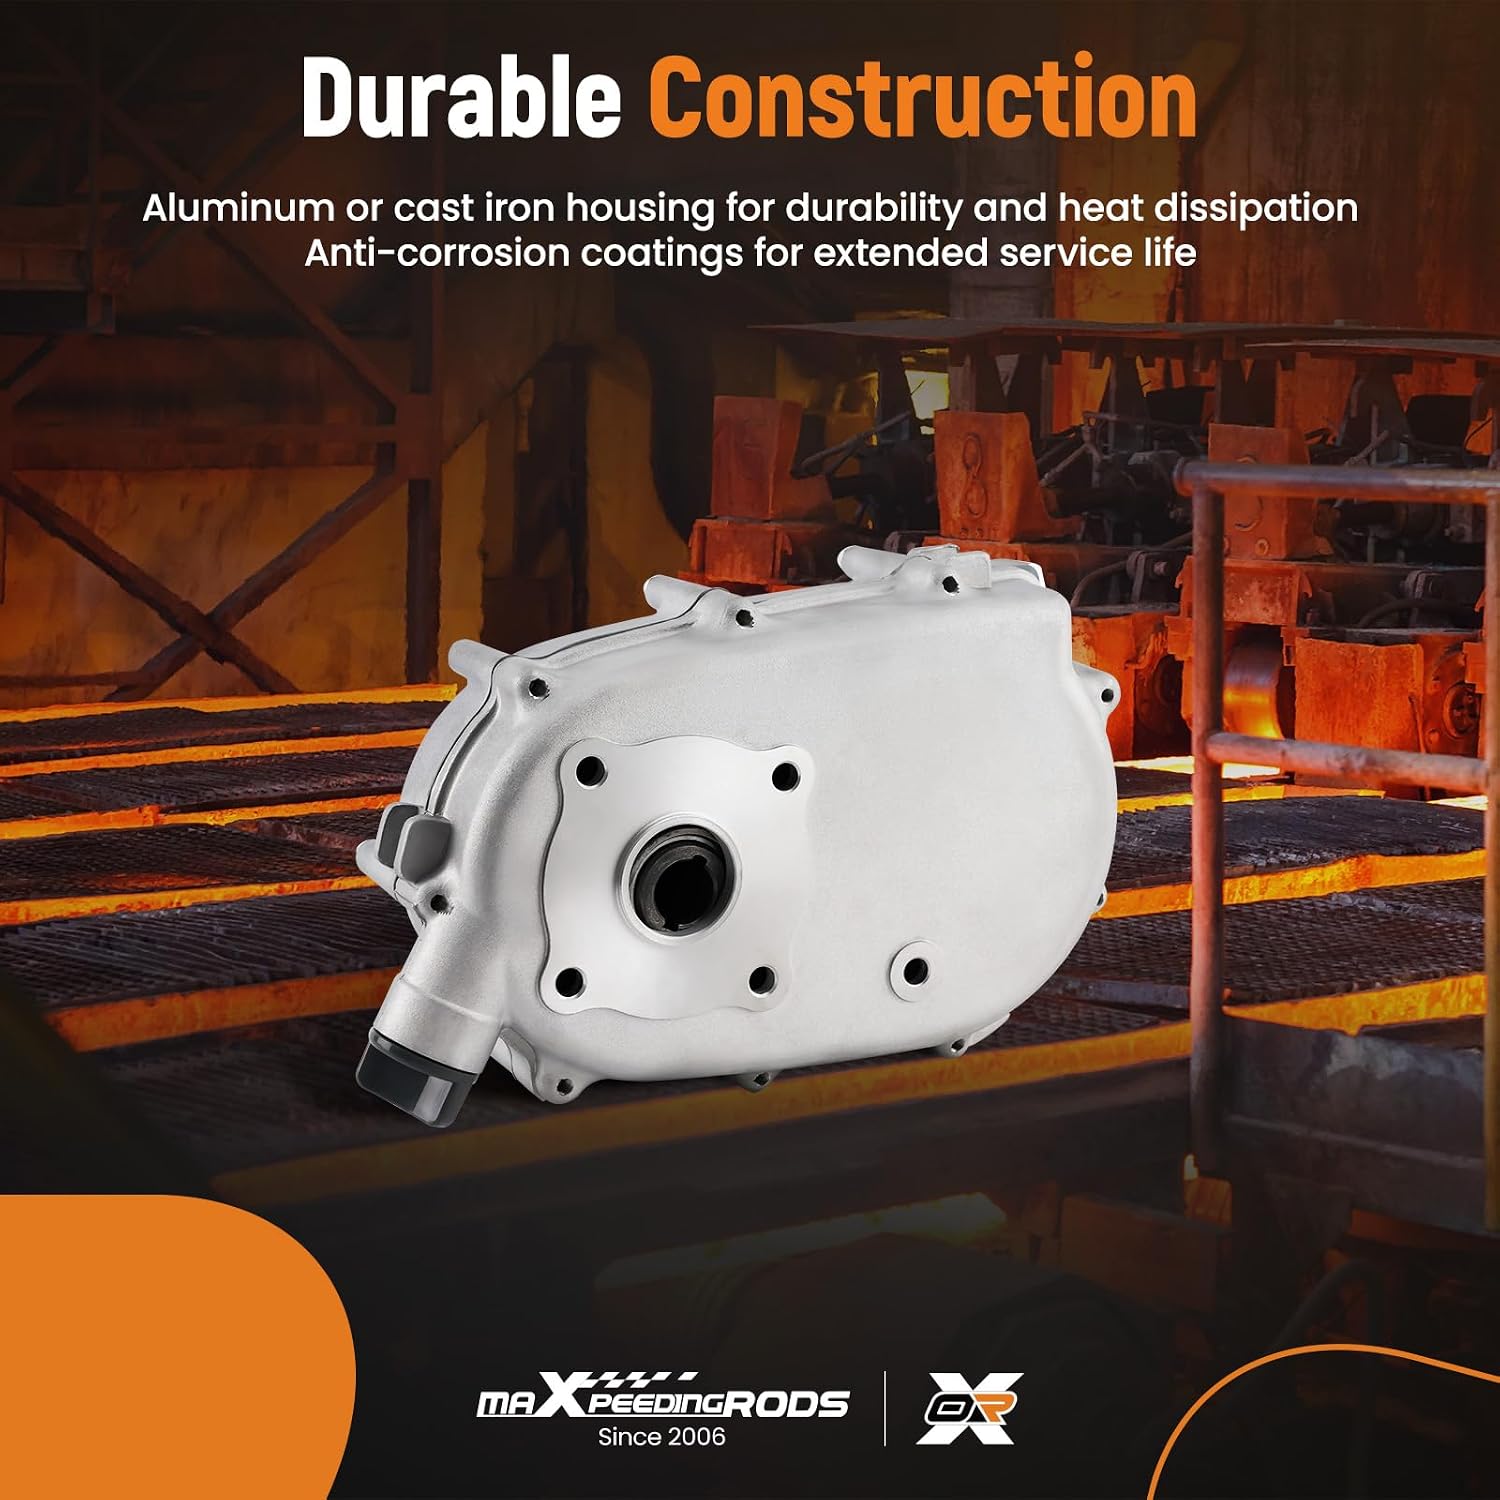
Image 8.1: This image highlights the durable construction of the gearbox, featuring an aluminum or cast iron housing and anti-corrosion coatings, designed for extended service life and reduced maintenance.
9. Troubleshooting
If you encounter issues with your reduction gearbox, consult the following common problems and solutions:
| Problem | Possible Cause | Solution |
|---|---|---|
| Excessive Noise/Vibration | Low oil level, worn gears, loose mounting bolts, misalignment. | Check/add oil, inspect for wear, tighten bolts, check alignment. If severe, professional inspection is required. |
| Oil Leaks | Damaged seals, loose bolts, cracked housing. | Inspect seals and gaskets, tighten bolts. Replace damaged components. |
| Overheating | Low oil level, incorrect oil type, excessive load, poor ventilation. | Check/add correct oil, reduce load, ensure adequate airflow around the gearbox. |
| No Power Output | Sheared key, internal gear failure. | Inspect keyway and key. If internal failure is suspected, professional service is required. |
If troubleshooting steps do not resolve the issue, contact maXpeedingrods customer support or a qualified technician.
10. Warranty and Support
maXpeedingrods products are manufactured to high-quality standards. For warranty information, technical support, or to purchase replacement parts, please visit the official maXpeedingrods website or contact their customer service department.
Website: www.maxpeedingrods.com

Image 10.1: This image emphasizes the brand's commitment to quality, featuring a technician and icons representing thorough quality control, extensive product tests, and experienced engineers.
Ask a question about this manual
Ask about setup, troubleshooting, compatibility, parts, safety, or missing instructions. Manuals+ will review the question and use this page’s manual context to help answer it.