
1. Introduction
Thank you for choosing the DOOGEE Tab A9 PRO Tablet. This manual provides essential information for setting up, operating, and maintaining your device. Please read it carefully before using the tablet to ensure proper functionality and longevity.
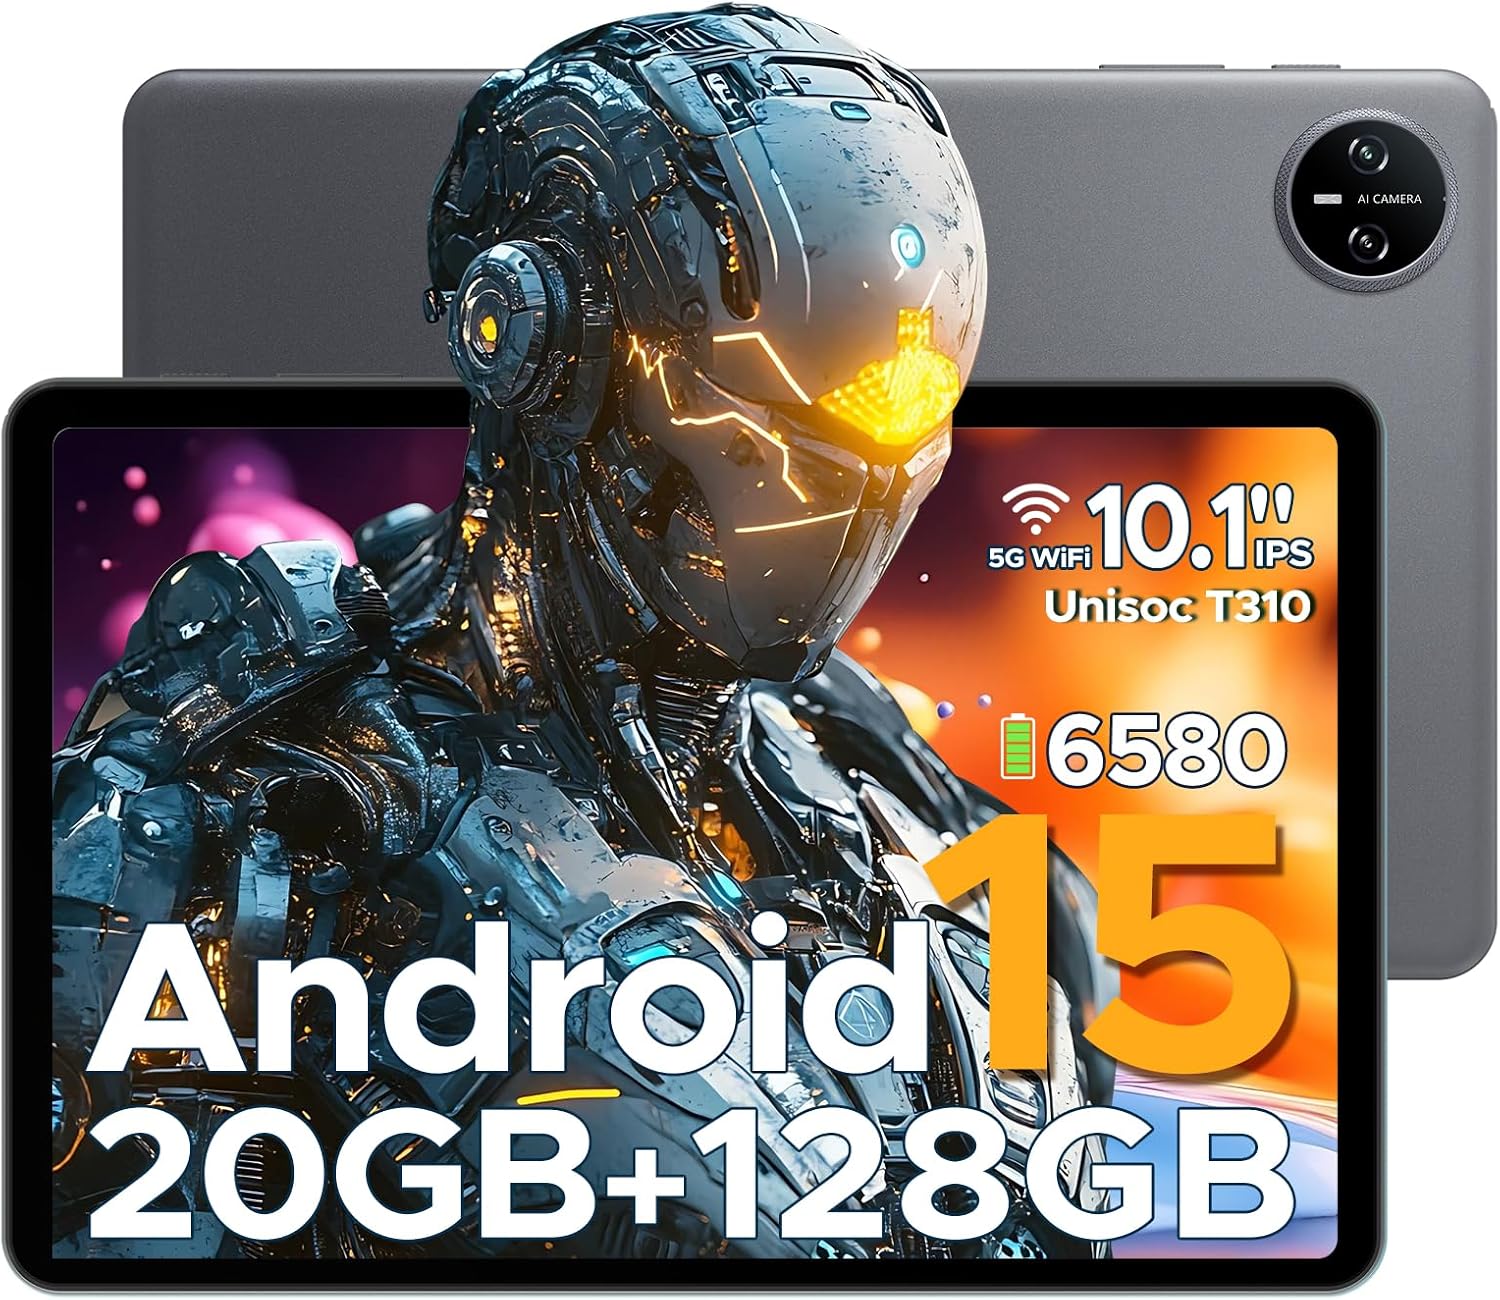
Figure 1.1: DOOGEE Tab A9 PRO Tablet. This image displays the tablet from both the front, highlighting its display, and the back, showing the camera module and overall grey finish.
2. What's in the Box
Verify that all items are present in the package:
- DOOGEE Tab A9 PRO Tablet
- Charger
- Type-C USB Cable
- Tool for taking card (SIM/SD card tray ejector)
3. Setup
3.1 Initial Charging
Before first use, fully charge the tablet using the provided charger and Type-C USB cable. Connect the Type-C cable to the tablet's charging port and the charger to a power outlet.
3.2 Powering On/Off
- To power on: Press and hold the power button until the DOOGEE logo appears.
- To power off: Press and hold the power button, then select "Power off" from the options.
3.3 Initial Setup Wizard
Upon first power-on, the tablet will guide you through an initial setup process. This includes selecting your language, connecting to Wi-Fi, setting up your Google account, and configuring security options like face recognition.

Figure 3.1: Android 15 System Interface. This image illustrates the clean and intuitive interface of the Android 15 operating system, showing various application icons and system settings.
3.4 Inserting a MicroSD Card (Optional)
The tablet supports expandable memory up to 2TB via a MicroSD card (purchased separately). Use the provided tool to open the card tray and insert the MicroSD card as indicated.

Figure 3.2: Storage Capabilities. This image highlights the tablet's 20GB Max RAM (composed of 4GB Basic and 16GB Virtual RAM) and 128GB internal storage, with the option to expand up to 2TB using a TF card.
4. Operating the Tablet
4.1 Display and Navigation
The DOOGEE Tab A9 PRO features a 10.1-inch IPS HD+ display with a resolution of 1280x800 pixels, offering clear visuals and a wide field of view.

Figure 4.1: Display Specifications. This image details the 10.1-inch IPS HD display, including its 1280x800 resolution, 80.2% screen-to-body ratio, and 16.7 million colors.
4.2 Camera Functions
The tablet is equipped with an 8MP main camera and a 5MP front camera, suitable for capturing photos, videos, and video calls.

Figure 4.2: Camera Features. This image highlights the tablet's 8MP main camera and 5MP front camera, demonstrating their use for capturing moments and video calls.
4.3 Audio
The tablet features 1217 BOX Dual Speakers for enhanced audio experience. It also includes a 3.5mm headphone jack for private listening.

Figure 4.3: Dual Speaker System. This image illustrates the tablet's 1217 BOX Dual Speakers, designed to provide clear and immersive audio.
4.4 Connectivity
- Wi-Fi: Connect to available Wi-Fi networks via Settings > Network & internet > Wi-Fi.
- Bluetooth 5.0: Pair with Bluetooth devices (headphones, speakers, etc.) via Settings > Connected devices > Bluetooth.
- OTG (On-The-Go): Supports connecting USB peripherals like flash drives or keyboards via a compatible OTG adapter (not included).
- Wireless Screencasting: Easily connect to a large TV or display for screen mirroring.
5. Maintenance
5.1 Cleaning
Use a soft, lint-free cloth to clean the screen and body of the tablet. Avoid using harsh chemicals or abrasive materials.
5.2 Battery Care
The tablet is equipped with a 6580mAh Lithium Polymer battery. To prolong battery life:
- Avoid extreme temperatures.
- Do not let the battery completely drain frequently.
- Use the provided charger.
- Enable power saving mode when needed.
5.3 Software Updates
Regularly check for and install system updates to ensure optimal performance, security, and access to new features. Go to Settings > System > System update.
6. Troubleshooting
6.1 Common Issues and Solutions
| Problem | Solution |
|---|---|
| Tablet does not turn on | Ensure the battery is charged. Press and hold the power button for 10-15 seconds to force a restart. |
| Slow performance | Close unused applications. Clear cache. Restart the tablet. Check for system updates. |
| Wi-Fi connection issues | Restart the tablet and your Wi-Fi router. Forget and reconnect to the network. |
| Apps crashing | Clear the app's cache and data (Settings > Apps > [App Name] > Storage). Reinstall the app. |
7. Specifications
| Feature | Detail |
|---|---|
| Model | DOOGEE Tab A9 PRO |
| Operating System | Android 15 |
| Processor | Quad-Core (Unisoc T310) |
| RAM | 12GB |
| Internal Storage | 128GB ROM |
| Expandable Storage | Up to 2TB (MicroSD, sold separately) |
| Display | 10.1-inch IPS HD+ (1280x800) |
| Main Camera | 8MP |
| Front Camera | 5MP |
| Battery | 6580mAh Lithium Polymer |
| Connectivity | Wi-Fi, Bluetooth 5.0, OTG, Type-C USB |
| Audio | 1217 BOX Dual Speakers, 3.5mm headphone jack |
| Dimensions | 25.7 x 16.88 x 0.79 cm |
| Weight | 400 g |

Figure 7.1: Unisoc T310 Processor. This image details the specifications of the Unisoc T310 processor, highlighting its powerful quad-core architecture, 2.0GHz ultimate frequency, and 12nm advanced process technology.
8. Warranty and Support
For warranty information and technical support, please refer to the official DOOGEE website or contact their customer service. Keep your purchase receipt for warranty claims.
DOOGEE Official Website: www.doogee.cc


